This guide was written by Patricia Borba
Download
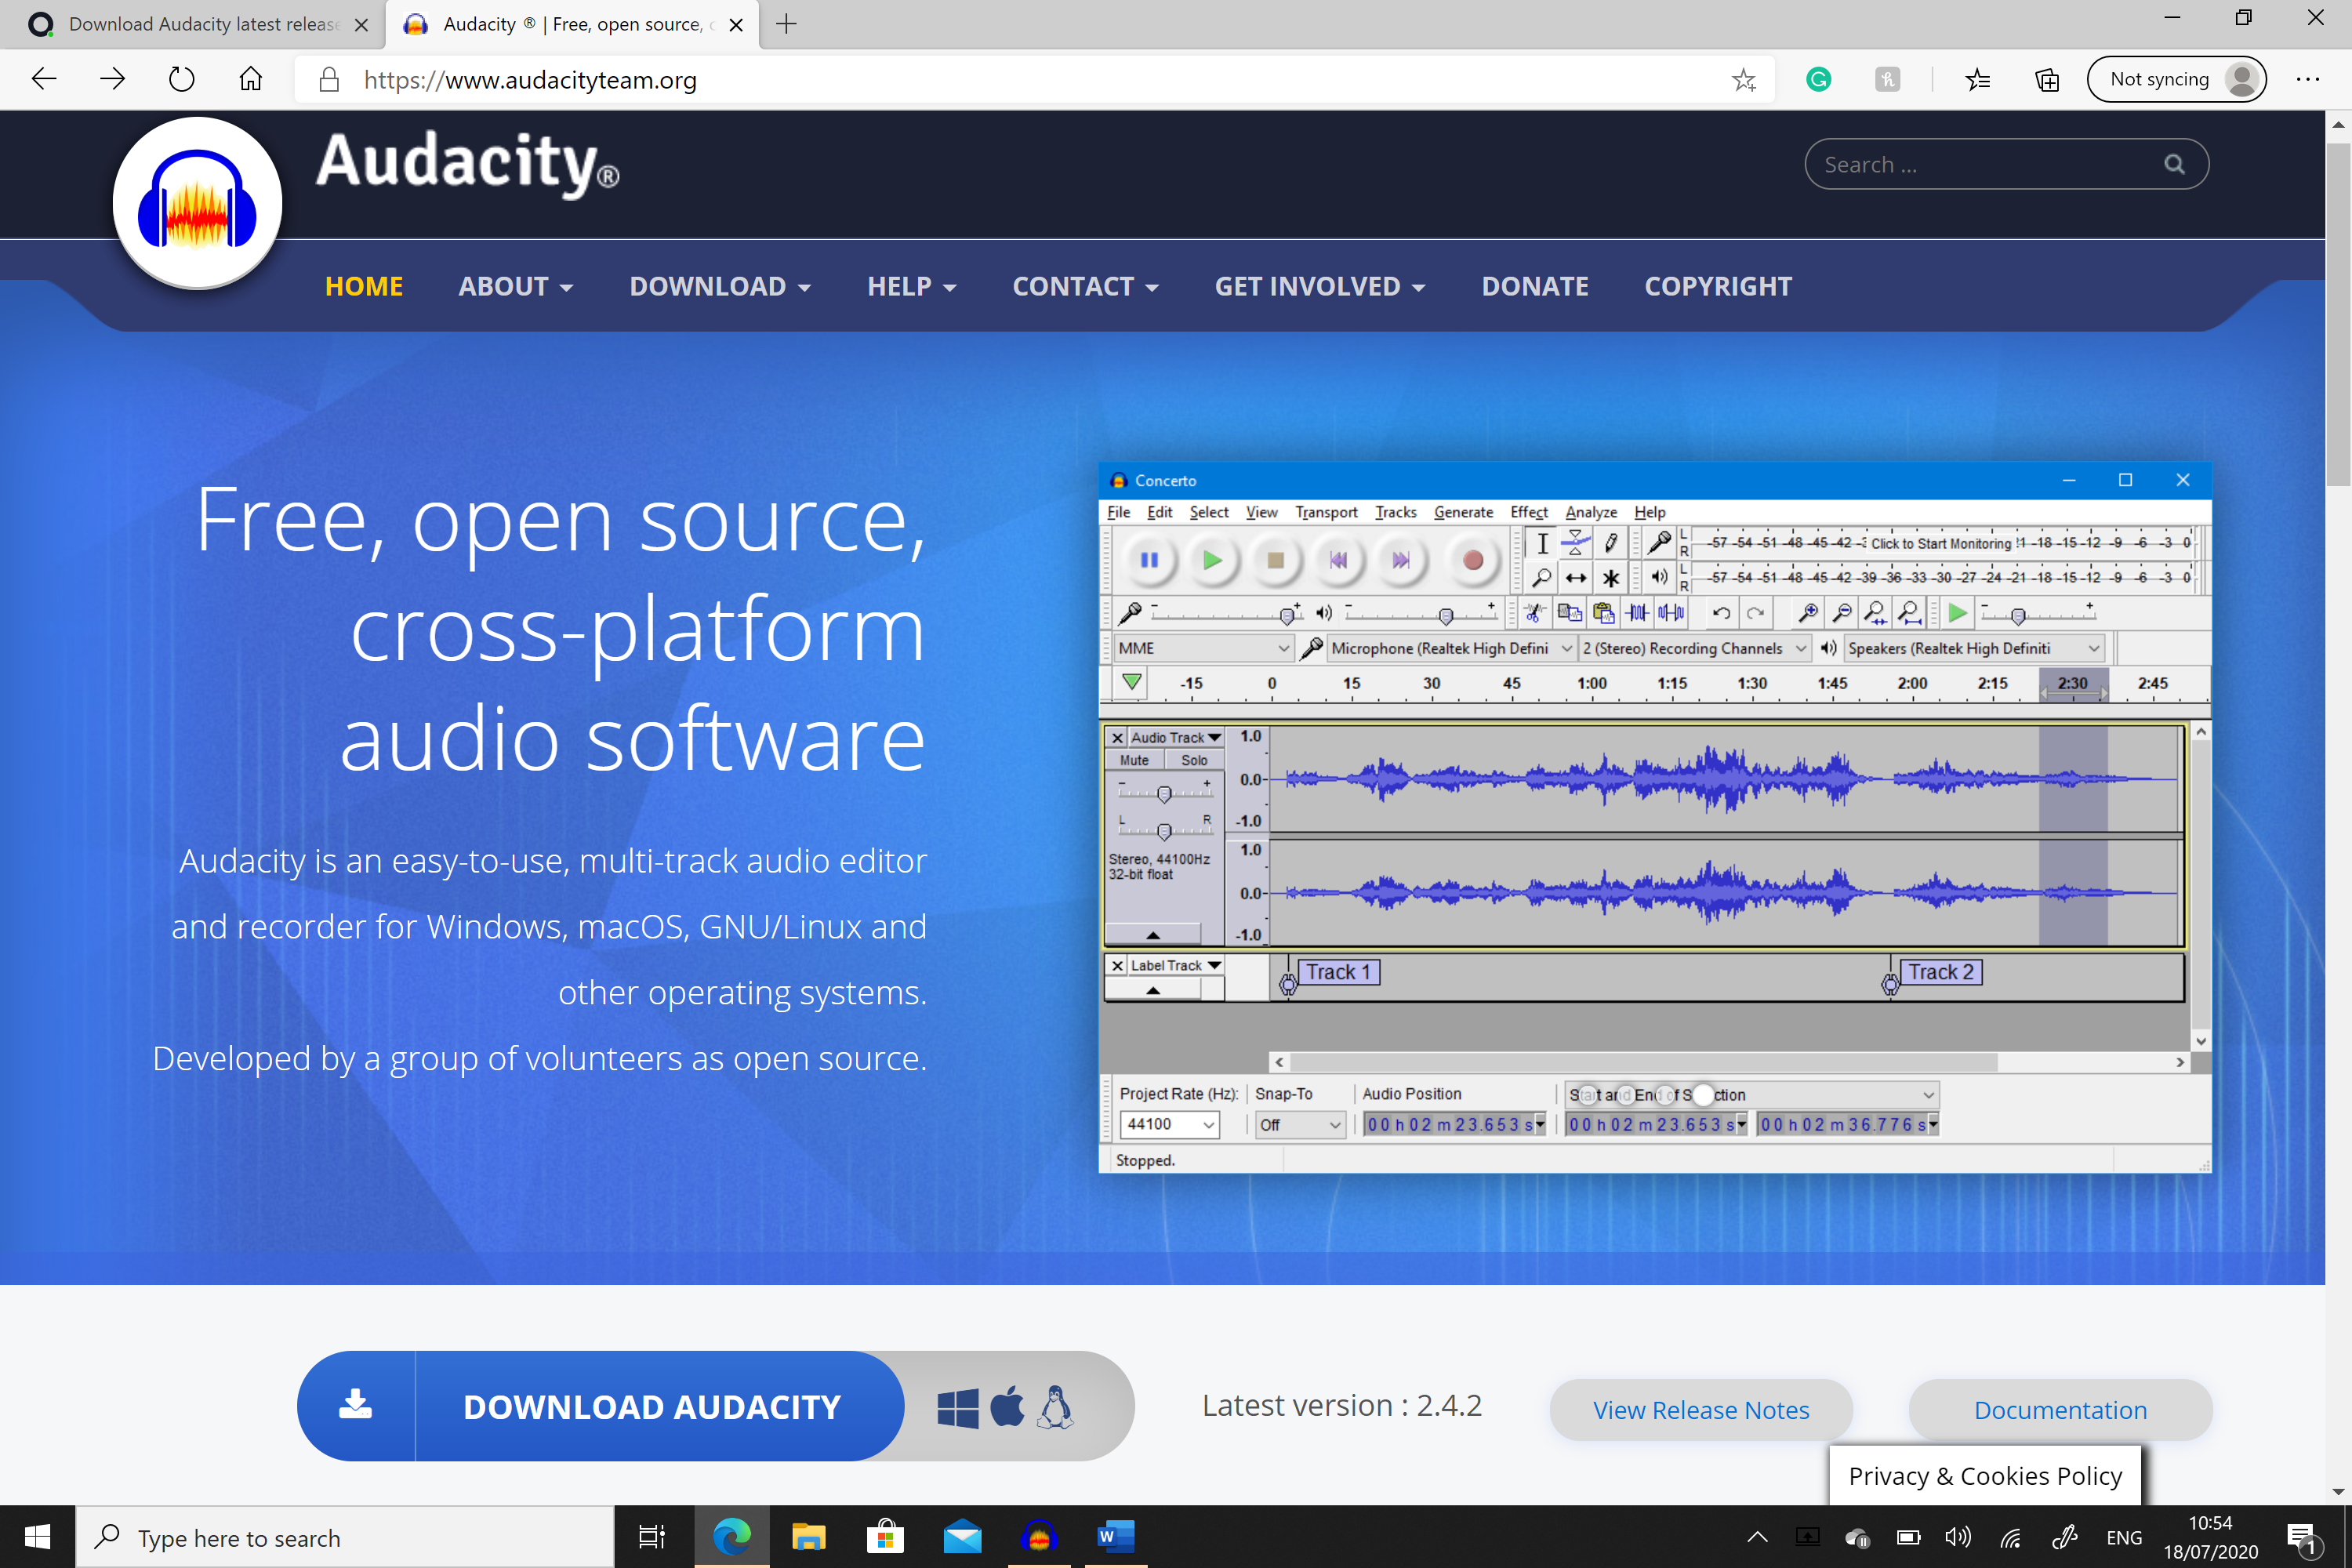
To install Audacity on your computer, go on the following link https://www.audacityteam.org/. On the opening page you have a Download Audacity button. Press it.
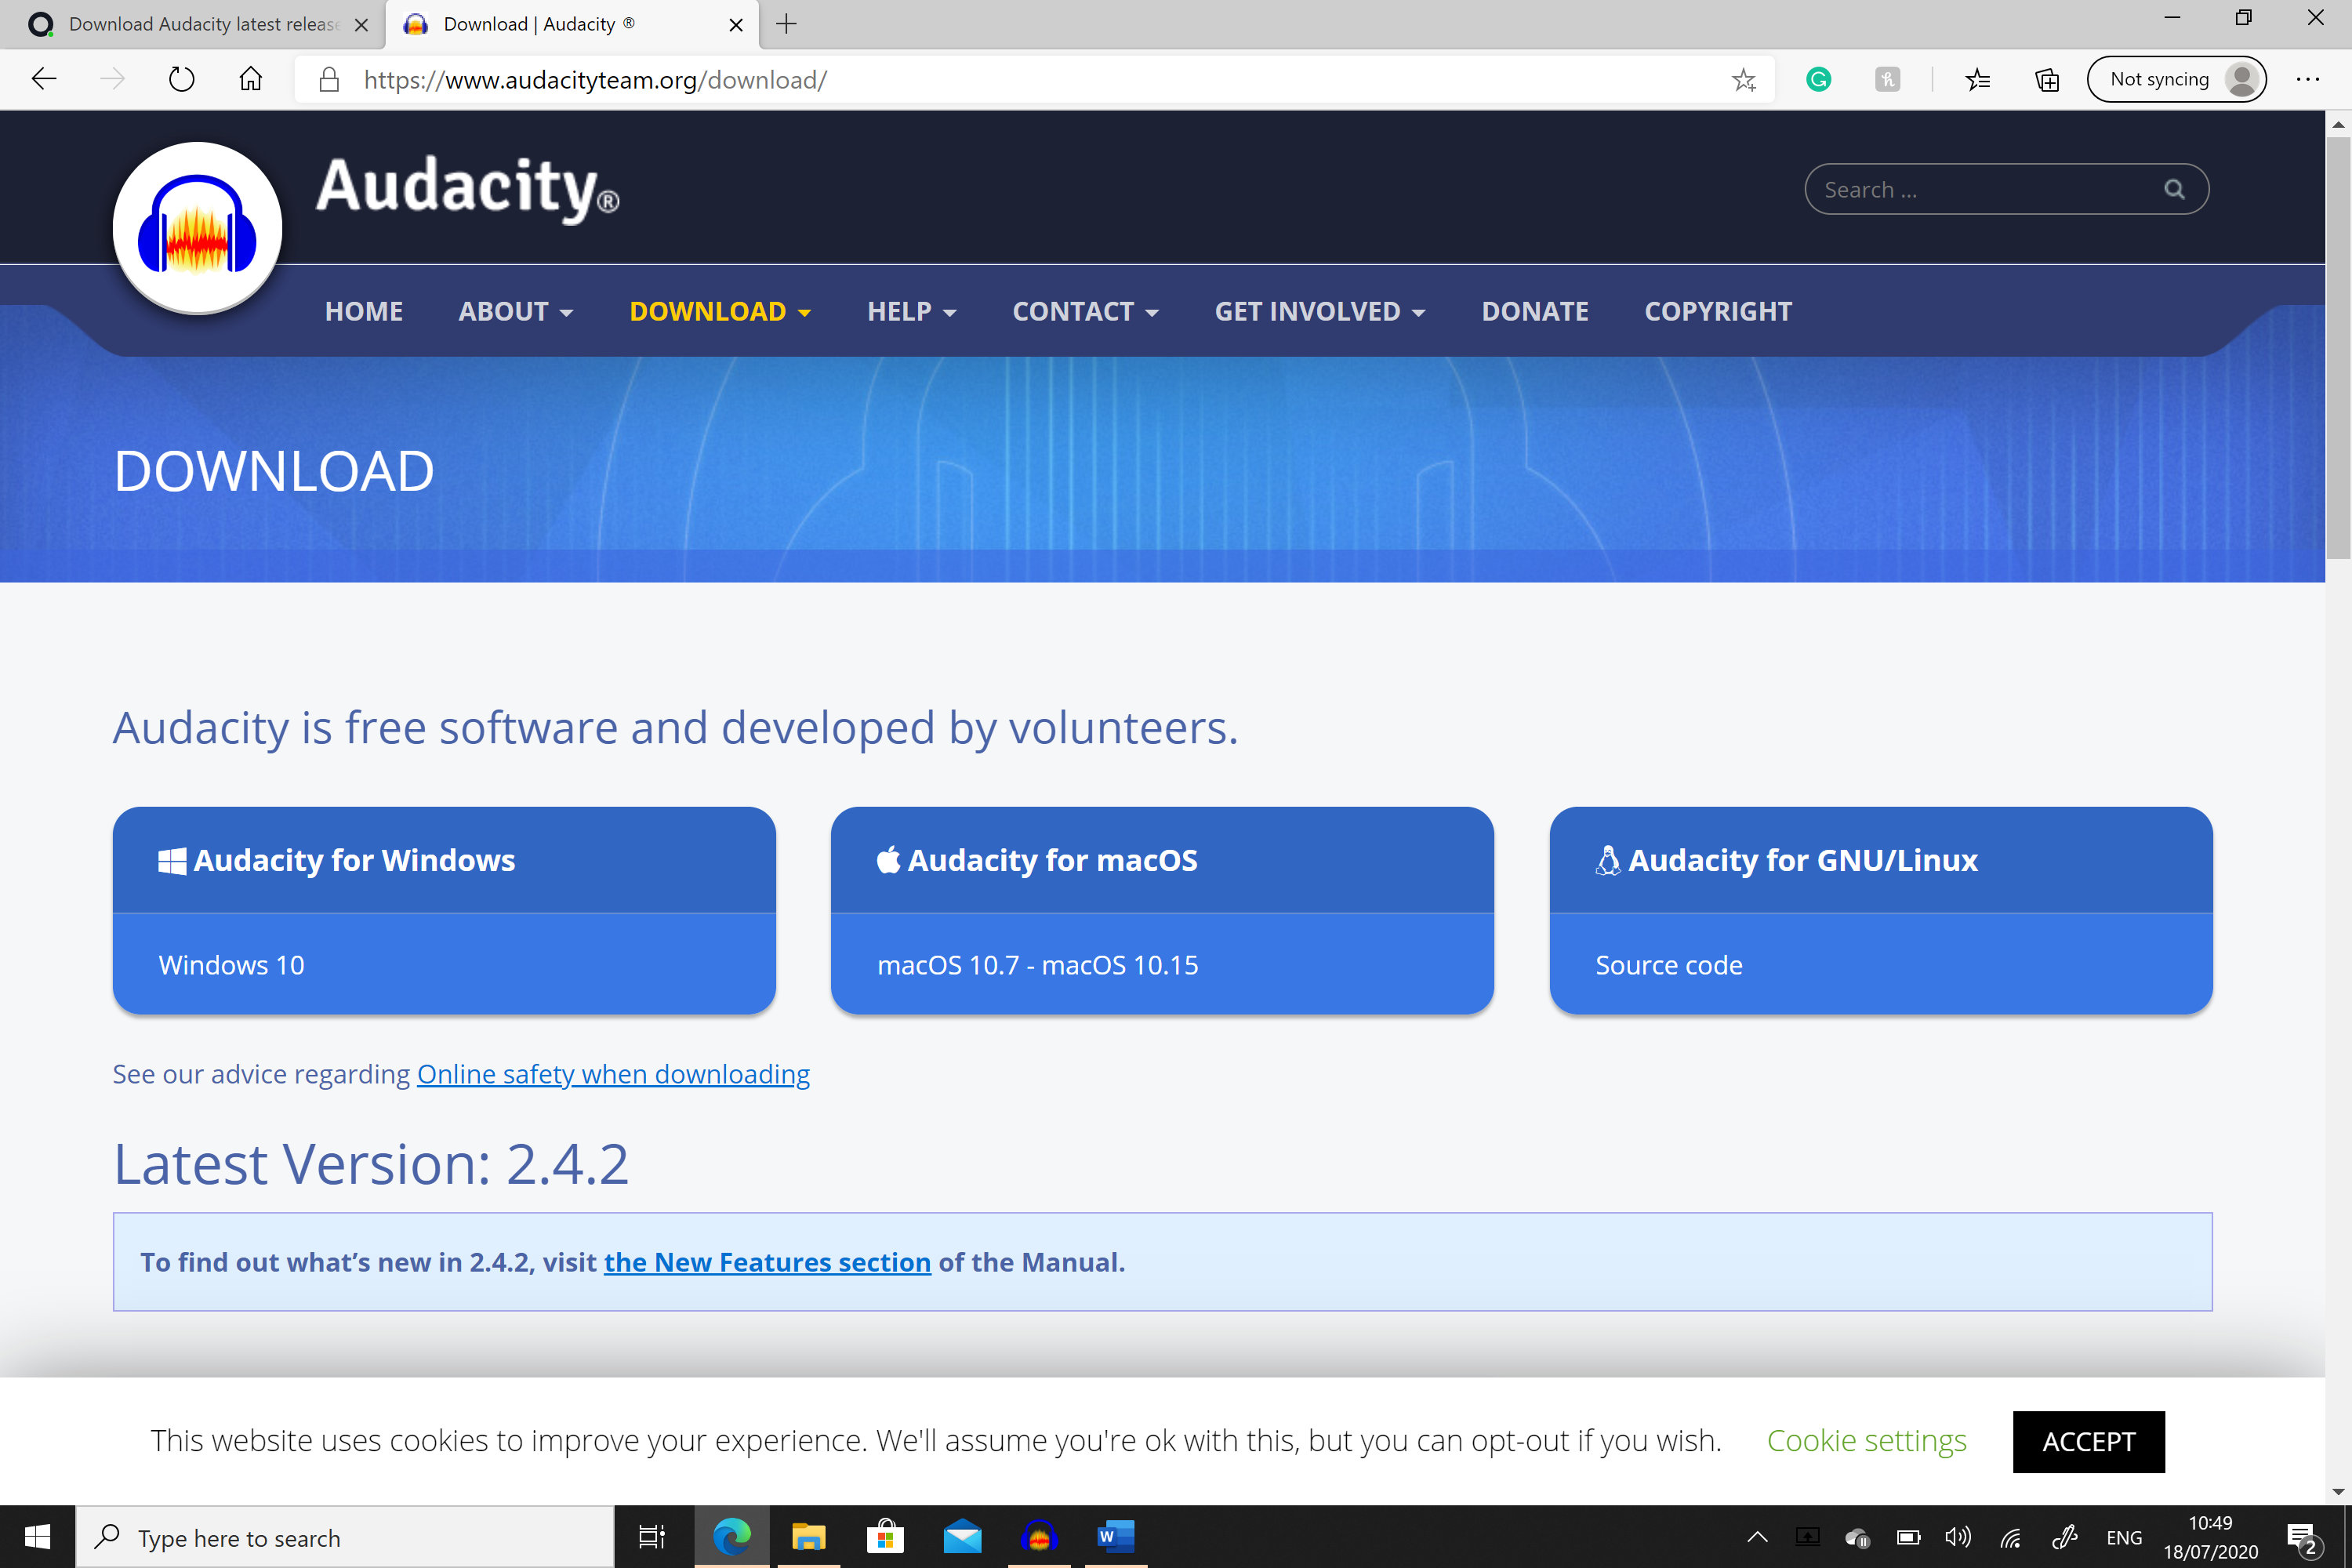
After that, you are given three options for your download, depending on whether you work with Windows, macOS or GNU/Linux. Select the one suitable for your device.
Then, you just have to follow the given instructions to conclude the download.
Get started
When opening the program, you will see, on the header, a Menu Bar with 11 titles: File, Edit, Select, View, Transport, Tracks, Generate, Effect, Analyse, Tools, and Help. Each one of those sections provides you different tools which are helped by the functions available on the Toolbar underneath the Menu. Let us start by unravelling each one of the 11 sections. After, you will have a simple step by step guide to edit an audio project.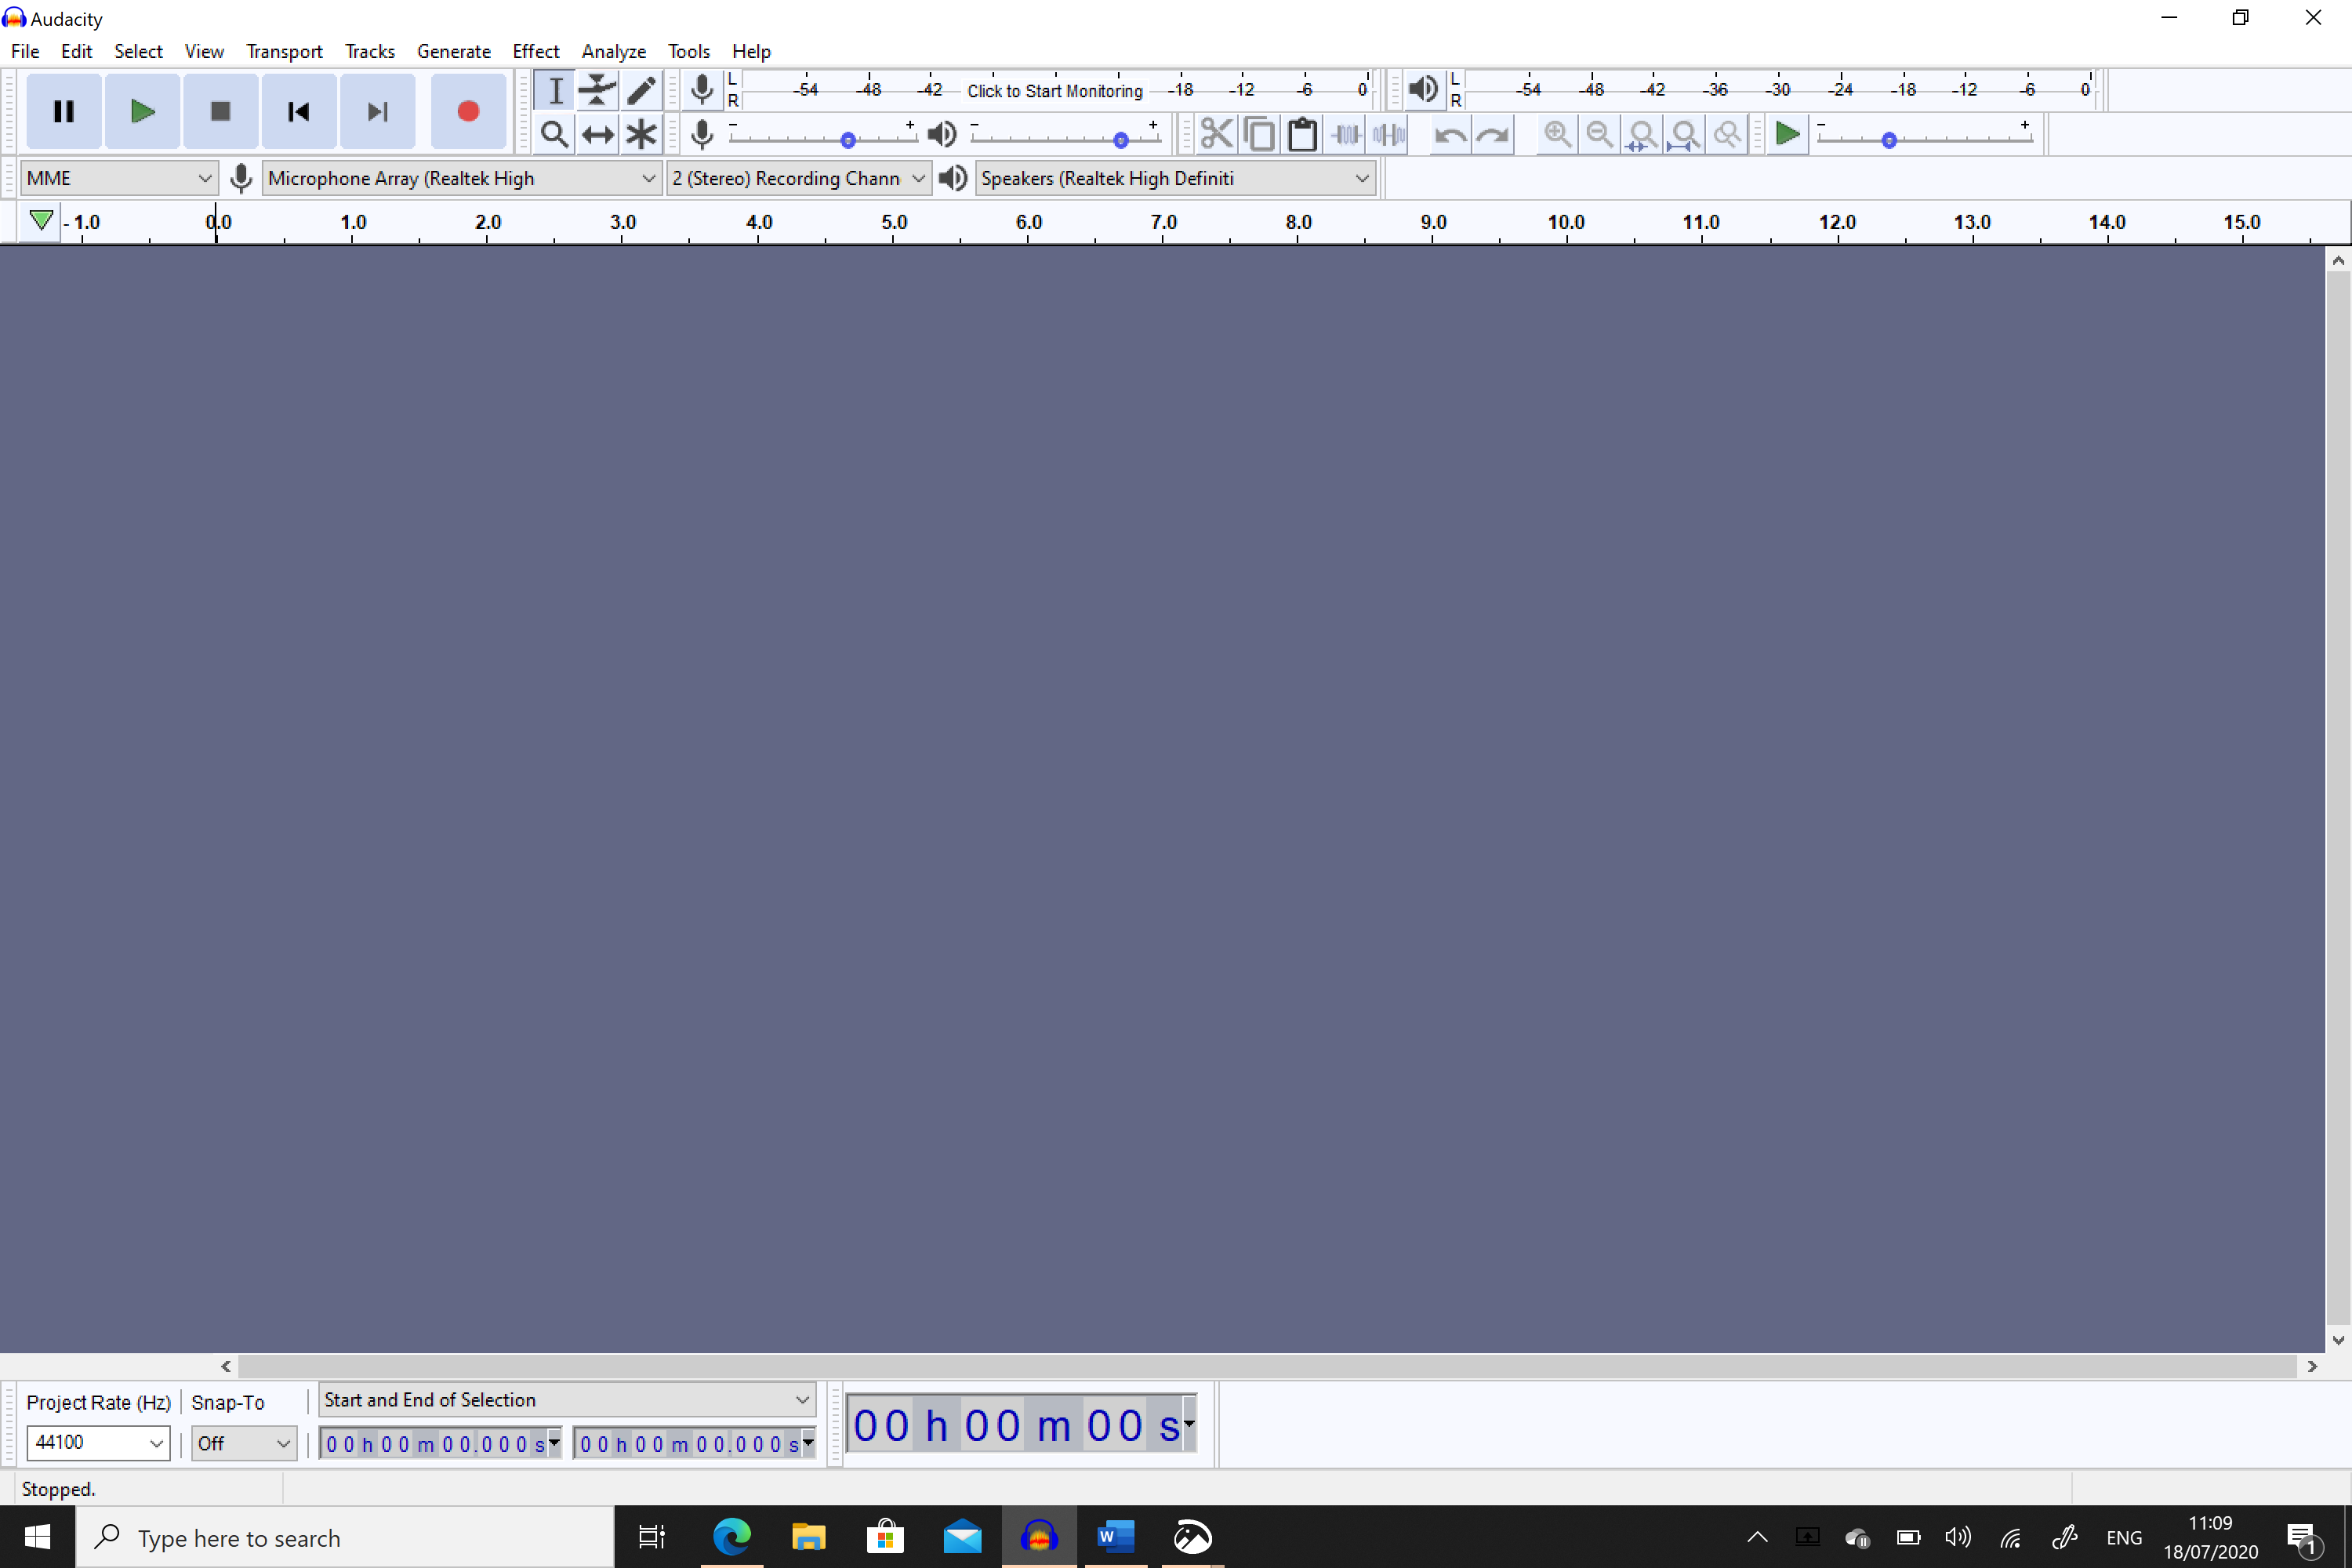 The Audacity interface
File
You will mainly use the File section when starting and finishing your project. There, you can open a new project, save your project while you edit, import your raw files, and export the project. Always save your projects while you edit so you do not lose your progress. However, when you finish editing you must export (and not merely save) your project in order to produce an audio file.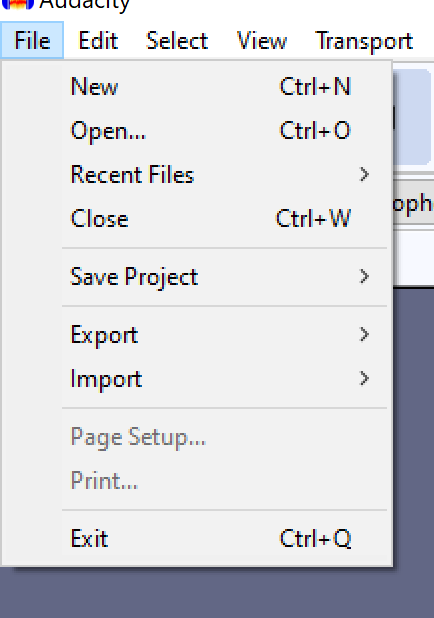 File options
Edit
The Edit section is mainly related to actions most of you will know the shortcuts for, such as Cut, Delete, Copy, and Paste. Do not forget that if you are using Mac the Ctrl on the shortcuts is replaced by Cmd. You can also play with the clip boundaries and change the labels of your audio tracks in this section.
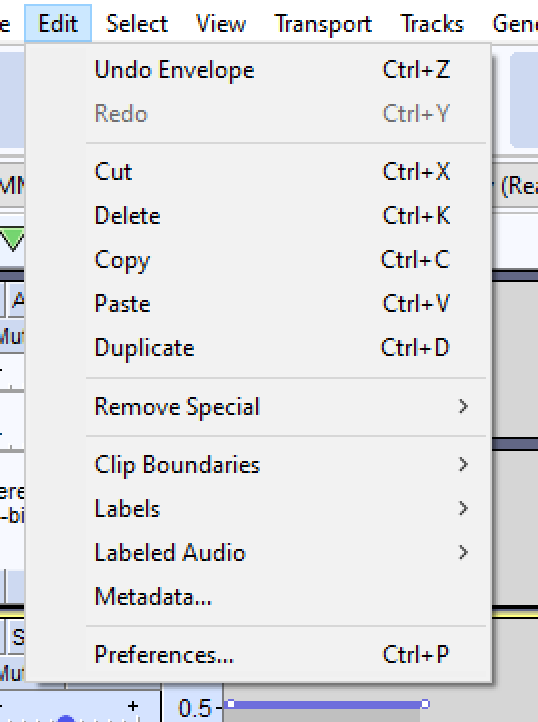 Edit options
Select
The Select section is, as the name indicates, mainly dedicated to selecting tracks, regions, spectral and boundaries.
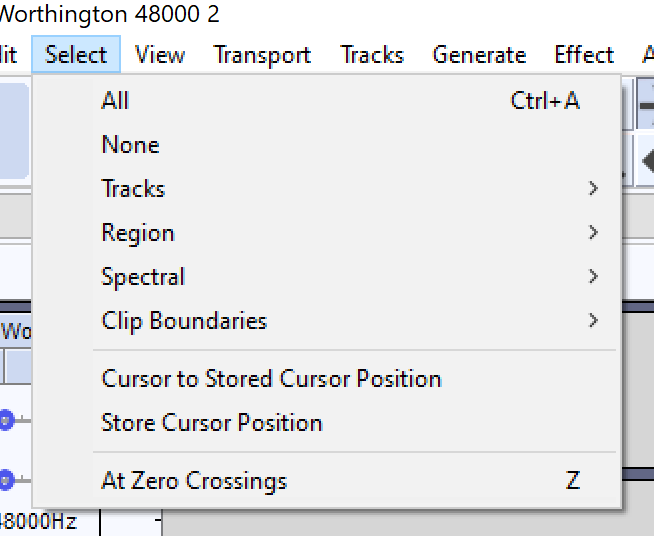 Select options
View
On the View section you can play with what you see on your monitor. It provides you tools to zoom in and out of your tracks, choose what you want to have on your Toolbar, and whether you want the Extra Menus to show or not.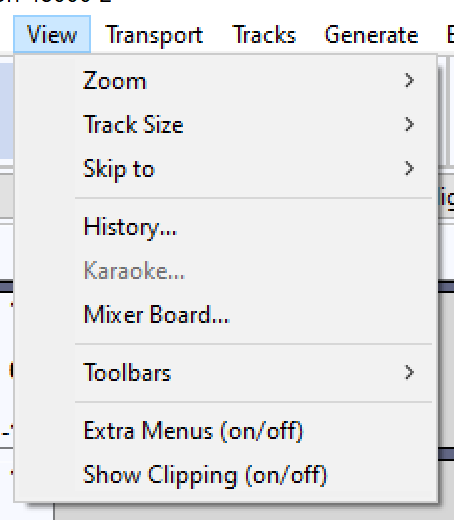 View options
Transport
The Transport section allows you to move or play with elements that move on the program as shown by the options on the screenshot.
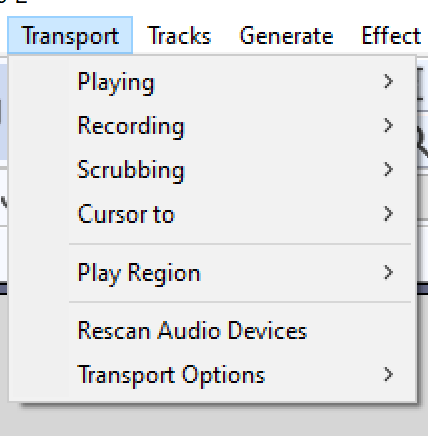 Transport options
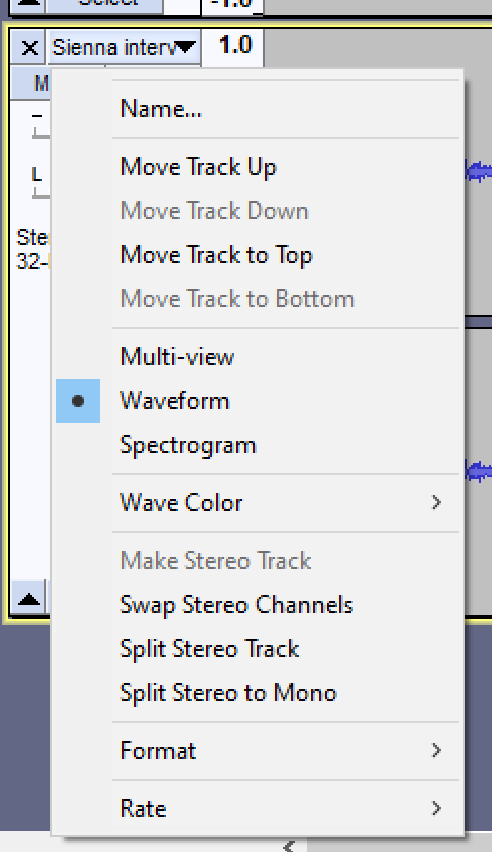
Tracks
The Tracks section allows you to add, mix, resample, remove, mute/unmute, pan, align, sort, and sync your audio tracks.
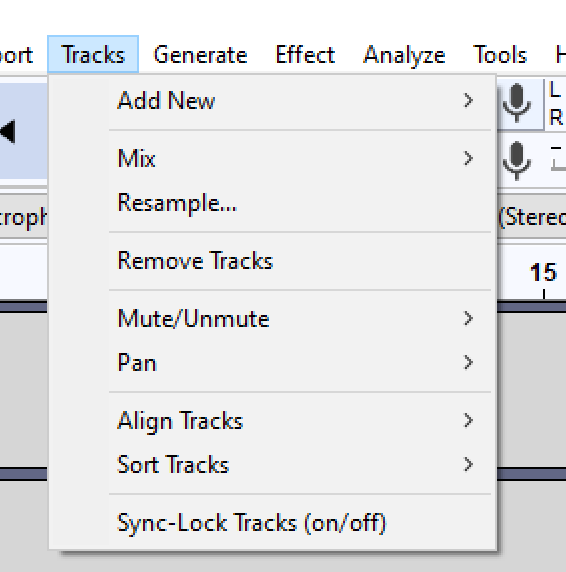 Tracks options
Effects
The Effects section presents a wide range of effects that you can apply to your audio. However, a lot of them are only applicable to audio design and music production. When producing journalistic content, the relevant effects to consider are the Fade In, Fade Out, and Noise Reduction.
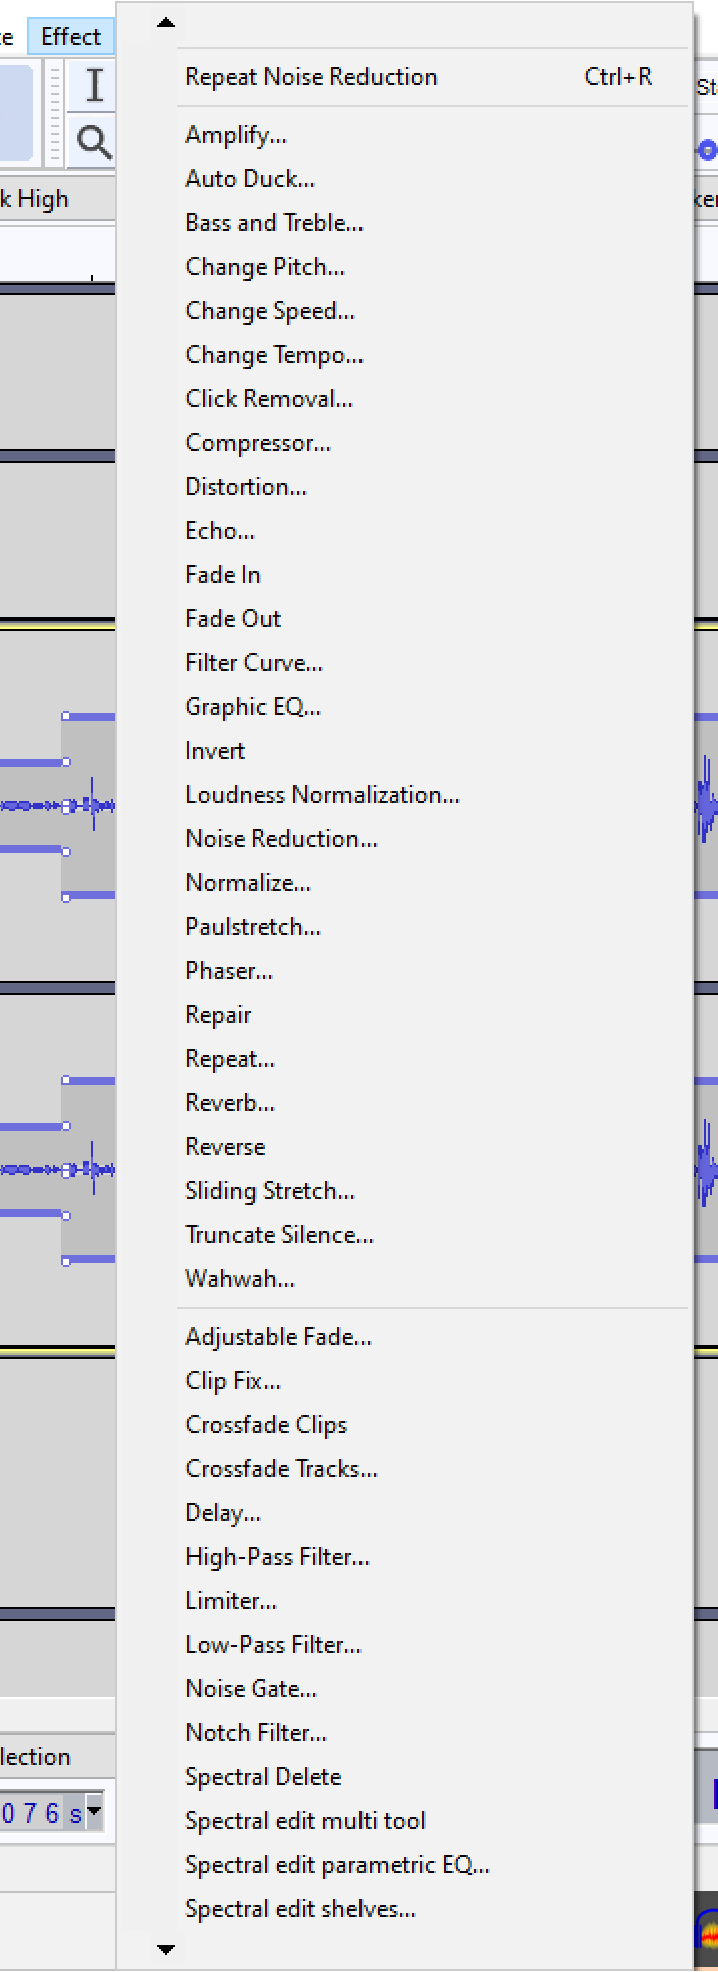 Effects options
Help
The Help section provides you options to get extra help while editing.
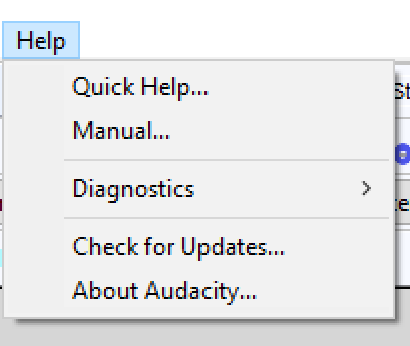 Help options
Generate / Analyze / Tools
The Generate, Analyze and Tools sections are more dedicated to sound design and music production and therefore unlikely to be applicable to your work.
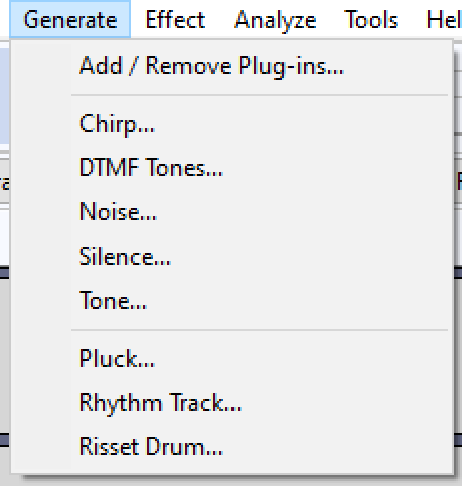 Generate options
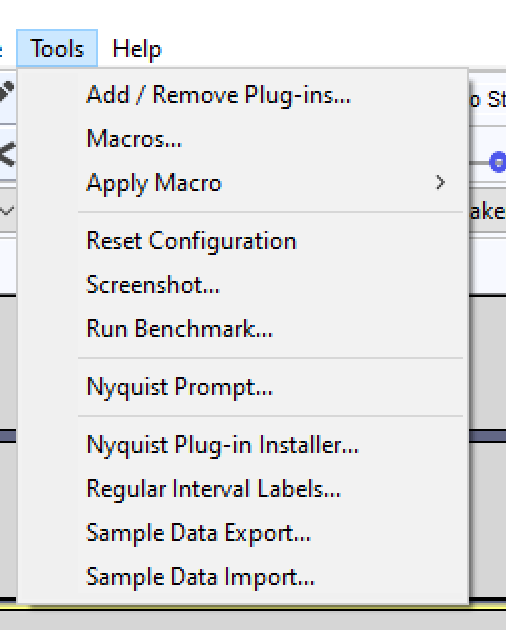 Tools options
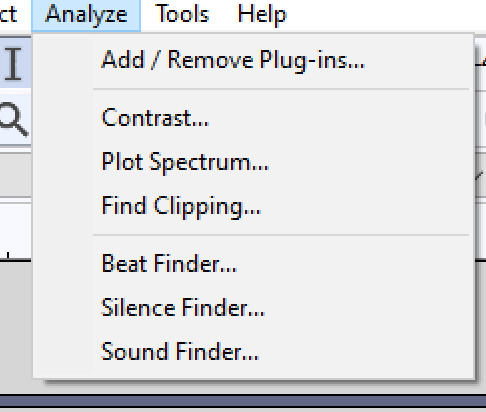 Analyze options
EDITING PROCESS STEP BY STEP
Step 1: Import
To start a project, you need to import your raw files onto the program. To import, click on File, Import and then Audio, or simply click Ctrl+Shift+I (or Cmd+Shift+I for Mac), choose the files you want to use from your computer or hard drive, and press Open.
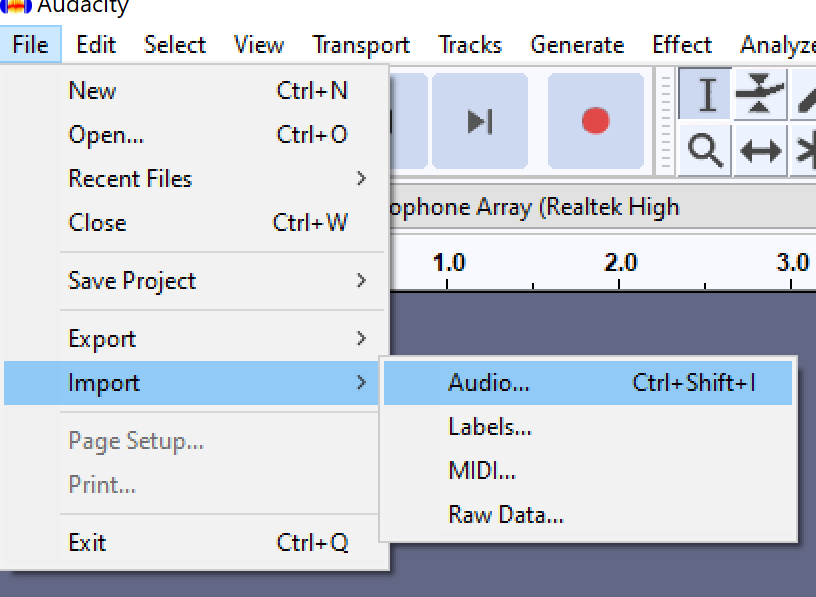 Importing audio
To play back your audio simply press the spacebar on your keyboard.
To mute your audio tracks so you can only hear the one you are paying attention to, press Mute under the title of your track on the left-hand side of your screen.
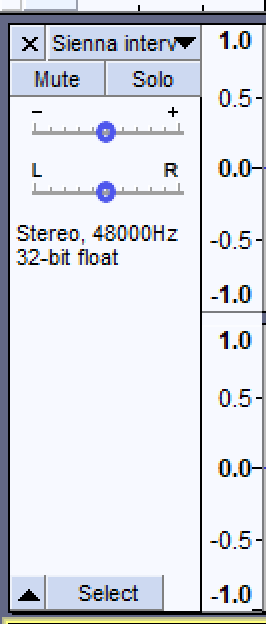 Where to mute a track
Step 2: Adjust the Size of your Tracks
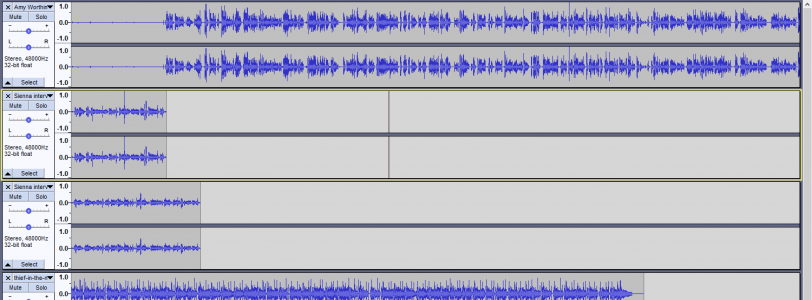
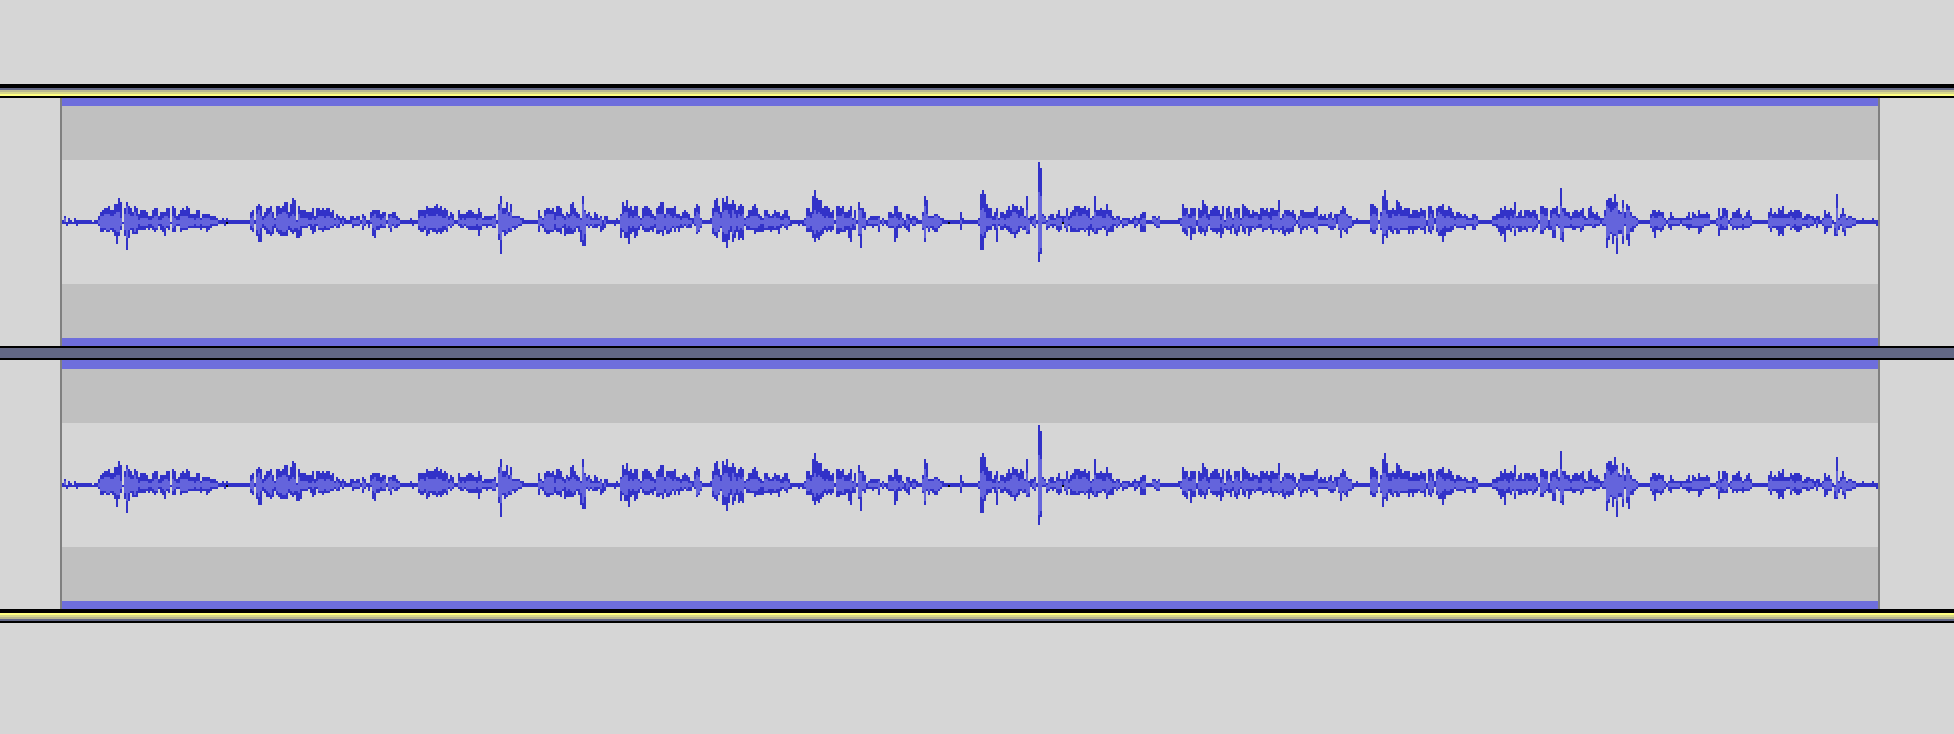
When the files open on the software you will see each one of them on a different track. 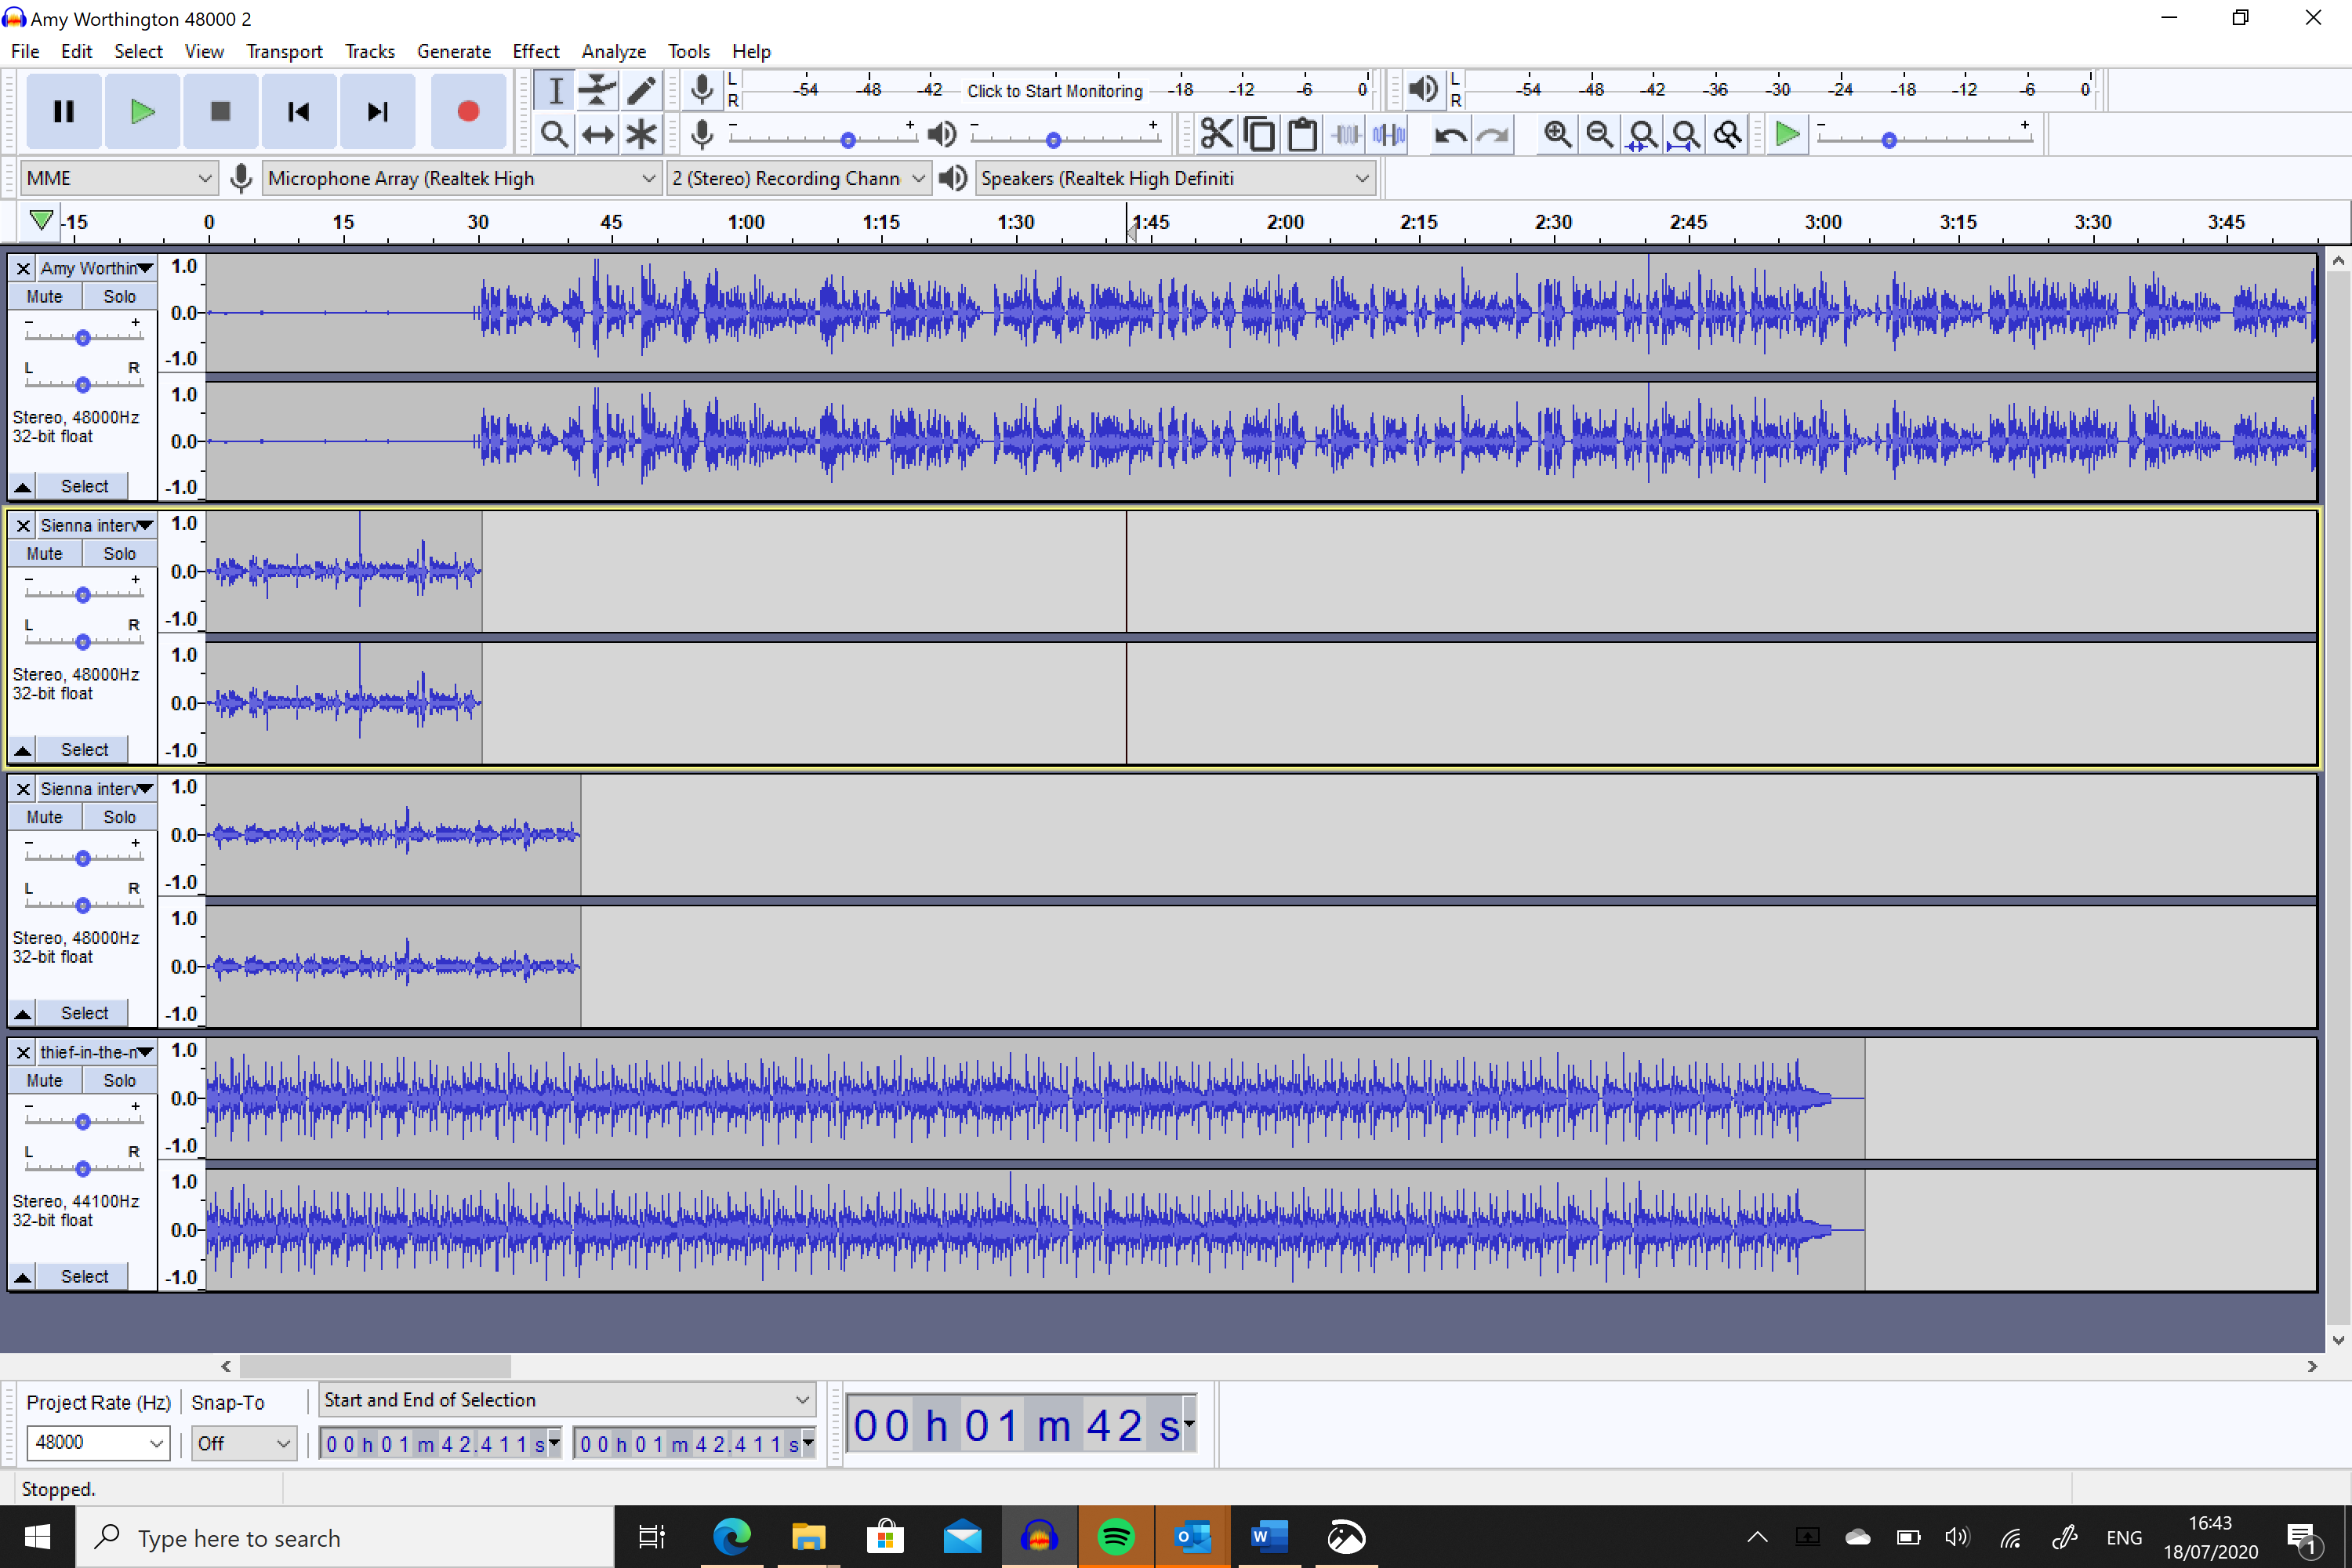 Multiple tracks
You can zoom in and out on the width of your tracks by pressing Ctrl and then scrolling up or down on your laptop mouse’s wheel, or by using the magnifying glass symbol on the Toolbar. 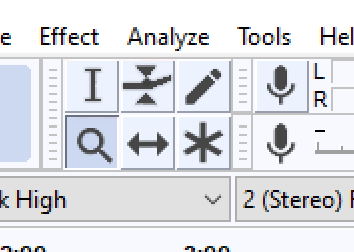 Zooming in/out on tracks
You can zoom in and out on the height of your tracks by putting your mouse over the top or bottom limit of your track and pulling the limit up and/or down. It is important to have your tracks zoomed in while you edit so you can properly see the details of your audio file and to be able to edit it accordingly.
You can also select View on the Menu Bar, Track Size, and then ‘fit to width’ or ‘fit to height’ to see all of your tracks on your screen at once. These tools are especially useful if you are putting your different clips in order and you want to see the entirety of your track’s length within the limits of your screen.
 Changing track size
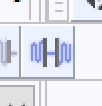
Step 3: Move your Clips
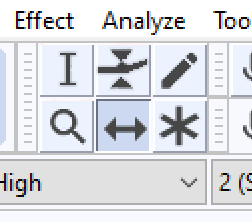
To move your clips, press the Time Shift Tool on the Toolbar, and then drag your clips along the timeline to organise them per order of appearance.
To vertically change your track’s order, press the pointer next to the name of the track on the left hand side of your screen and press either Move Track Up, Move Track Down, Move Track to Top or Move Track to Bottom, depending on the intended movement.
 Moving tracks
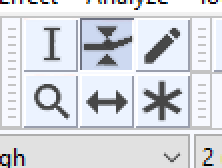
Step 4: Trim and Cut
To trim or cut a section of your audio file, choose the Selection tool on the Toolbar, highlight the section of your clip you wish to erase and click Delete on your keyboard. That is valid not only for the beginnings and endings of your clips, but also to middle sections you might wish to erase. Examples of sections you would delete are empty spaces during an interview, abrupt noises in the middle of the audio, or sections of the interview which are not relevant for your project.
 The selection tool
If, instead of simply deleting a section of your audio, you want to maintain that space of the audio but with no sound, you can silence that section by selecting it (using the Selection tool) and then pressing the silencing button on the Toolbar.
 The silencing tool
Make sure to zoom in your timeline when cutting out or silencing parts of your audio, the smaller they are, the more you should zoom in on them to make sure you do not cut any additional information.
Step 5: Noise Reduction
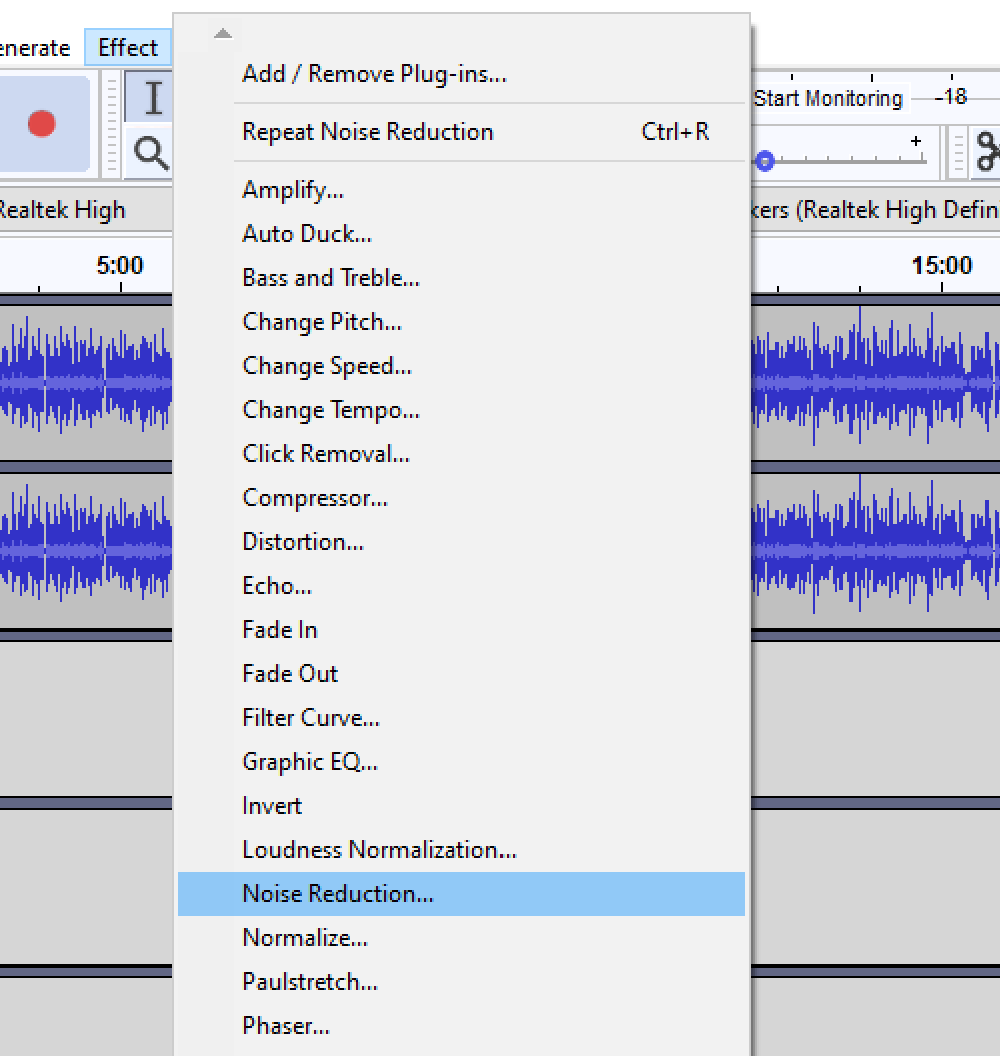 Noise reductionEven if you record with proper equipment in a studio or an isolated space, you may get some background noise that you want to get rid of when editing your audio together. For that, select a section of your audio clip where no one is talking but the background noise is present (beginnings and endings are normally good for this purpose). Click on Effect on the Menu Bar and then on Noise Reduction. A window will open on your screen and you need to click on Get Noise Profile. After, select the whole clip you are working on and go on Effect and Noise Reduction again. The same window will pop open, but now you need to press OK and the software will reduce all the noise with the profile you have selected from your clip, without disturbing the voice, and improving the quality of your sound.
 Noise profile
Beware! This tool is only suitable for white noise in the background. If you record your audio on the street, you will probably have noises in the background – people on the street and car noises – that when erased will disturb the sound of the voice you want to hear. Therefore, avoid using the Noise Reduction tool if there is a lot happening on the background of your audio. Always check the main sound after you have used this tool to make sure it is not distorted.
Step 6: Adjust the Sound Levels
To adjust the sound levels of your clips, which might be unbalanced, click on the Envelope Tool on the Toolbar.
Your audio tracks will look like the image below.
You can then play with the overall volume of your individual tracks, or, by clicking with the cursor on a point of the track, you will be able to create keyframes (shifting points). That is, you will be able to have parts of your clip that are louder than others, and even manually create fade ins and fade outs.
To create a fade in, you should have a keyframe at the beginning of your clip, at a low volume, and another where you want the fade to stop, at the volume you want your clip to stay at. To create a fade out you must do the exact opposite. The screenshot demonstrates a clip with a fade in and a fade out.
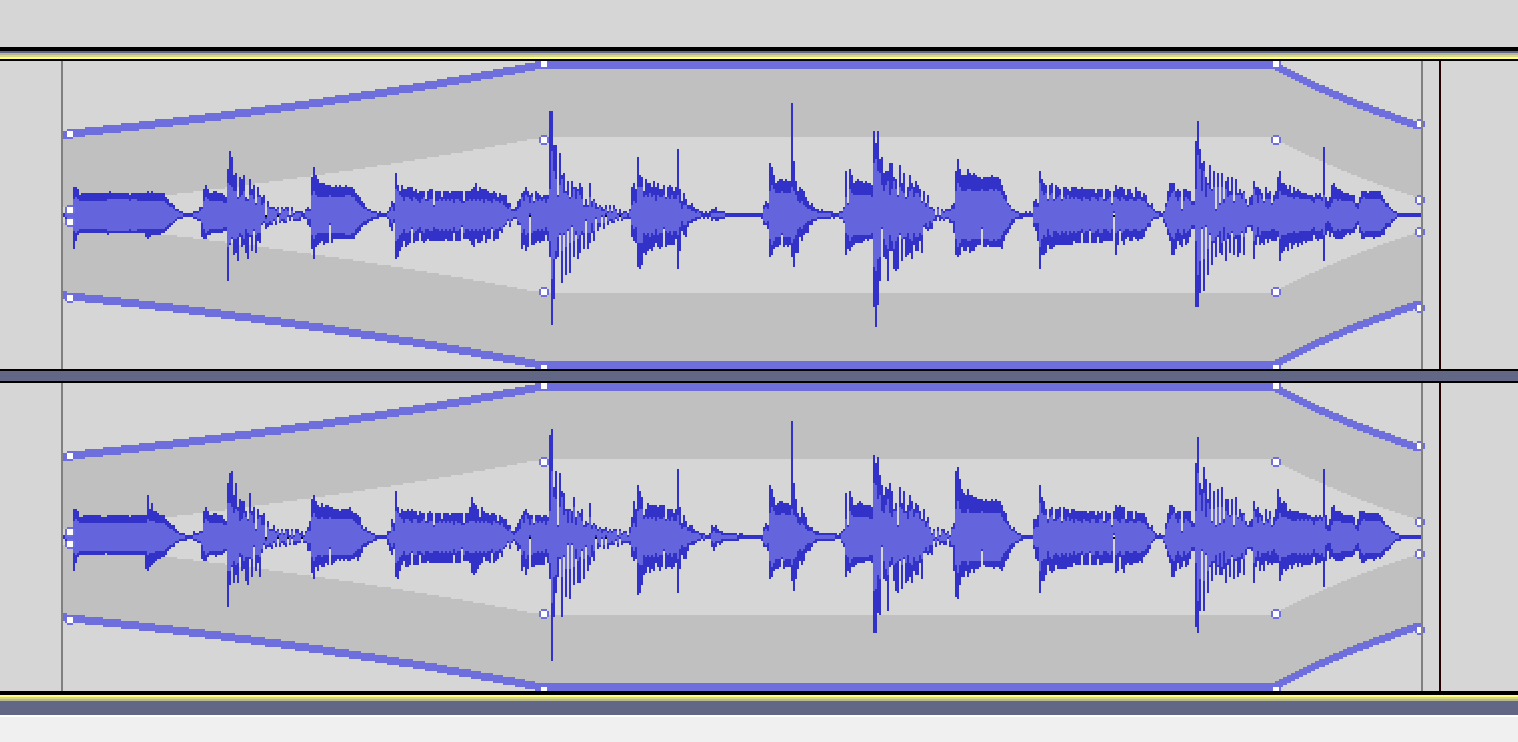 Example of a track with a fade in and fade out
You may also want to have a quieter section of your clip because, for instance, you are overlapping that specific section with another audio. In that case, your track should look like the following image.
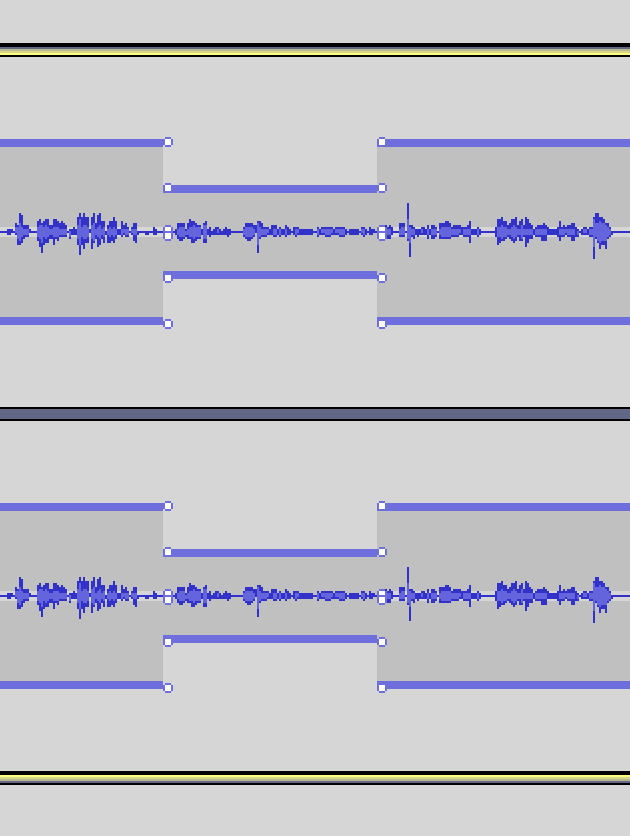 Example of a track with a quieter section
Step 7: Merge your Tracks
To merge your tracks, click on one of the tracks you want to merge with your cursor, then press Shift on your keyboard while clicking on the rest of the tracks you wish to merge with the first one. Then, go on Tracks on the Menu Bar and click on Mix and then Mix and Render which will combine your different tracks into one.
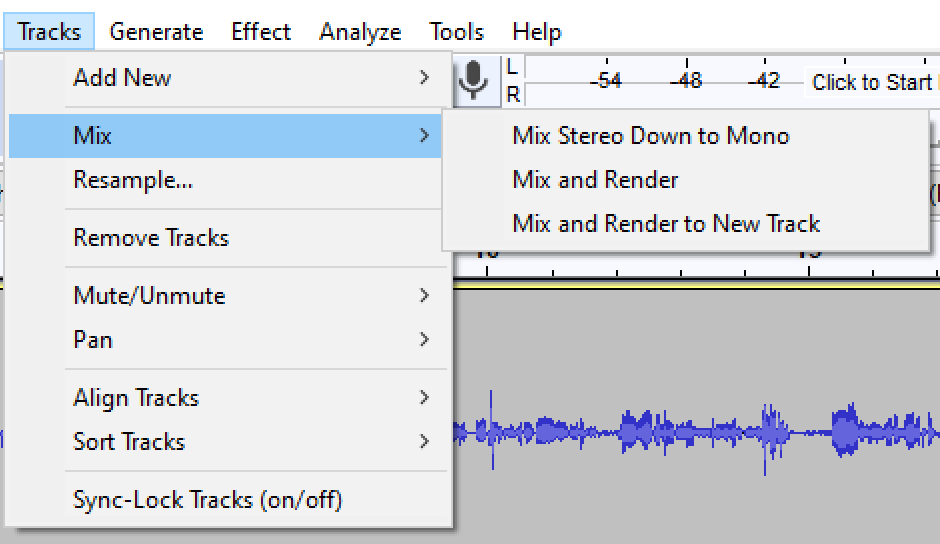 Merging tracks
Step 8: Export
When finished with your edit, you will need to export your project. Firstly, on the bottom left corner of your screen you can read Project Rate with a rate number below. Make sure to select 44100 Hz. Project rate should be 44100Hz
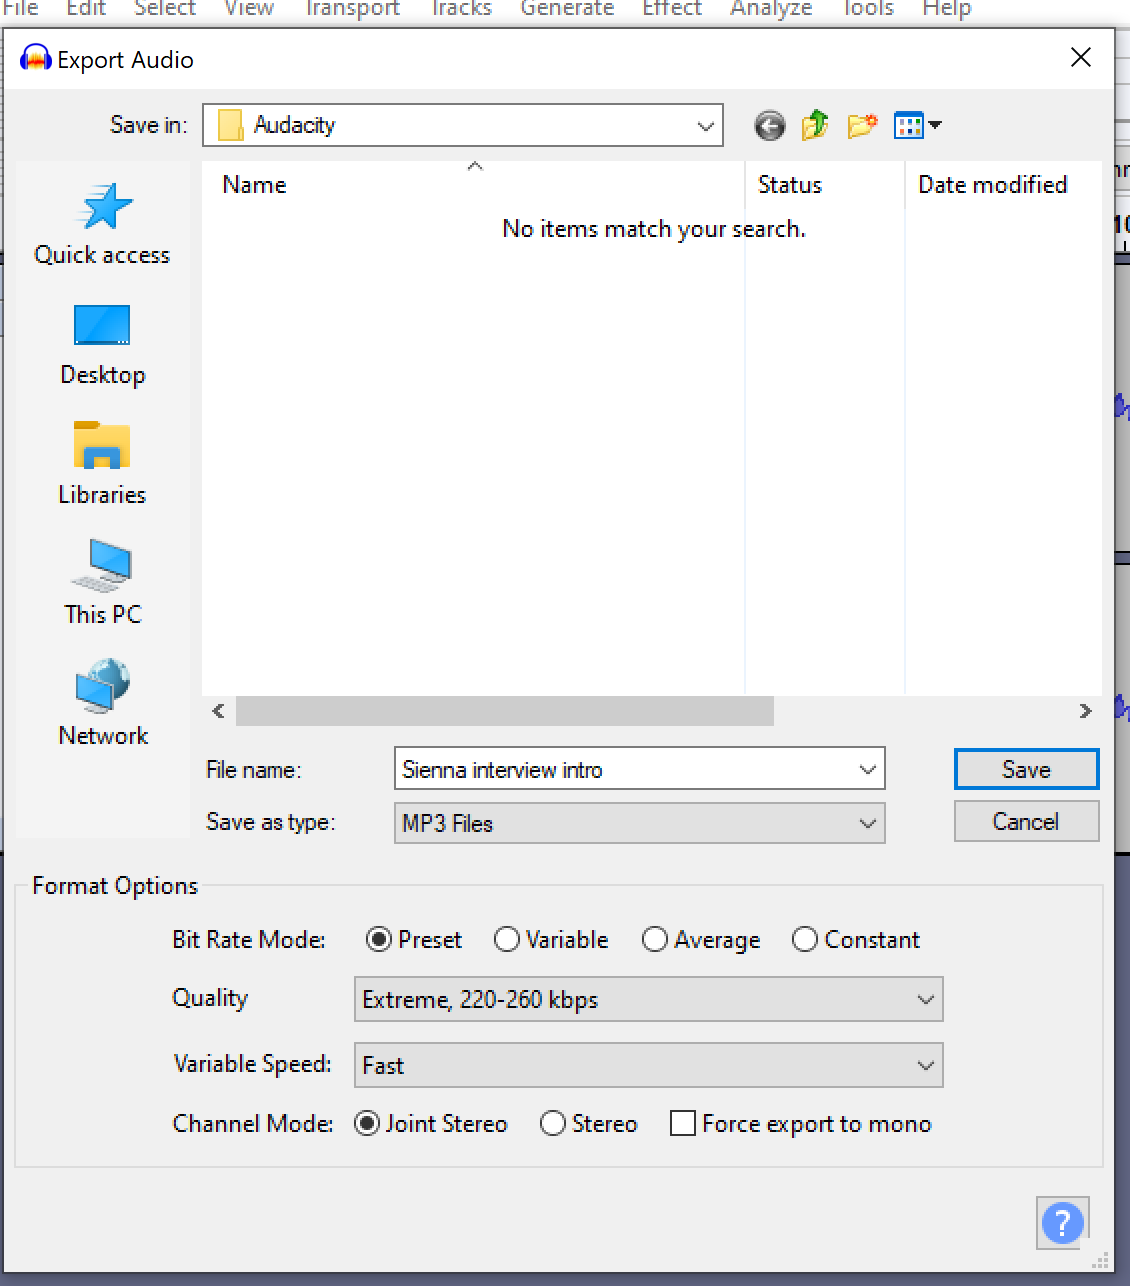
Then go on File on the Menu Bar and select Export and then Export Audio (or simply Ctrl+Shift+E/Cmd+Shift+E). Select the MP3 format, Quality Extreme and Variable Speed Fast. Choose where you want to save it to, and press Save. A table will pop up where you can add some details about the project, such in the artist name and the track title. 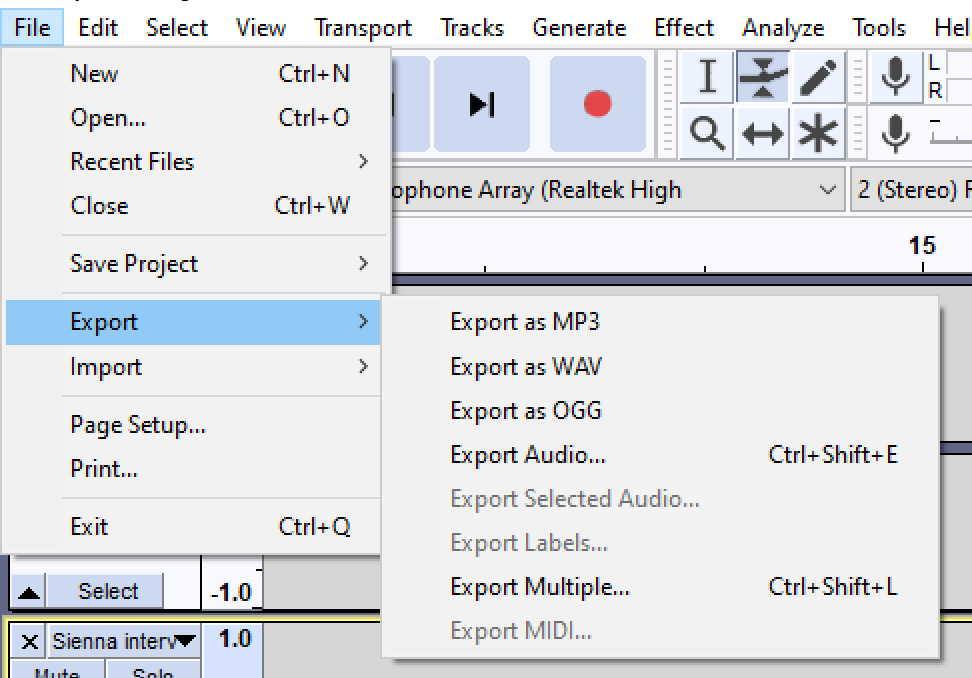 Export as MP3
 Saving your file
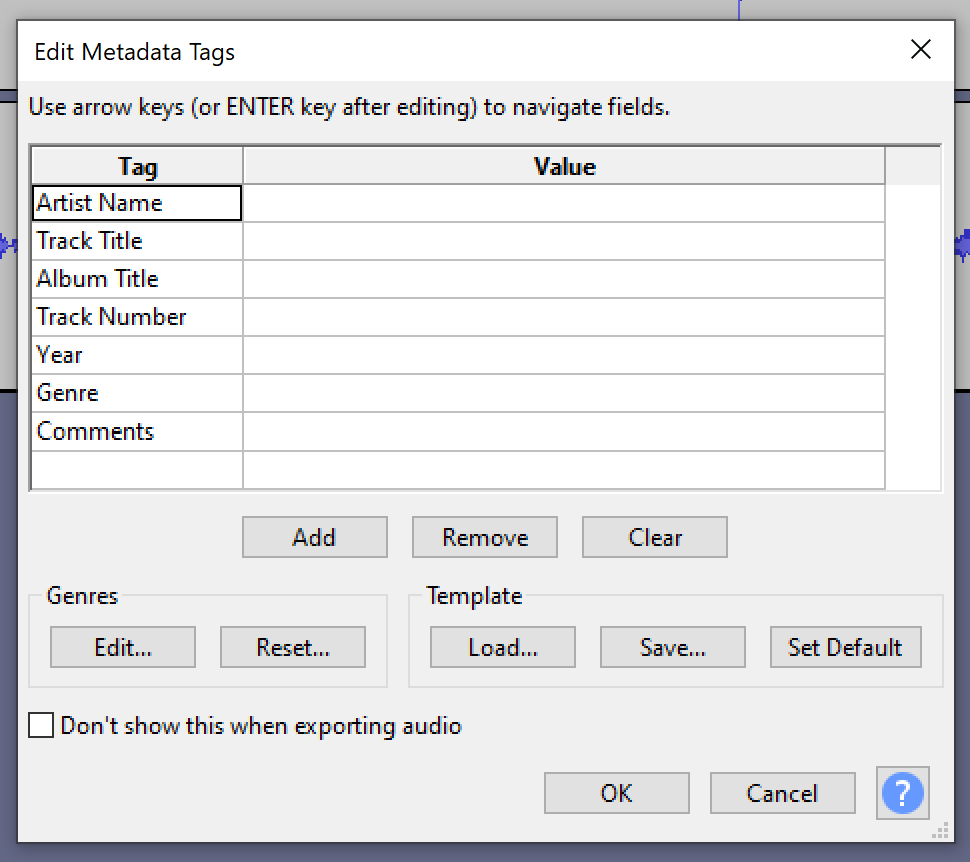 Metadata
After you have completed that, click OK.


0 Comments