


This article was first published on Arts Award Voice on 29 June 2014.
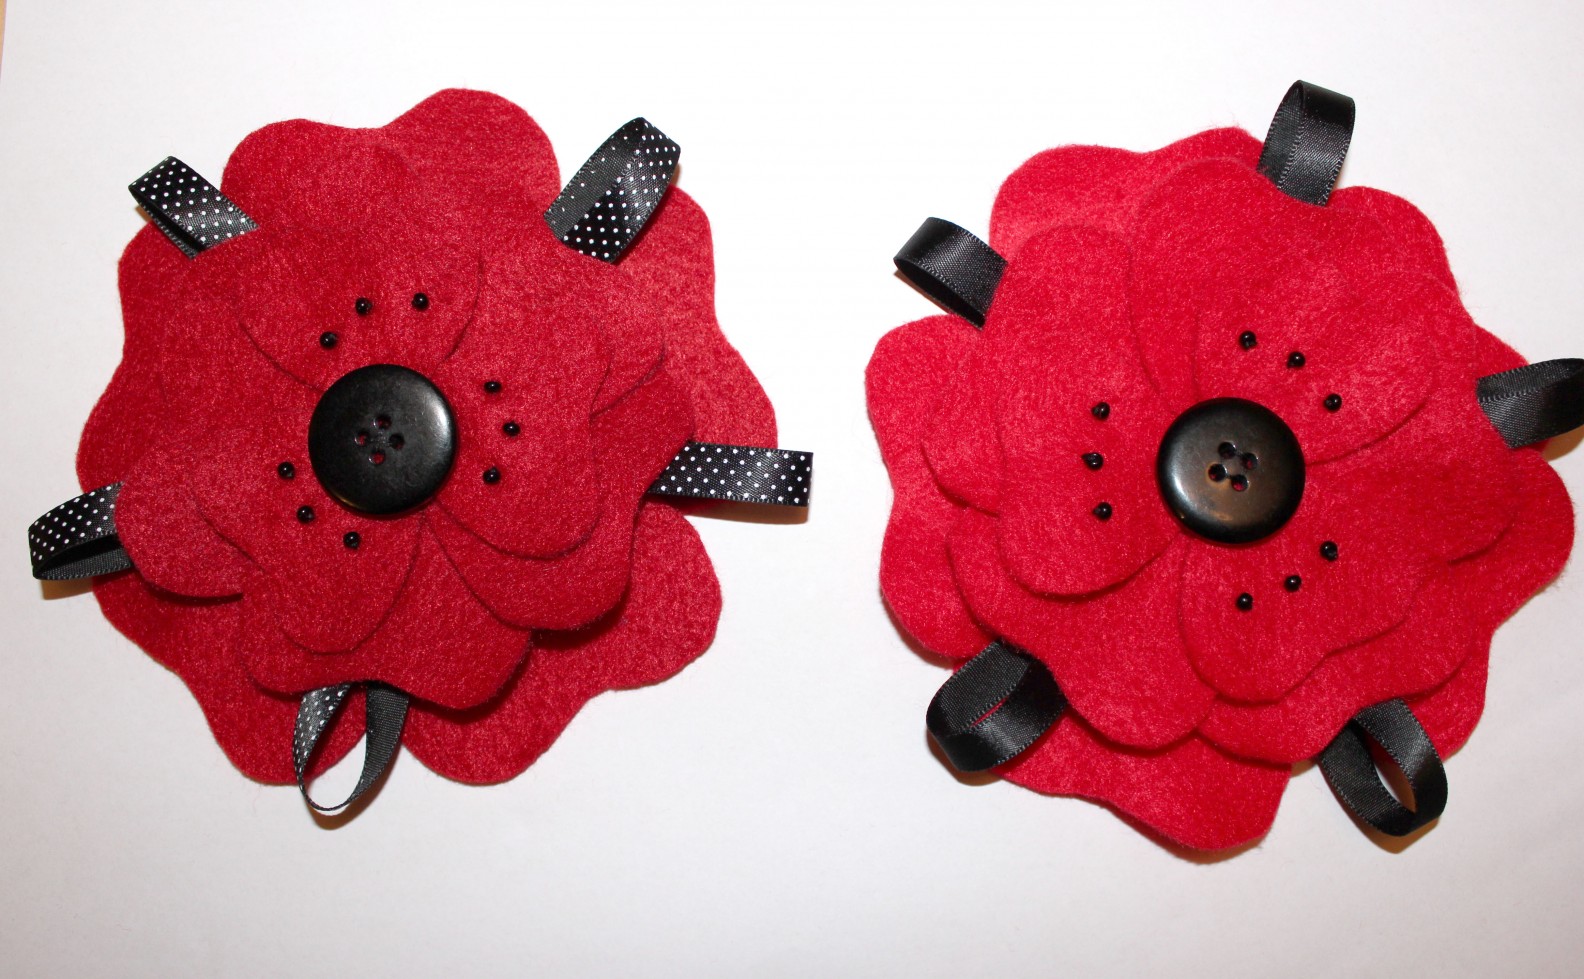
We’ve marked the 100 years since the beginning of world war one here on Voice with our Art and War theme this month. One of the resounding associations with reflection on war is the poppy which is worn by many as a sign of remembrance each year. Here I’ll show you how I made my own poppy!
You’ll need:
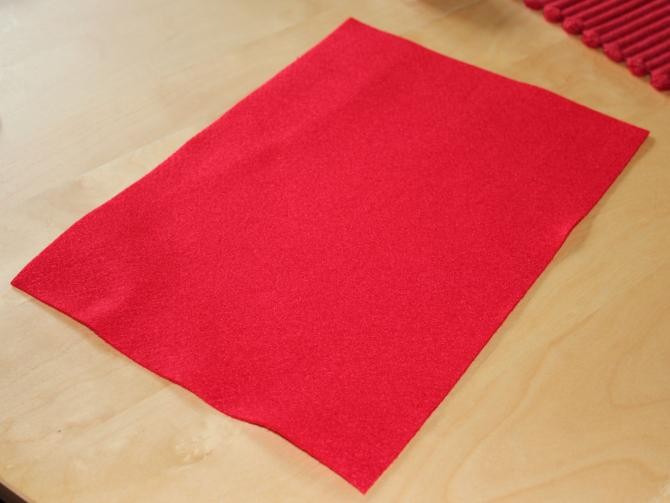
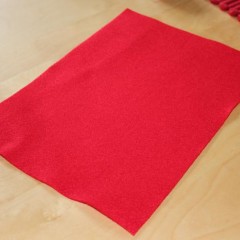
1 sheet of red felt
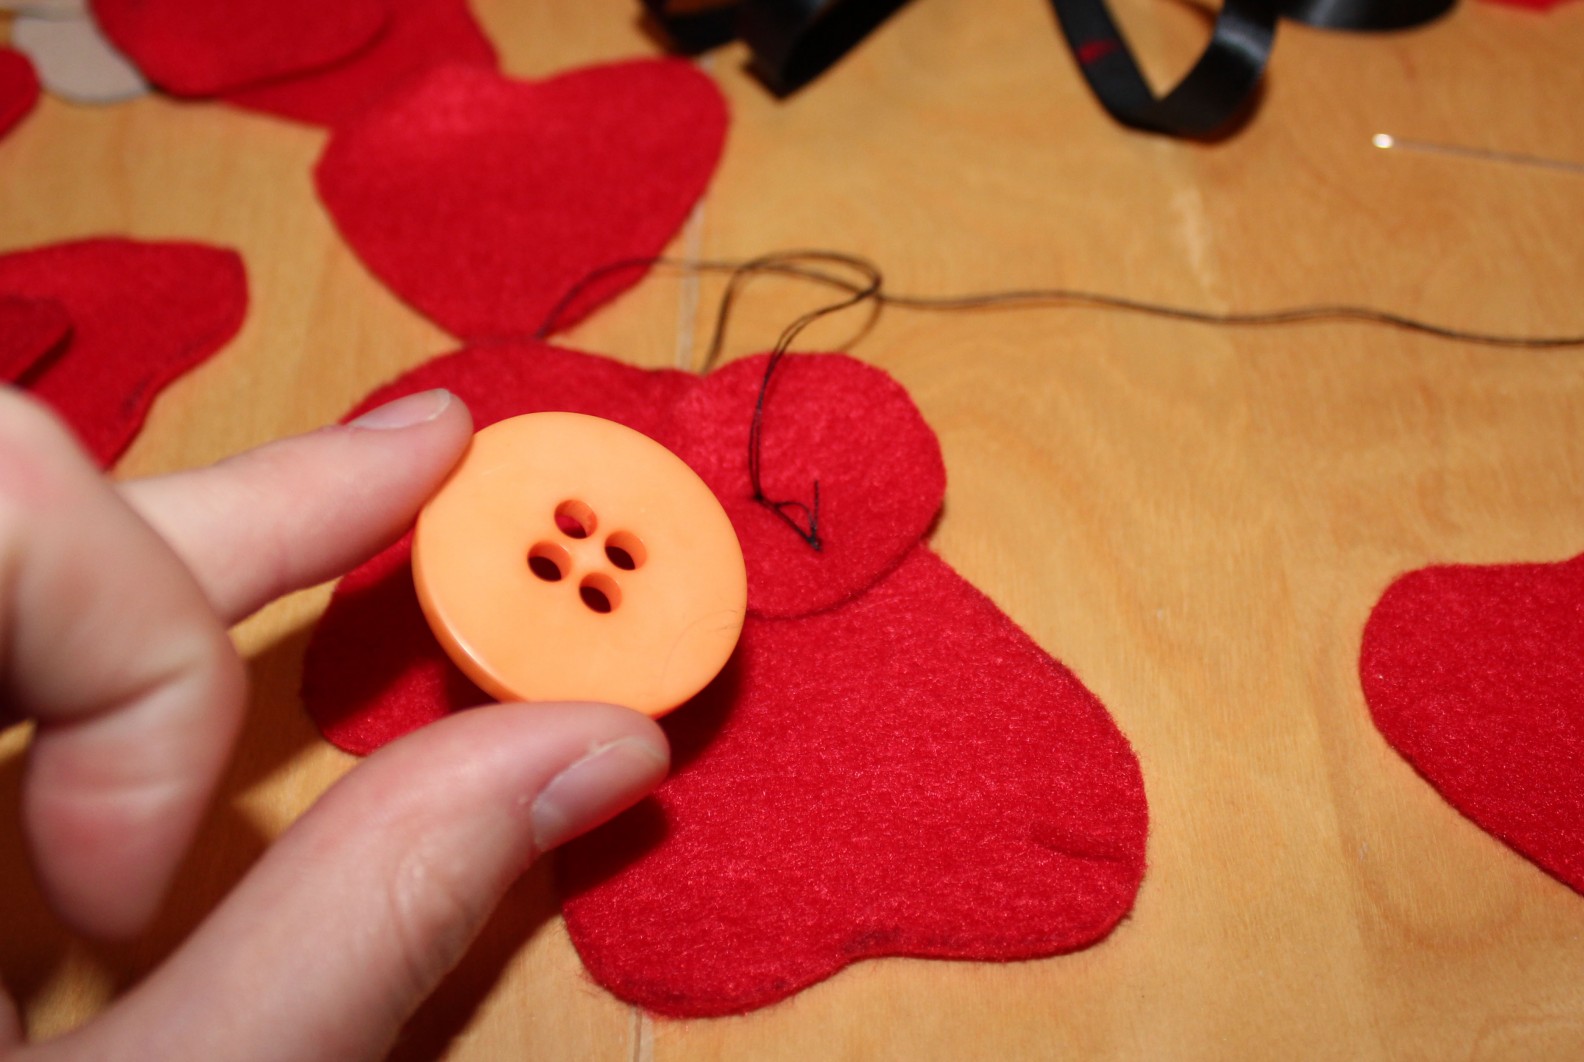
1 black button
1 sheet of card
Black Ribbon
Small black beads to decorate
Needle and thread (I used black)
Scissors
Pencil
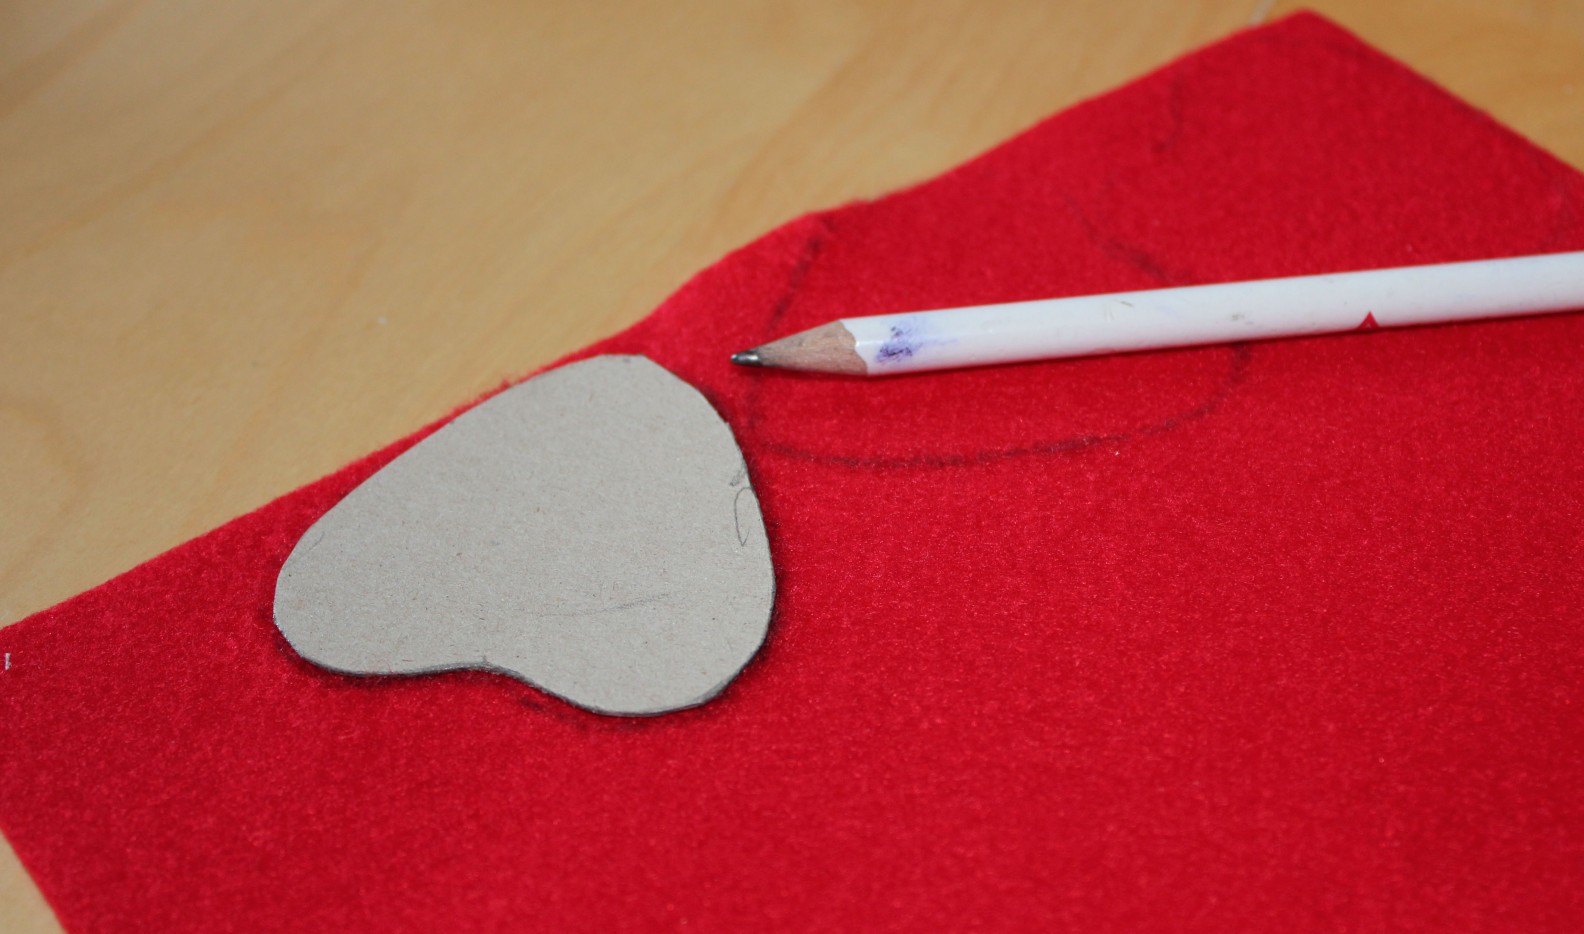
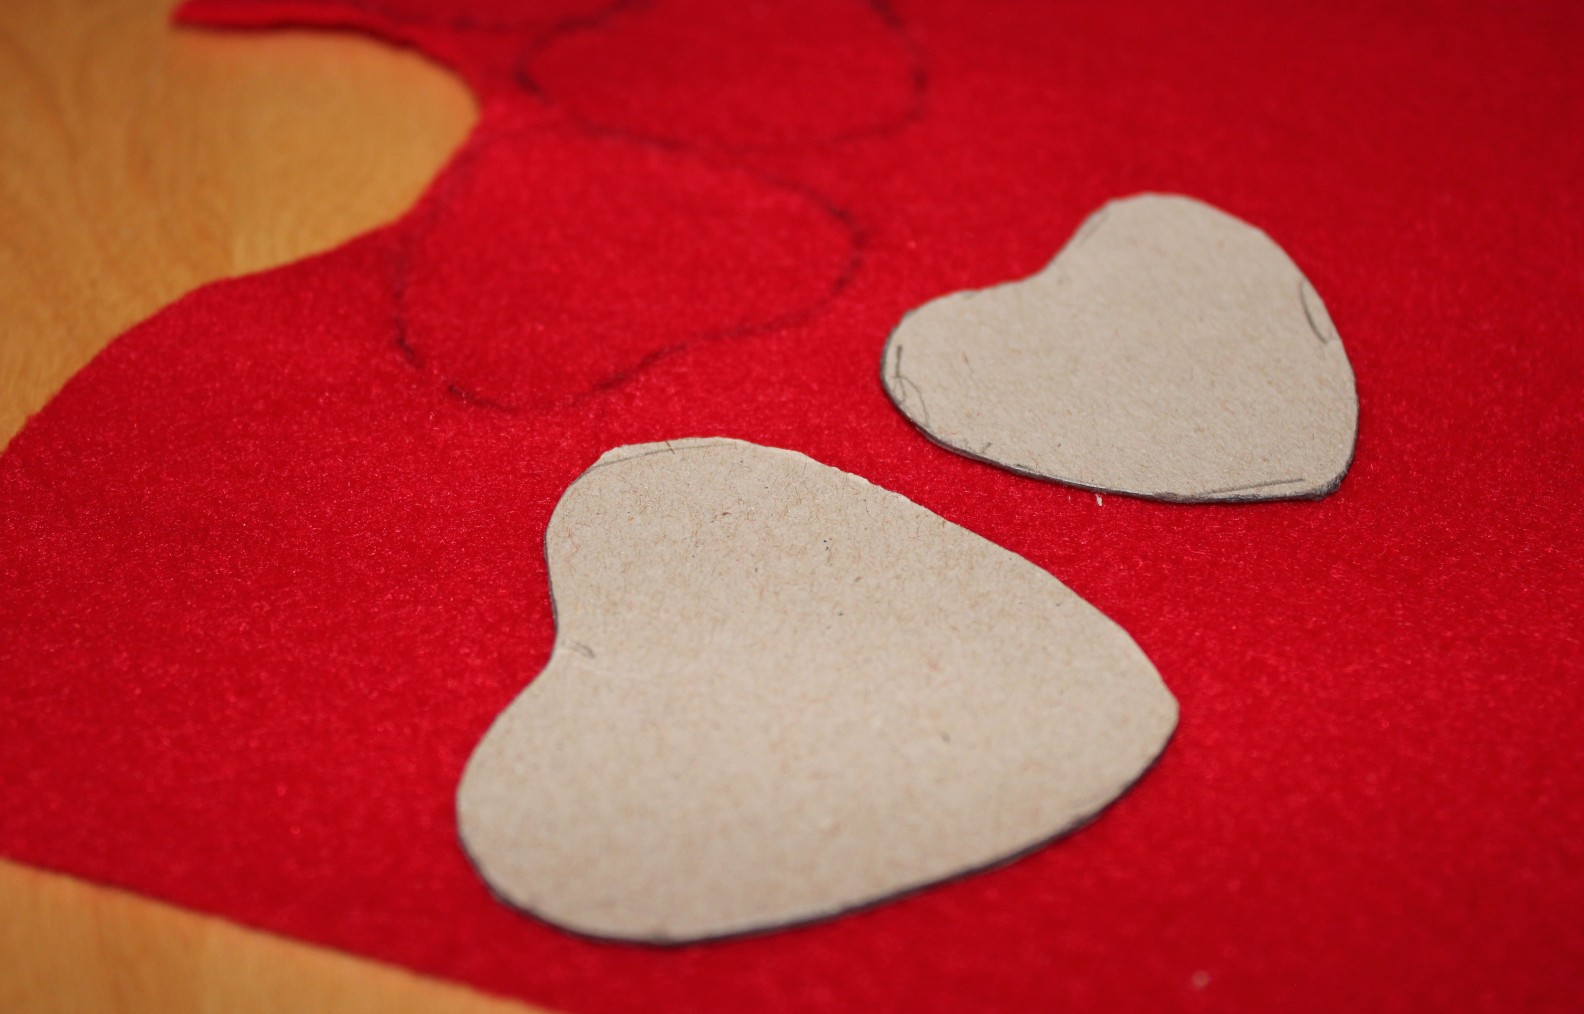
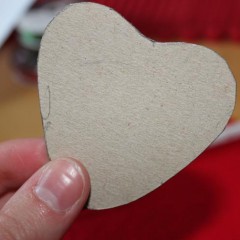
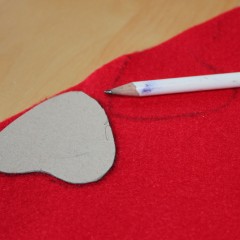
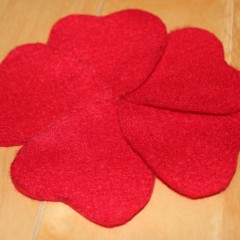
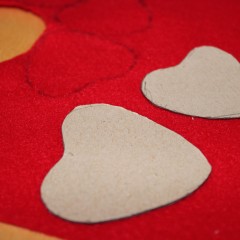
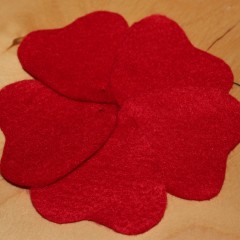
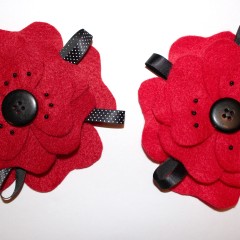
1) Draw and cut a template ‘petal shape’ from your card. You will be using 5 of these for the base of your poppy so consider this when deciding on the size. I made mine 5.5cm from top to bottom. The shape is similar to a rounded heart and to make it symmetrical you can fold down the centre line then cut.
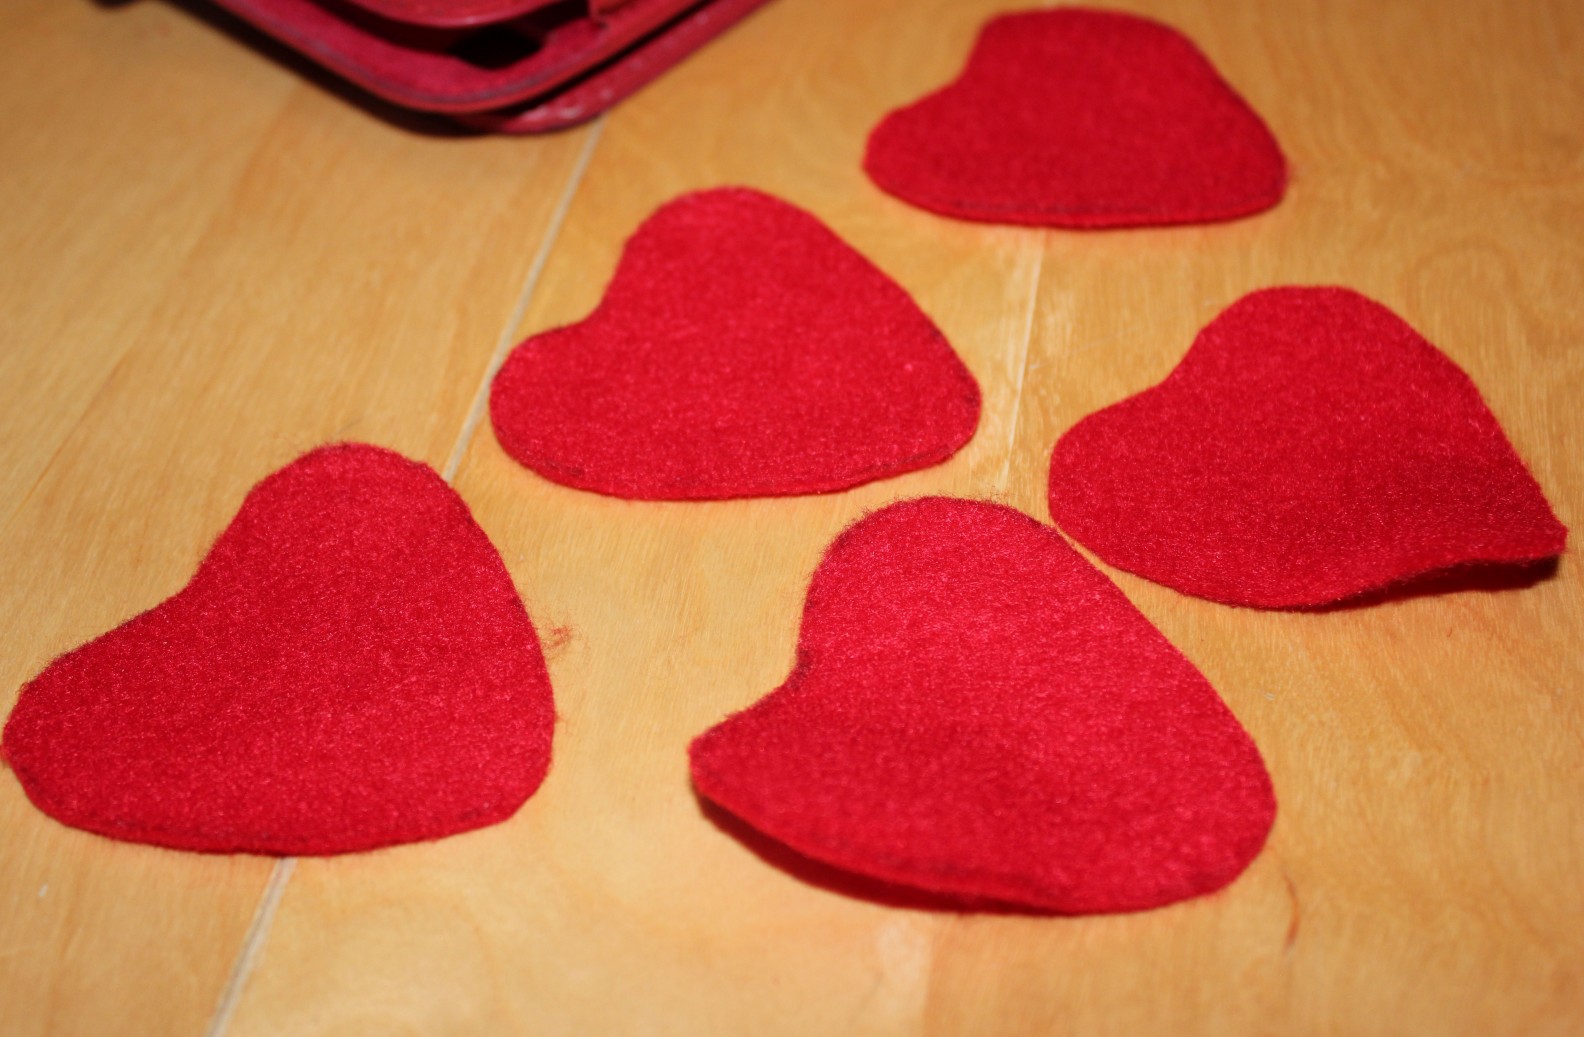
2) Draw around your template 5 times onto the red felt and cut out the petals.
3) Cut a second smaller petal template (or trim your first one down). I made mine 4.5cm. Cut 5 petals from your felt
4) Repeat step 3 making a final, smaller petal – cut 3 of these from the felt (I made mine 3.5cm)
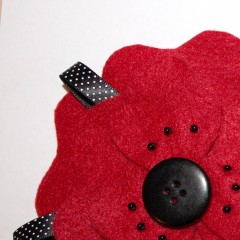
5) Draw around a circle onto your felt (I used a large button) and cut out to create a base to sew all your petals around.
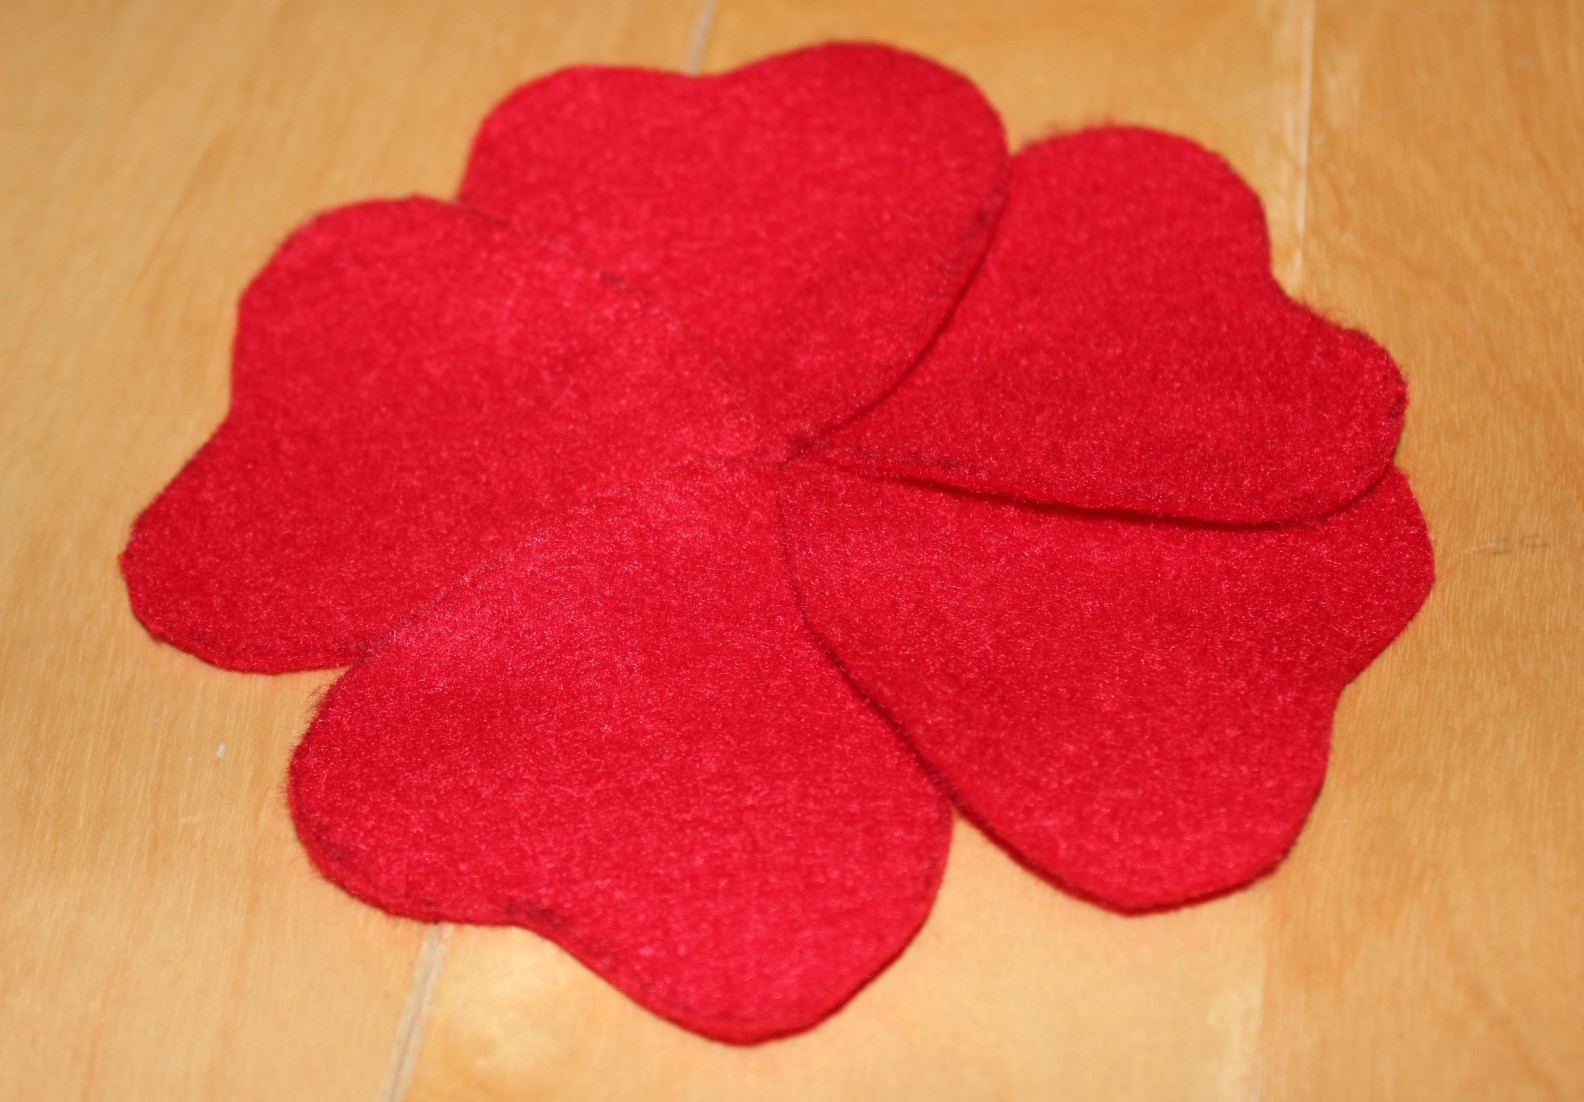
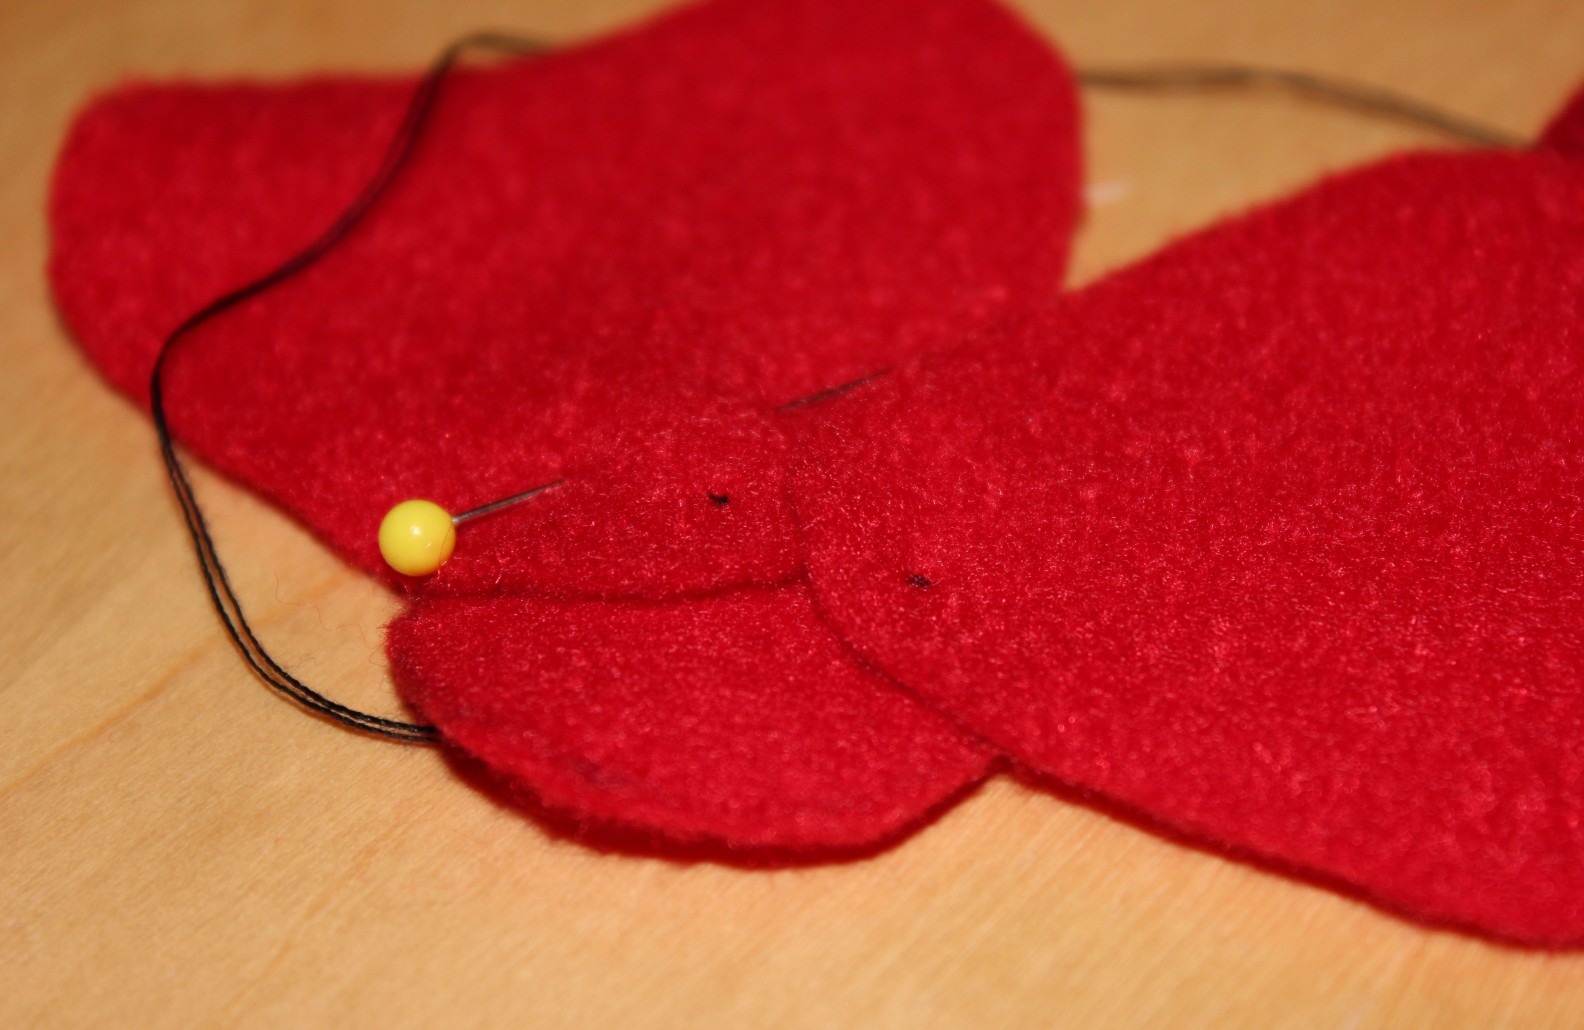
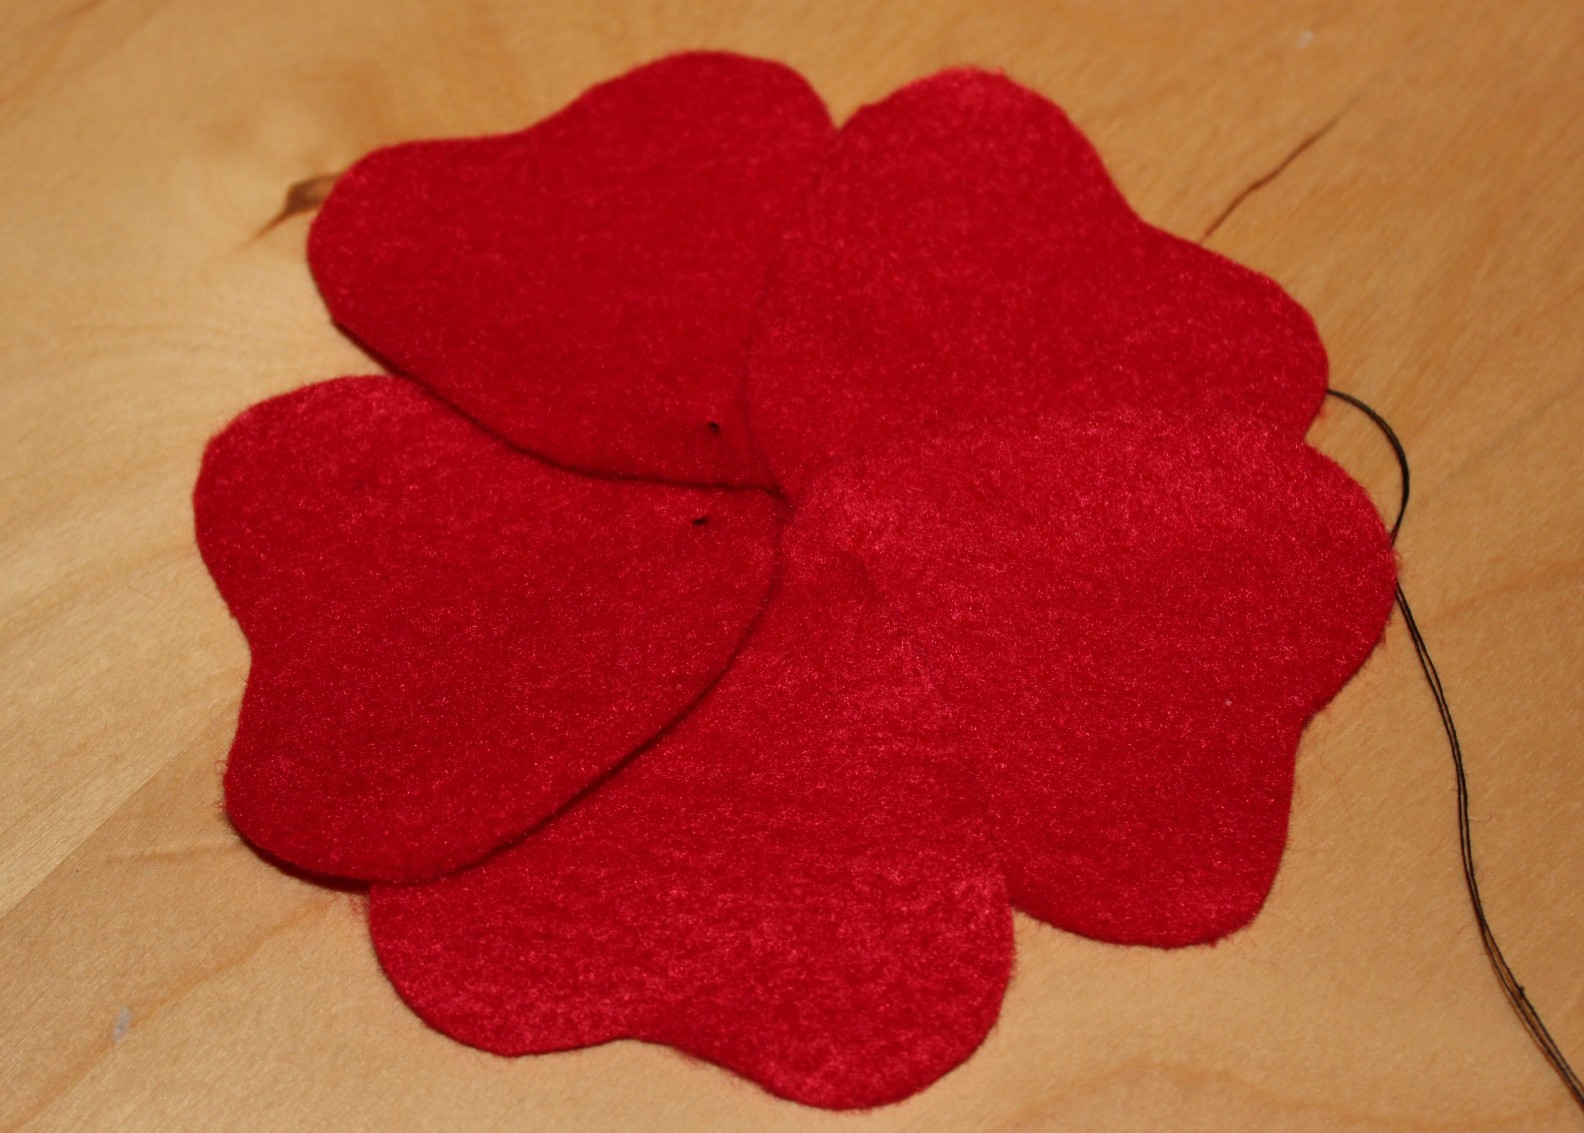
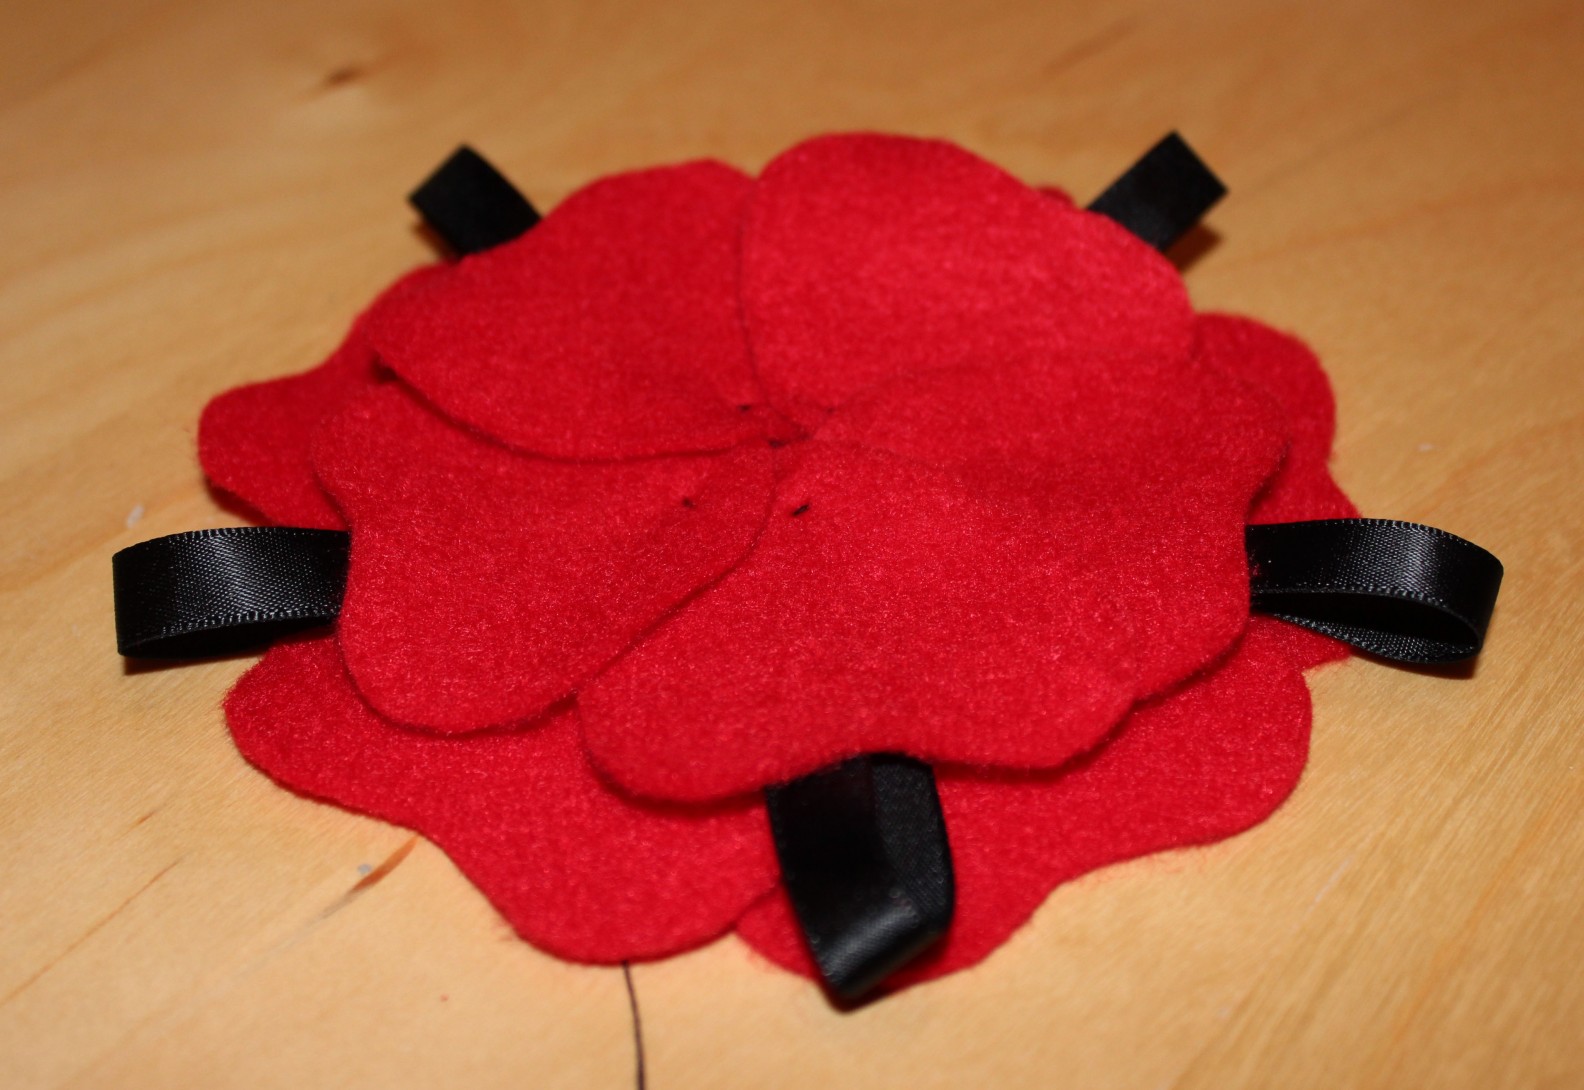
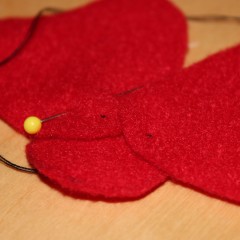
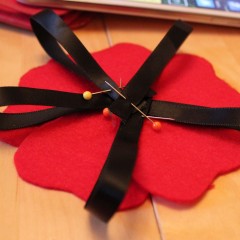
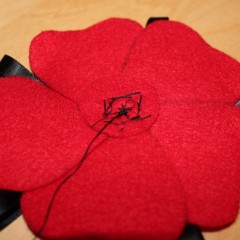
6) Begin by stitching the largest petals to the base. Place the point of one to the centre of the circle and make a single small stitch to hold in place. Repeat will the other 4, evenly spacing them and placing each point at the circle centre.
7) The petals should sit in an “over under-over-under” pattern. Use a second small stitch, passing through your base circle and the two overlapping petals, to secure in place.
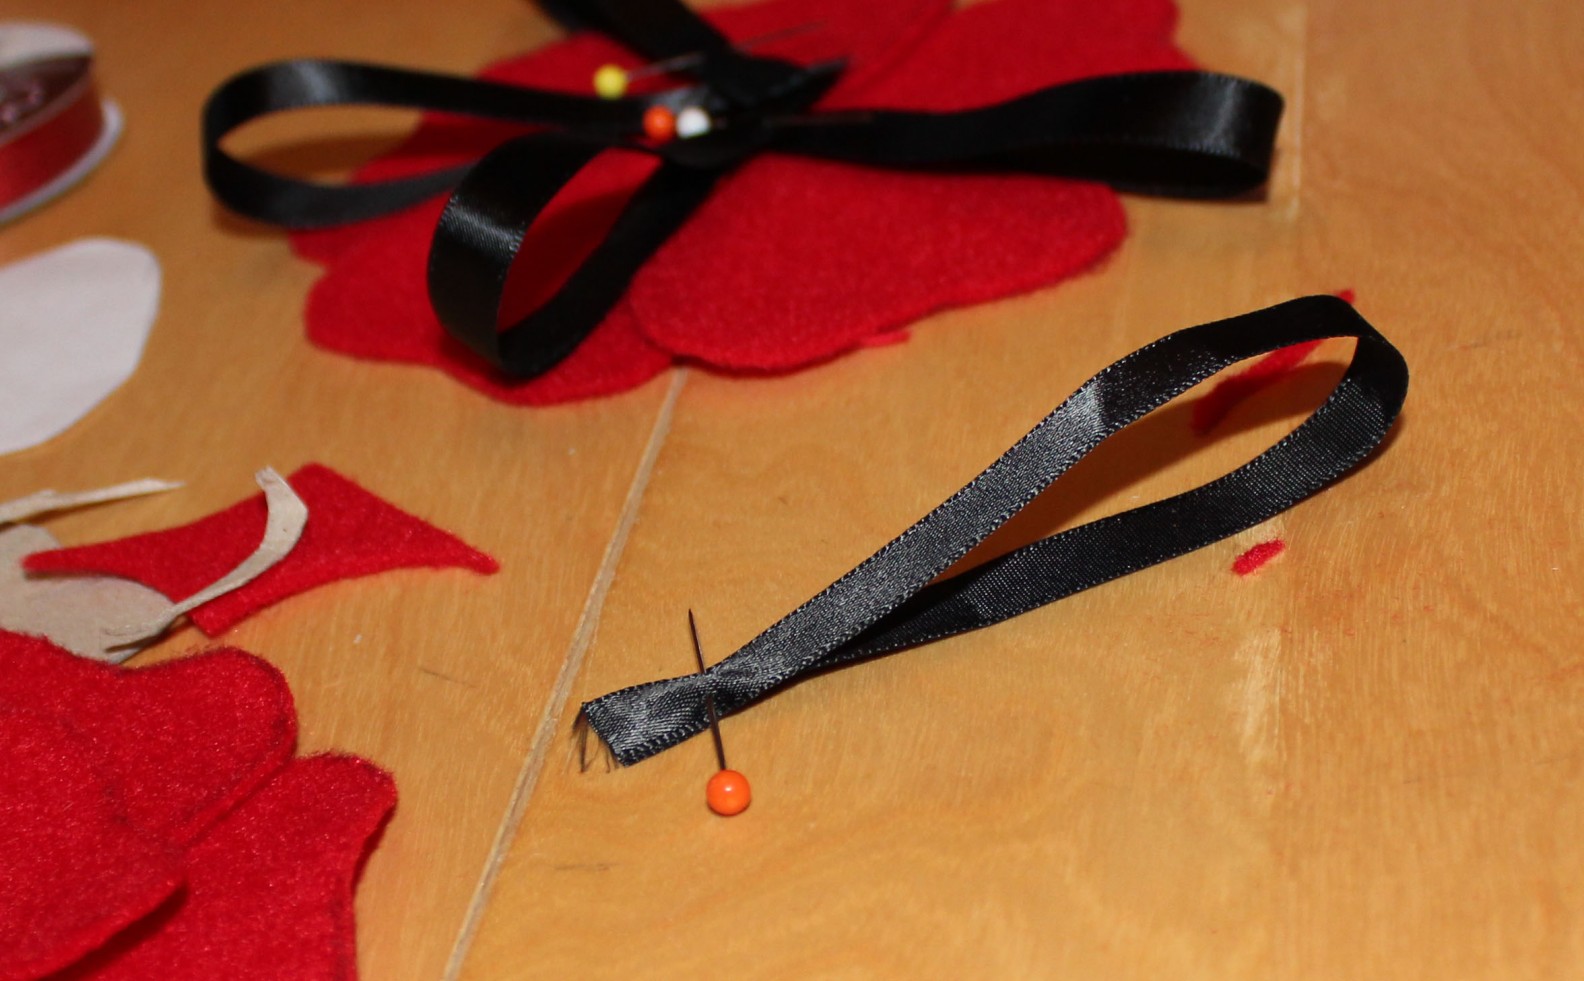
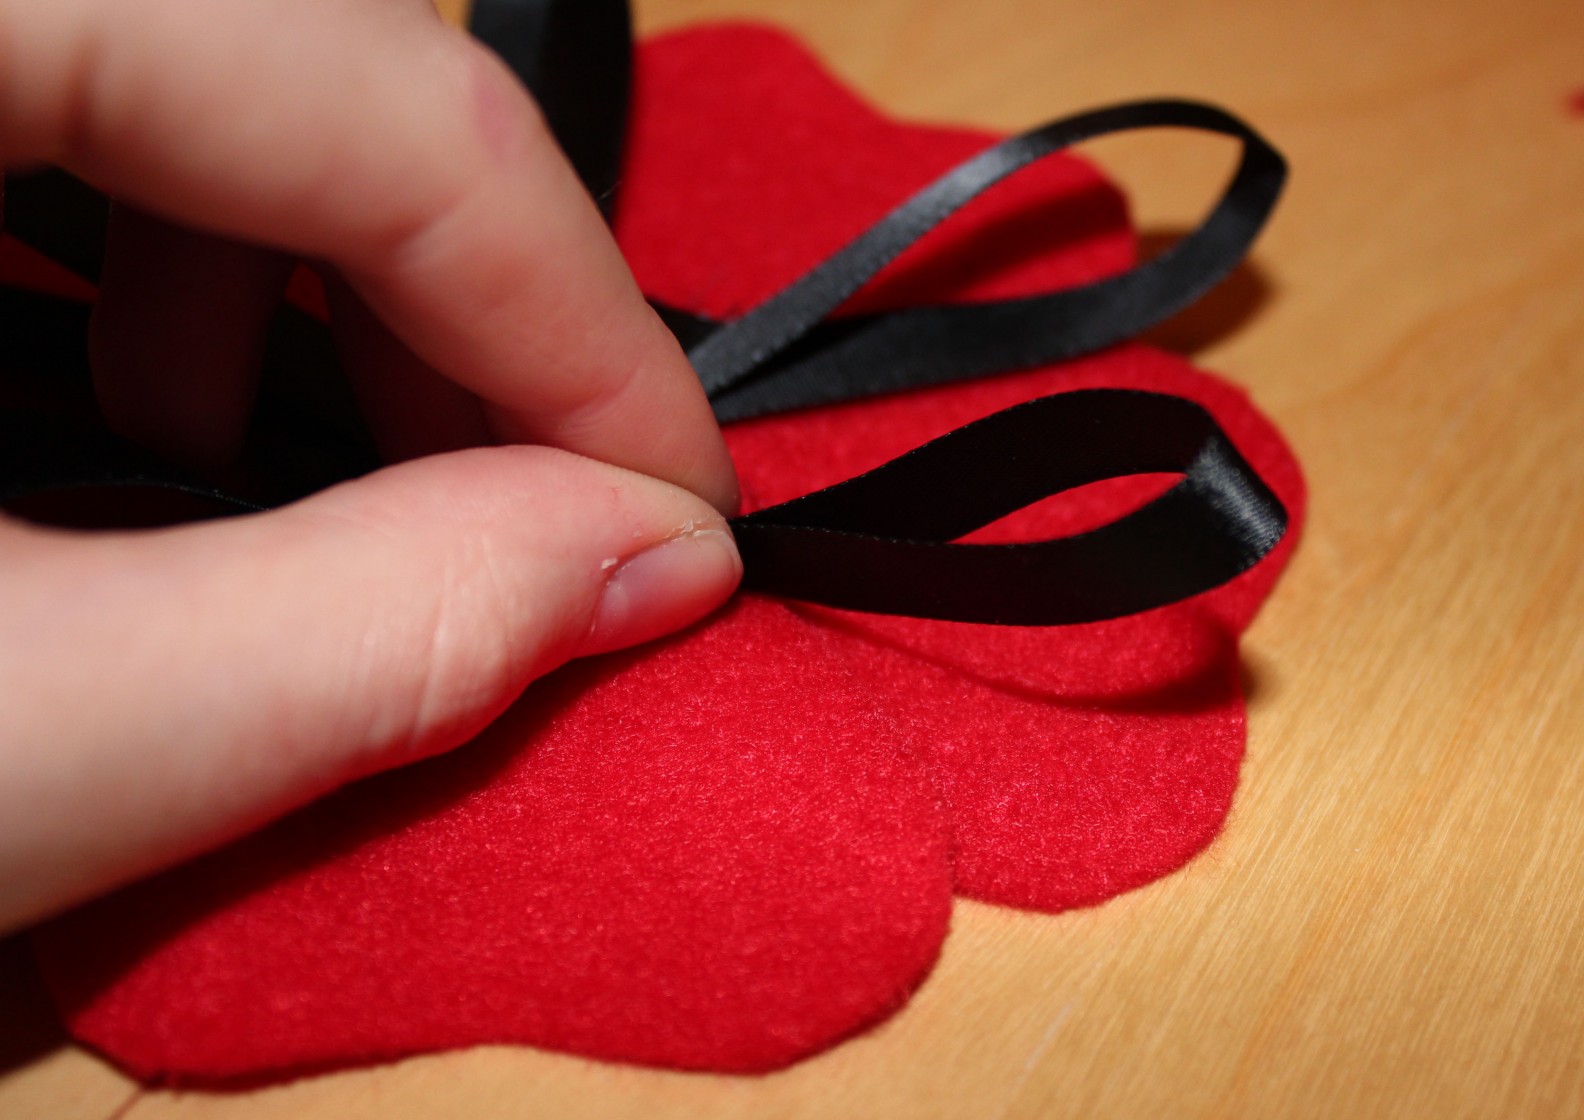
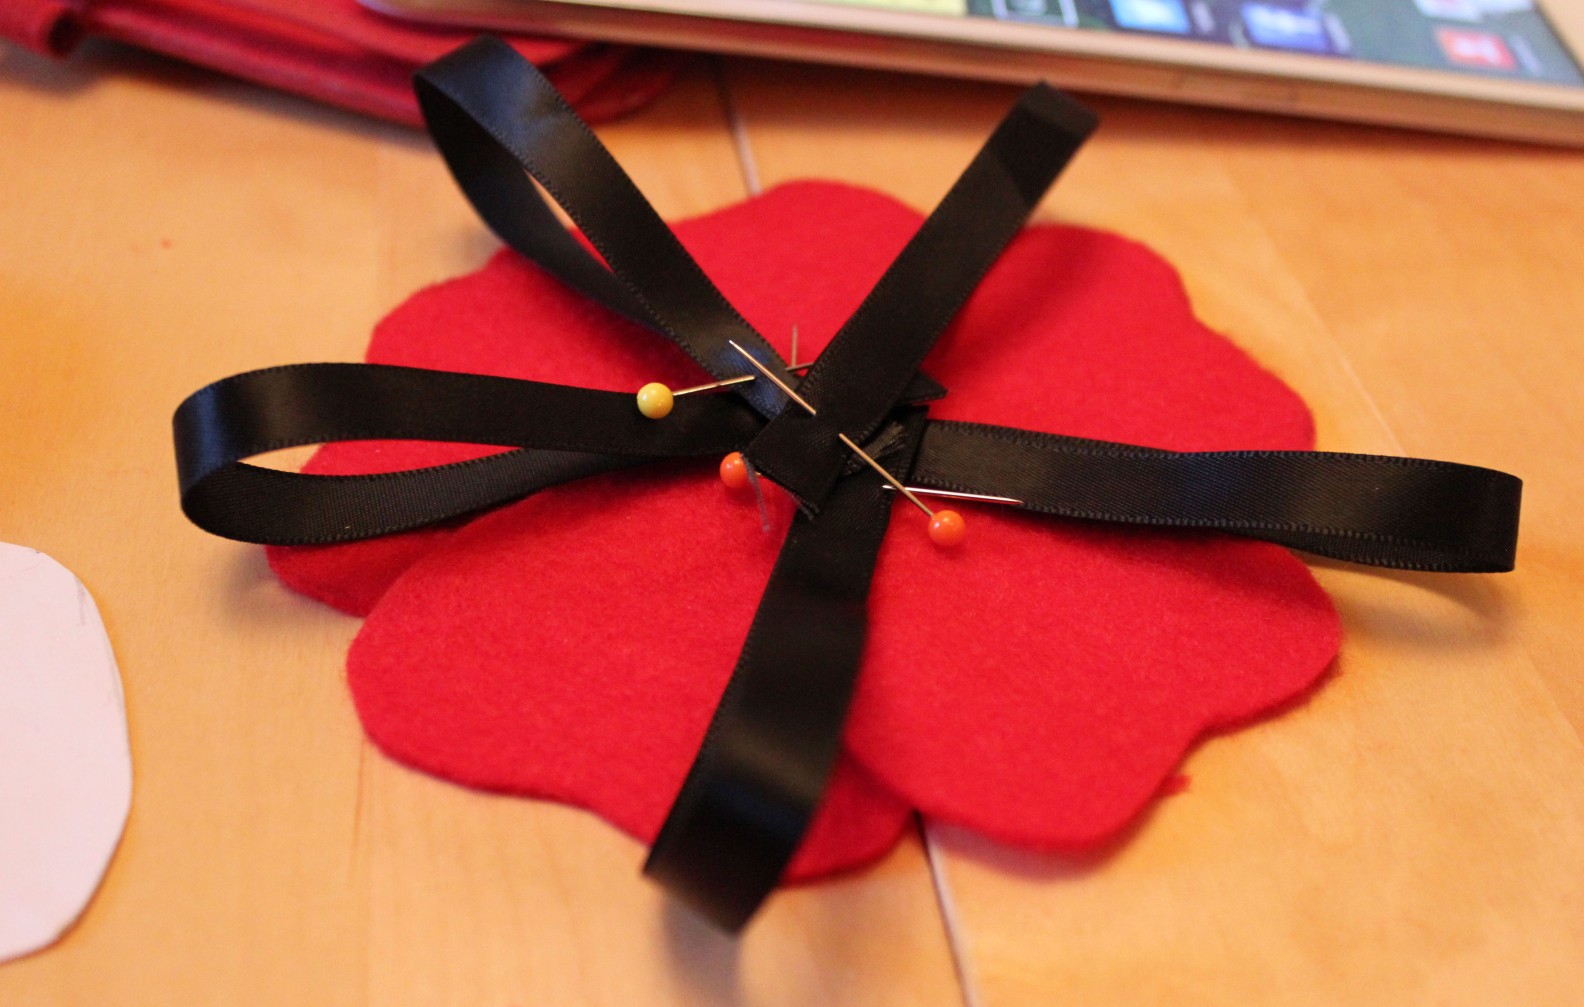
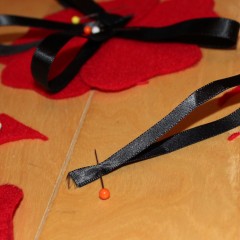
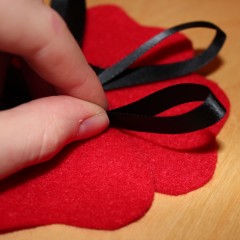
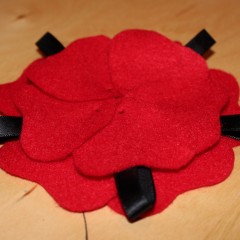
8) Next add loops of ribbon. Fold a short length of ribbon in half and pinned, ensuring it’s slightly longer when folded than the length from the centre of the poppy to its outmost point. I used 5 of these – one for each overlap.
9) Then stitch each of the ribbons to the centre of my poppy, so the two ends are at the centre. Once stitched remove the pins.
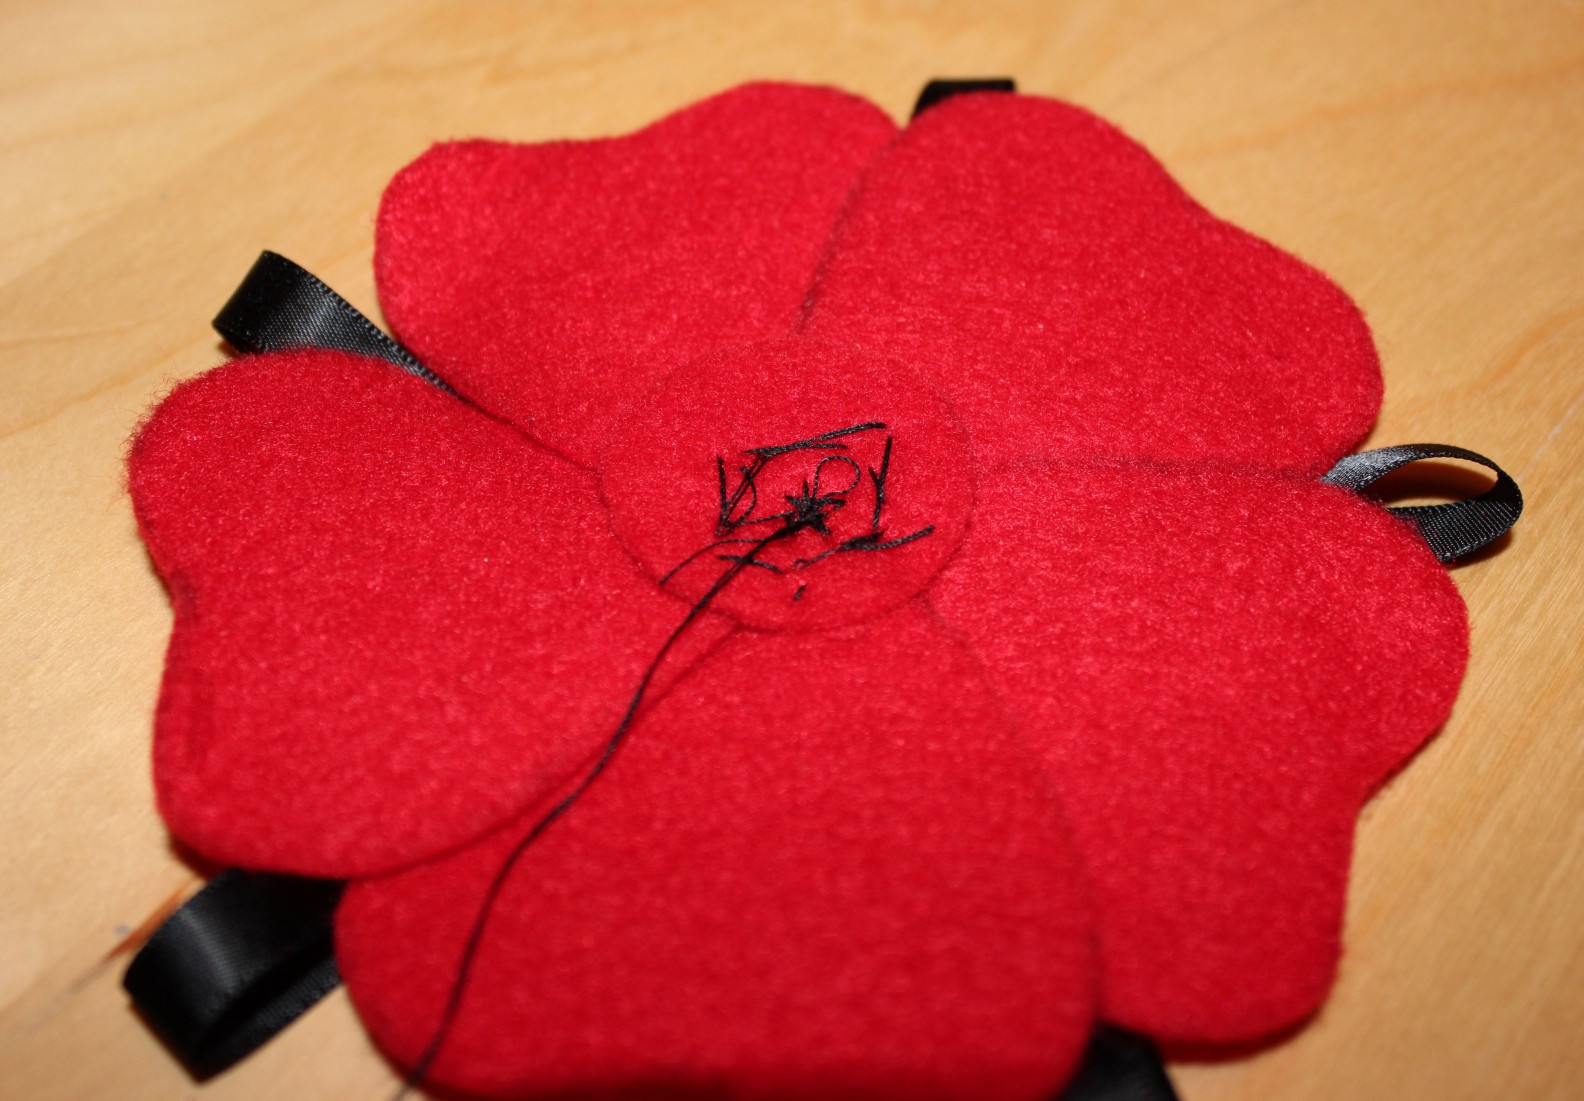
10) Now add your next level of petals as in step 6. (It is not as important to use the securing stitch from step 7 here – I didn’t)
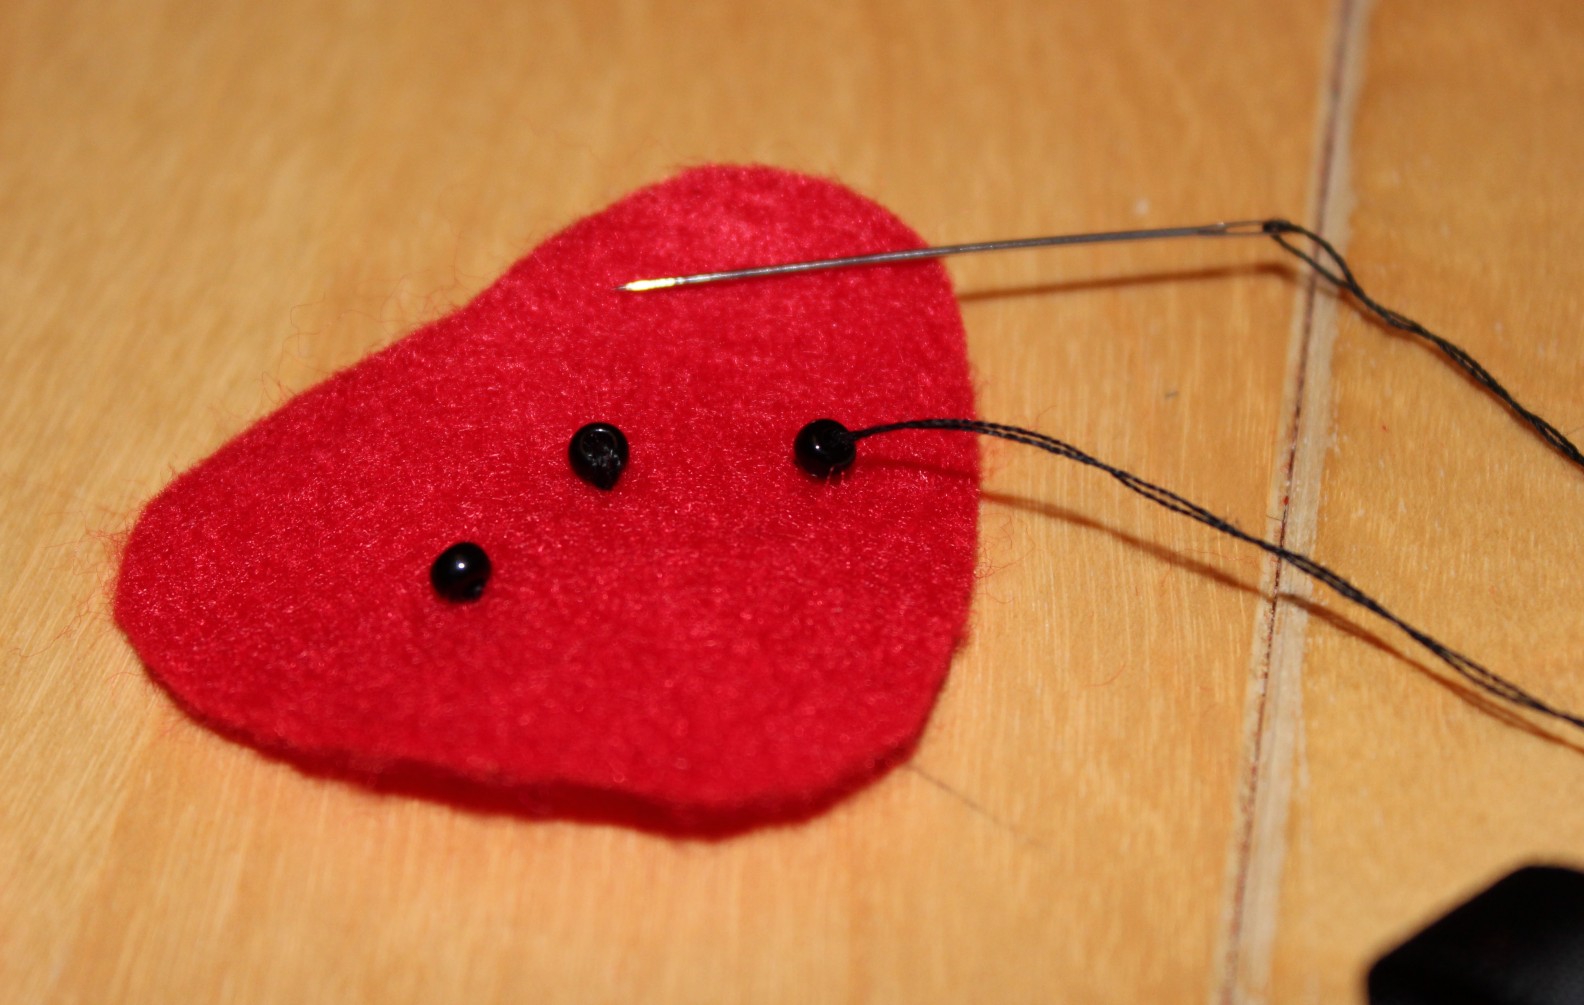
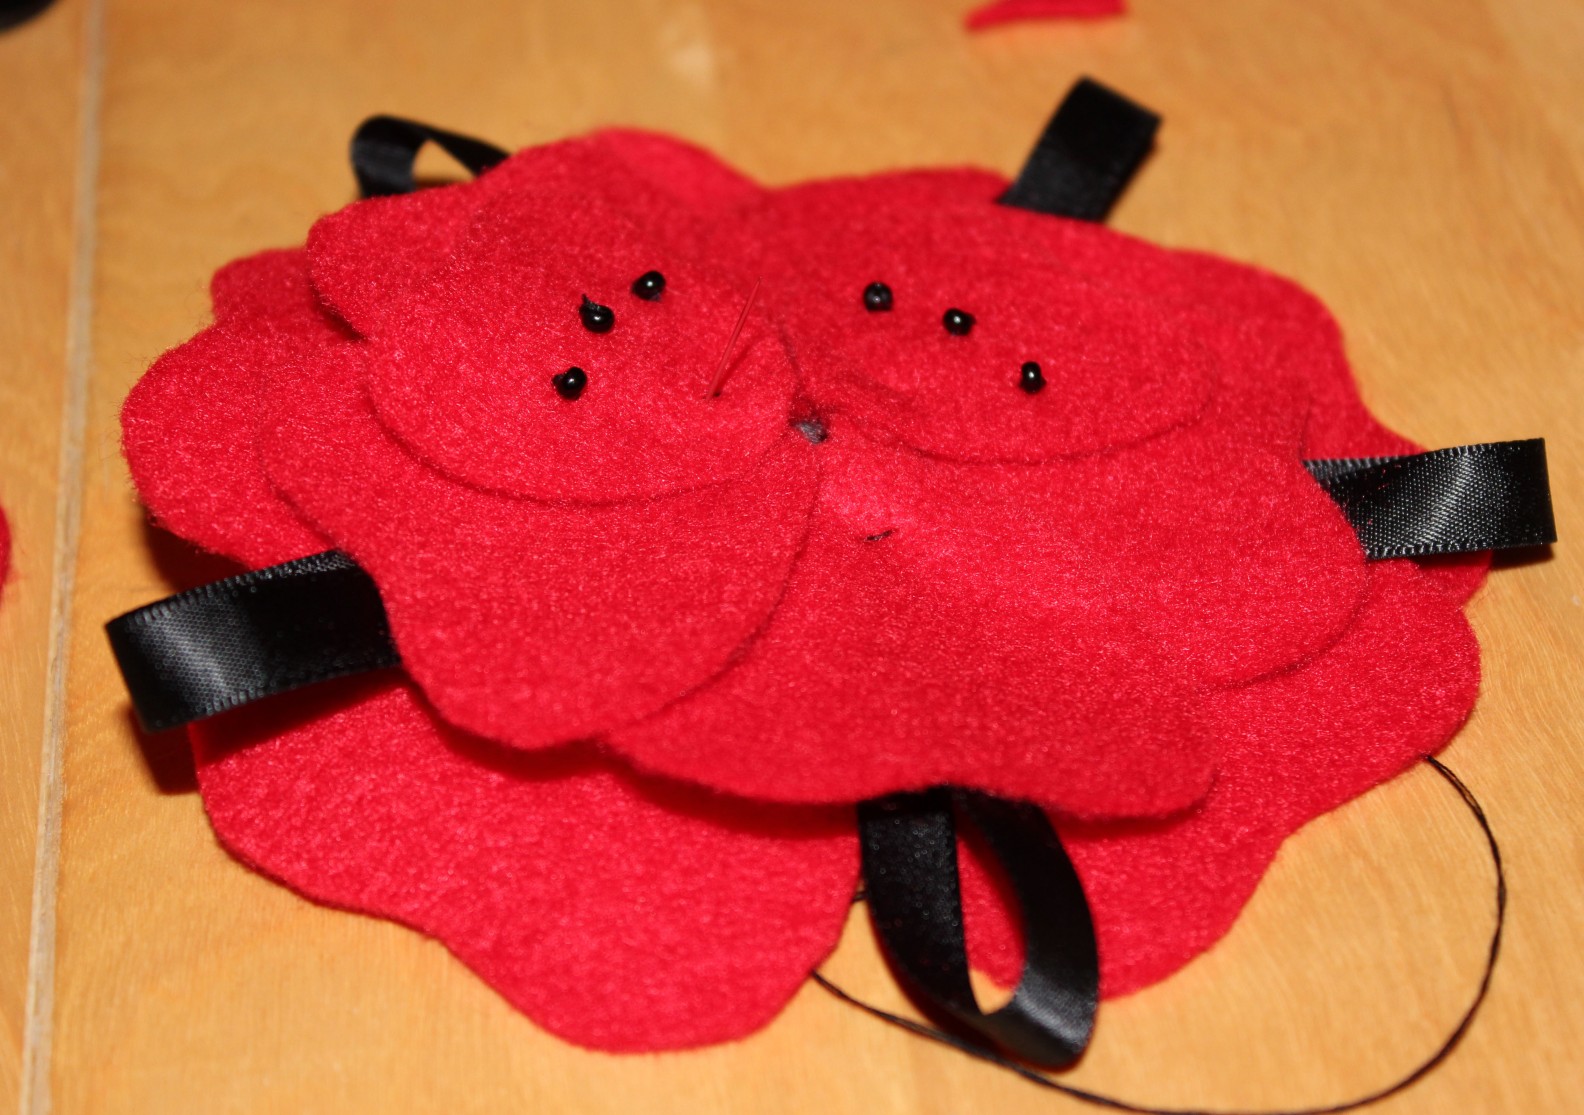
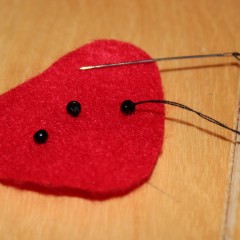
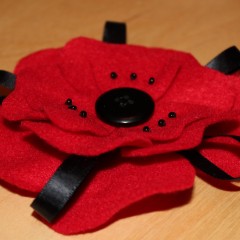
11) Take each of your final 3 petals and embellish with beads. I used just 3 black beads on each of mine, to keep my poppy simple, but you could style yours however you want; you could even embellish lower levels of petals if you wanted.
12) Once you are happy with your beading stitch your petals on as before. These probably won’t overlap like the other layers but still be sure to spread them evenly.
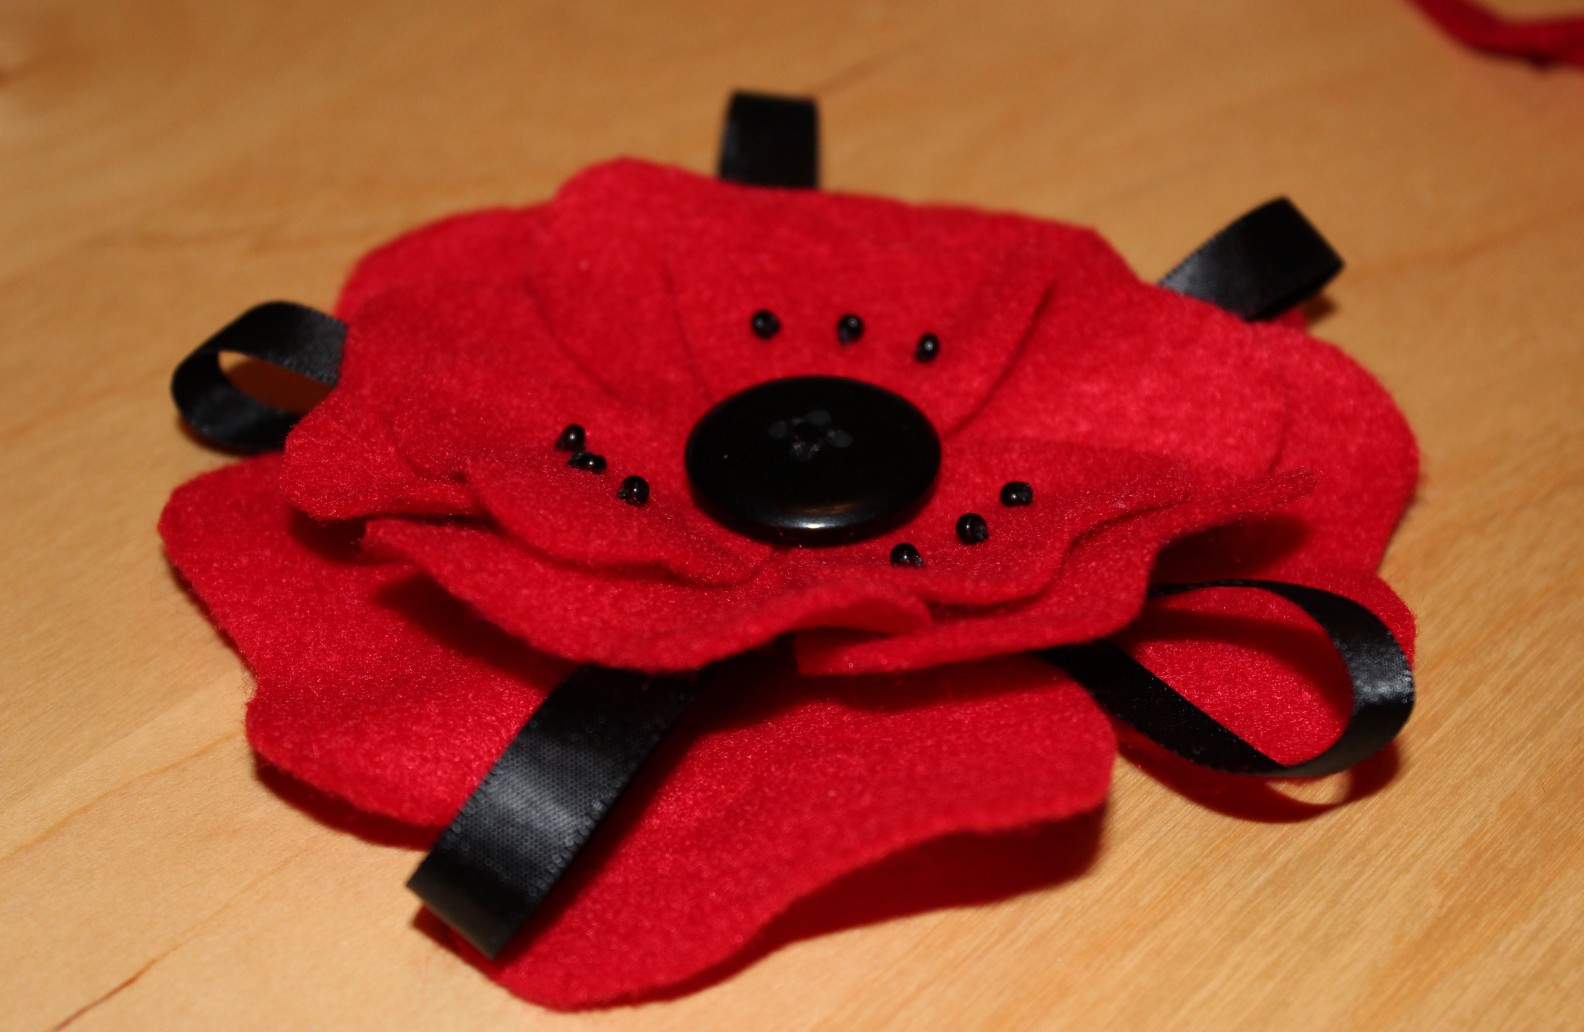
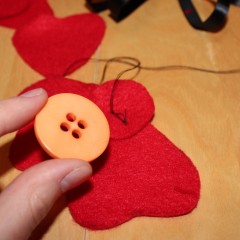
13) Sew your button to the centre of your poppy.
14) FINISHED! If you like you can add a safety pin to the back you can make your poppy wearable!
Top tips
Always start stitching from the back to keep the front of your poppy tidy
The felt gets thicker, and harder to pull your needle through, the more layers you have. I used the plastic bit between the handles of the scissors to grip my needle and pull it through, but if you’re going to do this be very careful not to cut yourself!
Don’t be scared to customise your poppy – I have only given a rough guide to how I made mine, but you could, for example, use more layers of felt, different types of ribbon, and more embellishments.
Most importantly have fun! I made my poppy with one of my best arty friends (who is far better at sewing than myself!) why don’t you work with some friends too!


Never thought about making my own. Great idea!