This guide was written by Chloe Potamiti
When you open the app you will see 4 sections: Home, Edit, Levels and Effects.
Home
You will only need this in the beginning and end of your audio editing, to import (upload) and export (save as a file) your audio. It also offers options like undo, redo, copy and paste, but these can be found at any point by clicking on the triple line symbol in the top left and selecting Edit.
To get started, select File:
New File: To record new audio on the spot
Or Import from music library
Or Import from Folder
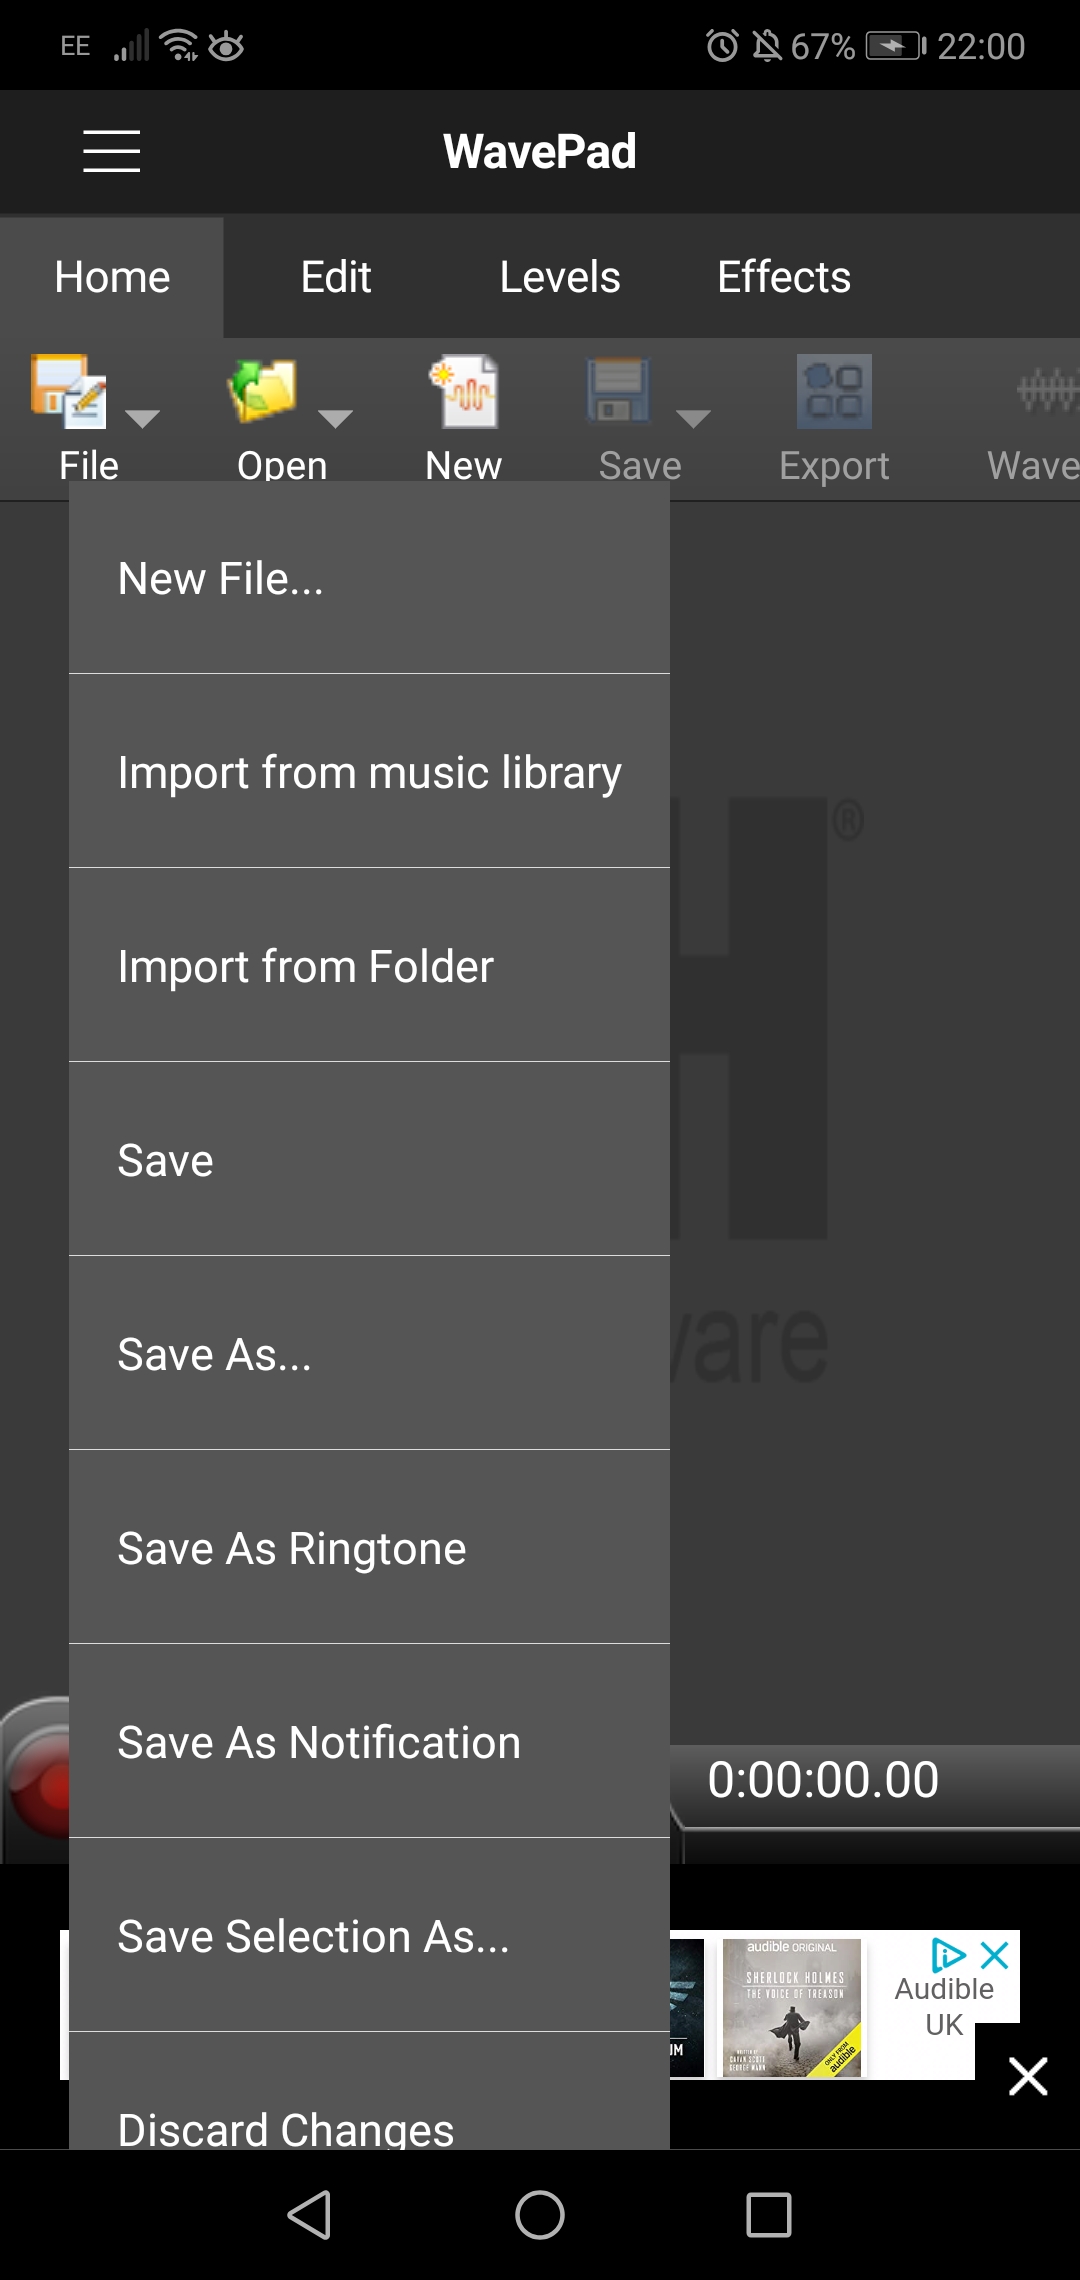 Importing options
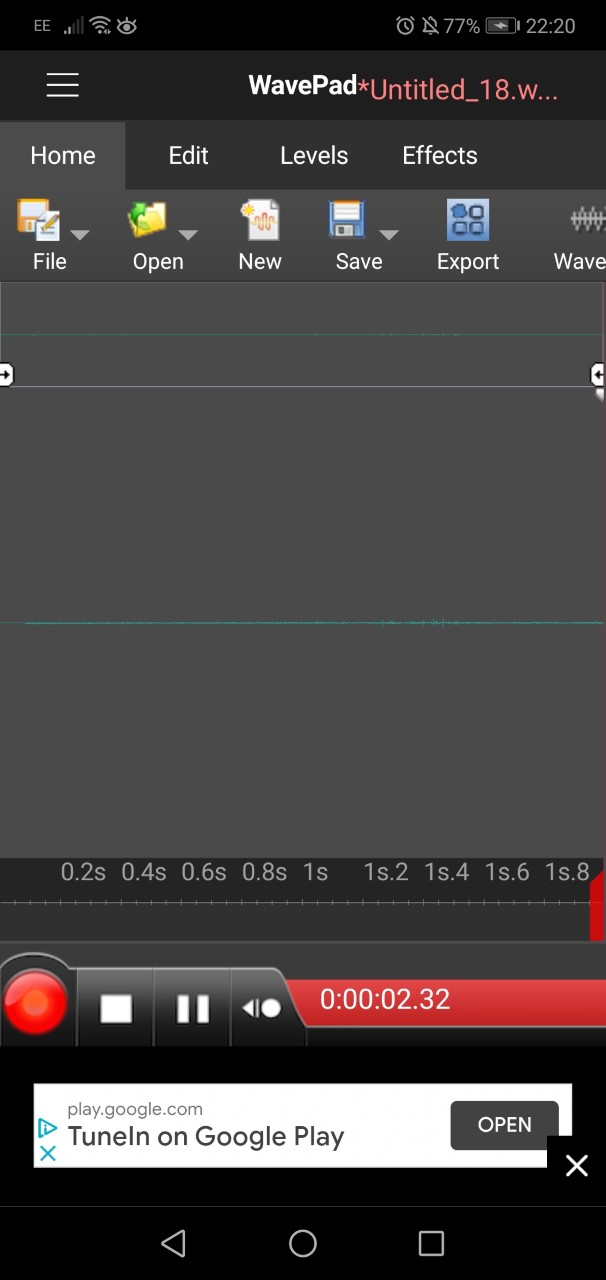 The clip in your timeline
By default it will show the entire clip on the timeline. This can make it hard to edit since you cannot see the details of the audio file. To have a clearer view of your file zoom in, using two fingers the same way you would on any image on your phone.
To move across the clip without selecting anything, hold the timeline with two fingers and drag it.
You can also use the smaller timeline above your main one to move through it.
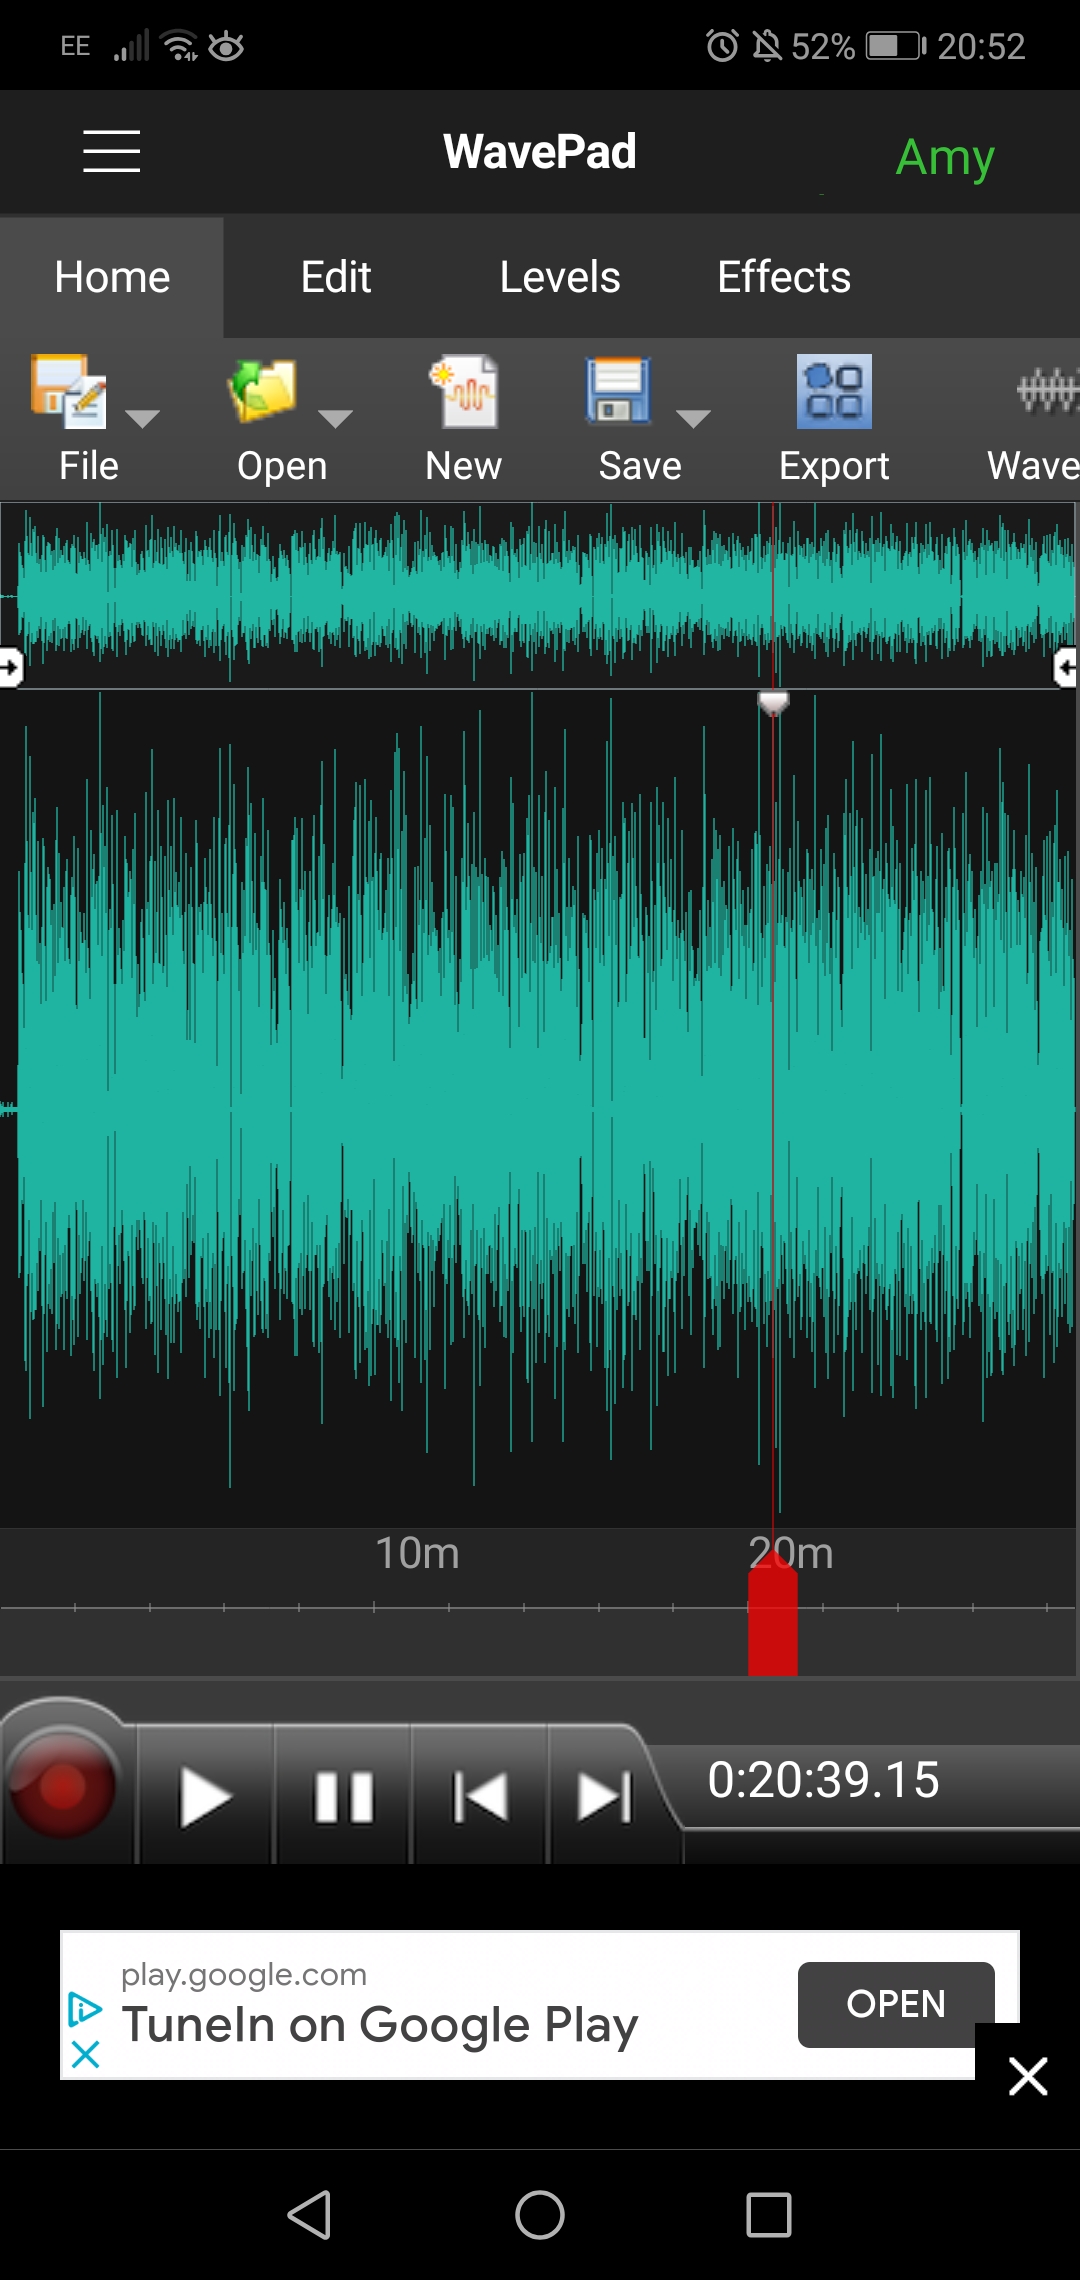 Zooming in on your timeline
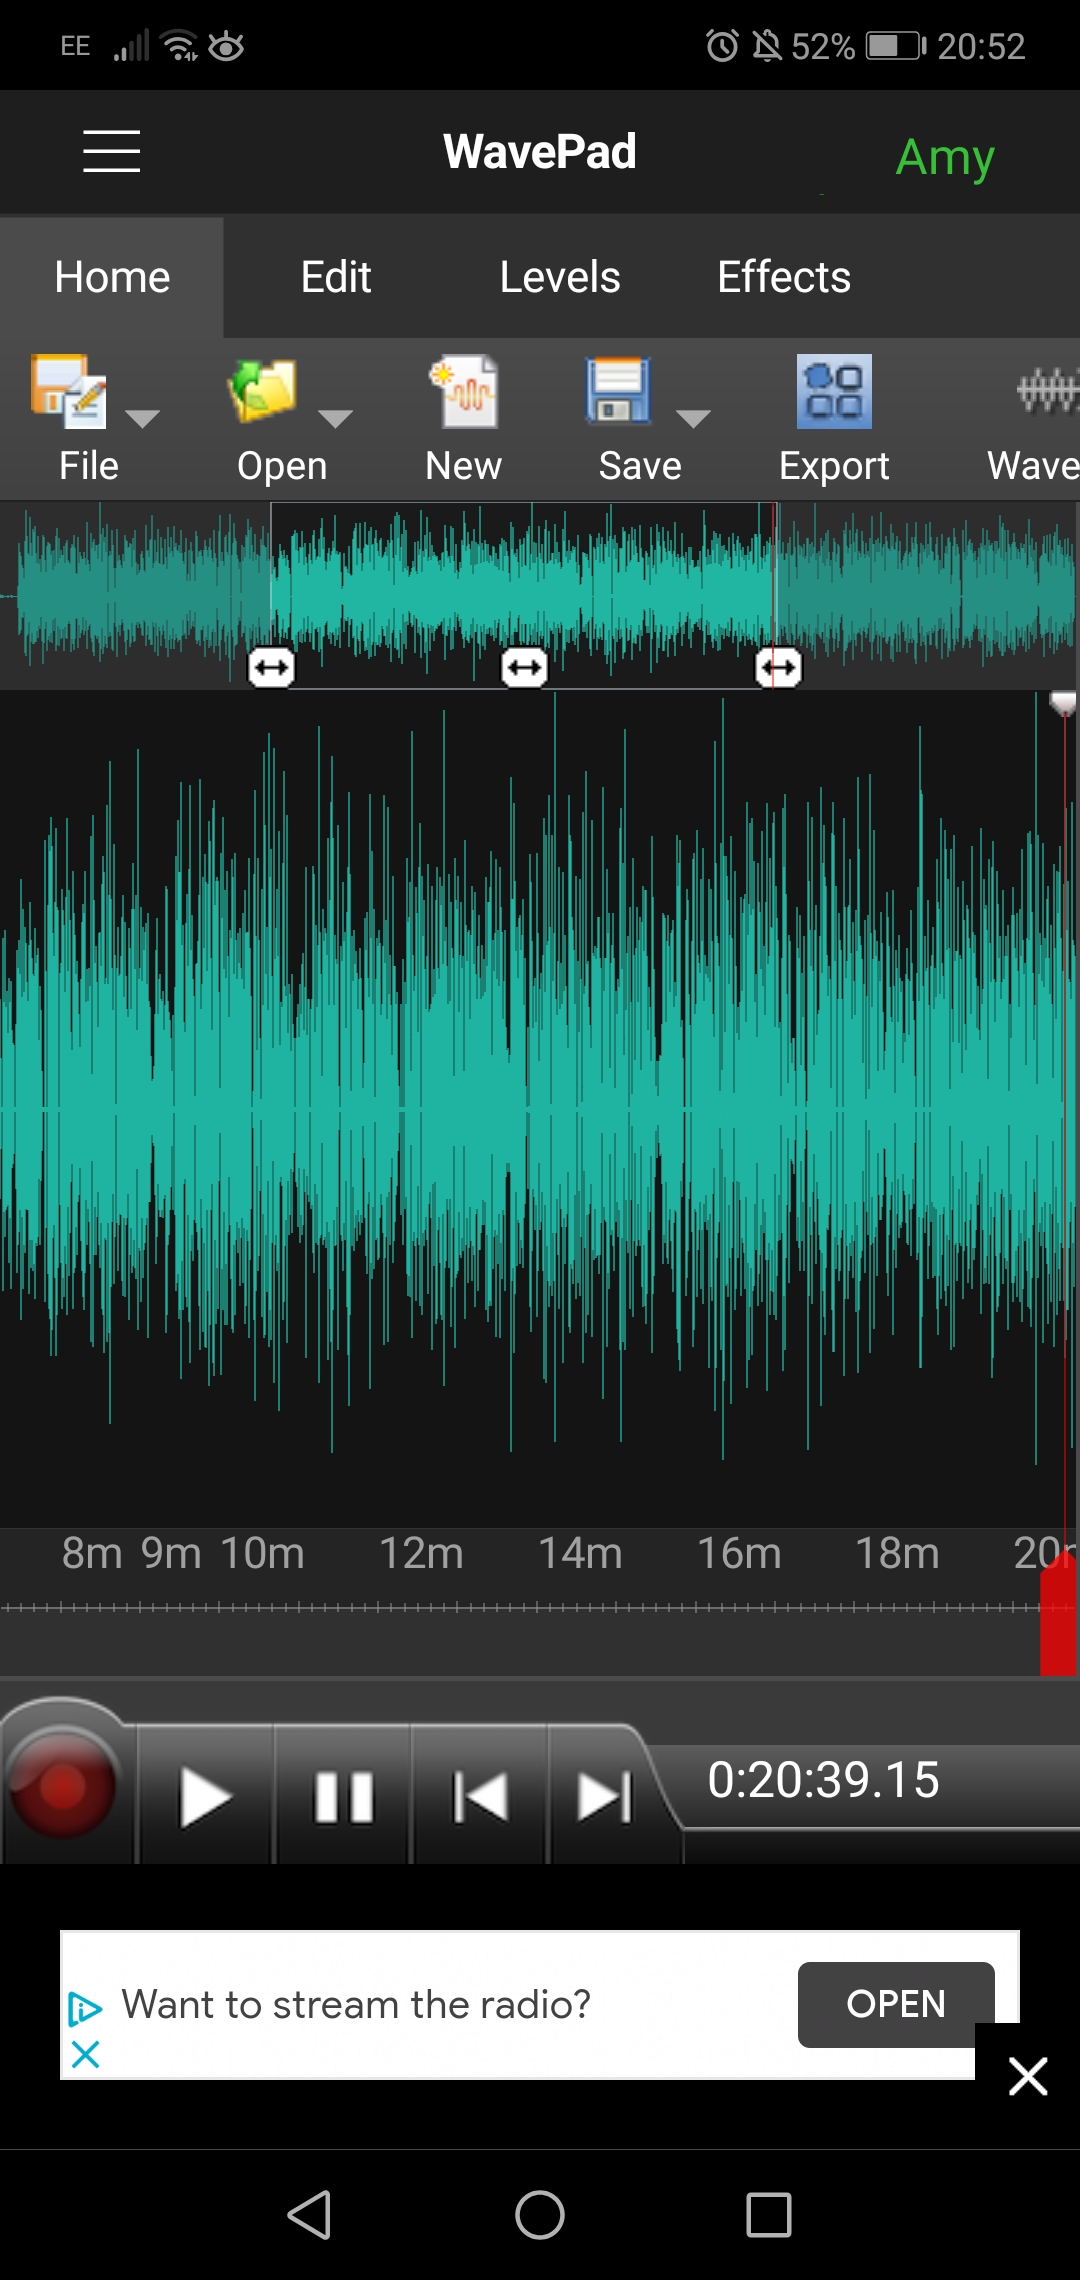 Moving through the timeline Whenever you want to select a section of your audio clip, simply click on the point you want to start at and drag it across. Once you have selected a section, any editing or effects added will only affect that part. If you do not select a section, anything you do will be applied to the entire file.
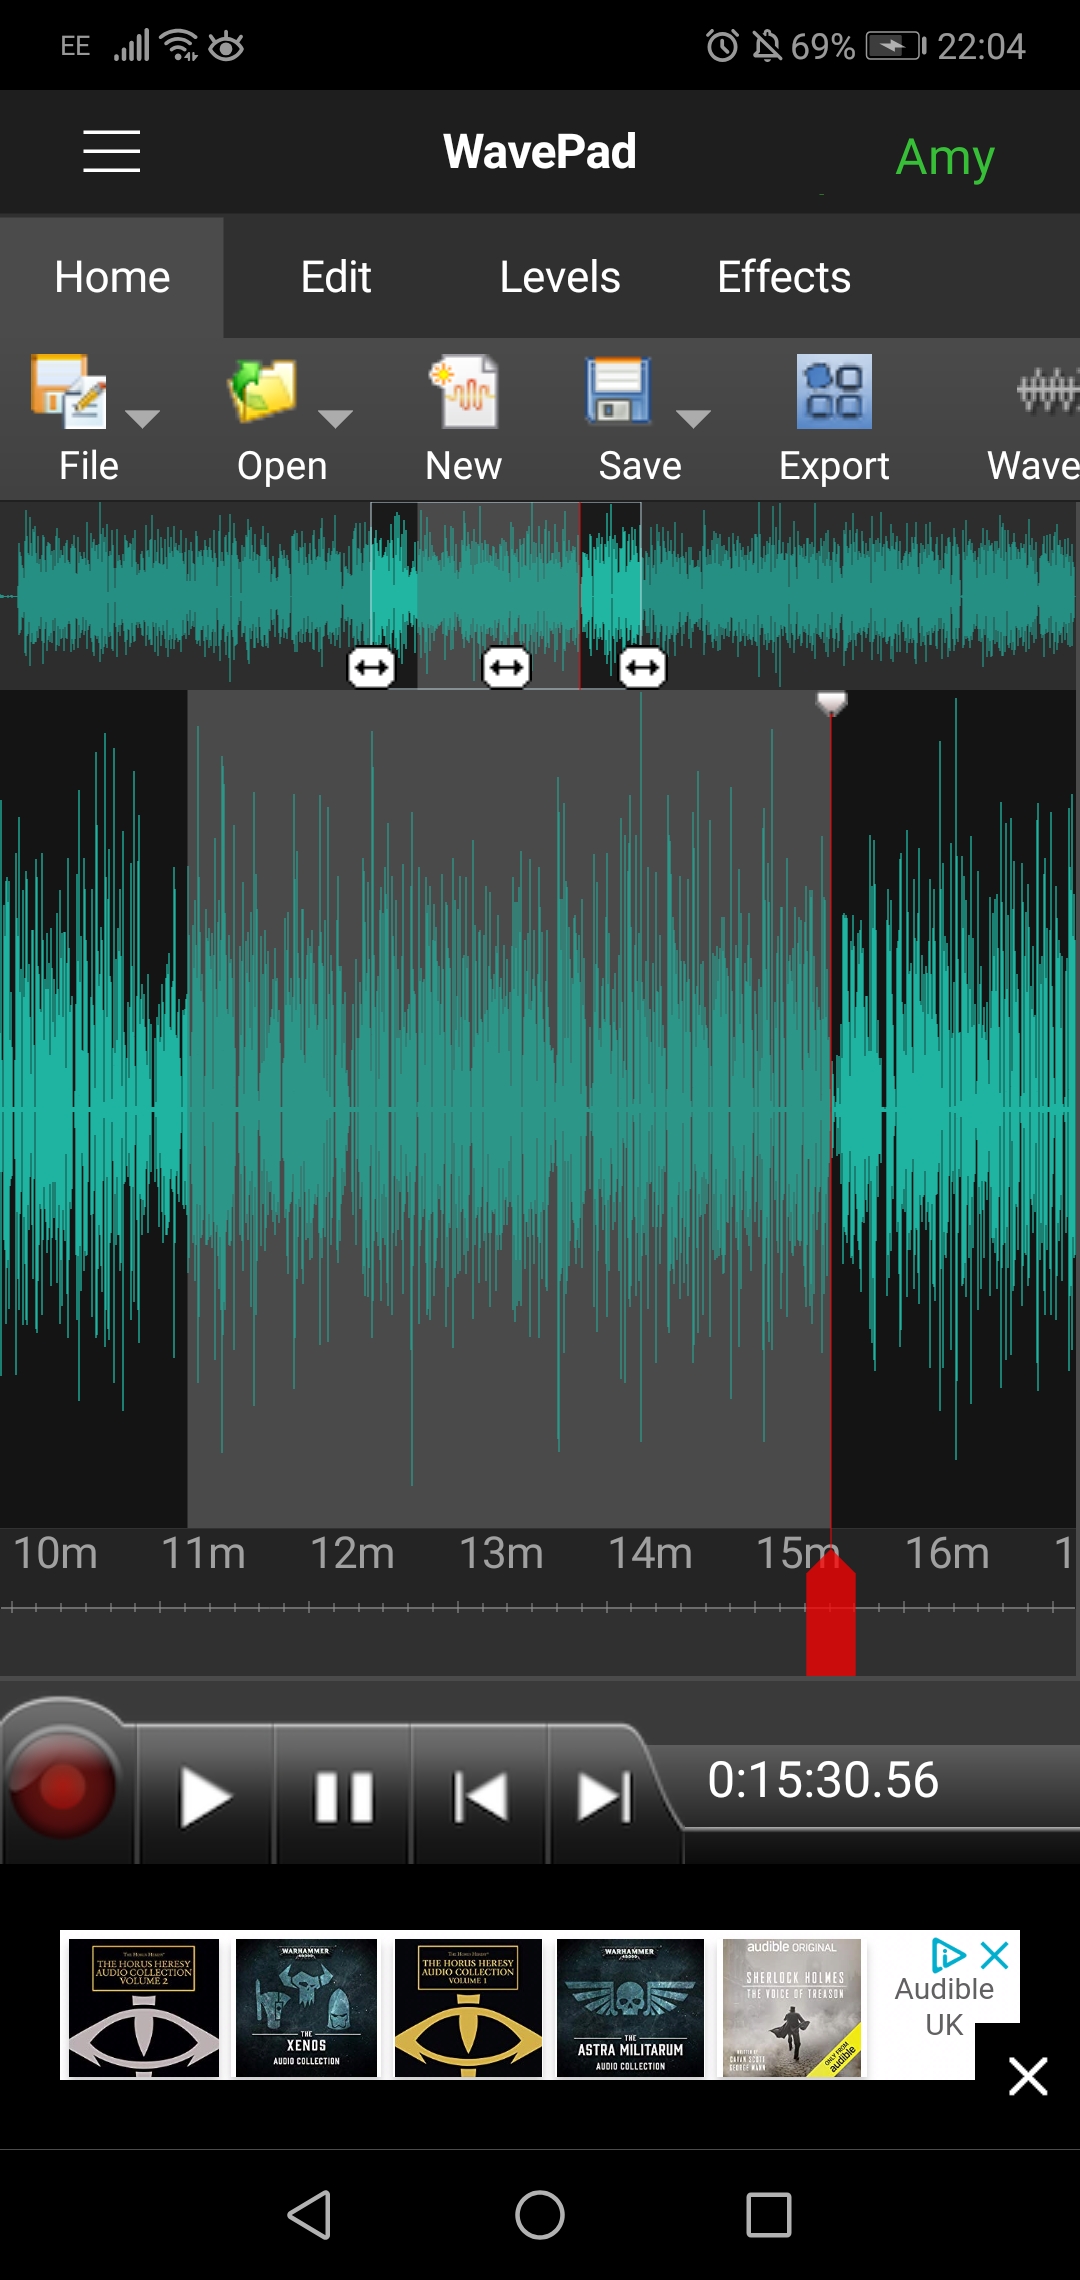 Selecting a portion of audio
If you are planning to layer two files, upload one first. For example, if you plan on adding a narrating voice over a piece of music, upload or record the narration first. You can then go to Edit - Mix with File (explained later) and add the music, but make sure to select a lower volume so the voice remains clear.
Edit
The main things you will need to use are:
Delete
To remove any unwanted audio within the clip, select it and choose Delete.
Trim
Auto Trim will trim (remove) any silences in the beginning and end of the audio. This can be helpful if for example you have recorded your voice and left an unwanted silence at the end before stopping the recording.
Trim Silences will remove all silences.
If you select part of the audio and select Trim, it will cut out everything apart from the selected clip.
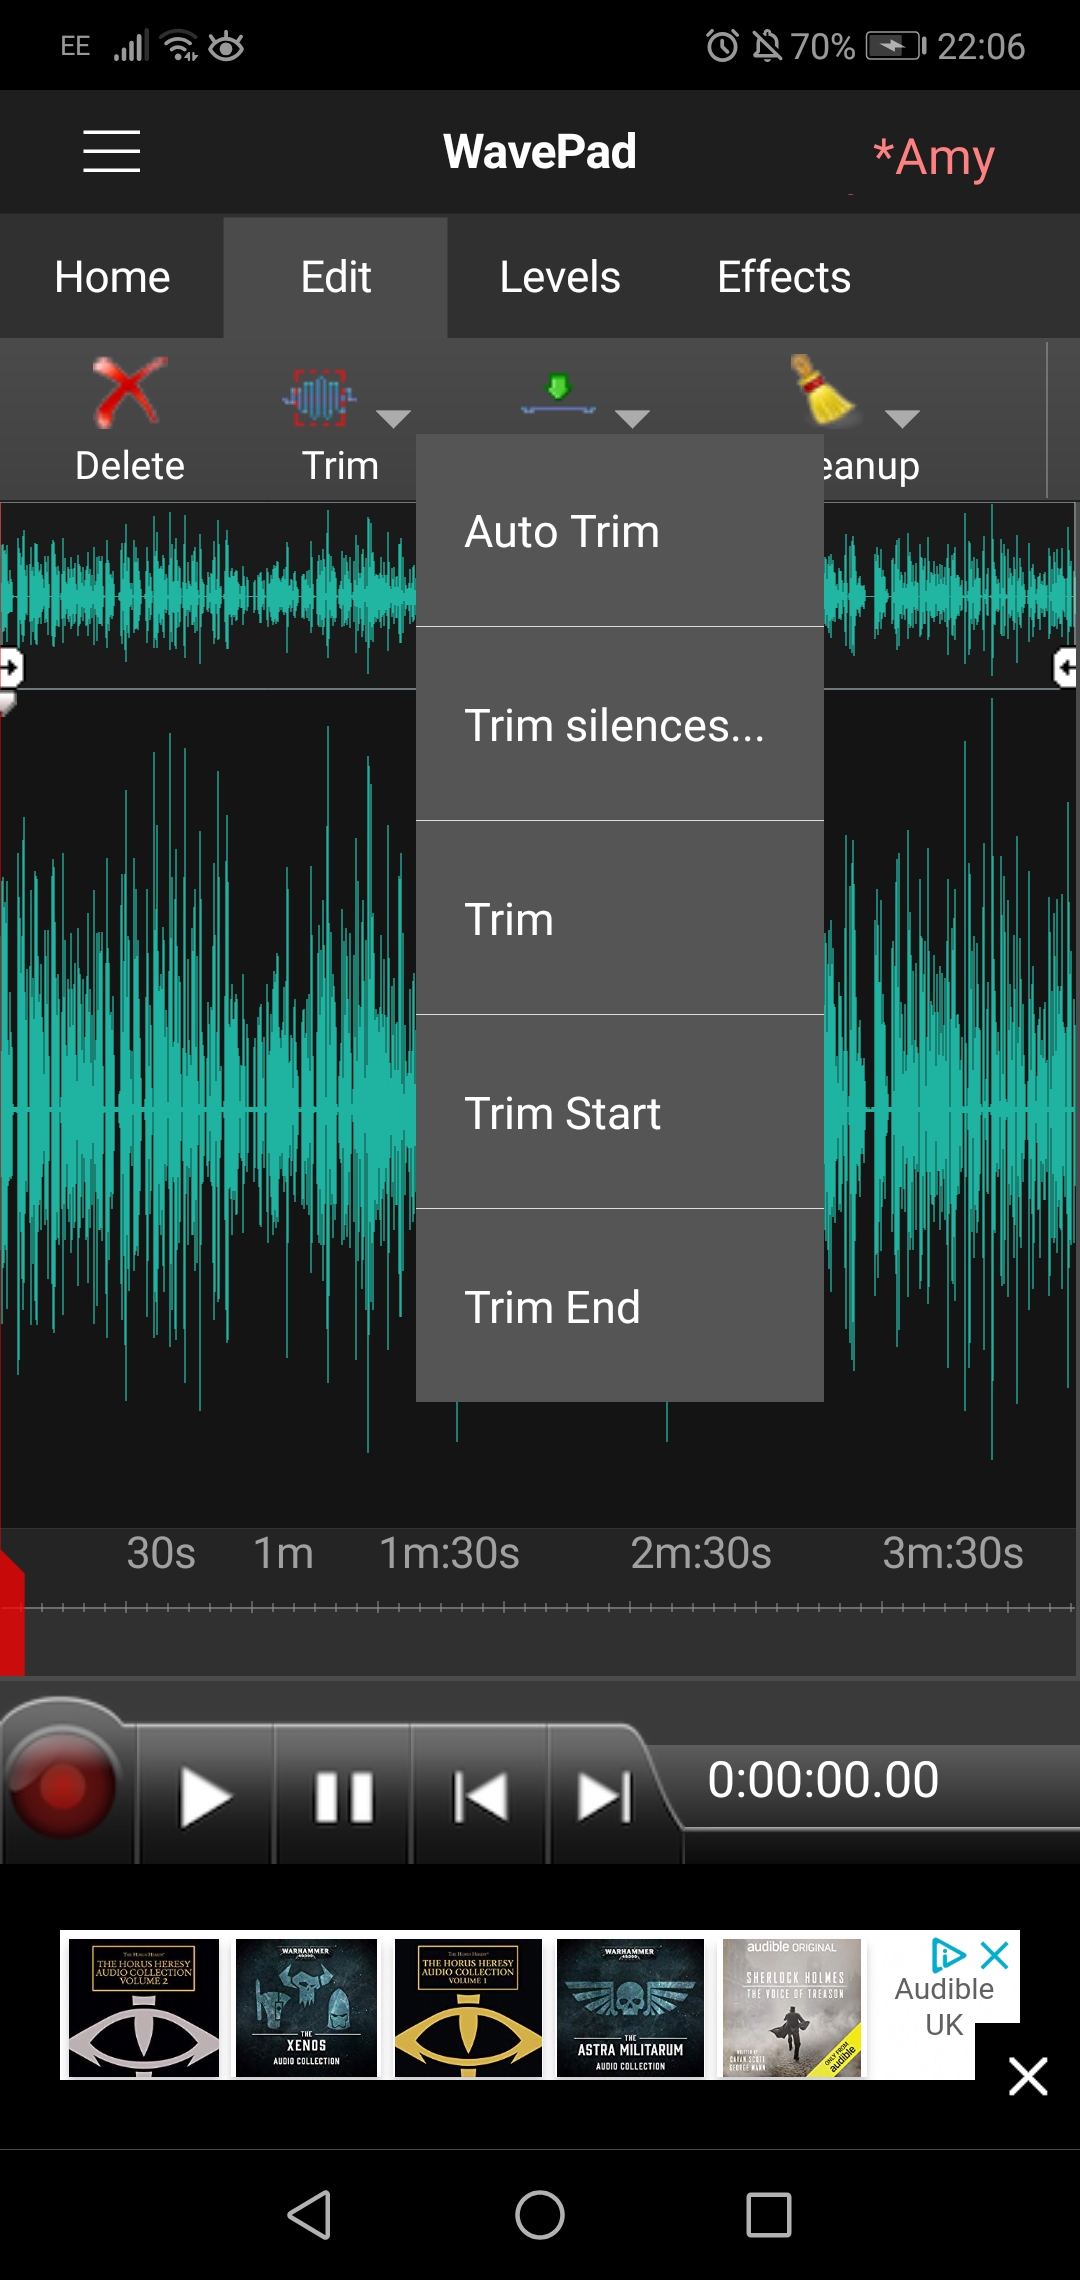 Trim optionsCleanup
This is for a common problem in audio recording: Background Noise. To remove unwanted noises, select the part of the clip with the noise, click Cleanup, Auto Spectral Subtraction and then apply to either Voice or Music. Listen to your recording again, if the background noise is still audible, go back to Cleanup and select Multi-Band Noise Gating. Then you can either manually adjust the level, or select the preset of -20%. It should select that automatically, if not you can pick ‘Remove Hum and Hiss’. Use the preset, and if it is not enough, you can try adjusting it manually.
Only use this as a last resort, if there is a lot of distracting background noise in your audio (noise - not voices) as it can make the main voice of the audio sound hollow. Always listen back right away to check if it sounds ok.
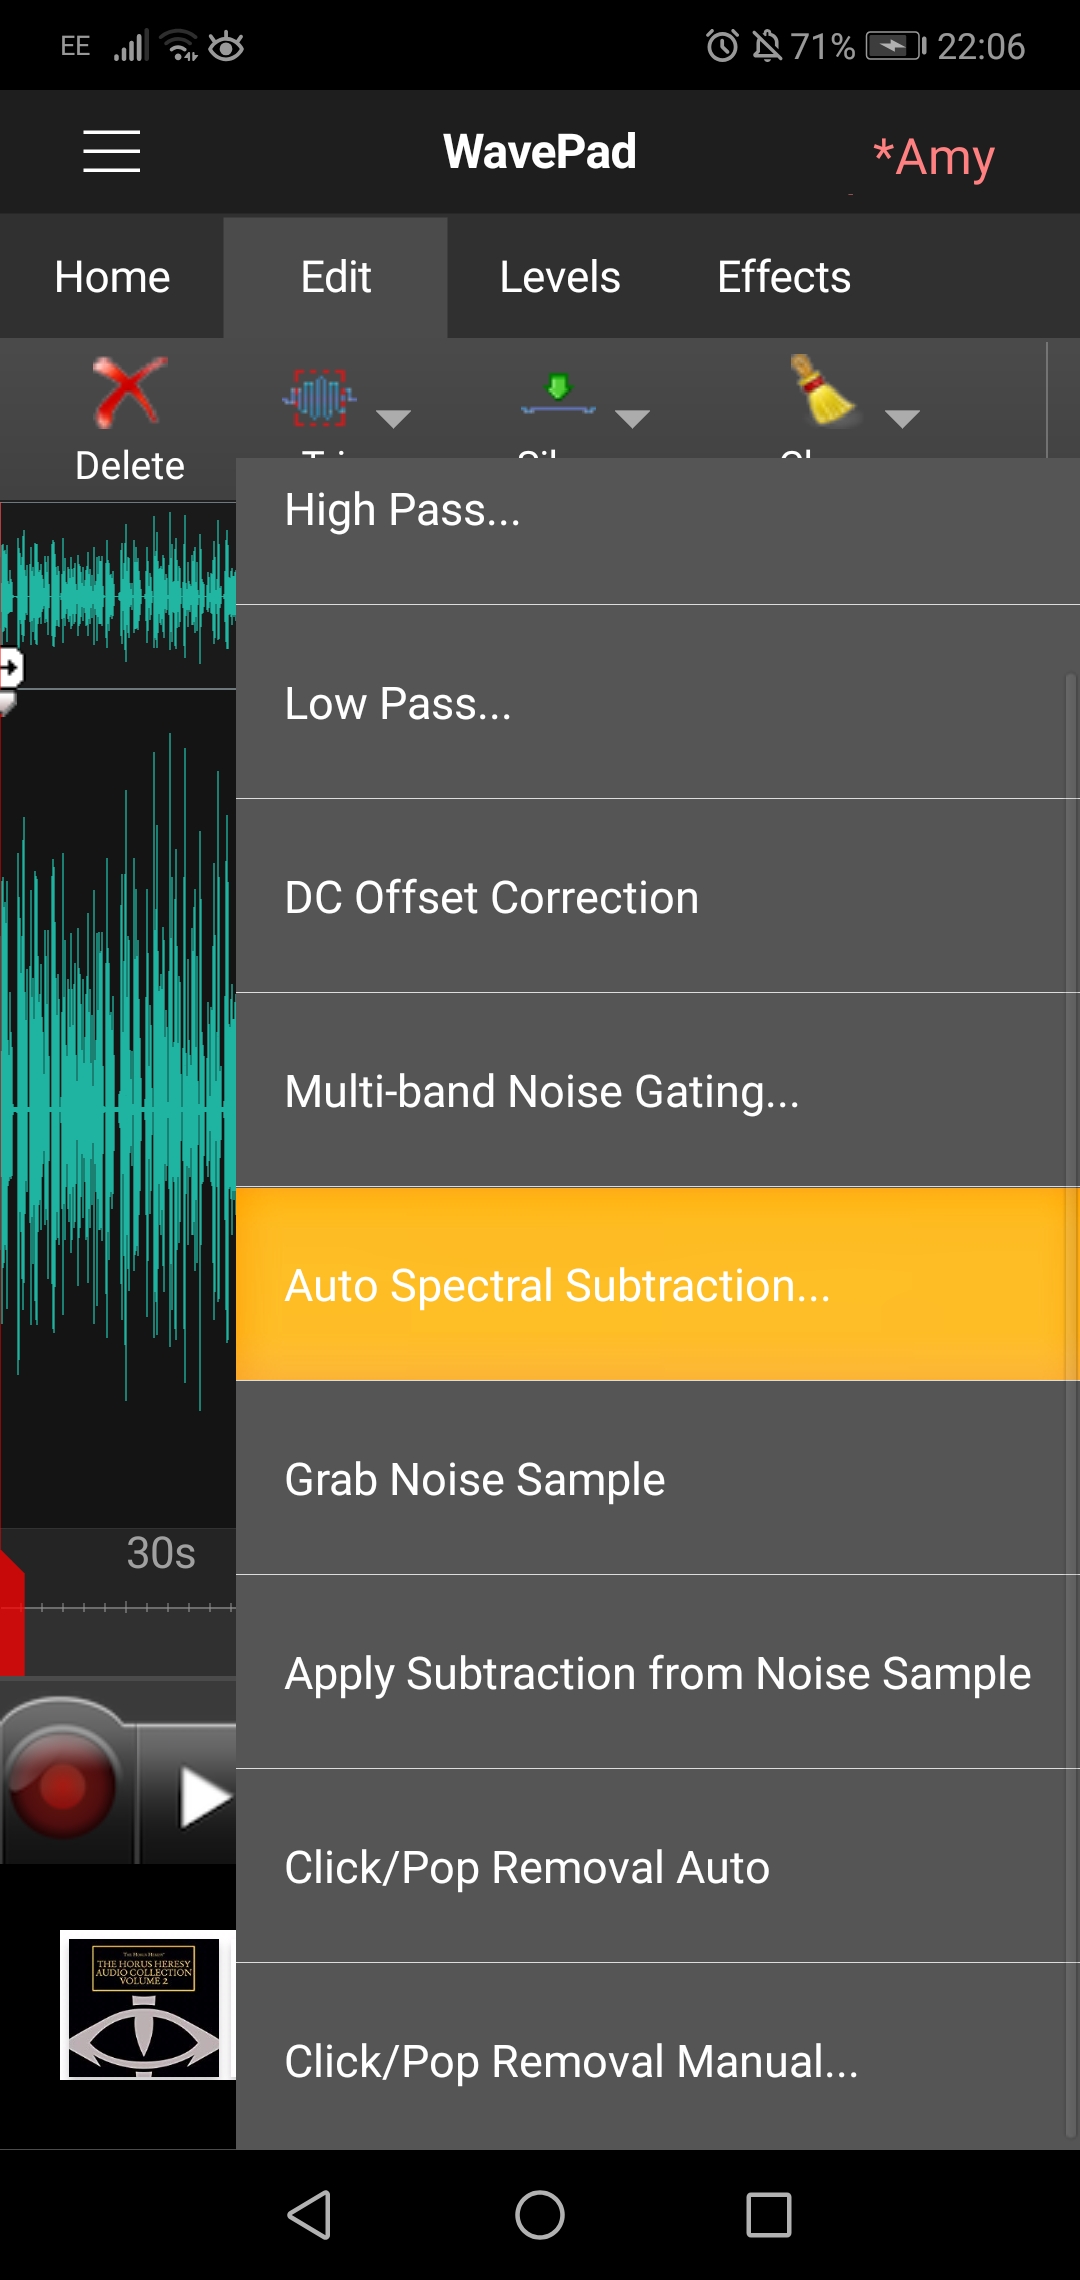 Auto Spectral Subtraction
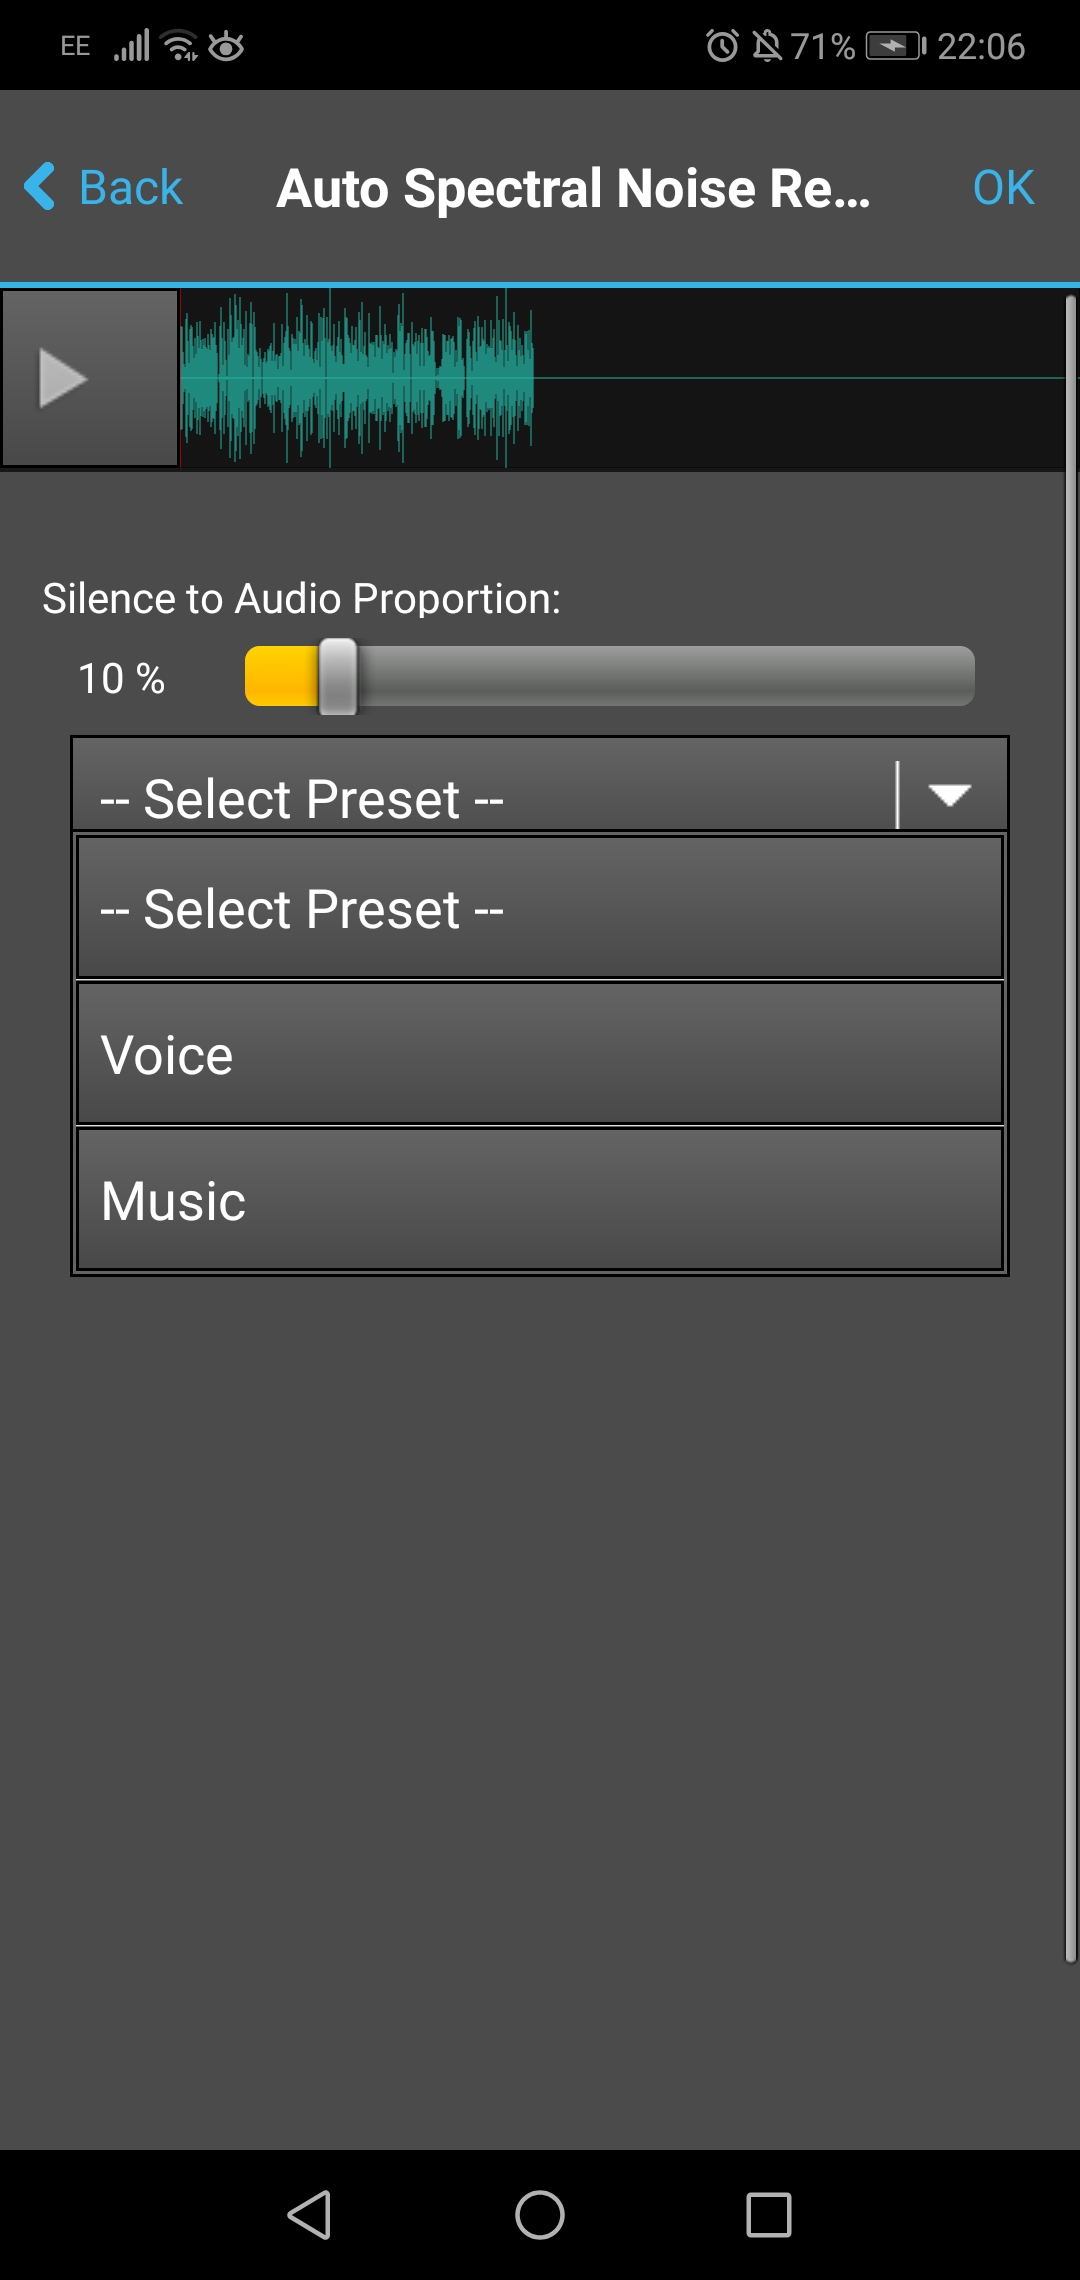 Choosing whether it's Voice or Music
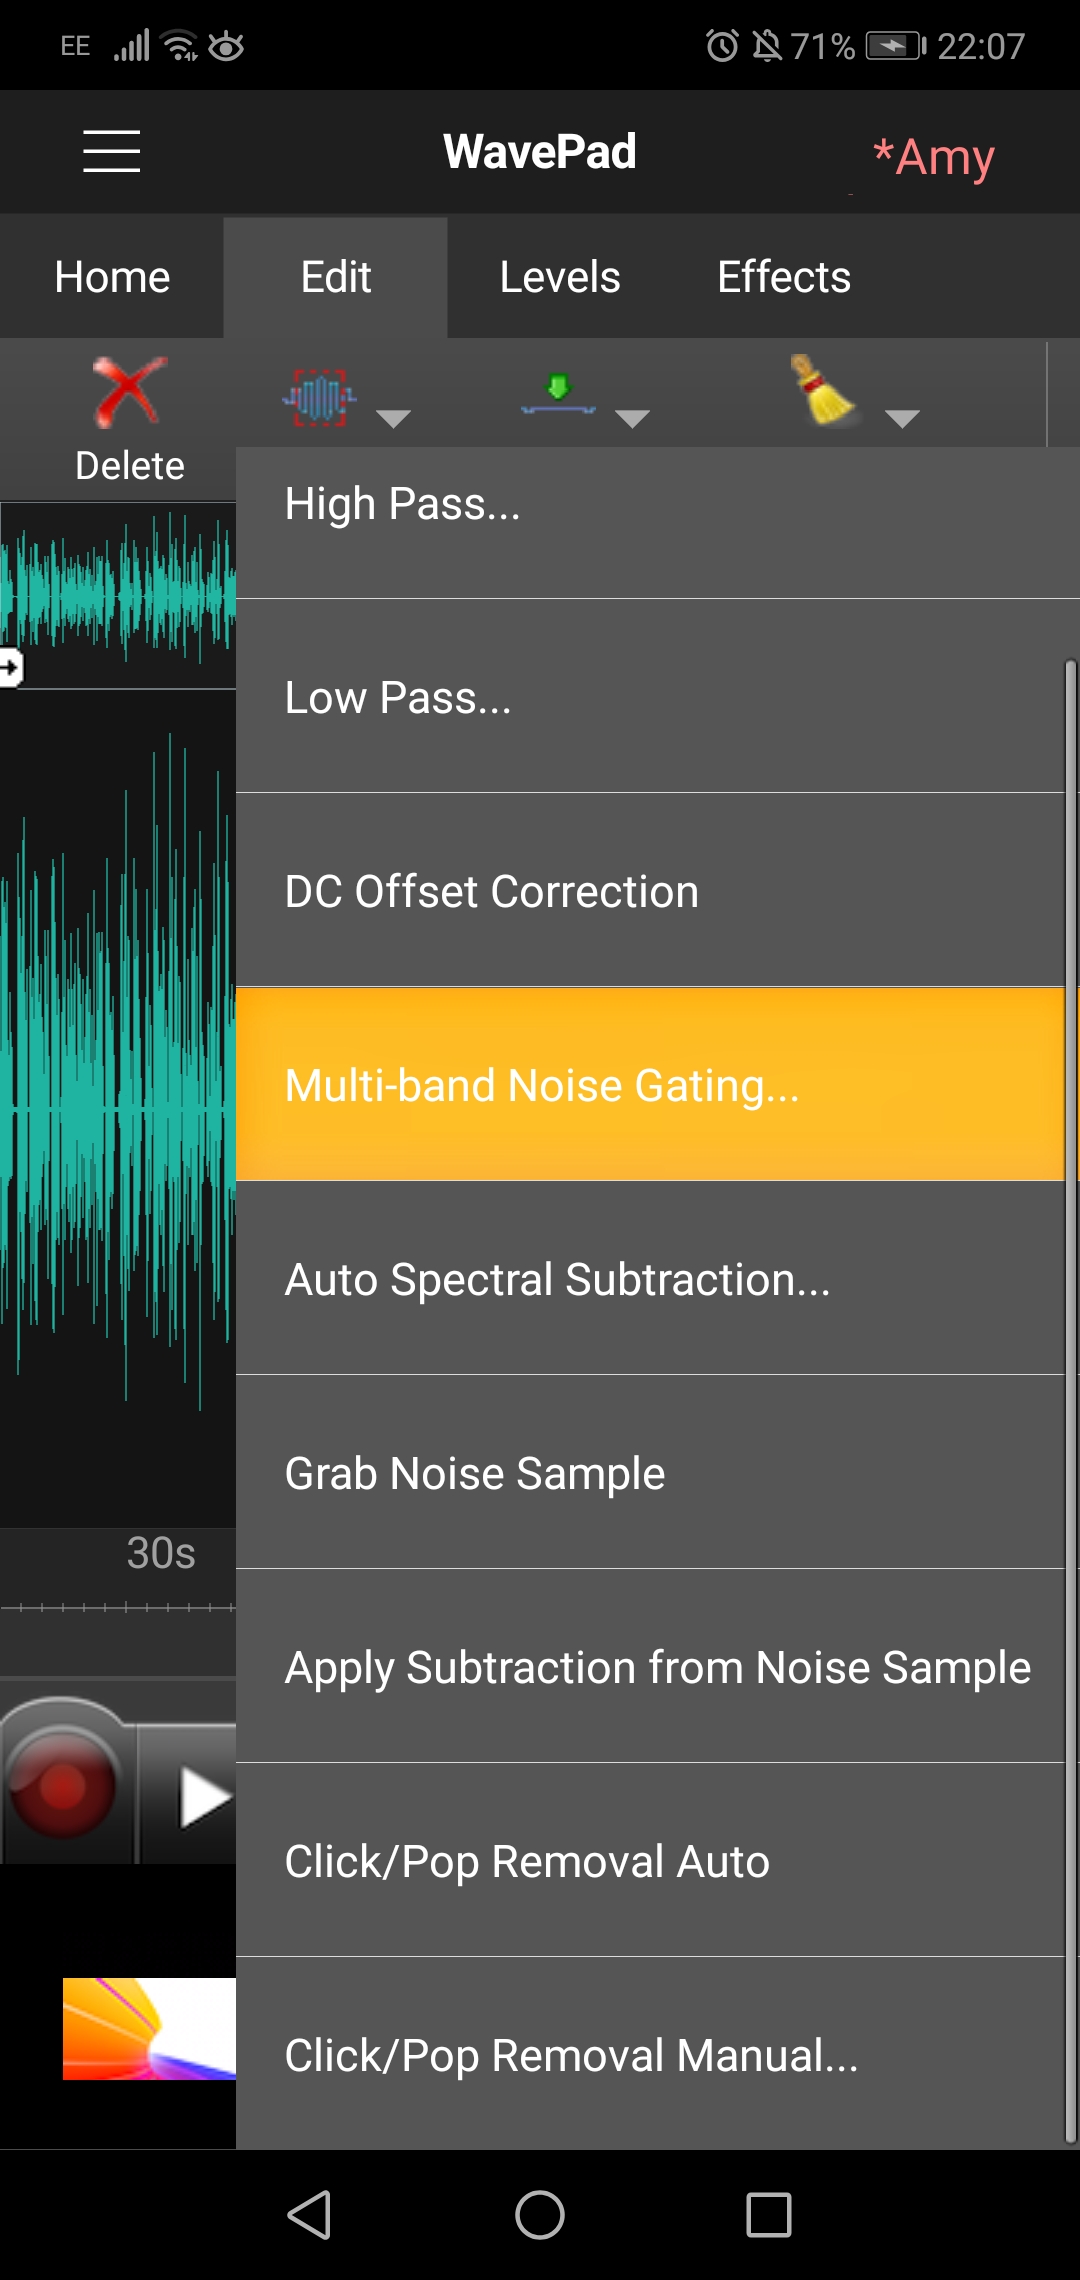 Multi-band Noise Gating
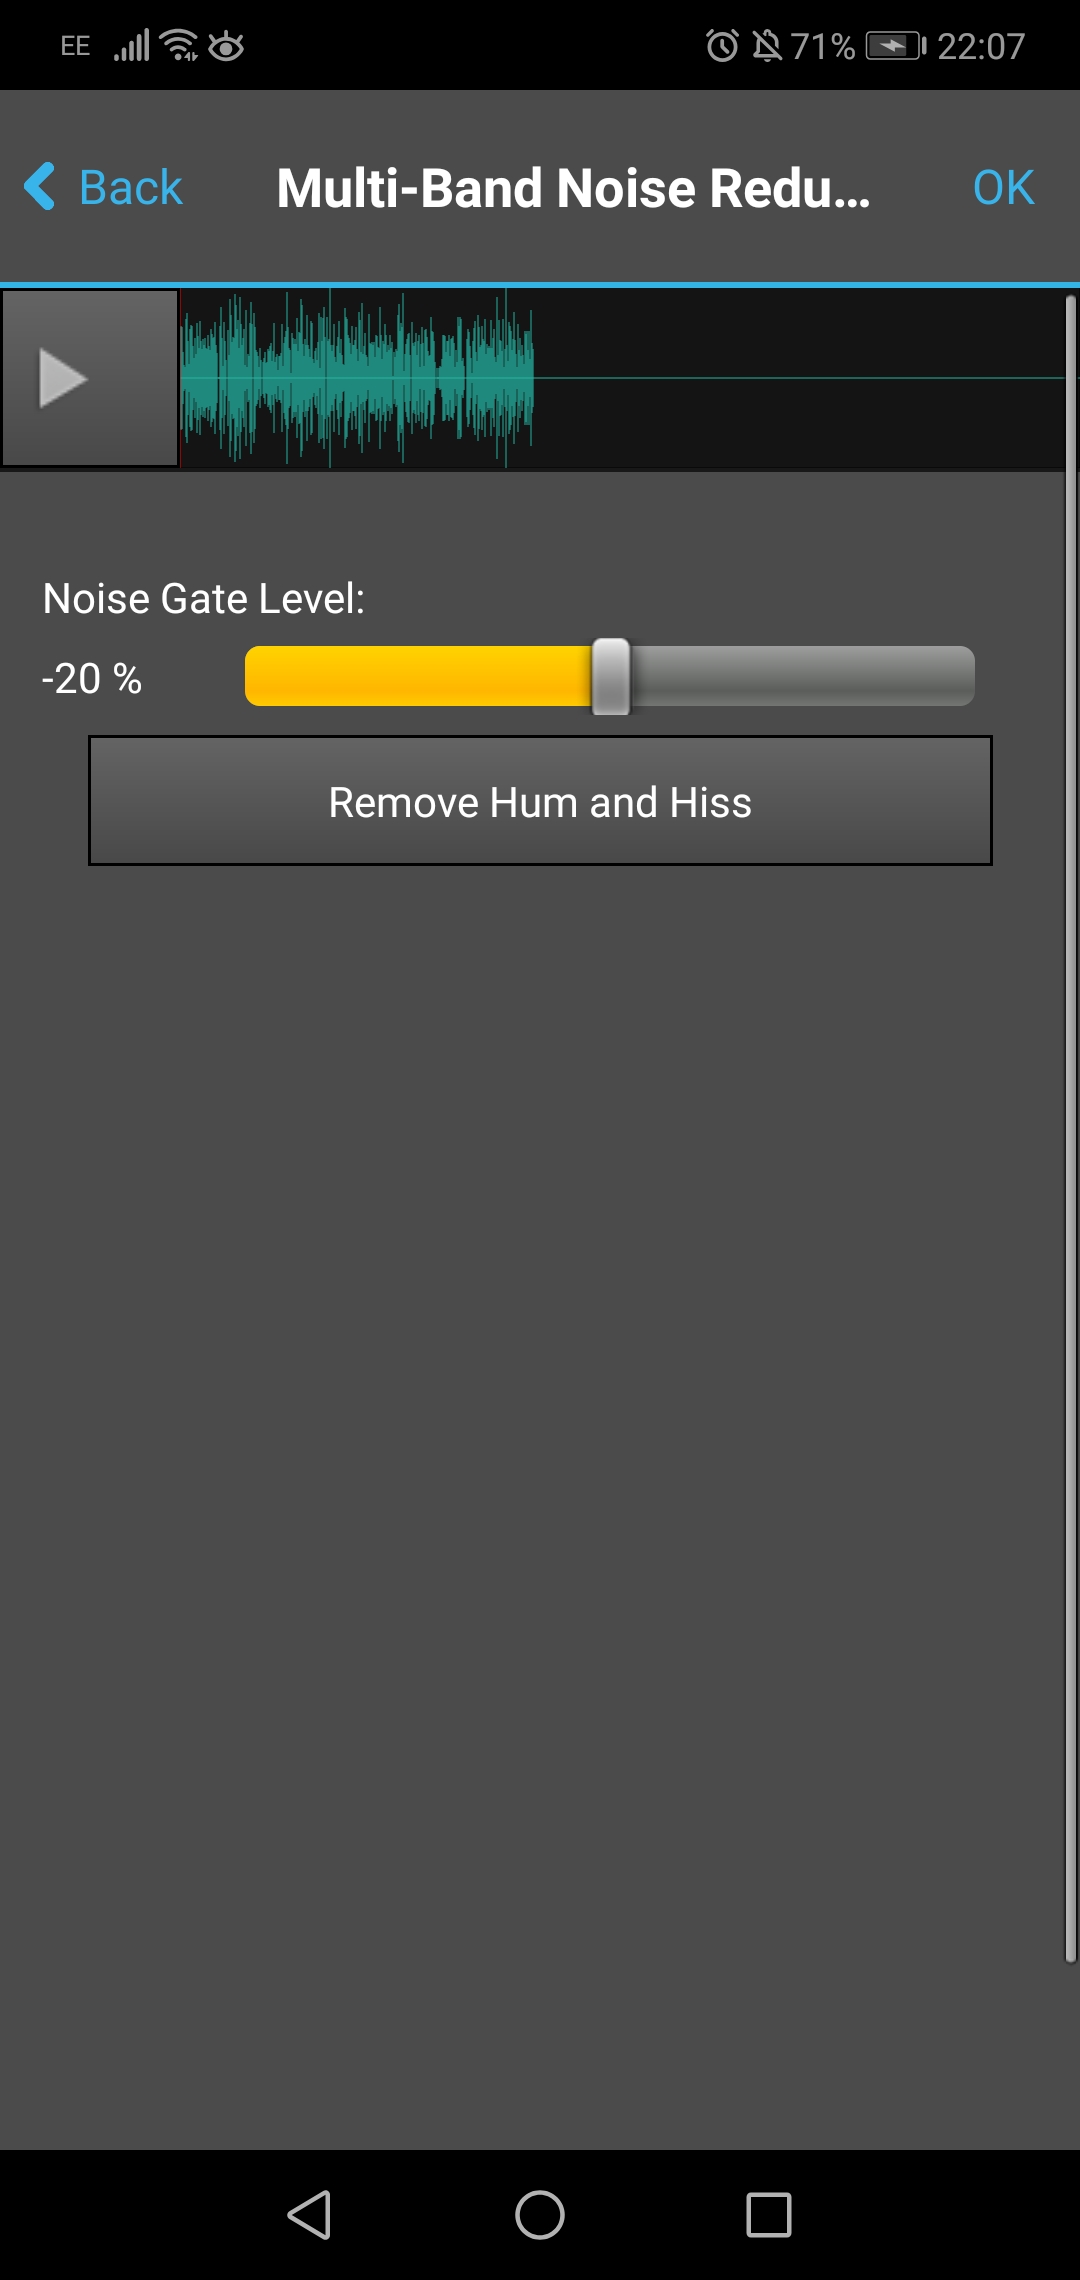 Manually adjust or keep default of -20%Mix with File
Select the part of the clip that you want to combine with another one. If you want to layer two entire files, simply leave it unselected. Once you select a file you will be able to adjust its volume. Once the files are mixed, you cannot edit them individually, so make sure you have edited each one separately first.
If you want to combine two different files without layering them, you can create a silence within your clip (Go to Edit -> Silence -> Insert Silence at Cursor -> select the number of milliseconds it lasts) then you can select that silence and mix it with another file of the same length. Make the silence longer than necessary, as then it is easier to trim it if necessary rather than redoing the whole step.
Levels
Auto Gain
This will make sounds louder and clearer, useful for if you recorded someone speaking from a distance.
Silence
This is an easy way to cut out audio. By selecting a clip and then ‘Silence current selection’ you cut out the sound and leave a silence. You can also add silences (and select their length) to the beginning and end of the clip. This can be useful if you want to cut out part of the clip without affecting the length of the file, or if you’re layering a piece of music over a narration and want to have a point which is just music, you can silence part of the voice recording which you don’t need.
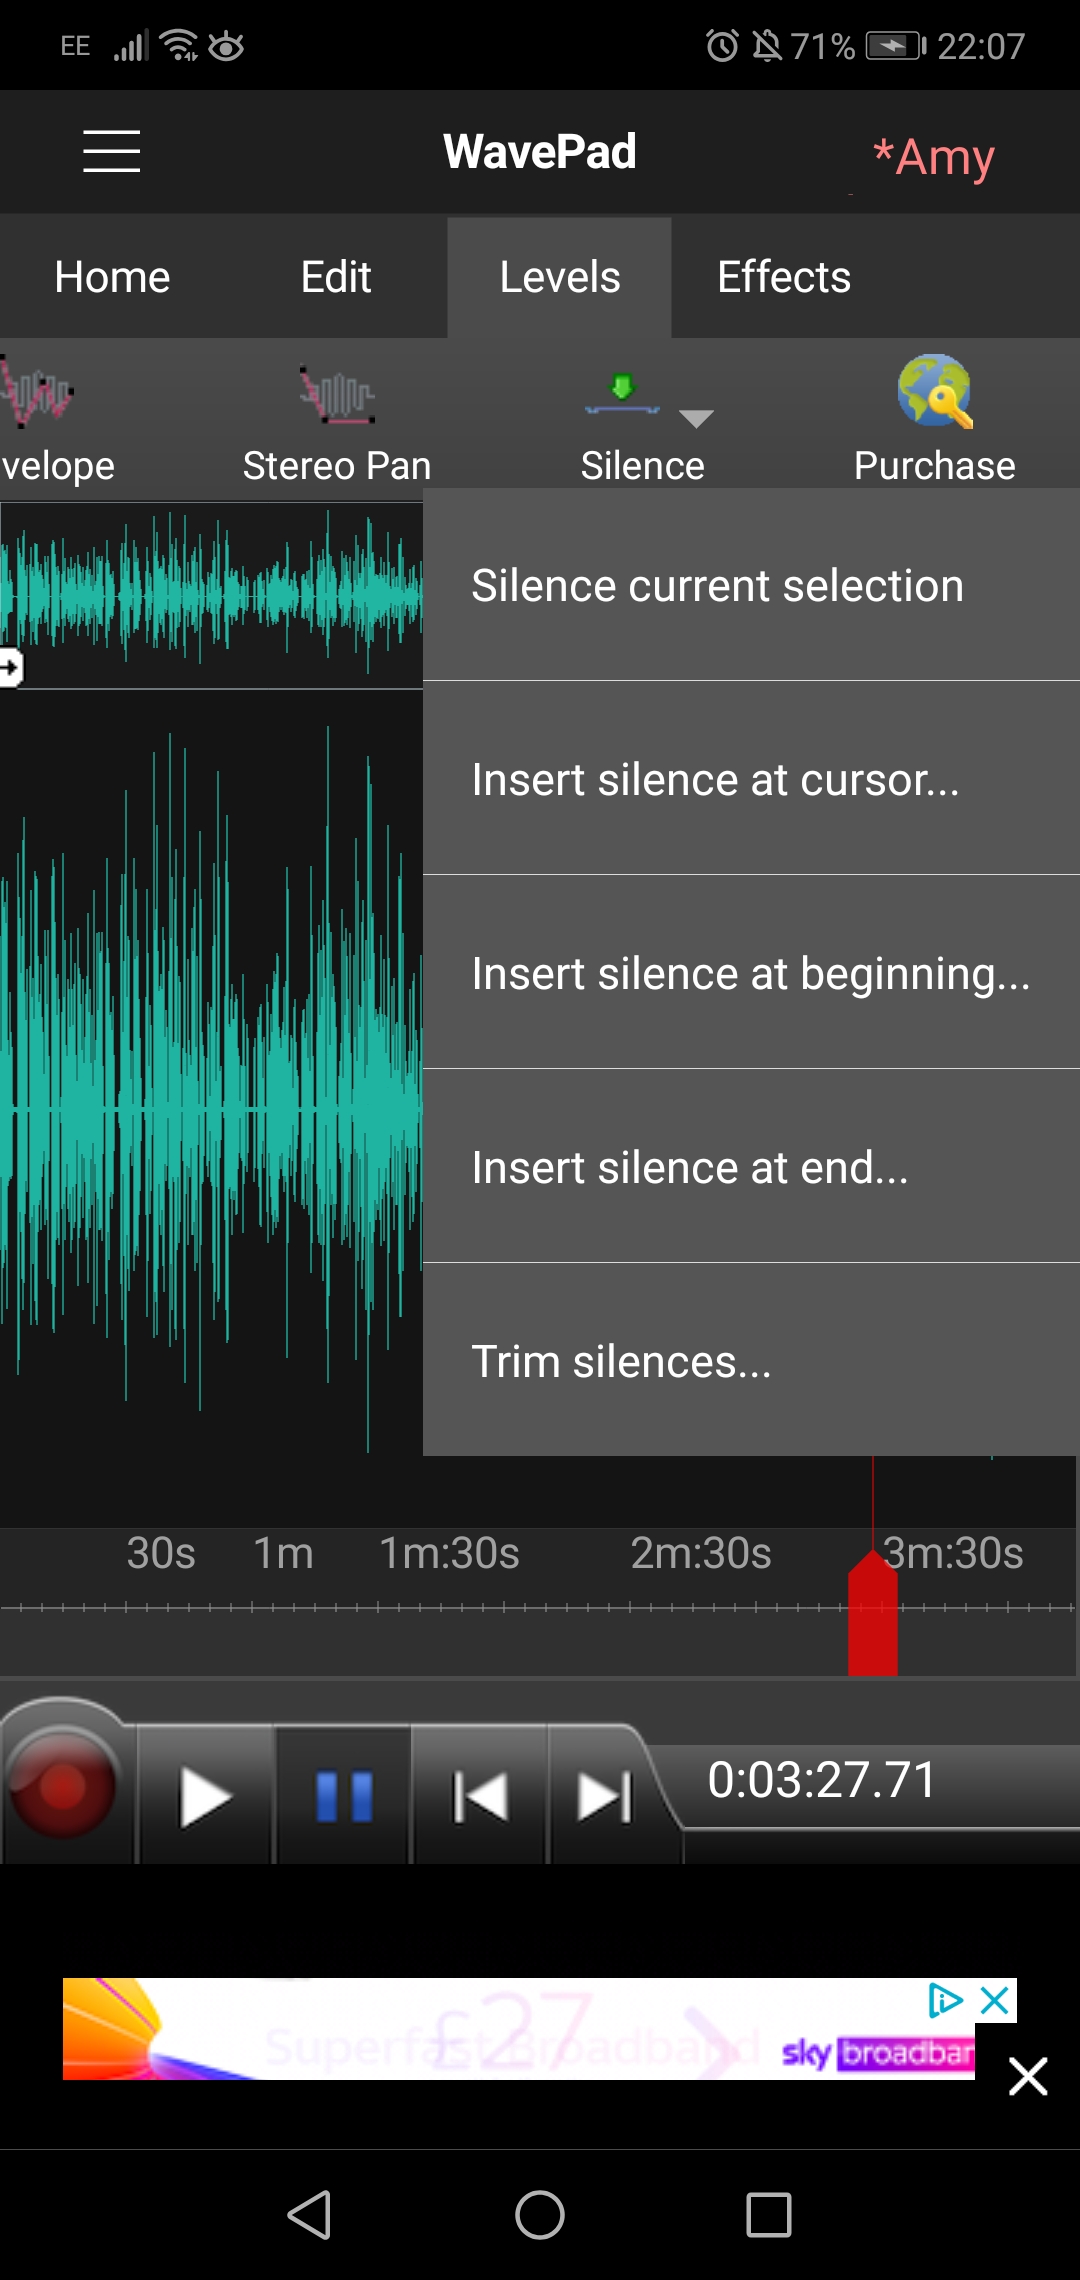 Silence optionsEffects
The effects can be a bit over the top, so be careful not to overuse them.
Speed can slow down or speed up a clip but can distort the sound.
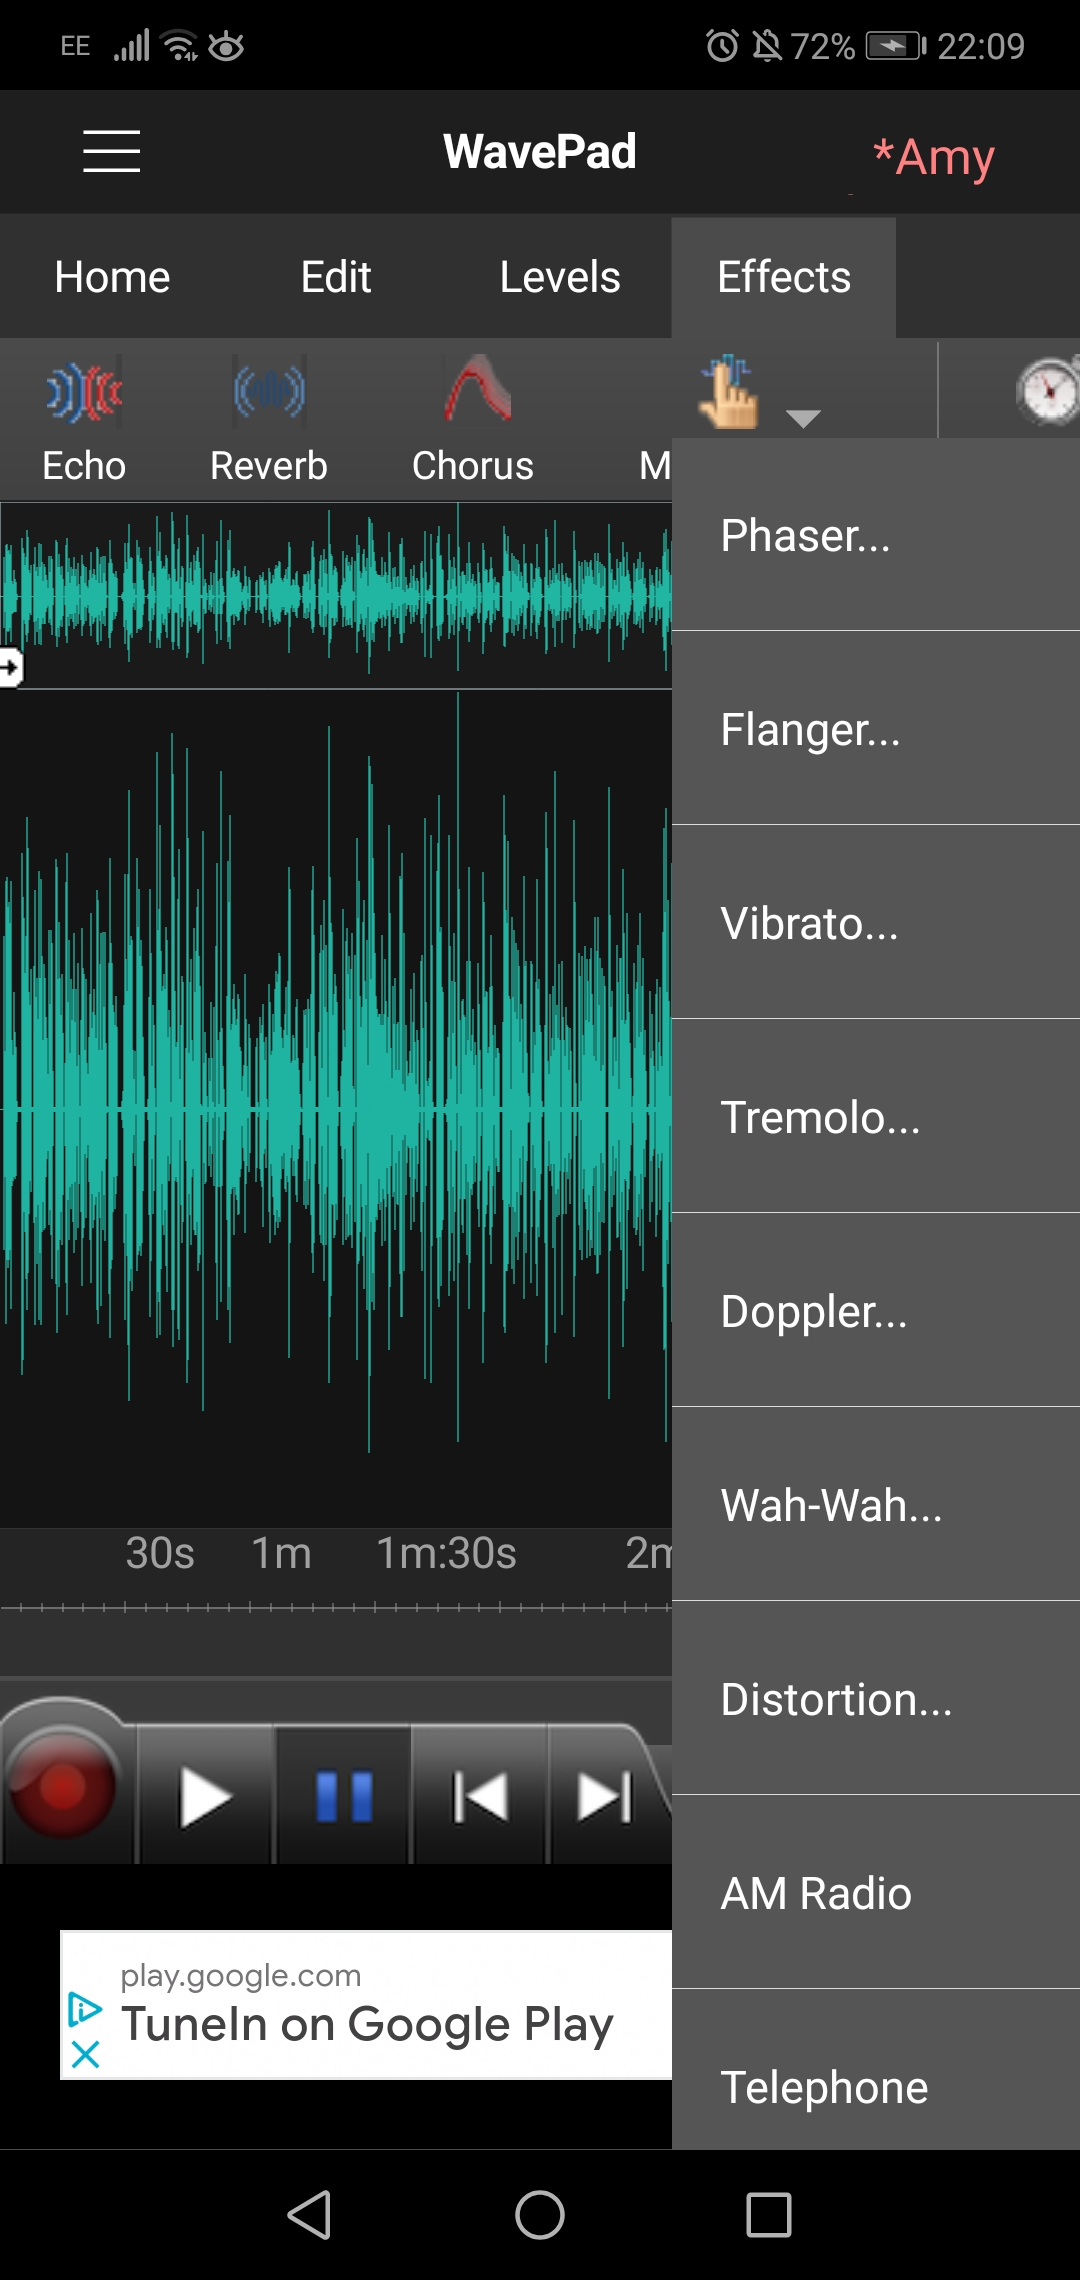 Effect options
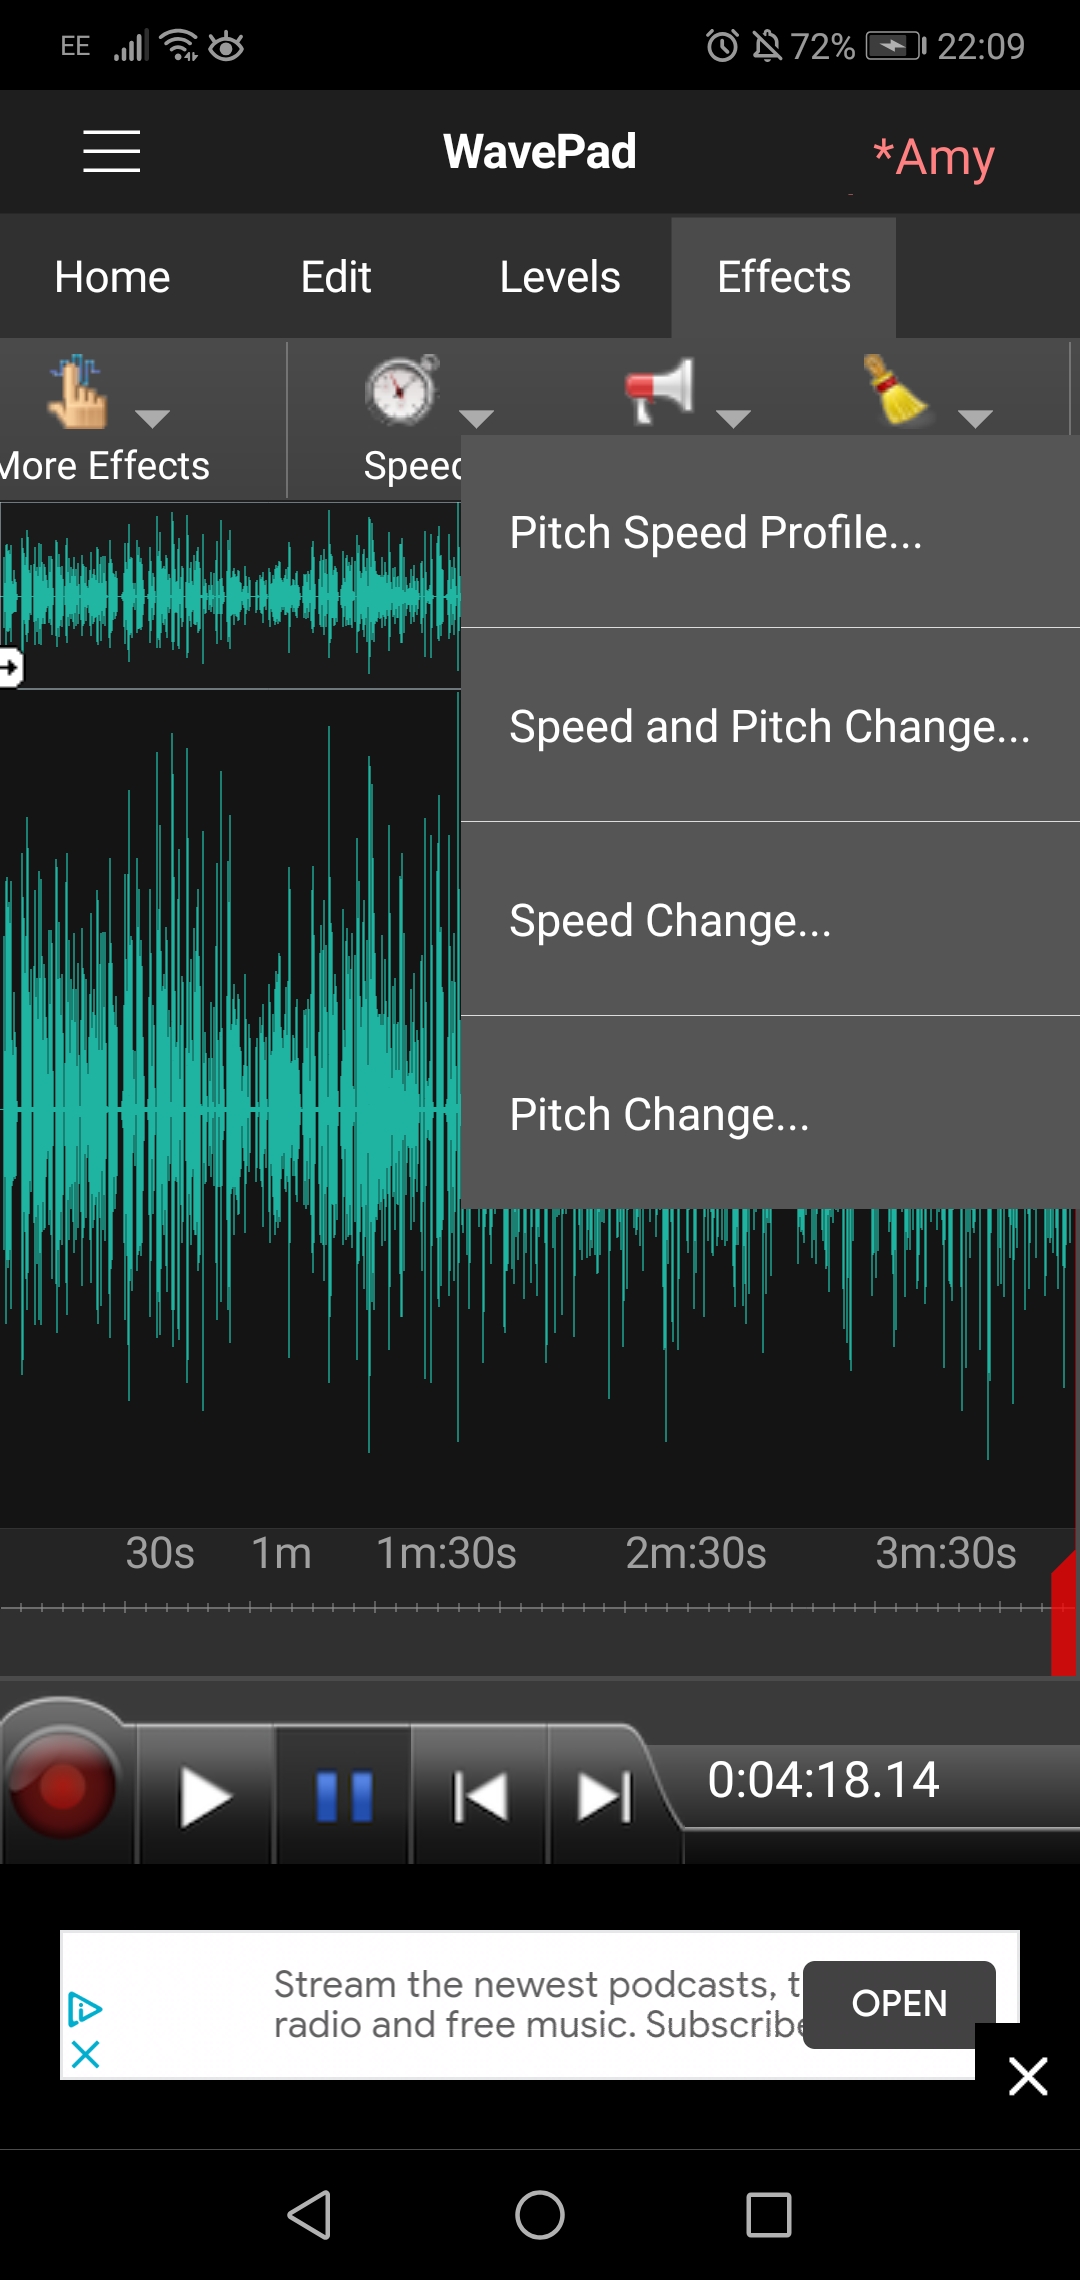 Speed optionsExporting/Saving your audio file
This app uses the word Save when referring to exporting audio, remember that on most editing software there is an important difference between the two terms: Export meaning to save the project as a file and Saving meaning to save your progress on the software.
Go back to Home and select File or Save, they both offer the option of Save As. If you are using the free version you will not be able to alter the file type, but you can Rename the file and choose which folder it is saved to. For the Sample Rate select 44.1 kHz and for the Channels select Stereo.
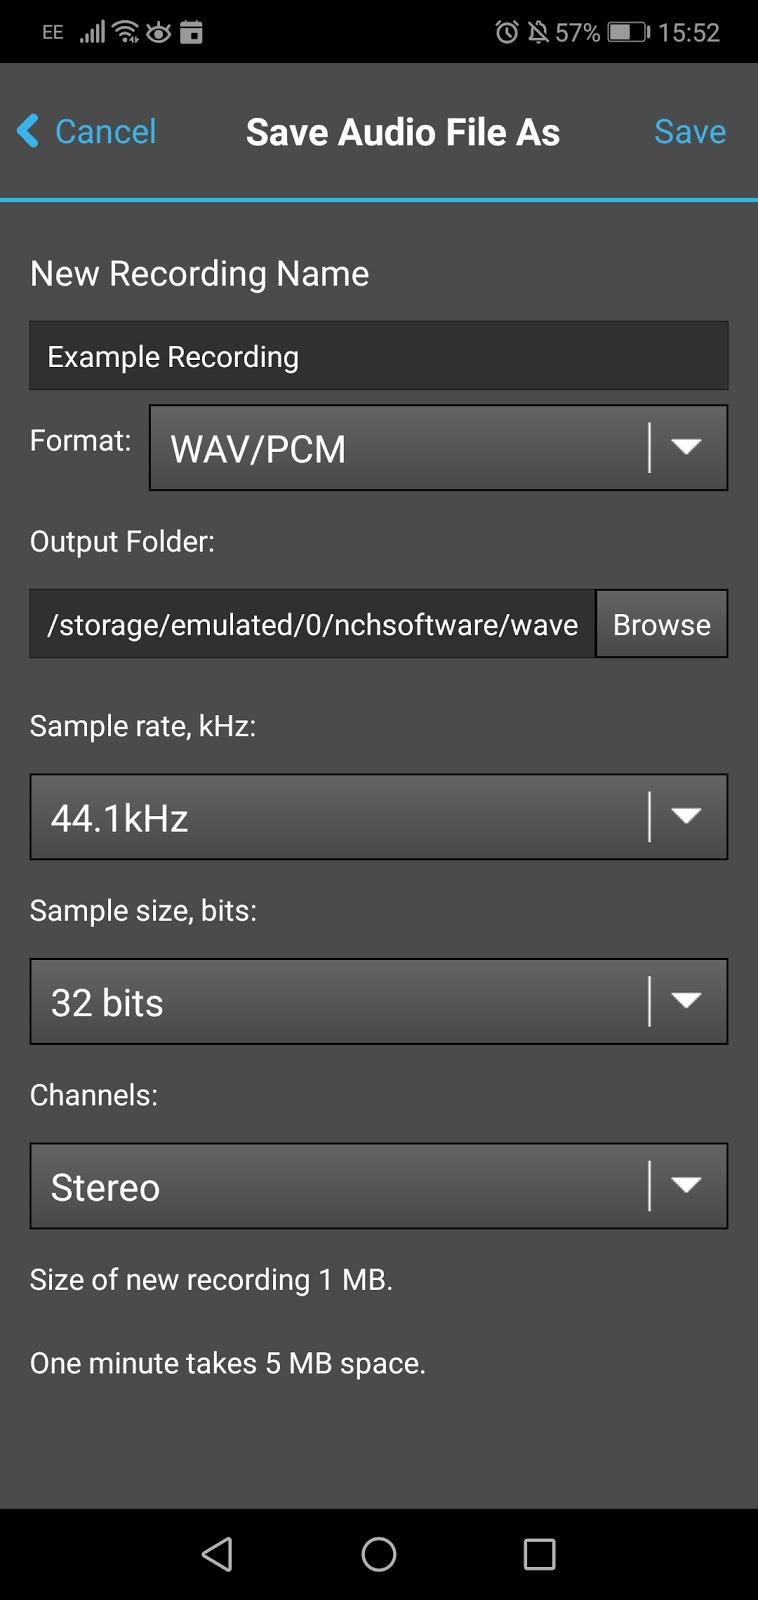 File export options



0 Comments