This guide was written by Chloe Potamiti
Download
You can download YouCut from the Google Play Store. The direct link for the app is here.
Editing
Step 1: Importing your files
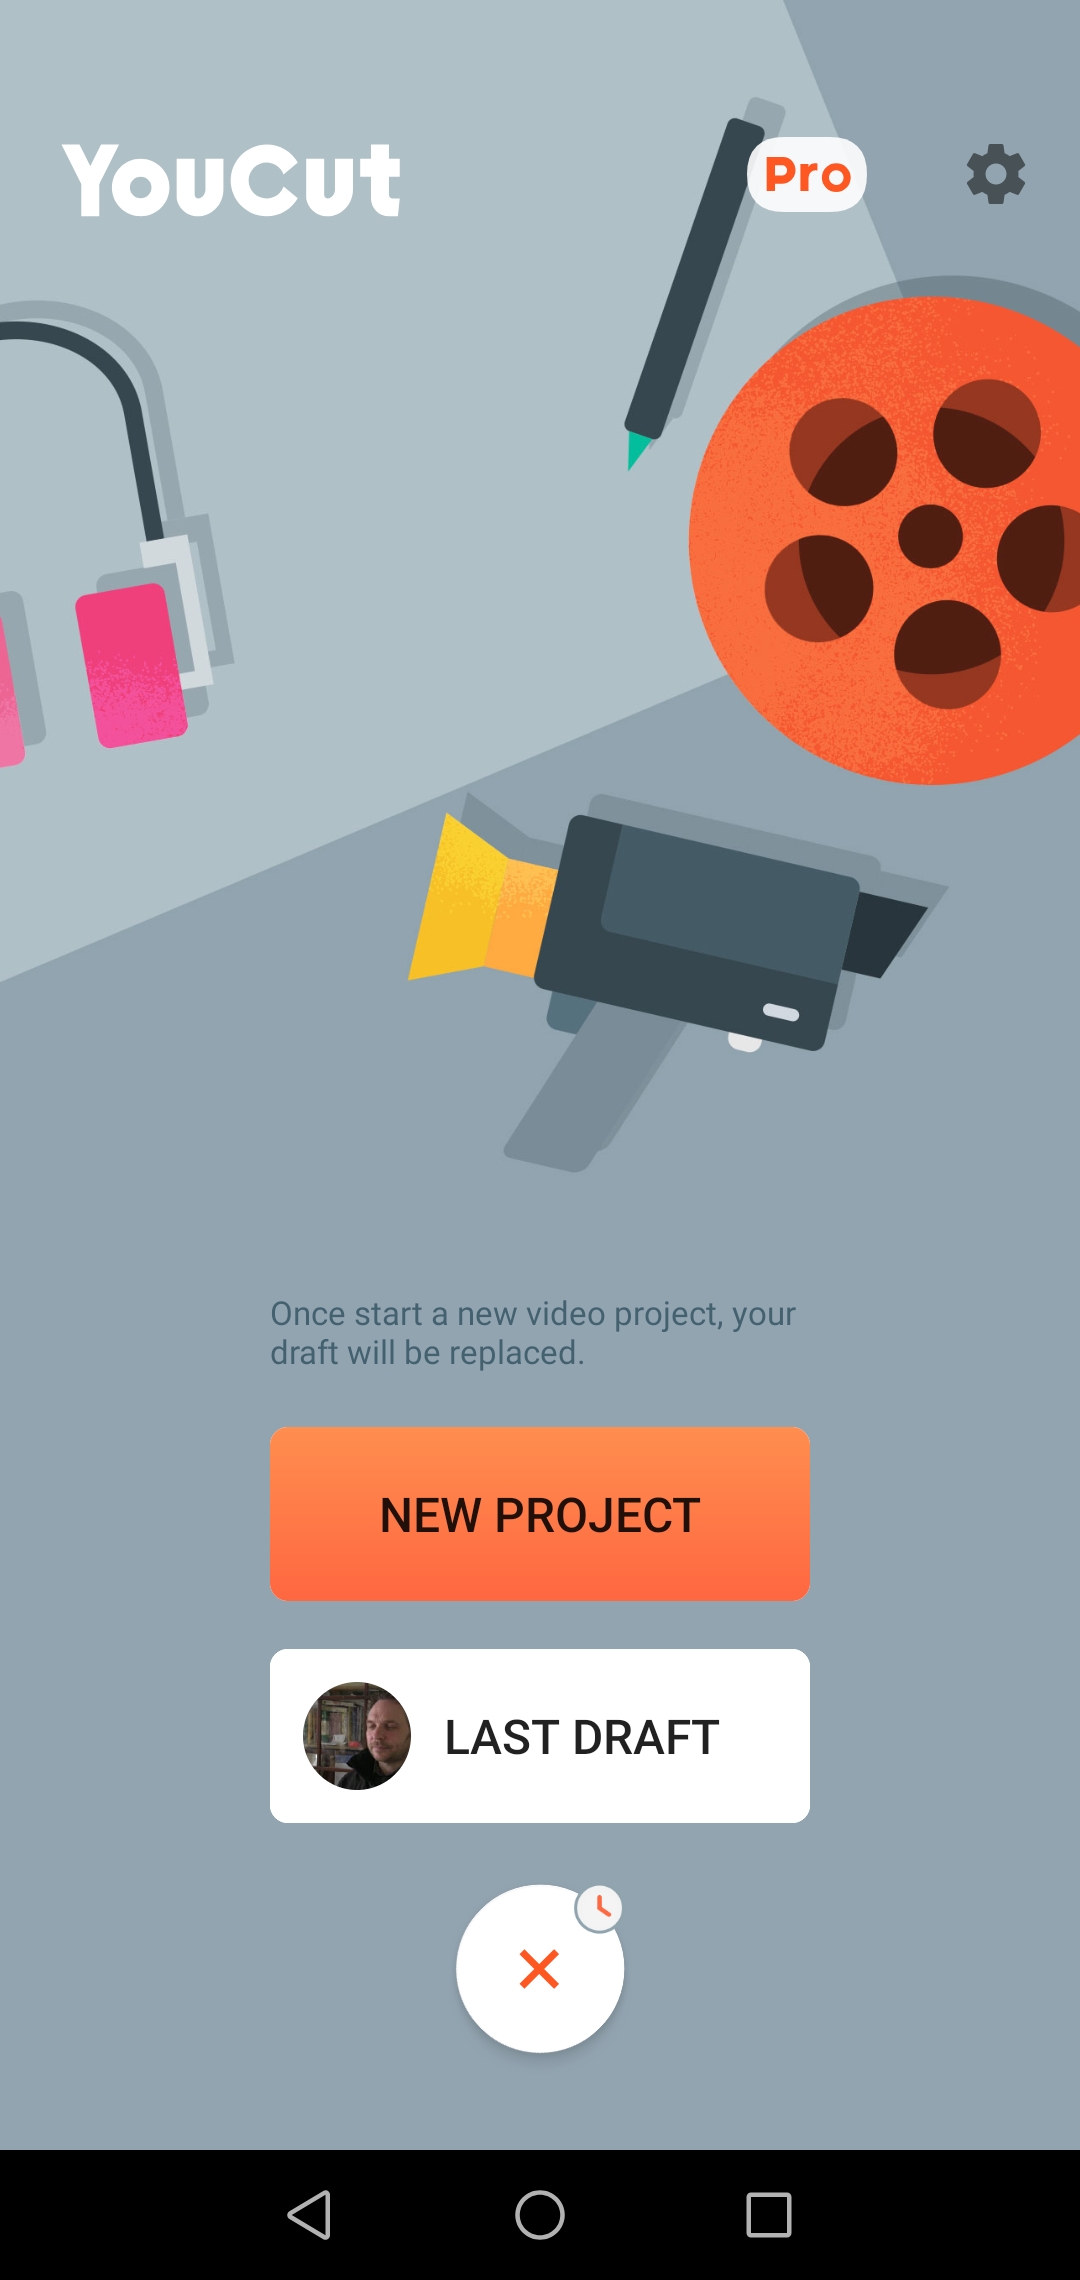
Click the + sign: and pick New or Last Draft. Draft will allow you to continue editing the last video you worked on (as long as you saved it as a draft).
You can draft everything you work on, even if you are exporting it, but you can only save one at a time (you will only have access to the last one you saved).
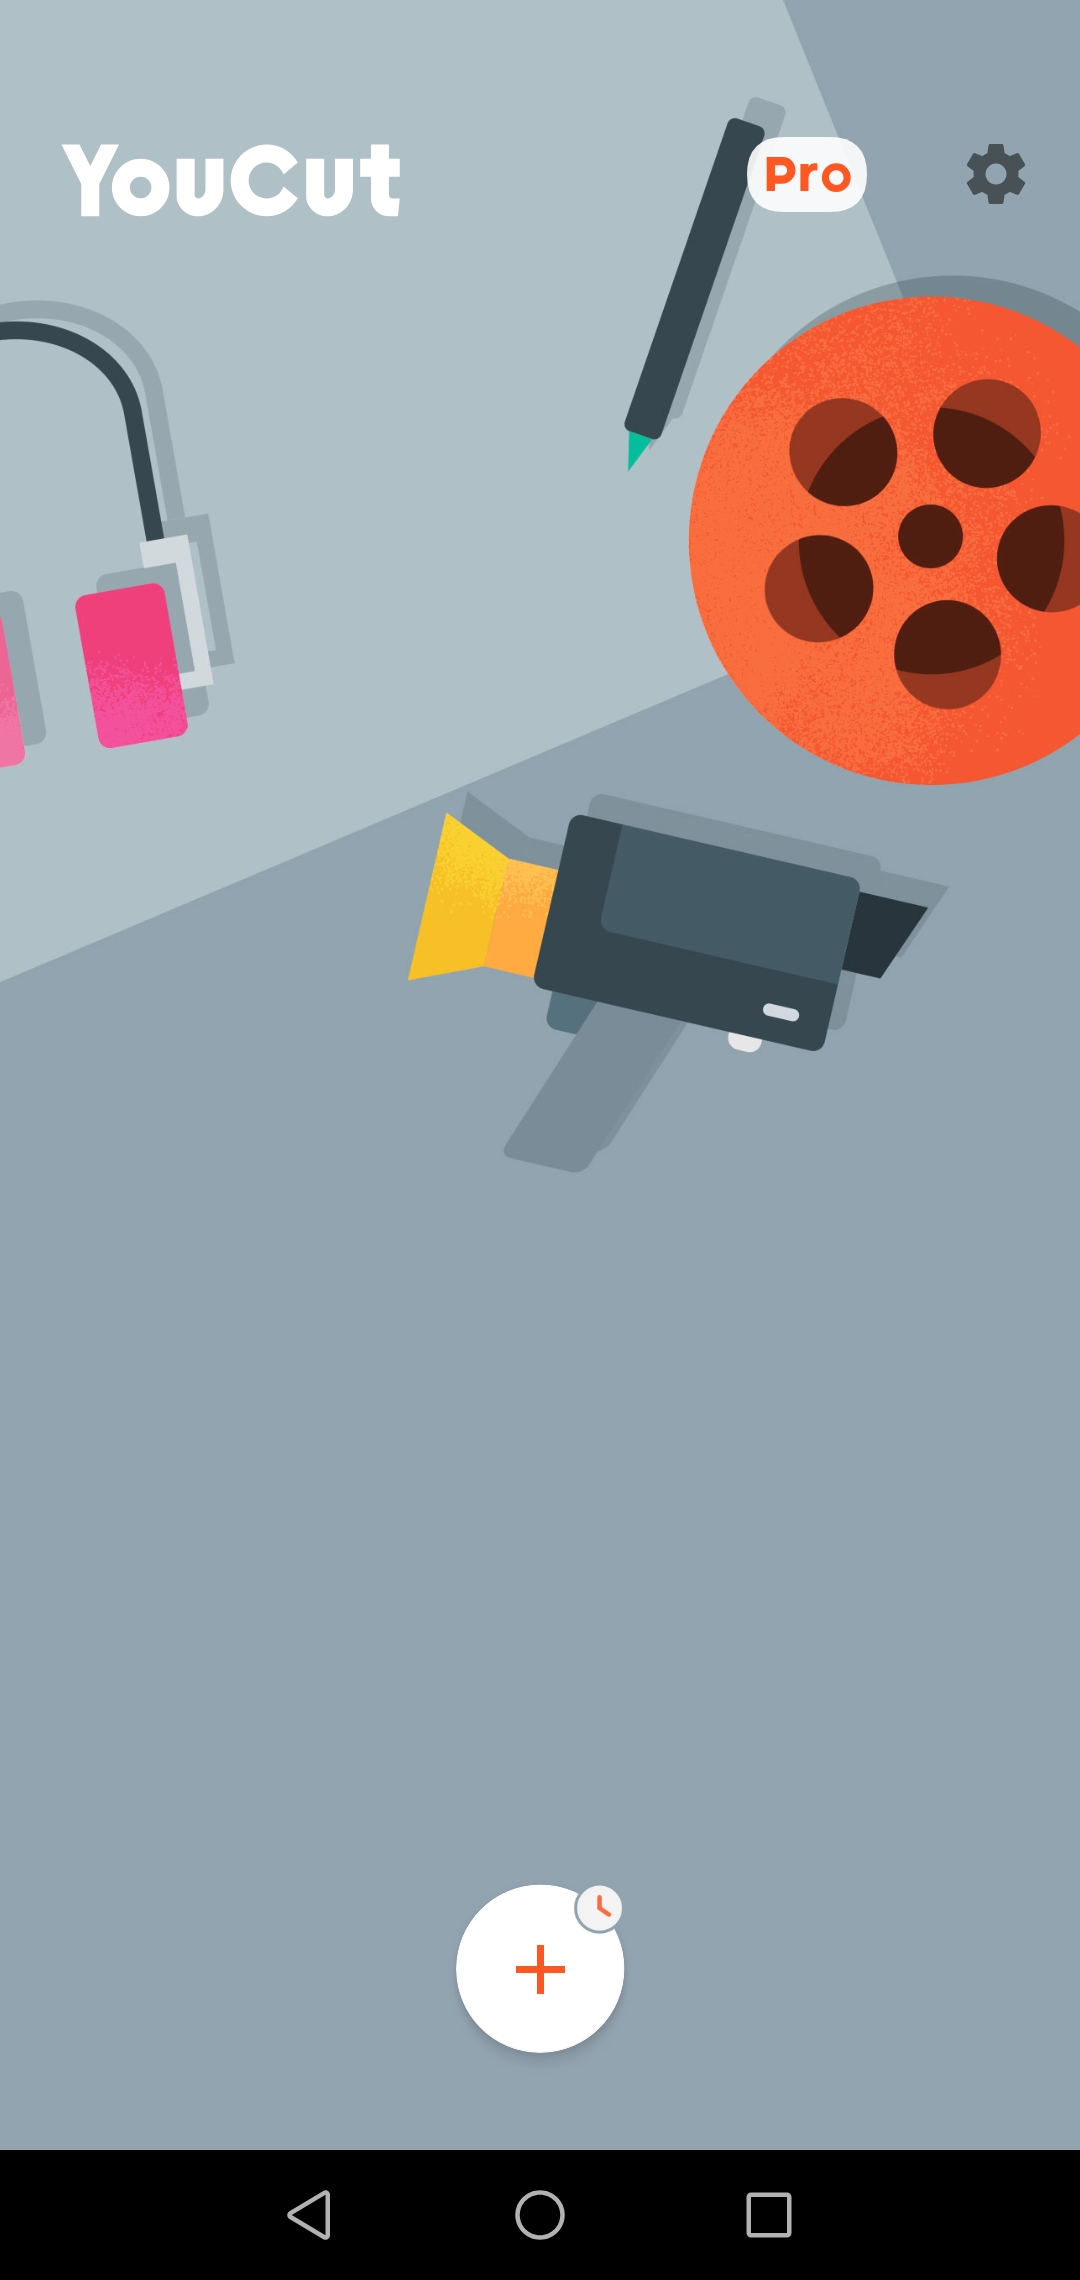 Start screen
 Choose either new project or last draft When you select a file, you can trim (shorten) it and only import (upload) part of it, by clicking on the scissors in the bottom right corner of the thumbnail, if you are not sure how much you need, then import the whole thing and trim it later.
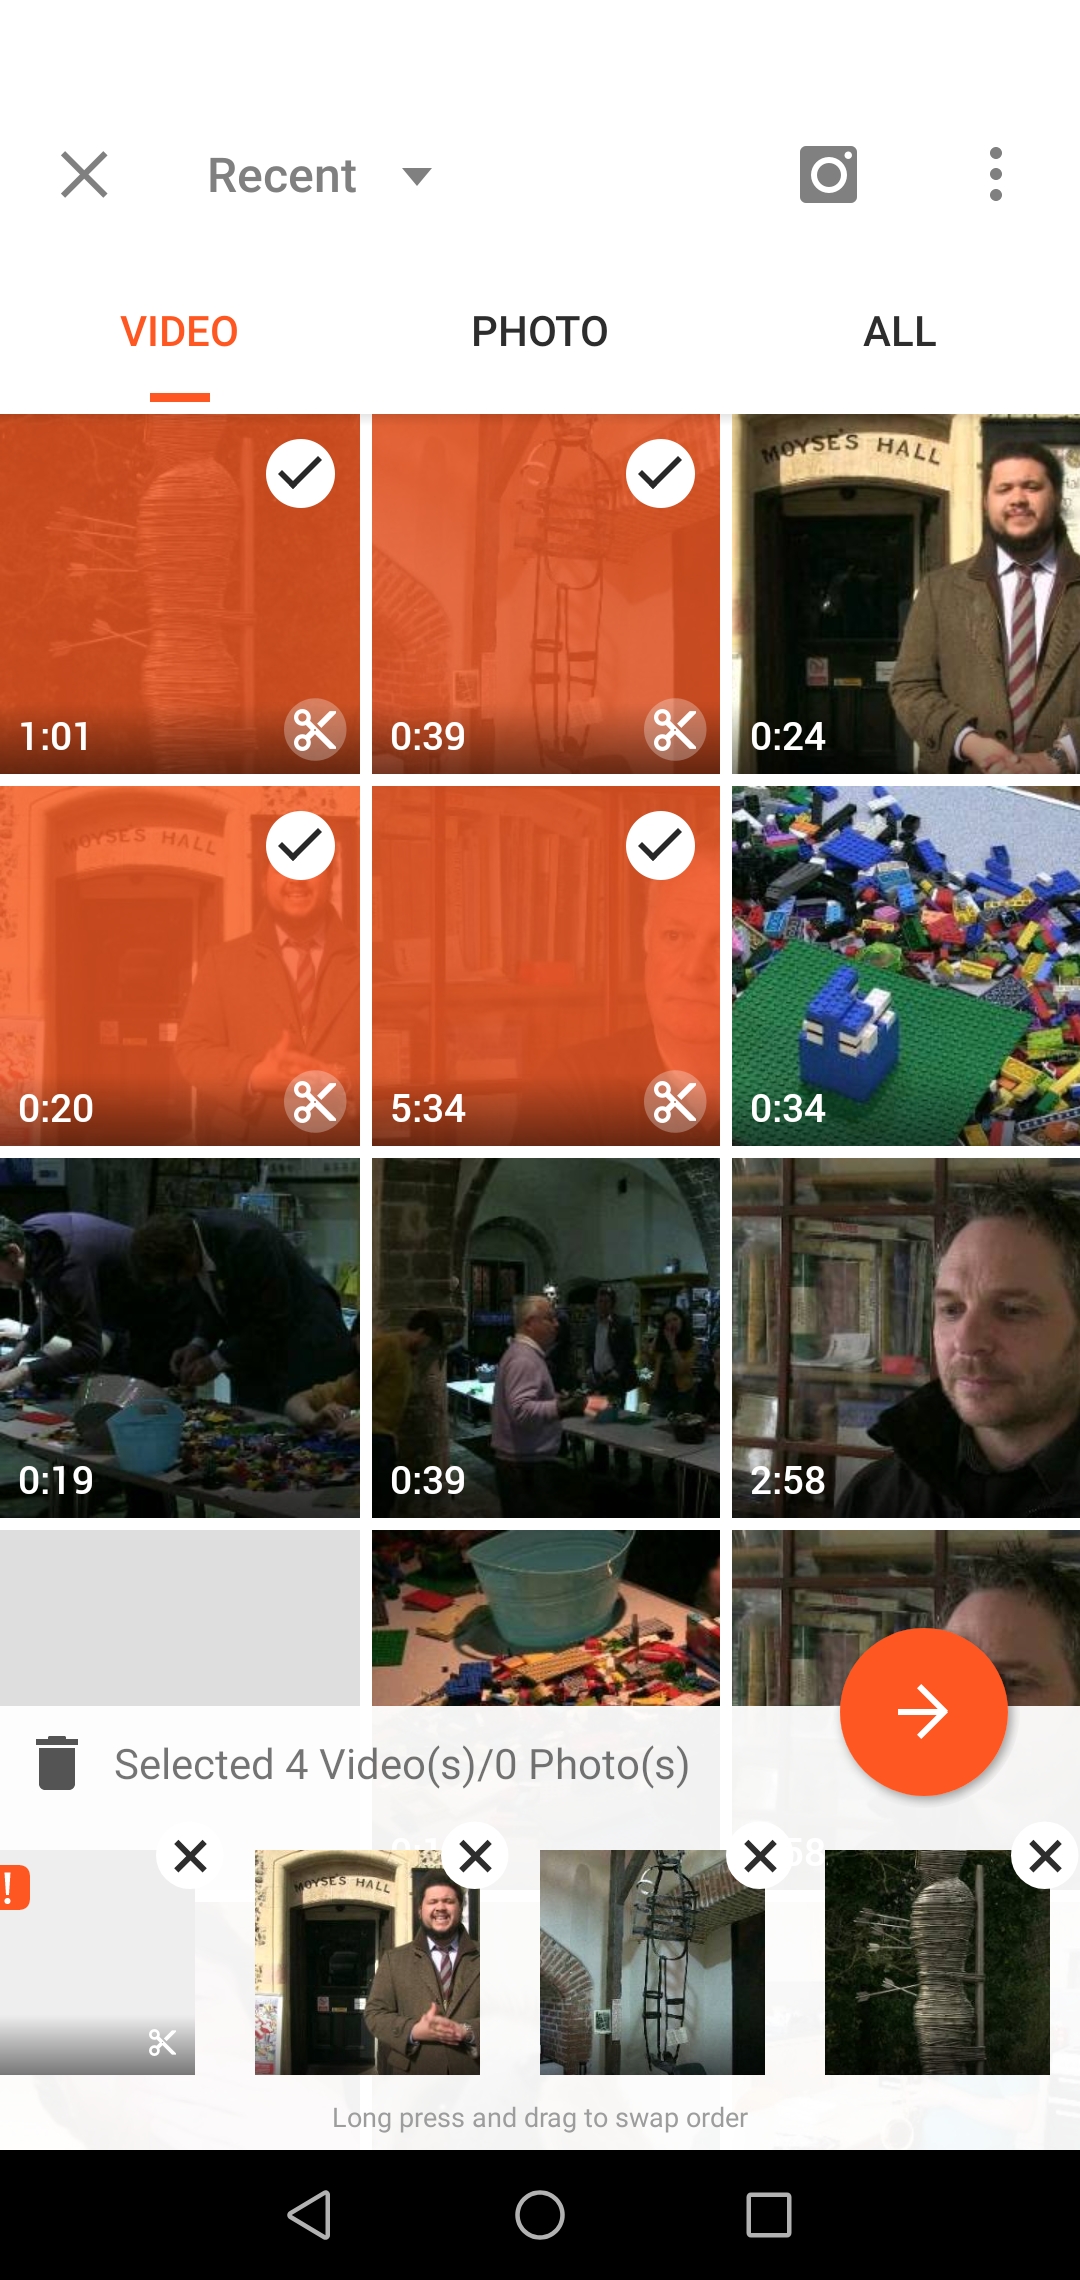 Select media to import
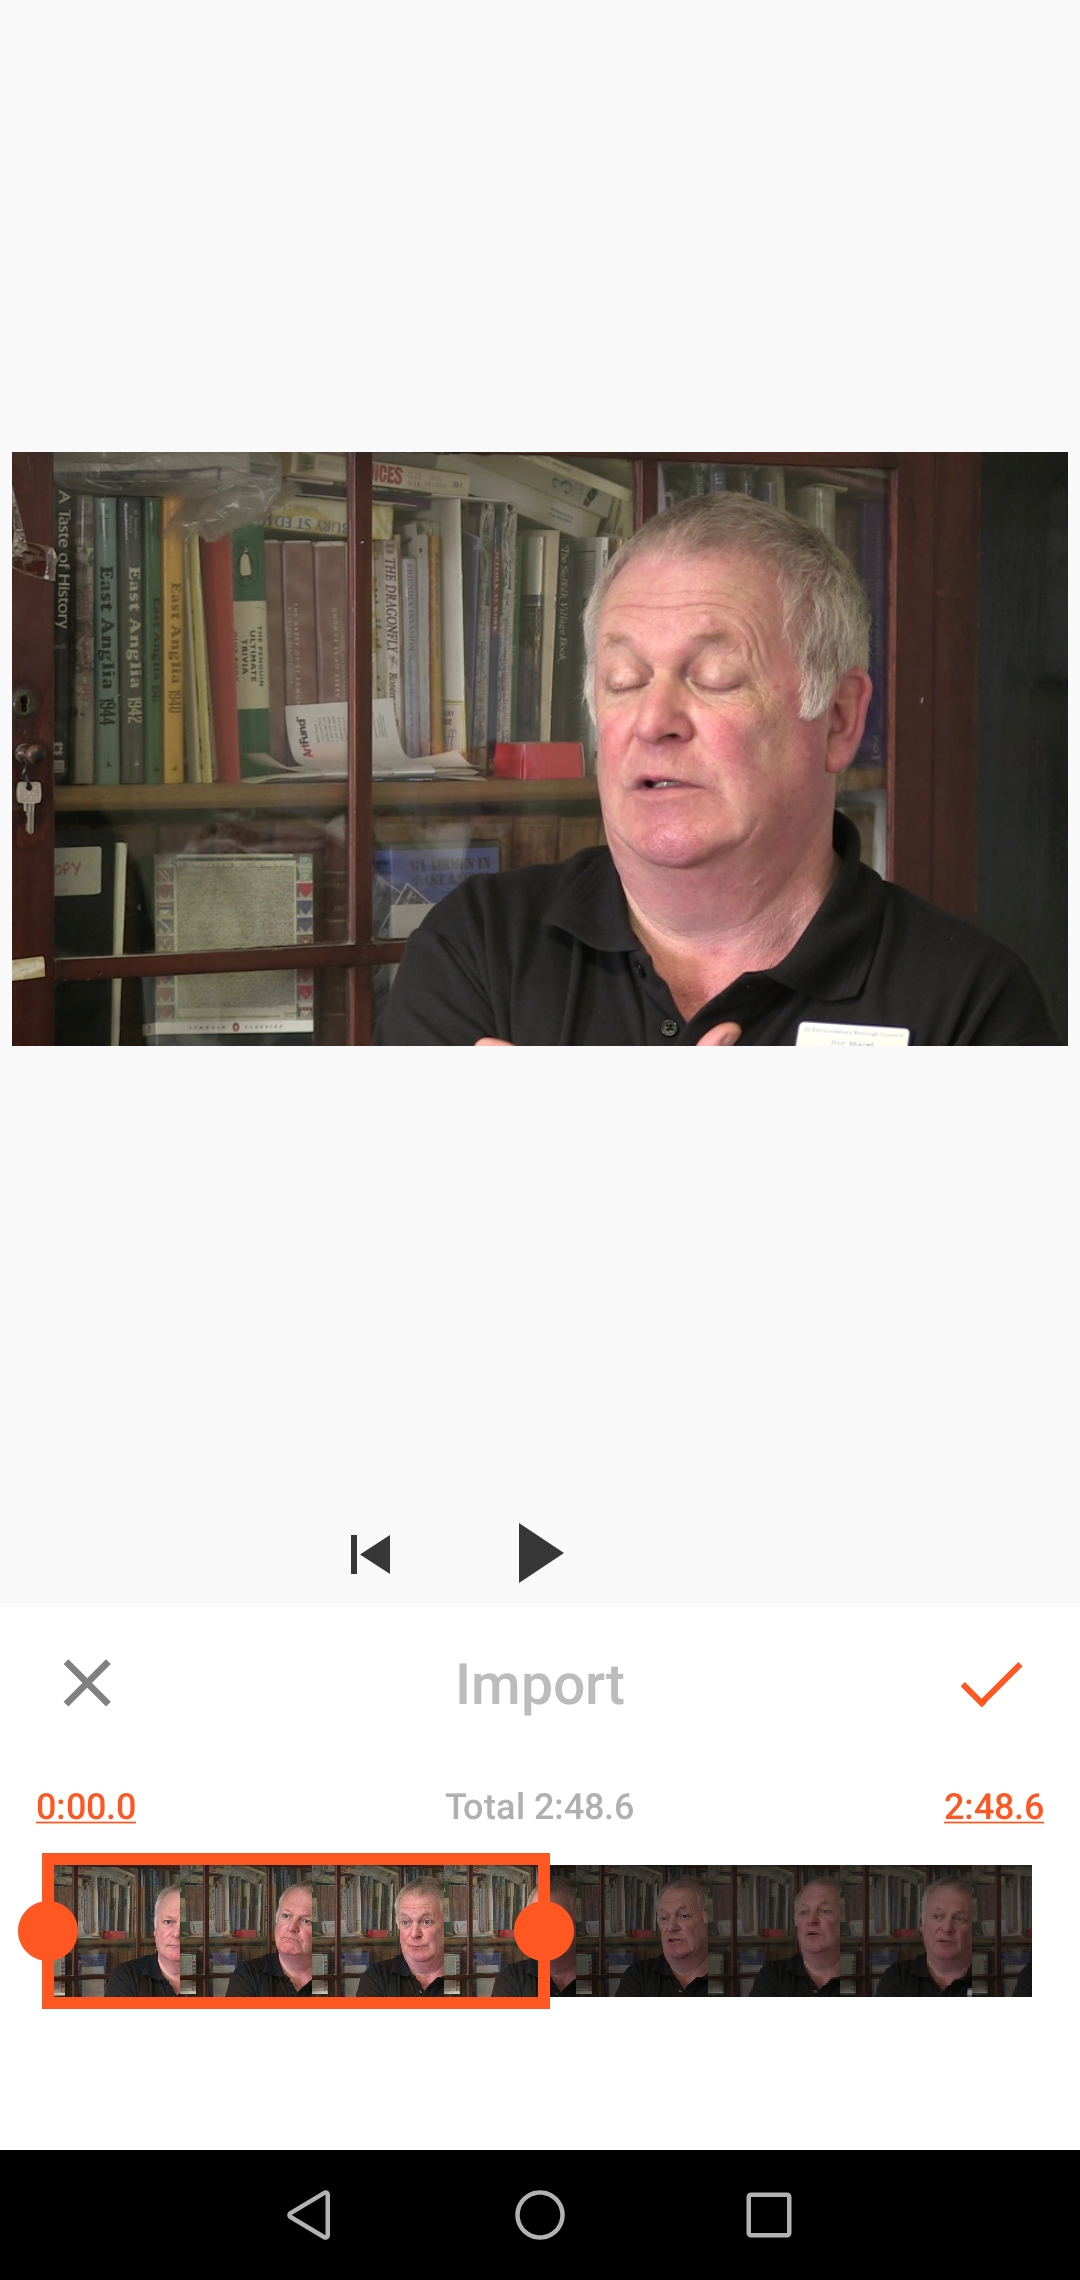 Trimming the media before you import it
Step 2:Sort order
You should have a basic idea of what your video will start and end with. To put the clips in the order you want, press down on one clip until they appear as small thumbnails, which you can then easily rearrange. 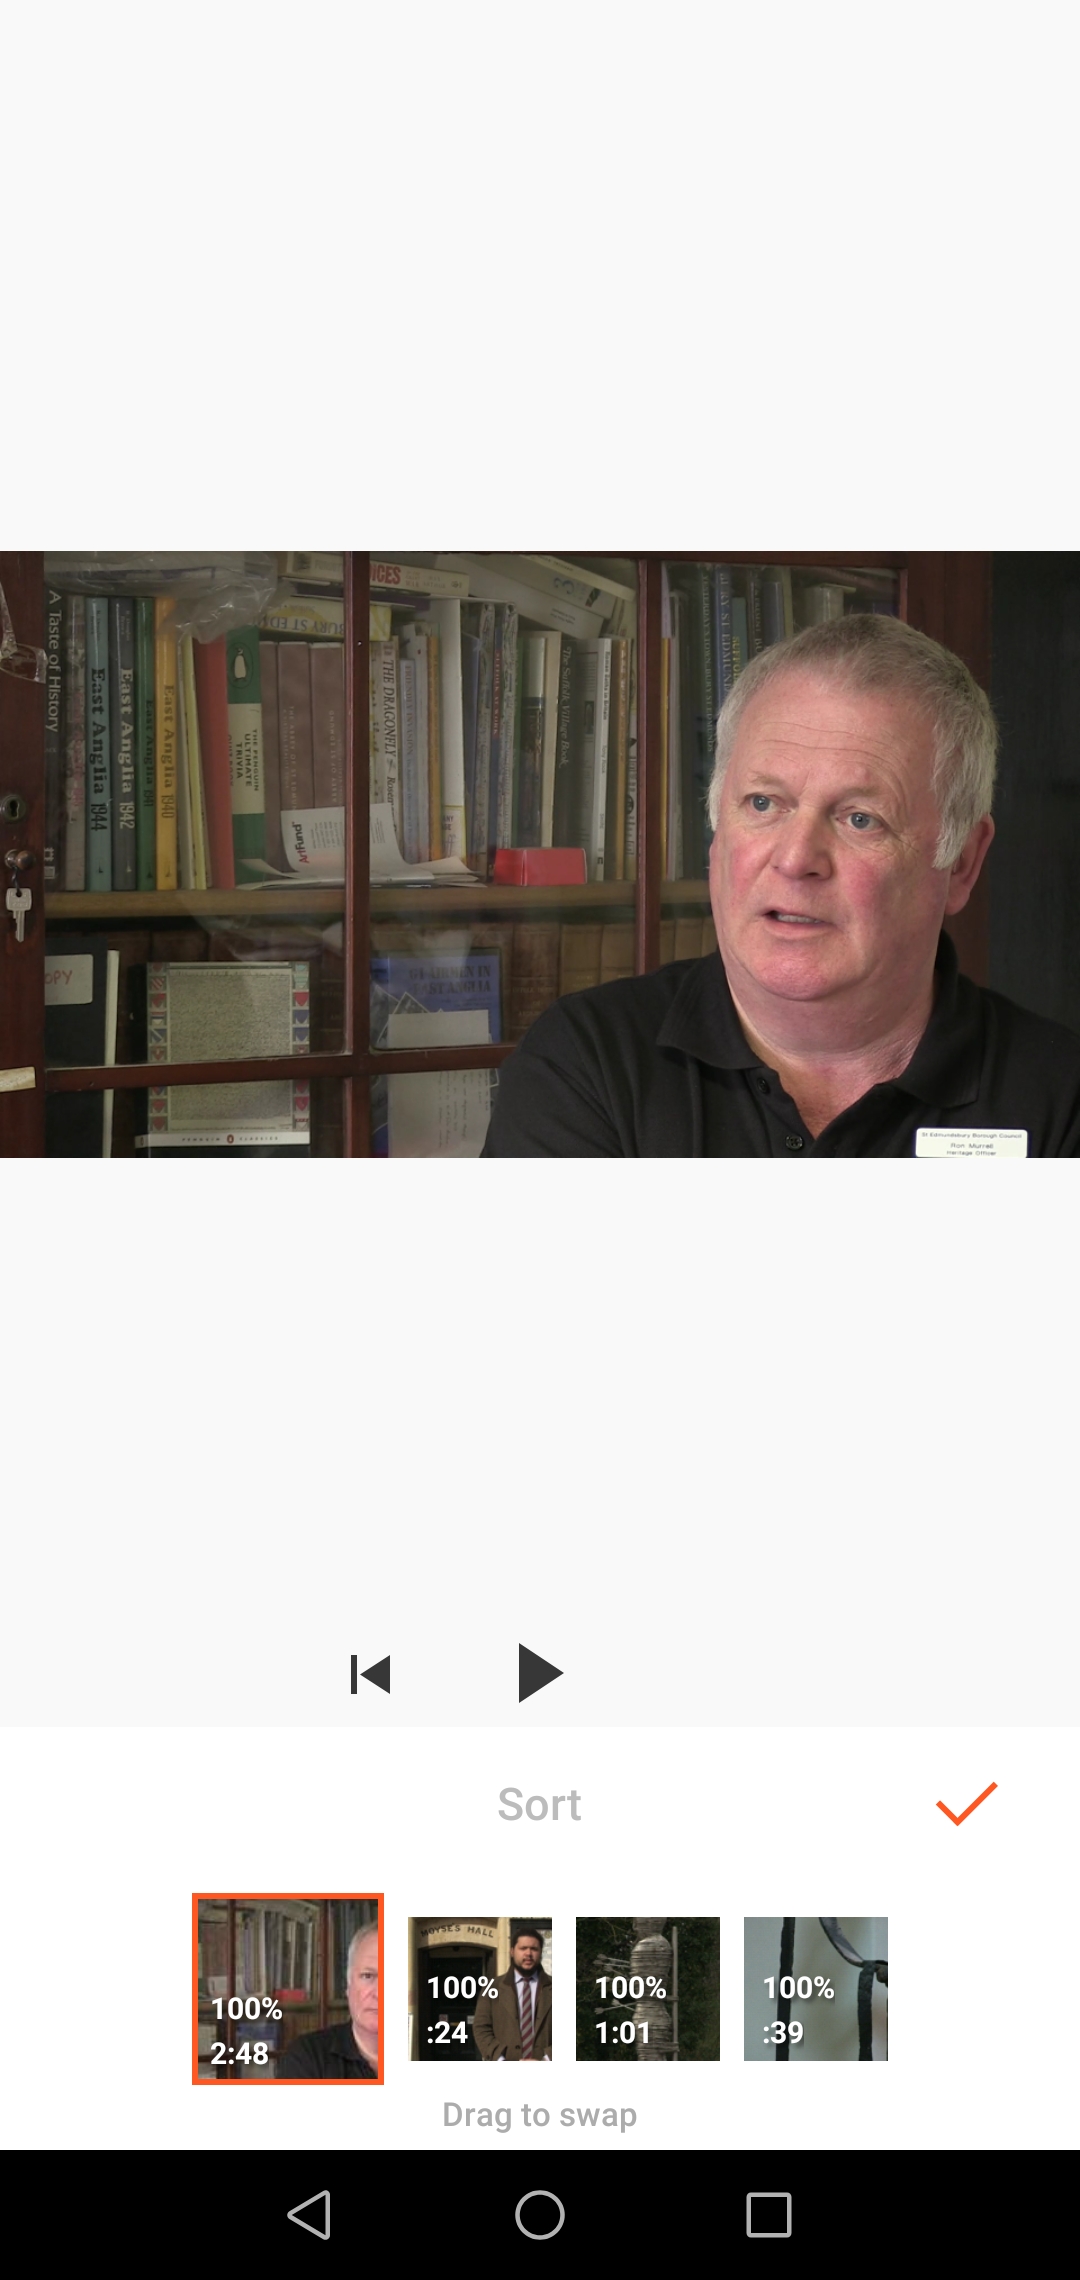 Thumbnails you can reorder
Step 3:Basic editing
Trim: shorten a clip to a desired point, to pick the exact second choose ‘precisely trim’. You can also trim by clicking on the clip and dragging the orange arrow to the point you want to shorten it. You can then use the same arrow to un-trim it and lengthen it to any point in the original clip.
Cut: pick which parts of the clip you want to keep (you can cut 1 or 2 parts at once).
Split: cut clip in half and keep both separate clips.
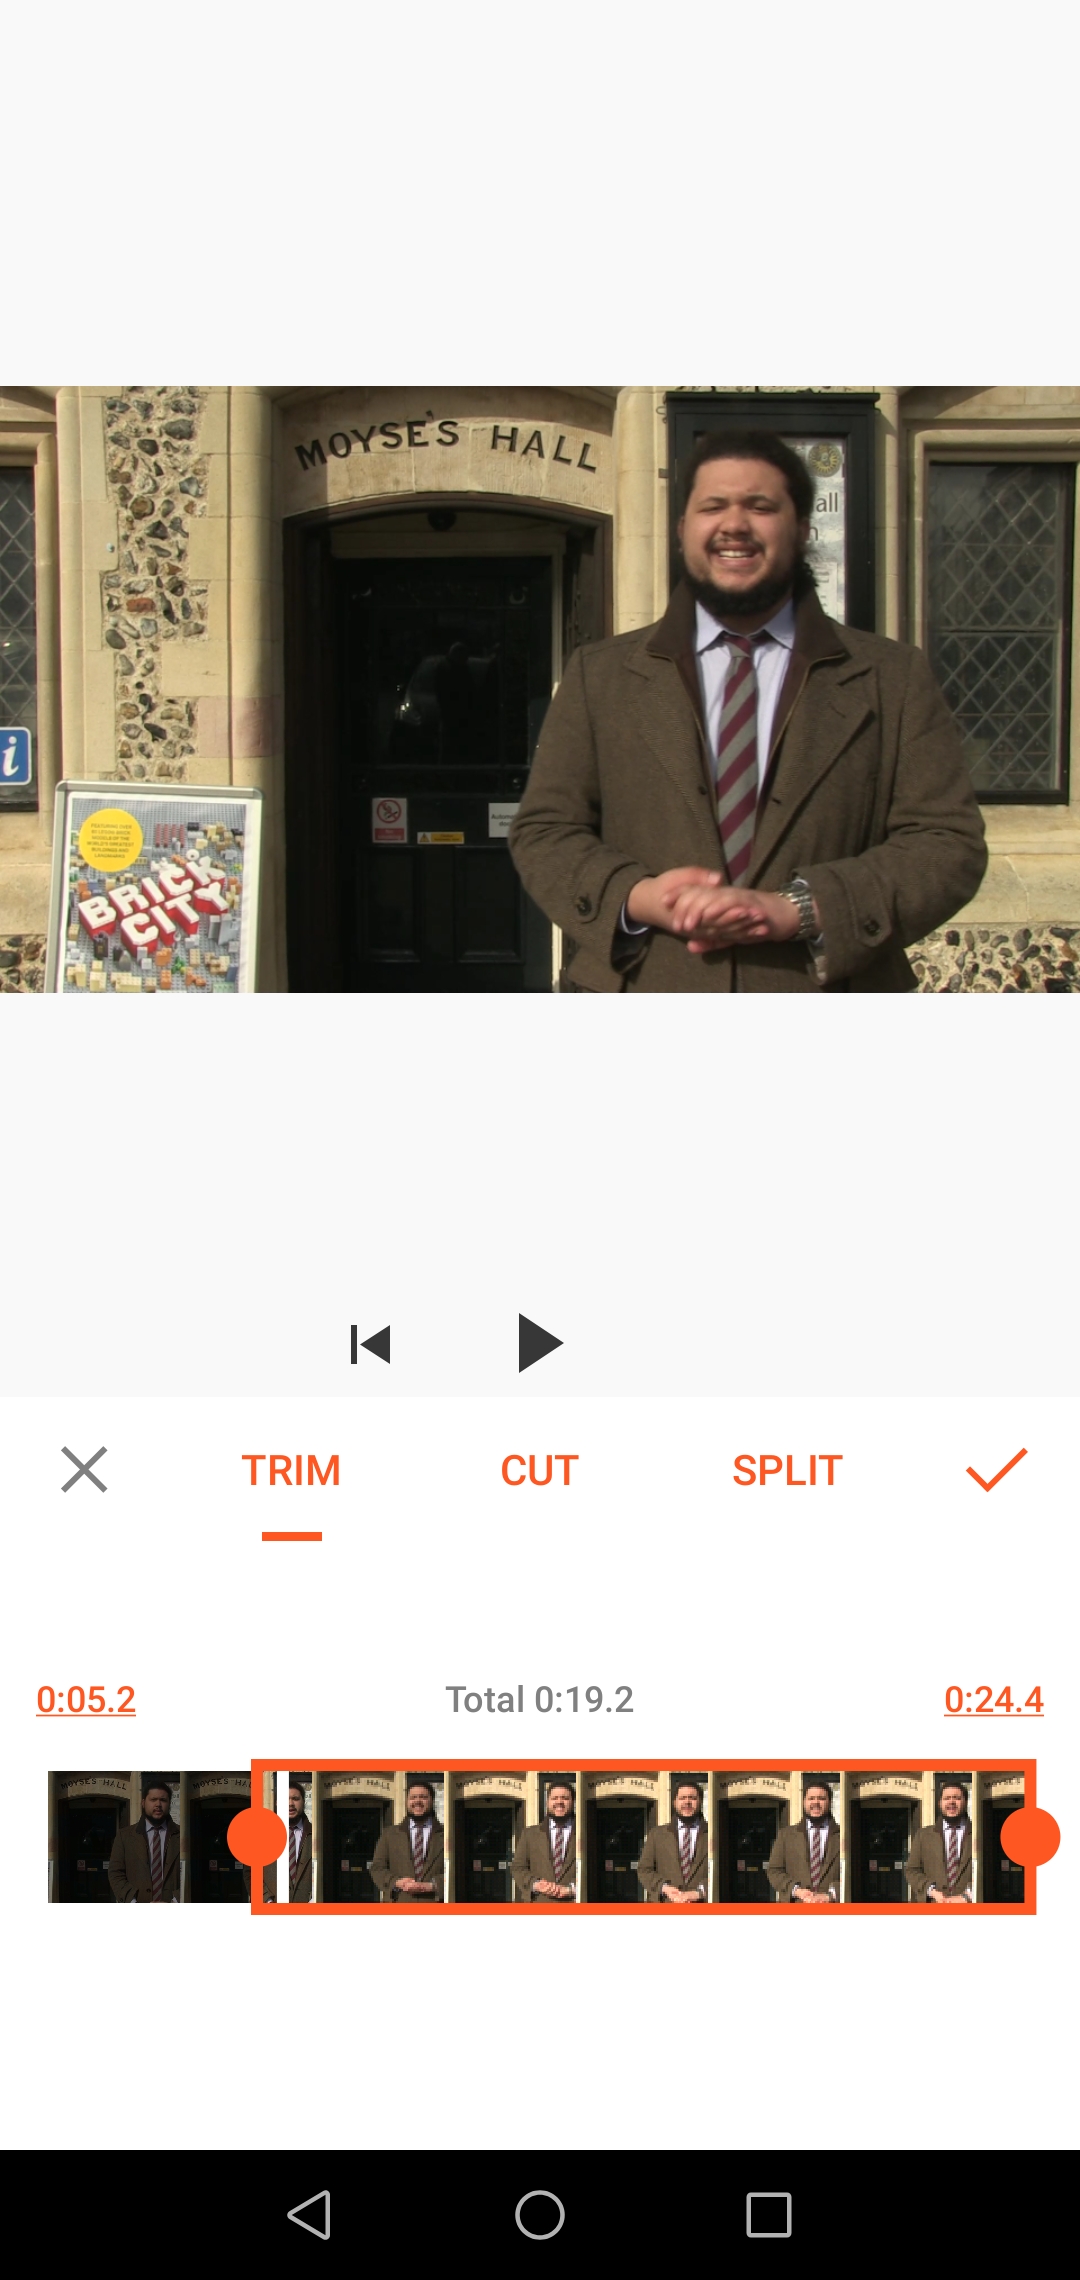 Trim editing options
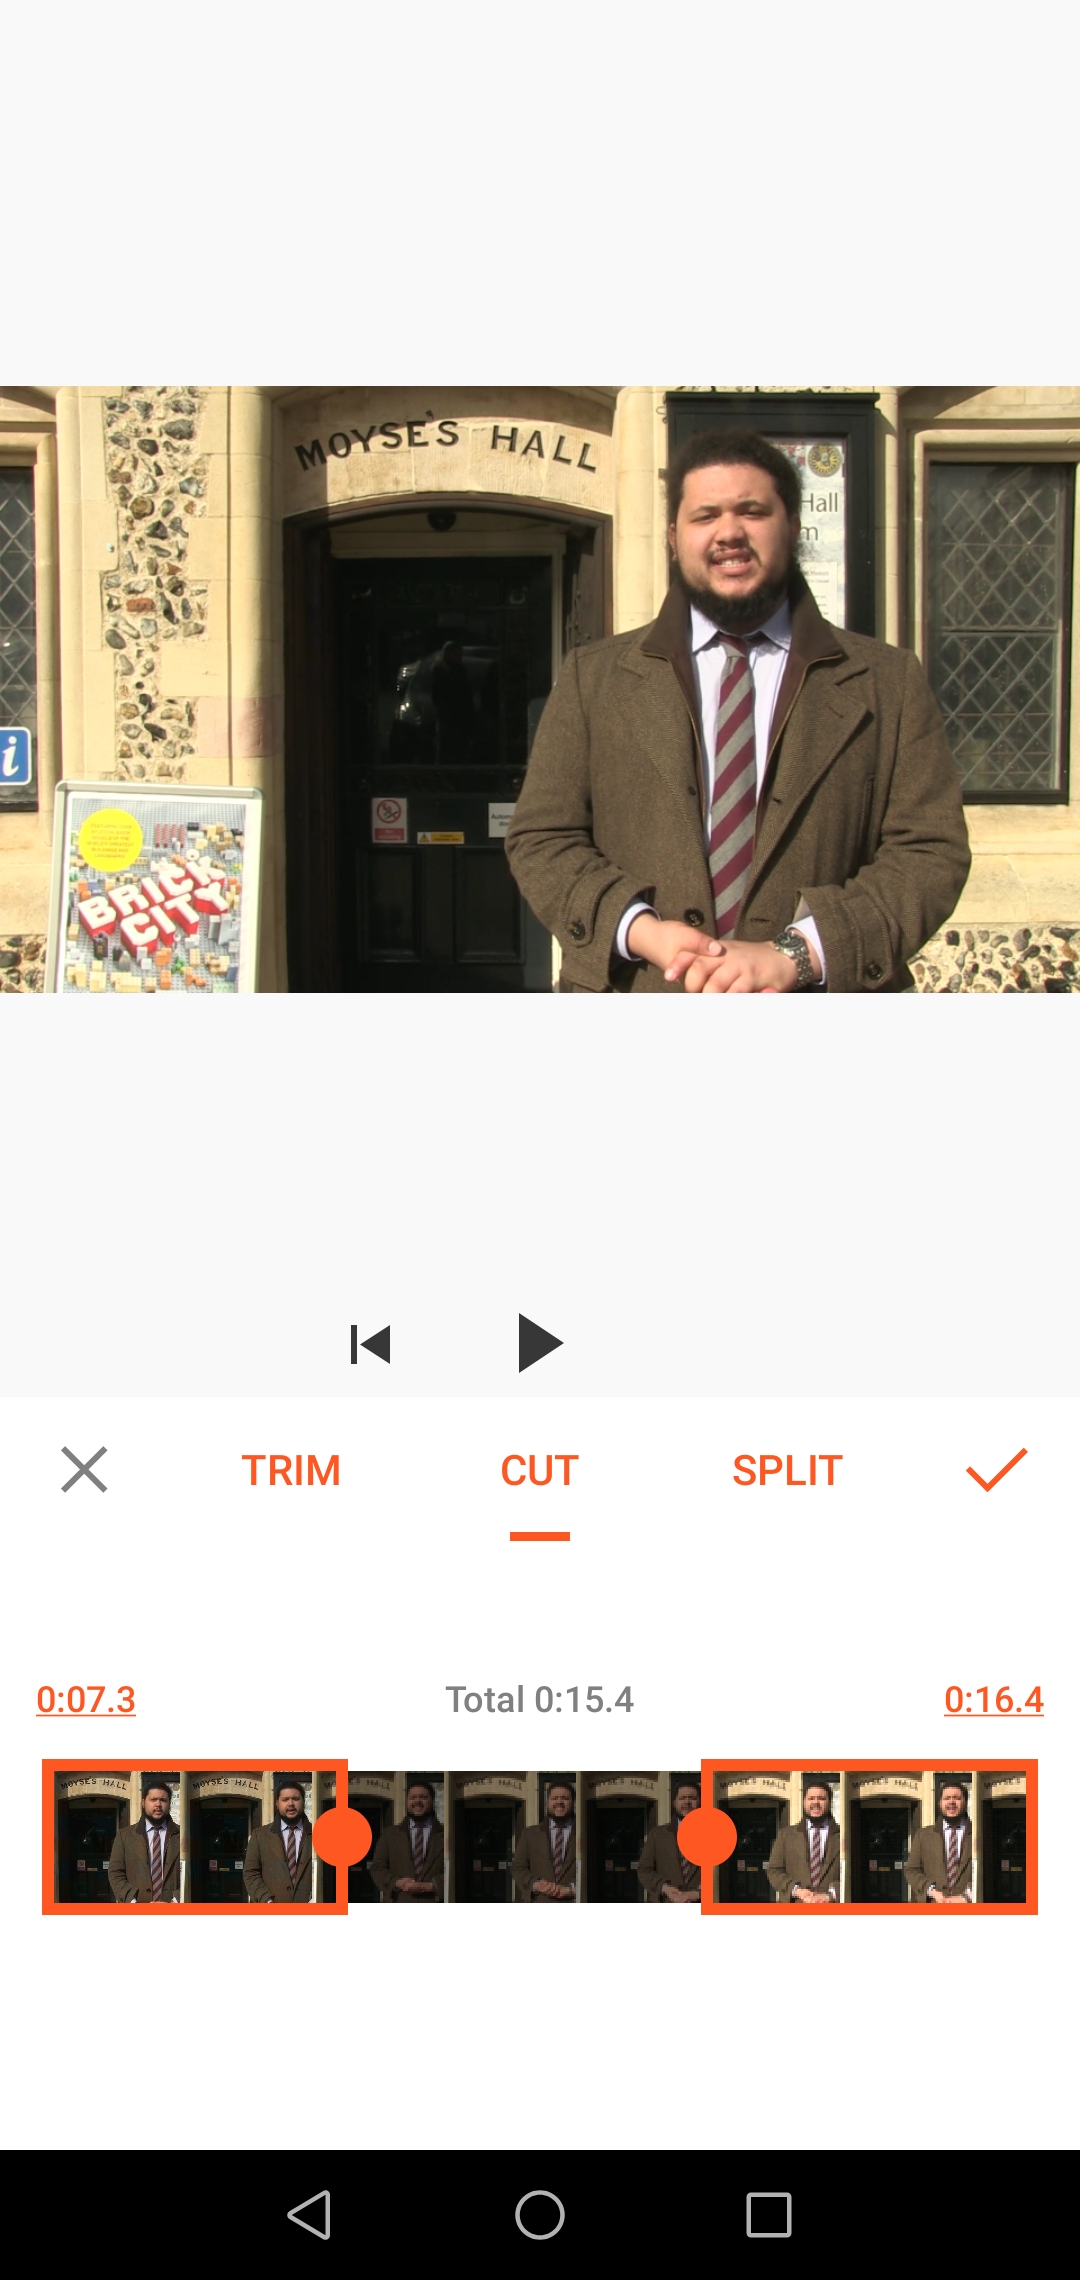 Cut editing options
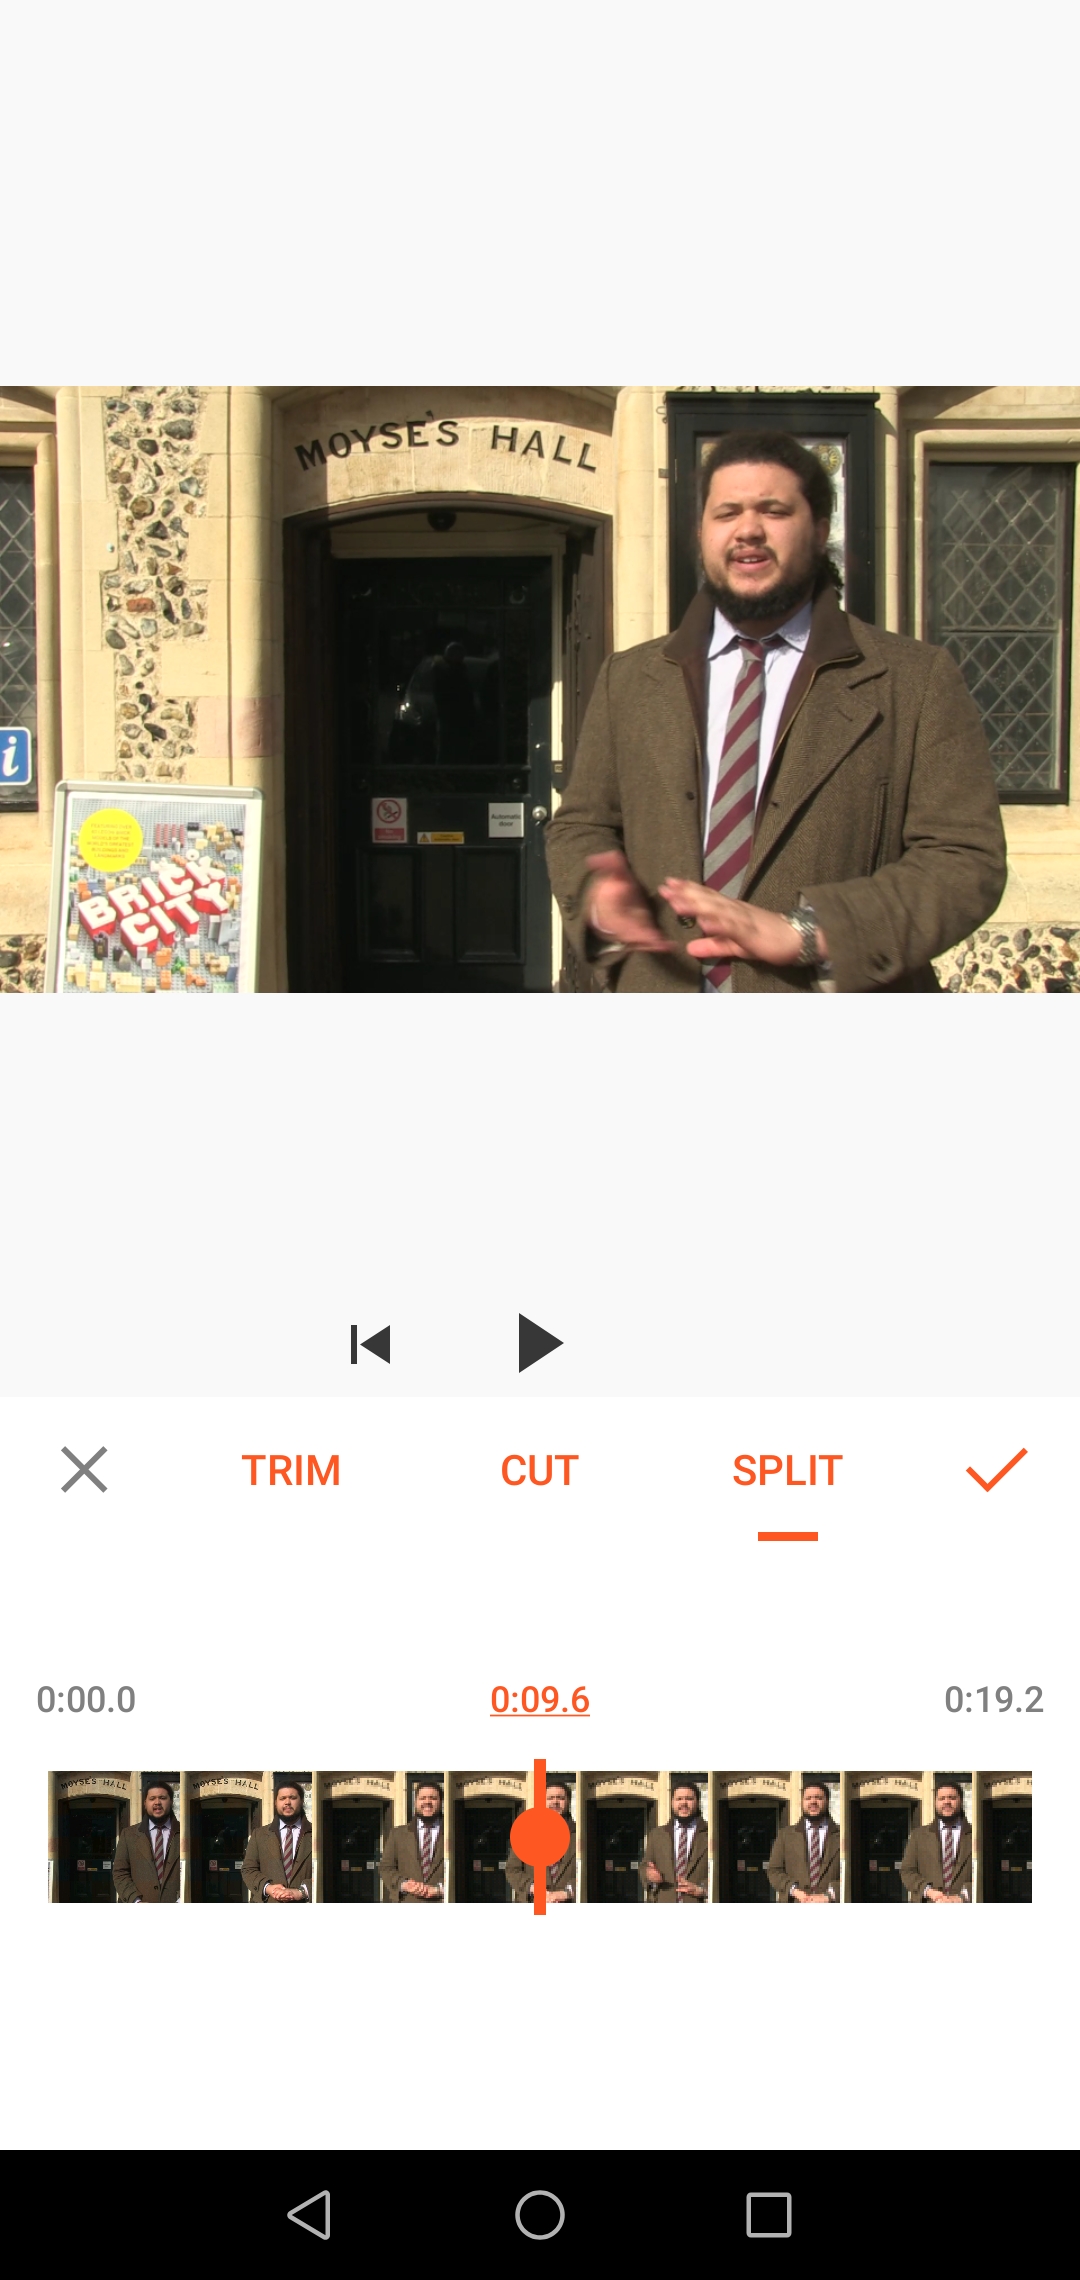 Split editing options
Crop (far right in editing options): you can freehand crop your video or use one of the set dimensions offered. They are tailored to specific platforms e.g. Instagram, so if your video is primarily for social media, this can be helpful.
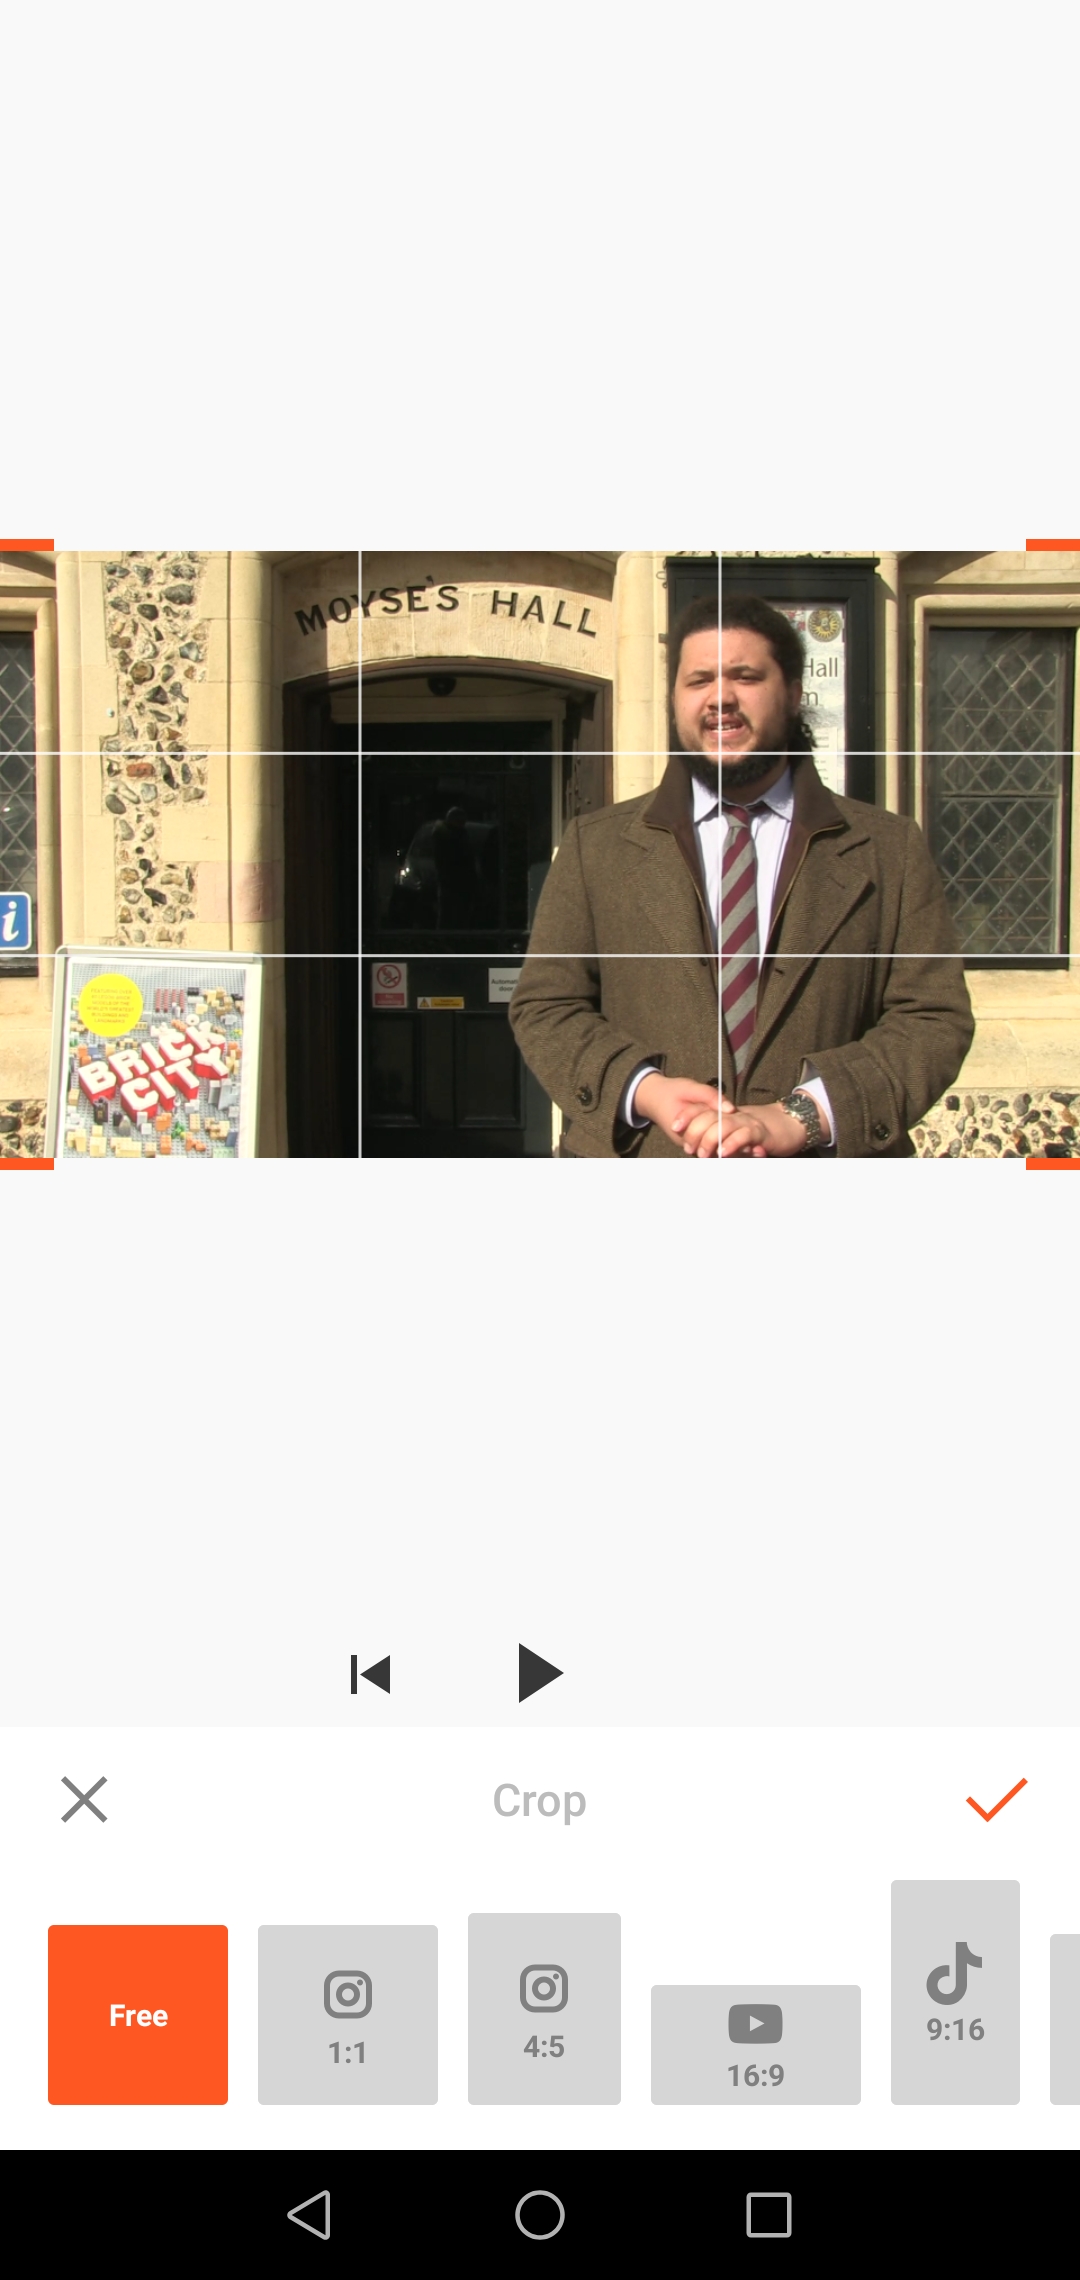 Crop options
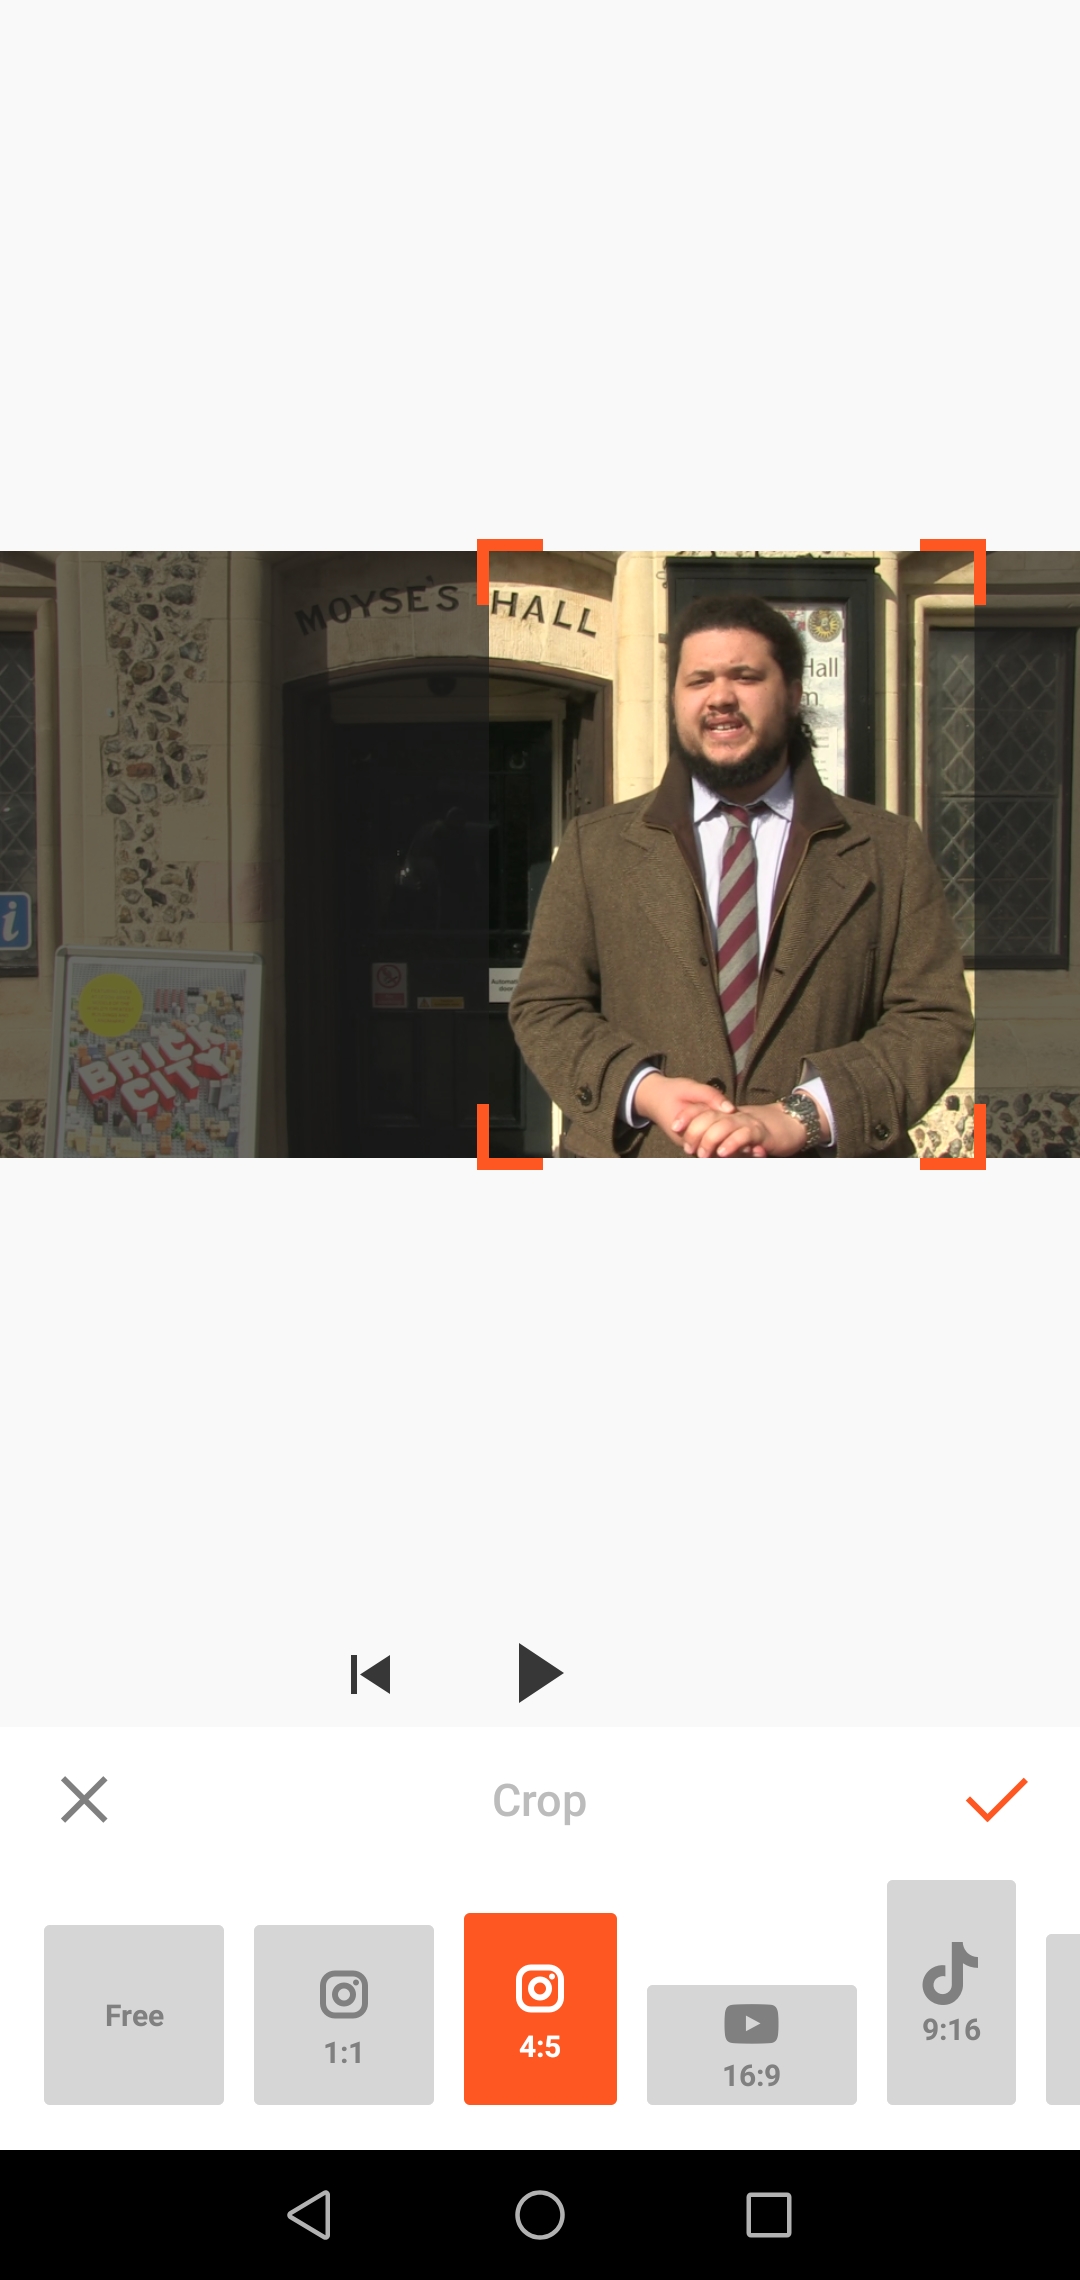 Tailored cropping options
If you have cut or split your clips and now have more, you can redo step 2 and sort their order again. Once you have sorted them you might notice some clips are longer than necessary and do not transition smoothly to the next, you may need to re-trim your footage.
A note about GV shots (AKA: B-Roll, cutaways. Any shots intercut with the main one)
You cannot layer videos on this app, so you will not be able to use GV (General View) shots while the first clip’s audio still sounds. However, you can still use these shots as transitions between interview questions, using either their own audio or music over them.
One way you could work around this, would be to add the audio separately (as explained later under Step 5 – Music), but this would require either detaching the audio from your interview (which cannot be done with this app) or using a voice-over recording and adding it to the GV shots.
Transitions
Between each clip on your timeline there is a small white square with a line across it, click on it to see the list of available transition effects. You do not have to use these, they can often be unnecessary and make a video look less professional.
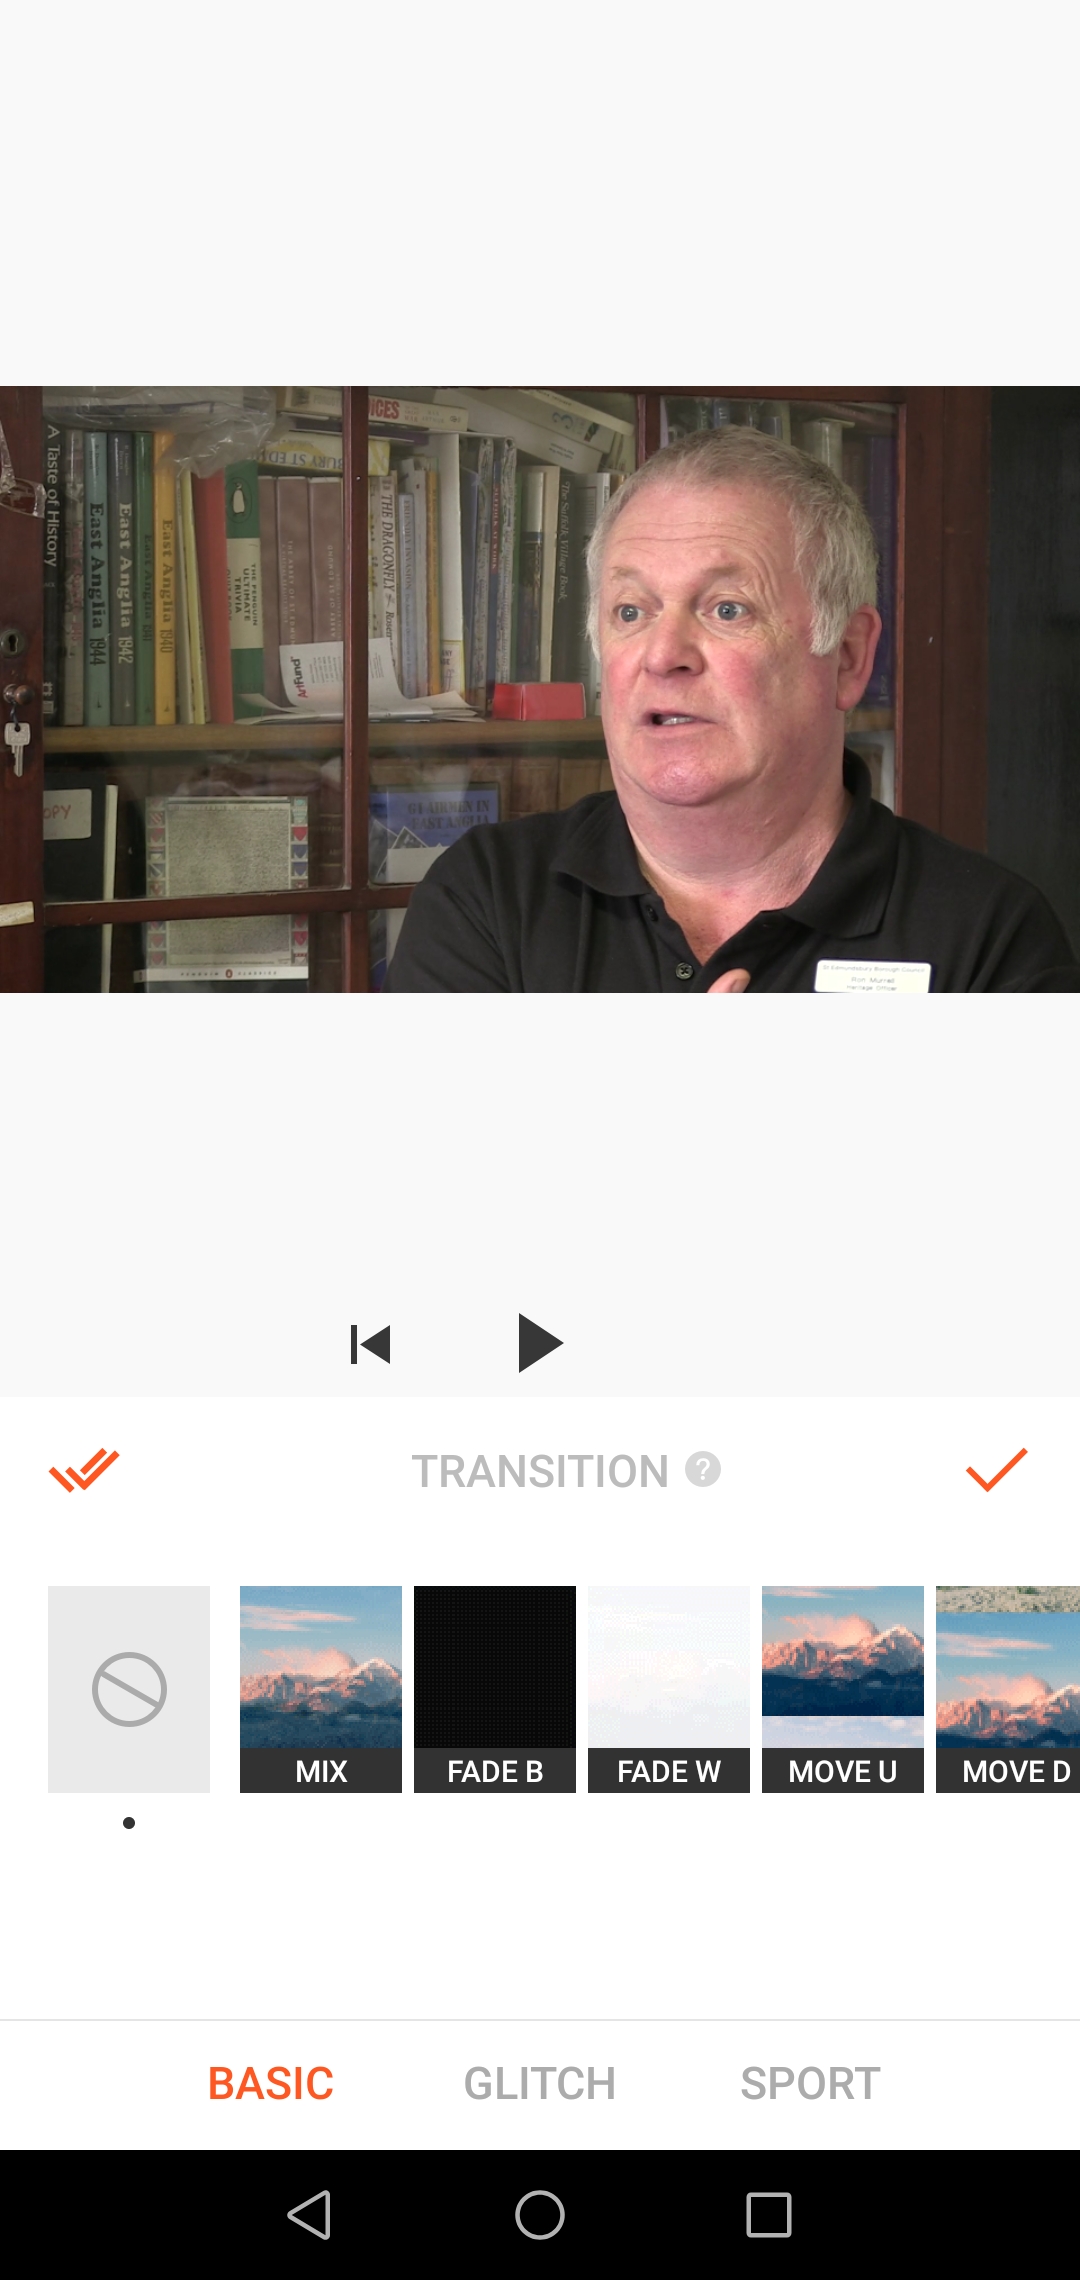 Transition options
Step 4:Image editing & Colour correcting
Filter: avoid set filters since they can make footage look unprofessional - pick Adjust instead to manually adjust brightness, shadows, exposure (the amount of light) etc. Keep your changes simple, you want your footage to look natural and well lit, rather than edited. You should mainly be using this to make all your shots match each other. 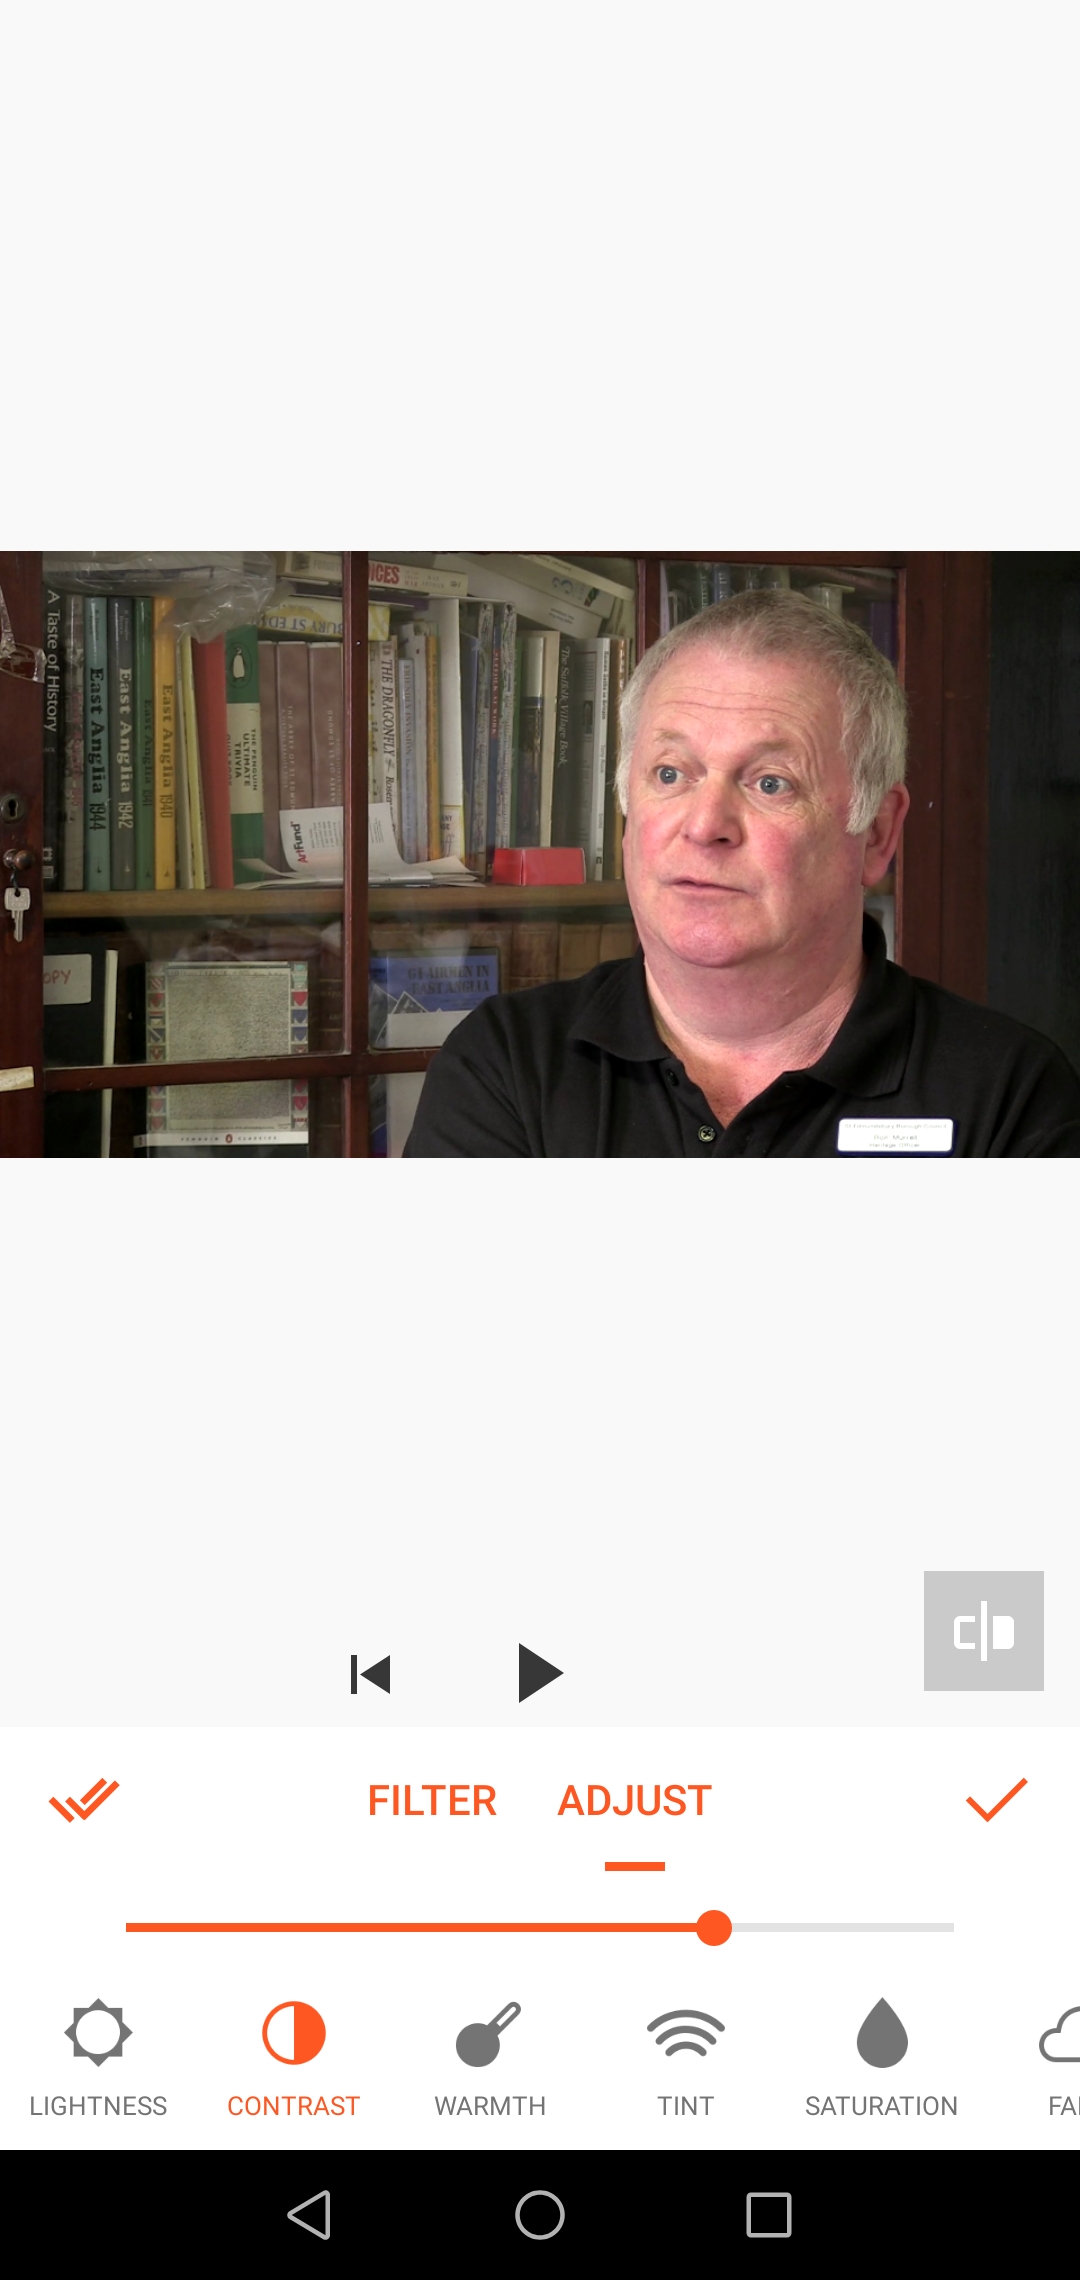 Colour correction options
Effects: If you are editing an interview, these will not be of use. But if you are putting together a fun Instagram promo video and want something quick and eye catching these could help. To apply effects, move to the point you want on your timeline and hold down the desired effect for as long as you want it applied for. If you use something like a glitch effect, make sure to time it perfectly with the equivalent sound effect (YouCut provides a variety of sound effects).
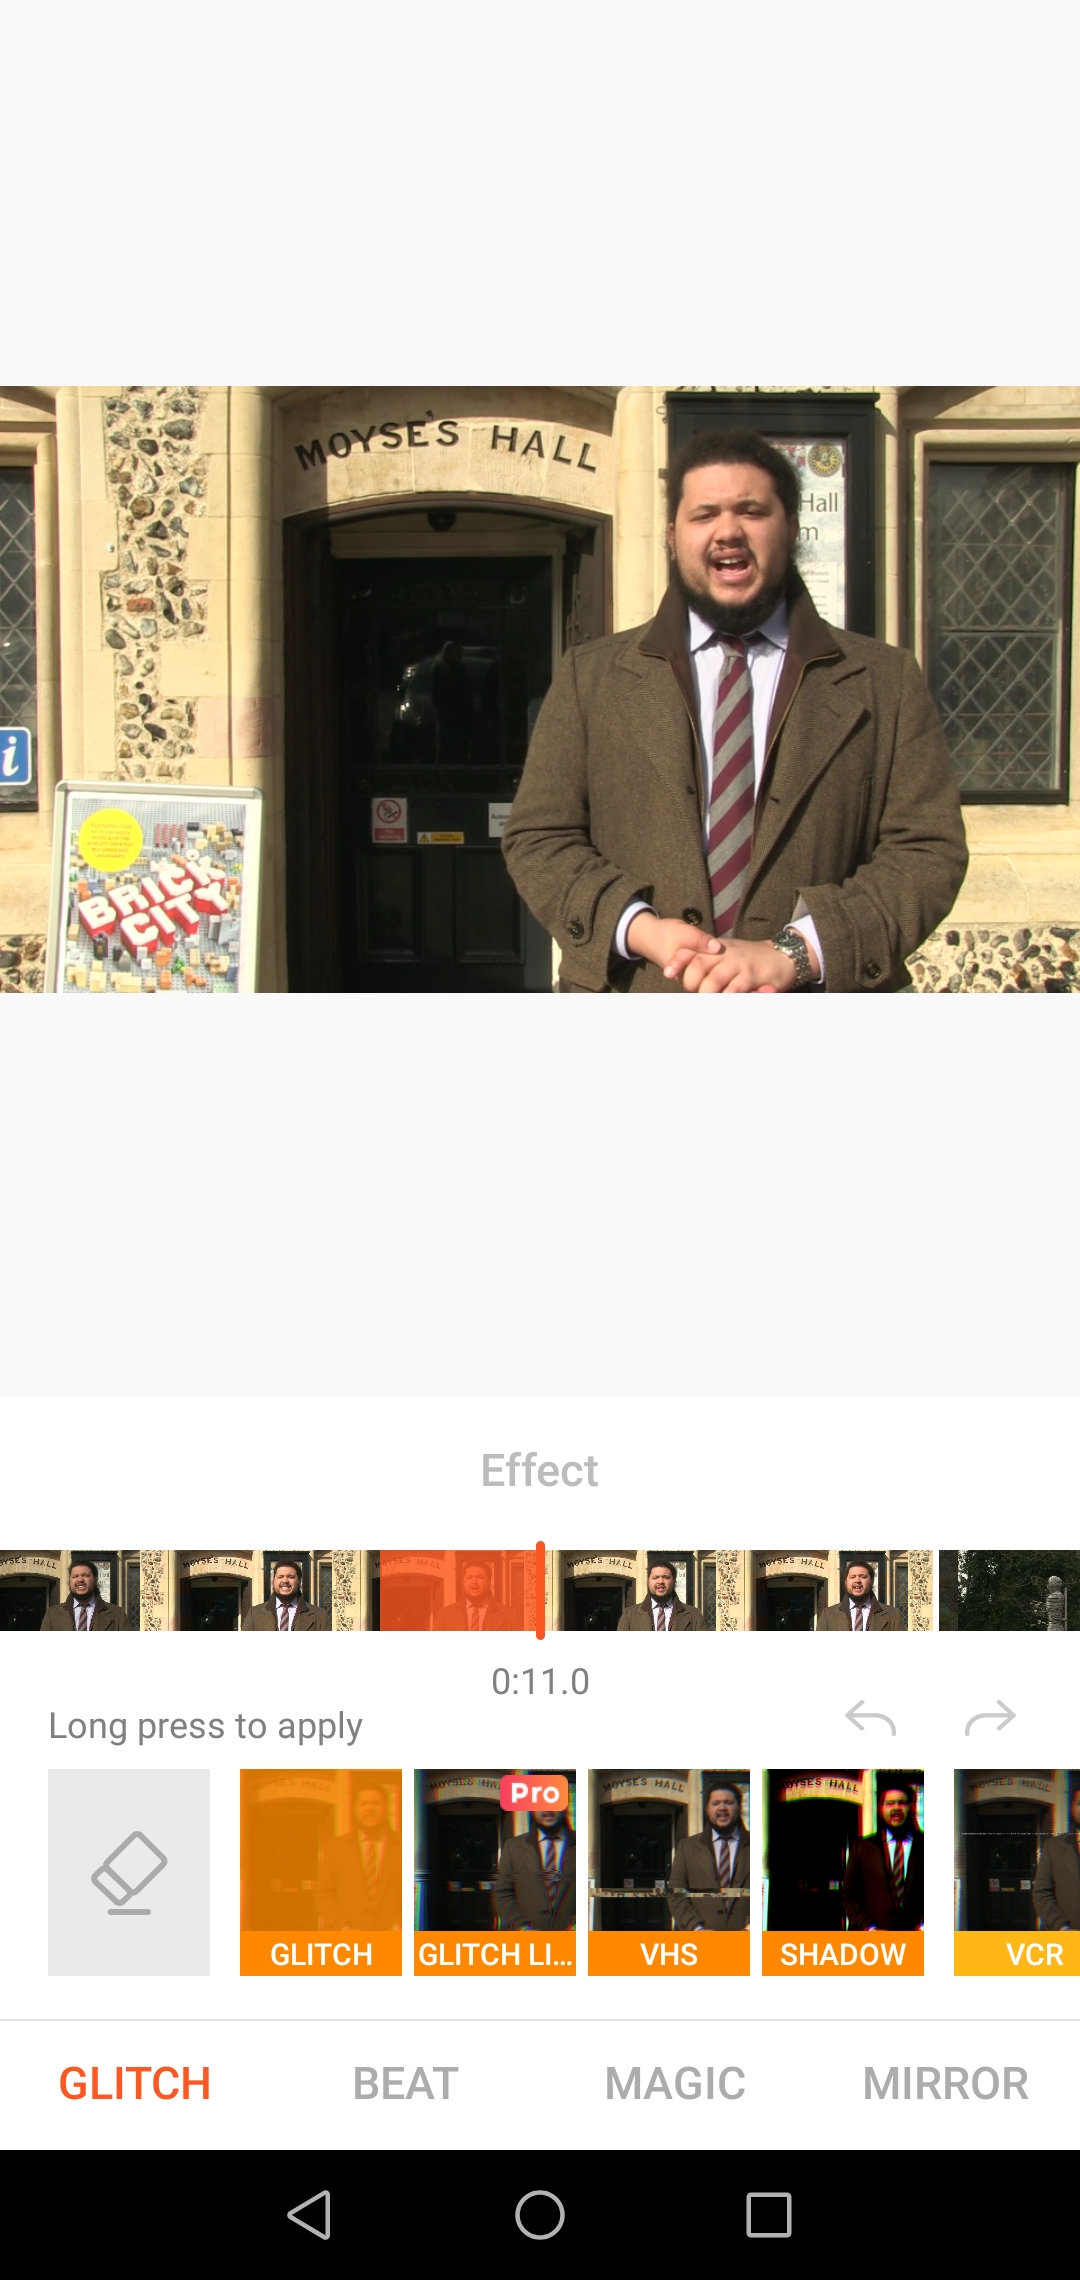 Effects menu
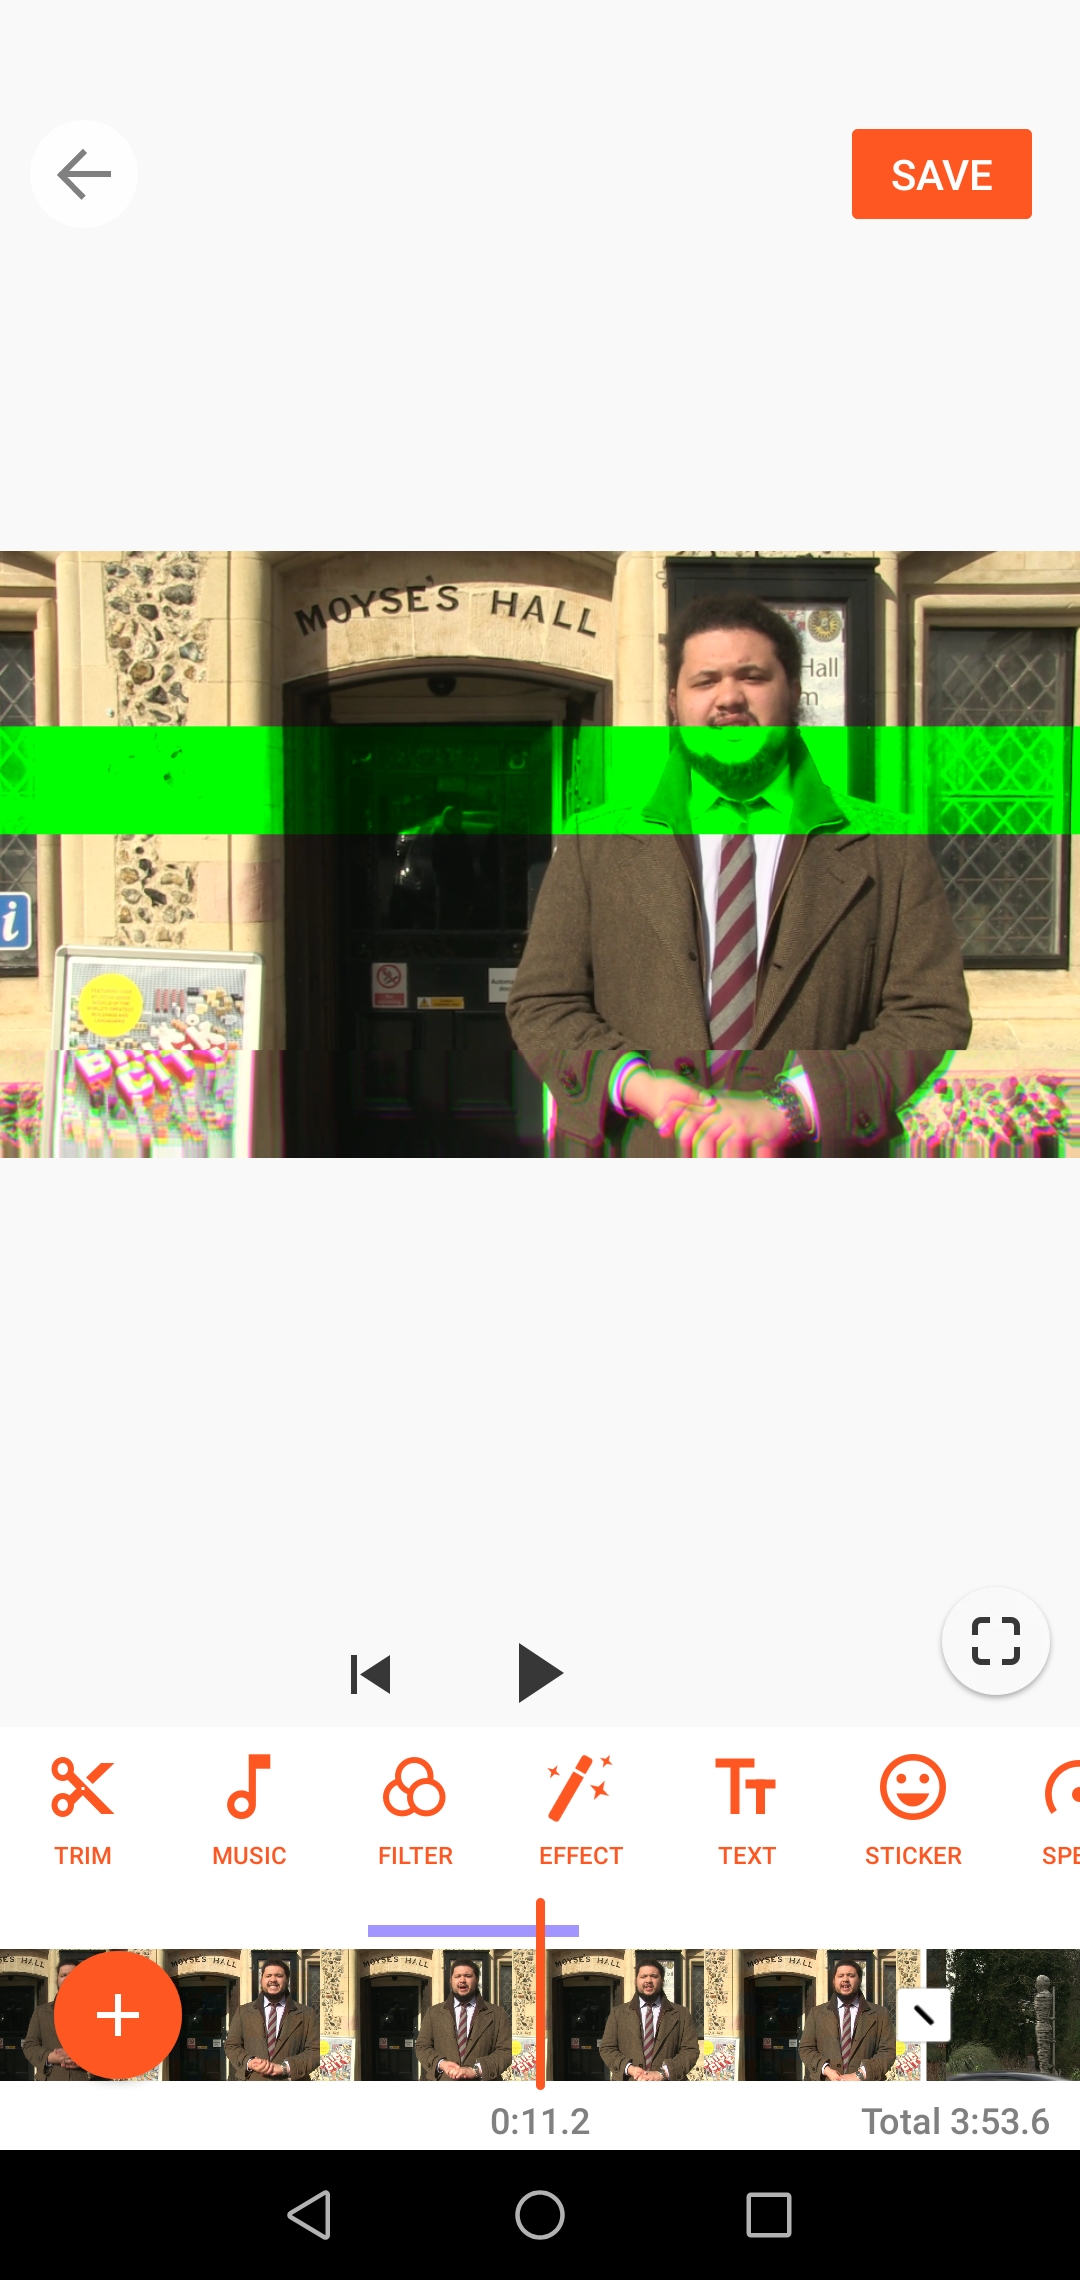 Glitch effects
Step 5:Adding Sound
Music: Add music from your phone files or from the free options provided by the app (you may have to watch a short ad to use them). To edit the music, click on the yellow line above the timeline and editing options will appear. Move the track to where you want it by just holding down and dragging it across. You can trim it to keep only the parts you want and adjust the volume. If someone begins speaking as the music ends, you could ‘fade out’ the music as they start to talk.
Always make sure the music you are using is Copyright Free/ Royalty free.
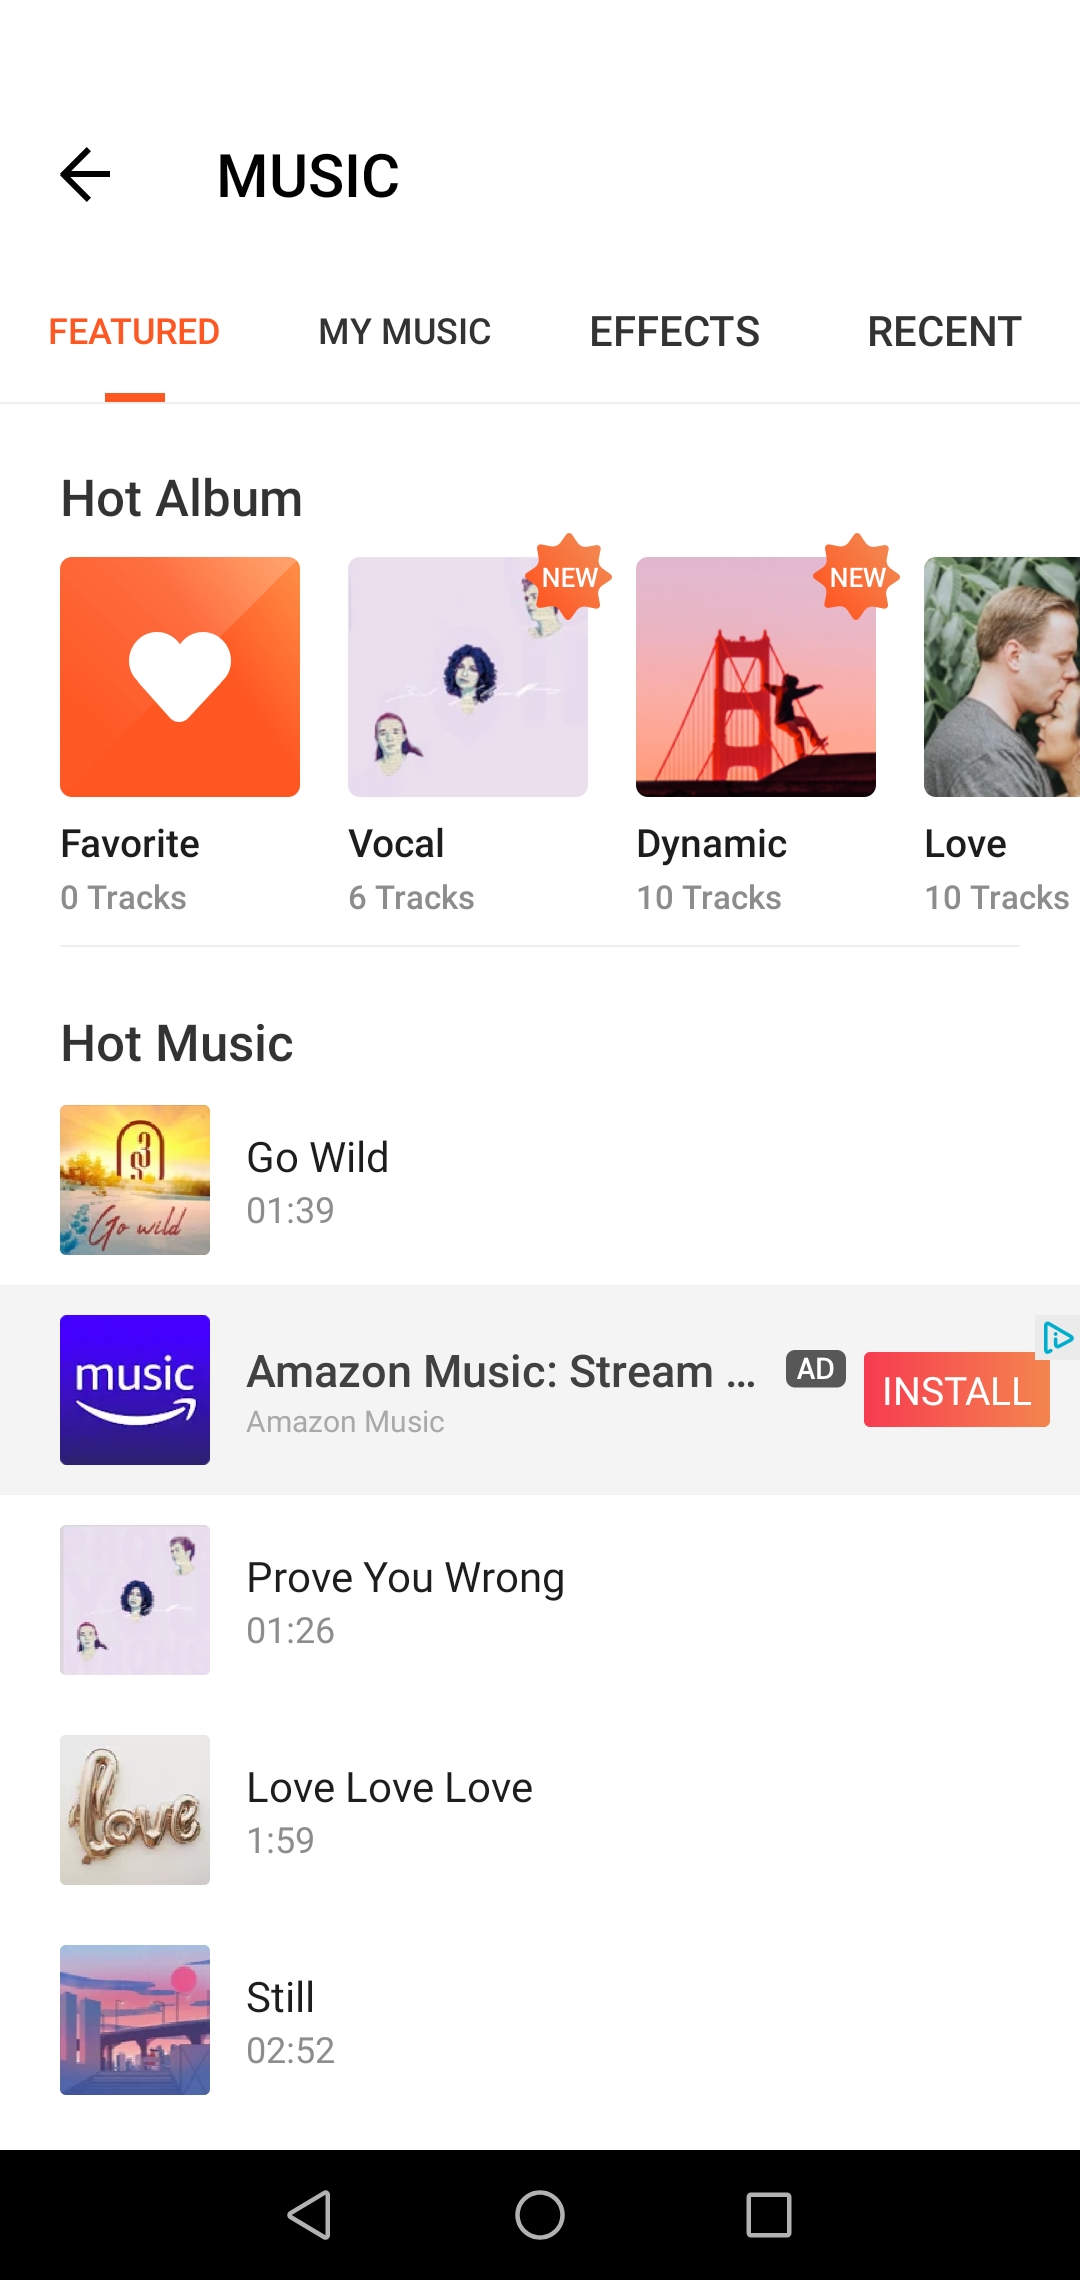 Music options
Sound Effects: The same applies here as to visual effects, they probably will not be of much use unless you are going for something different and less serious.
YouCut provides a lot of free sound effects (you might have to watch a short ad the first time you use one) such as animal sounds, glitches, cartoon sounds, footsteps, thunder and more.
Try to always time these well with the video, and if they are happening in the background or as someone is speaking make sure the effect’s volume is lower.
Once applied, hold down on the effect to drag and move to where you want it, and click on it to edit – same as with the music.
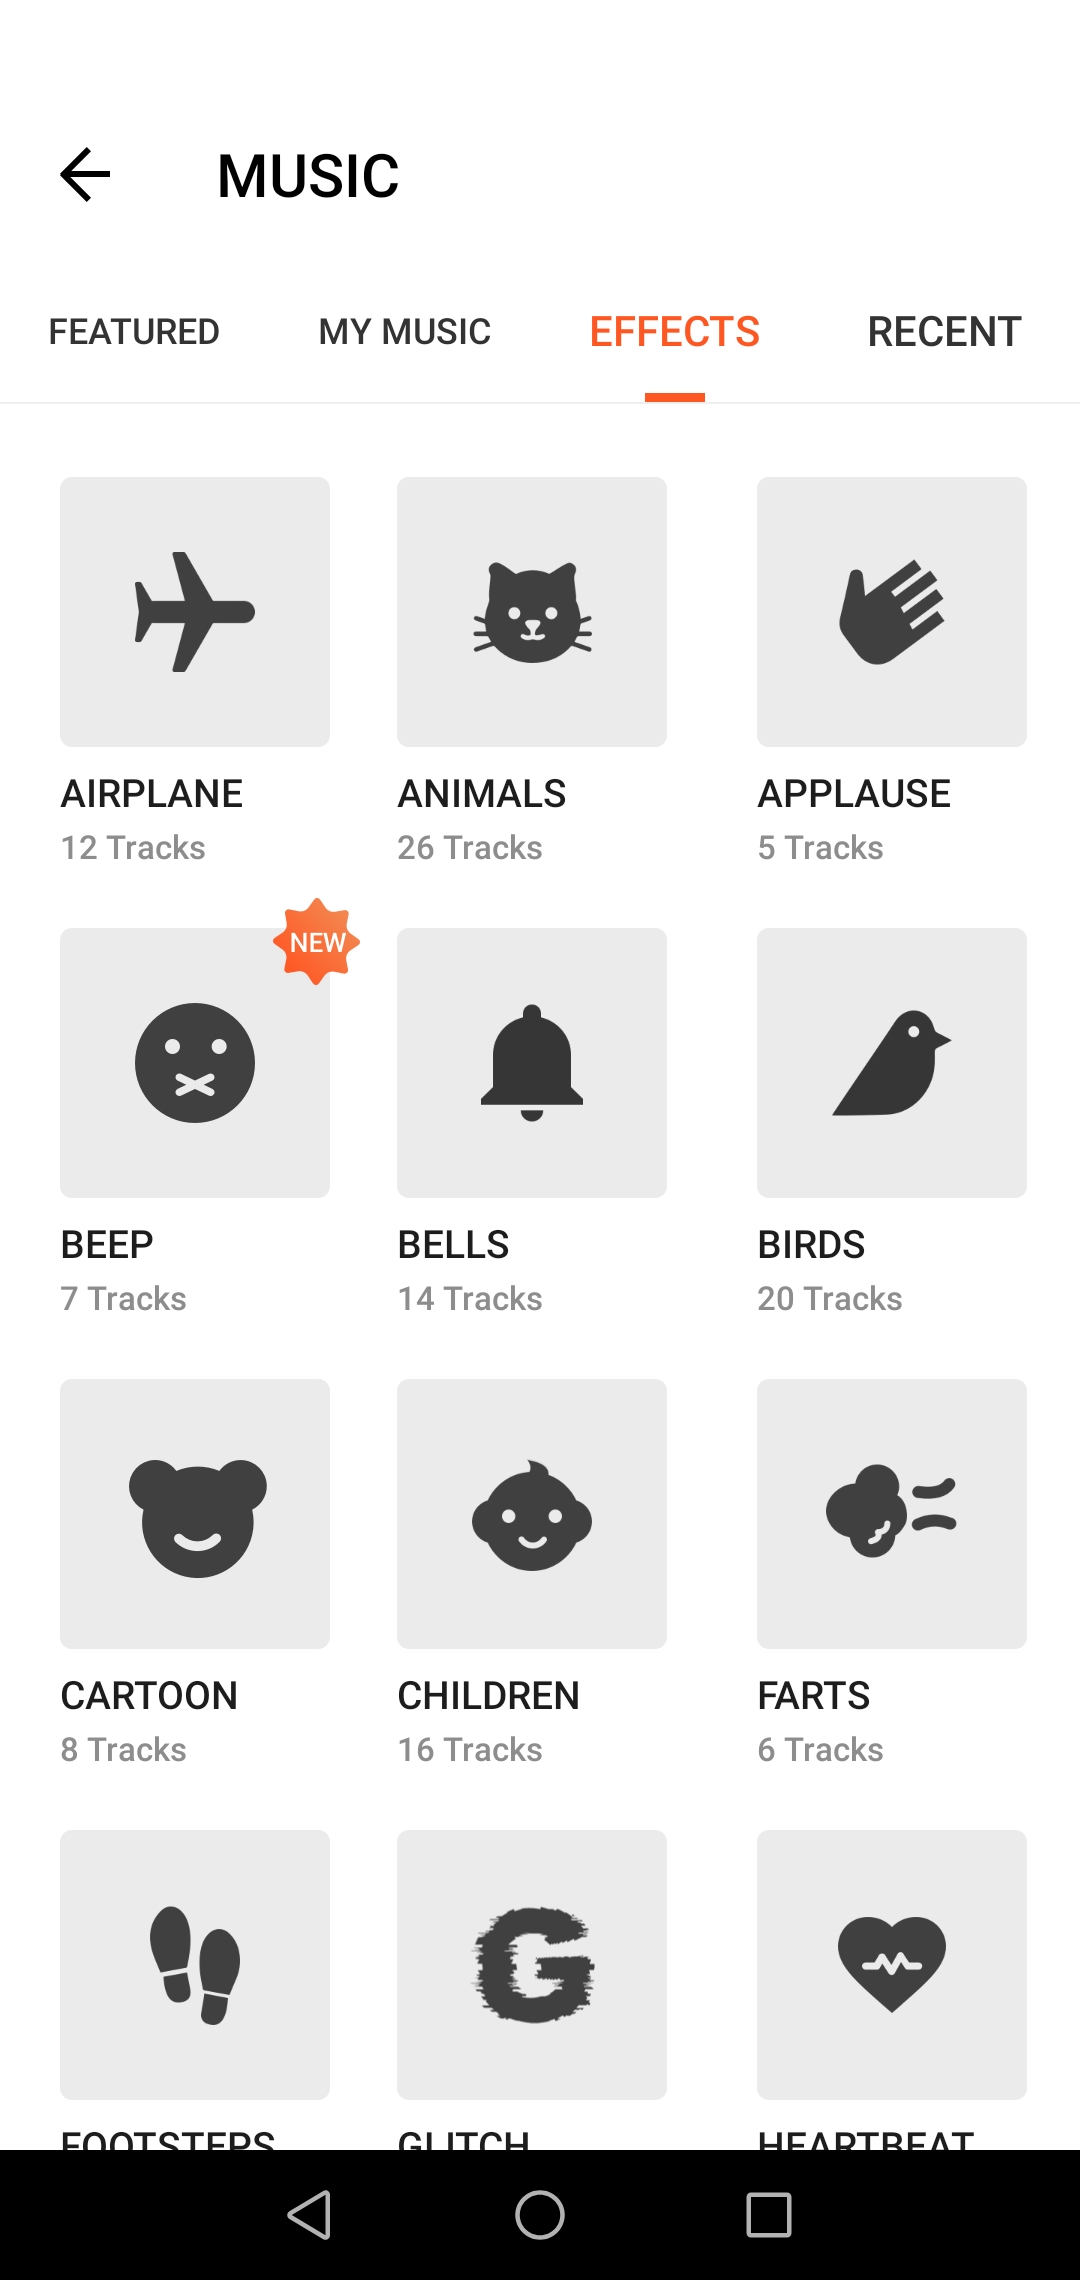 Sound effect options
Step 6:Text (Title, subtitles, credits)
If you are adding a title to your film, consider adding it shortly after the video has begun (not right away). Once you have typed it in, you can pick the font and colour and adjust the size by pulling on the orange arrow symbol on the bottom right. You can adjust the placement by just moving it with your finger and also the opacity, making the writing look see-through (as much as you want).
If you are editing an interview: add the interviewee’s name and potentially their profession or role in what they are discussing. Place it in the lower corner of the frame, where there is empty space. You can adjust how long it appears for by simply dragging the blue arrows on the title effect. 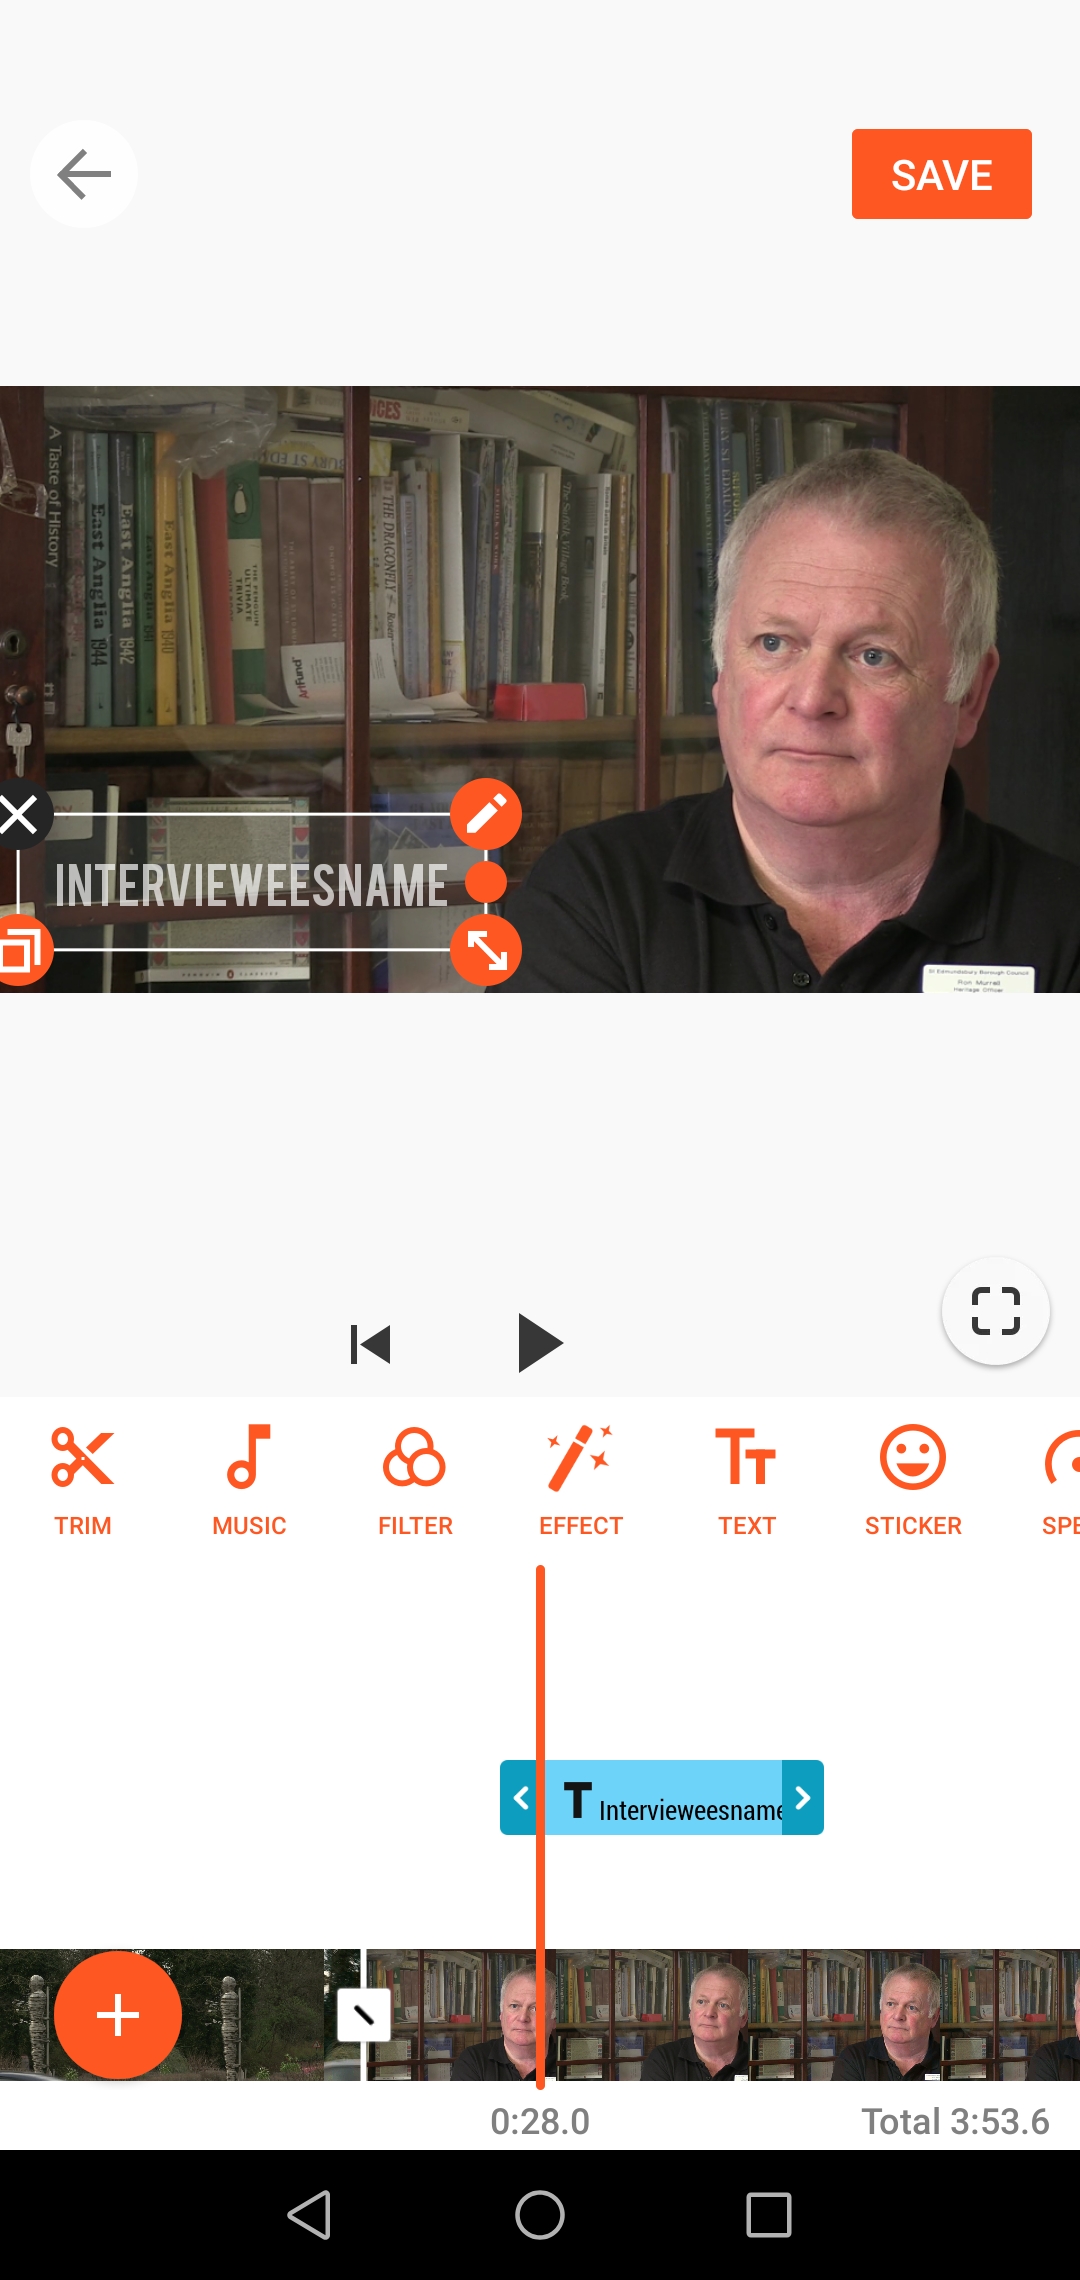 Titles on the timeline
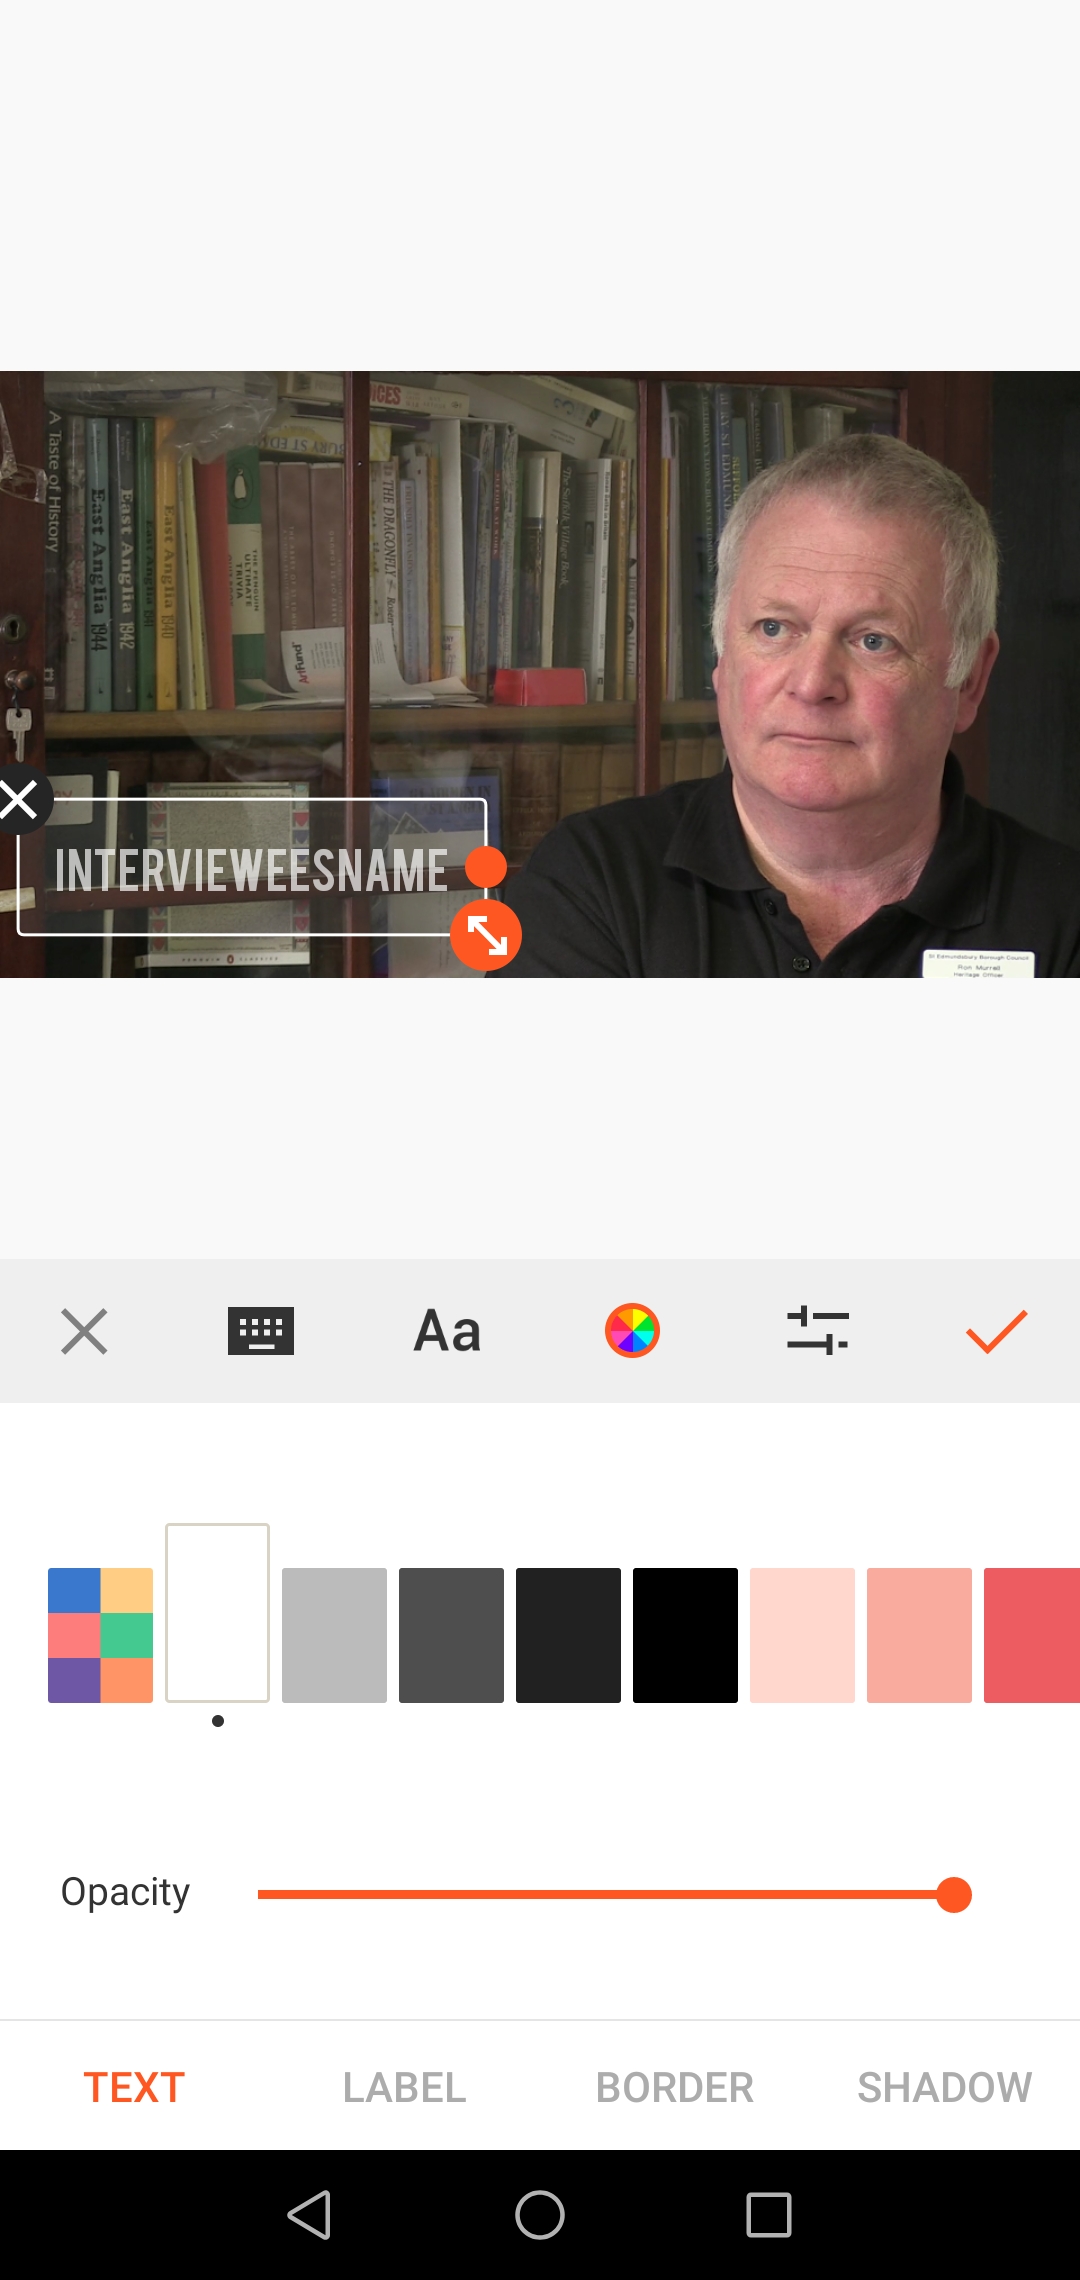 Changing the text colour and opacity
 Text options
Step 7:Exporting your video
This app uses the word Save when referring to exporting a video, remember that on most editing software there is an important difference between the two terms: Export meaning to save the project as a file and Saving meaning to save your progress on the software.
Exporting your film is very easy on this app: simply click the SAVE button on the top right of your screen. Save it at the highest quality offered: 1080p, and tick Keep Draft, that way if you want to come back and make changes, it is easier.
It will quickly save to your phone’s gallery.
You will also have the option to directly share it on social media or email it to someone.
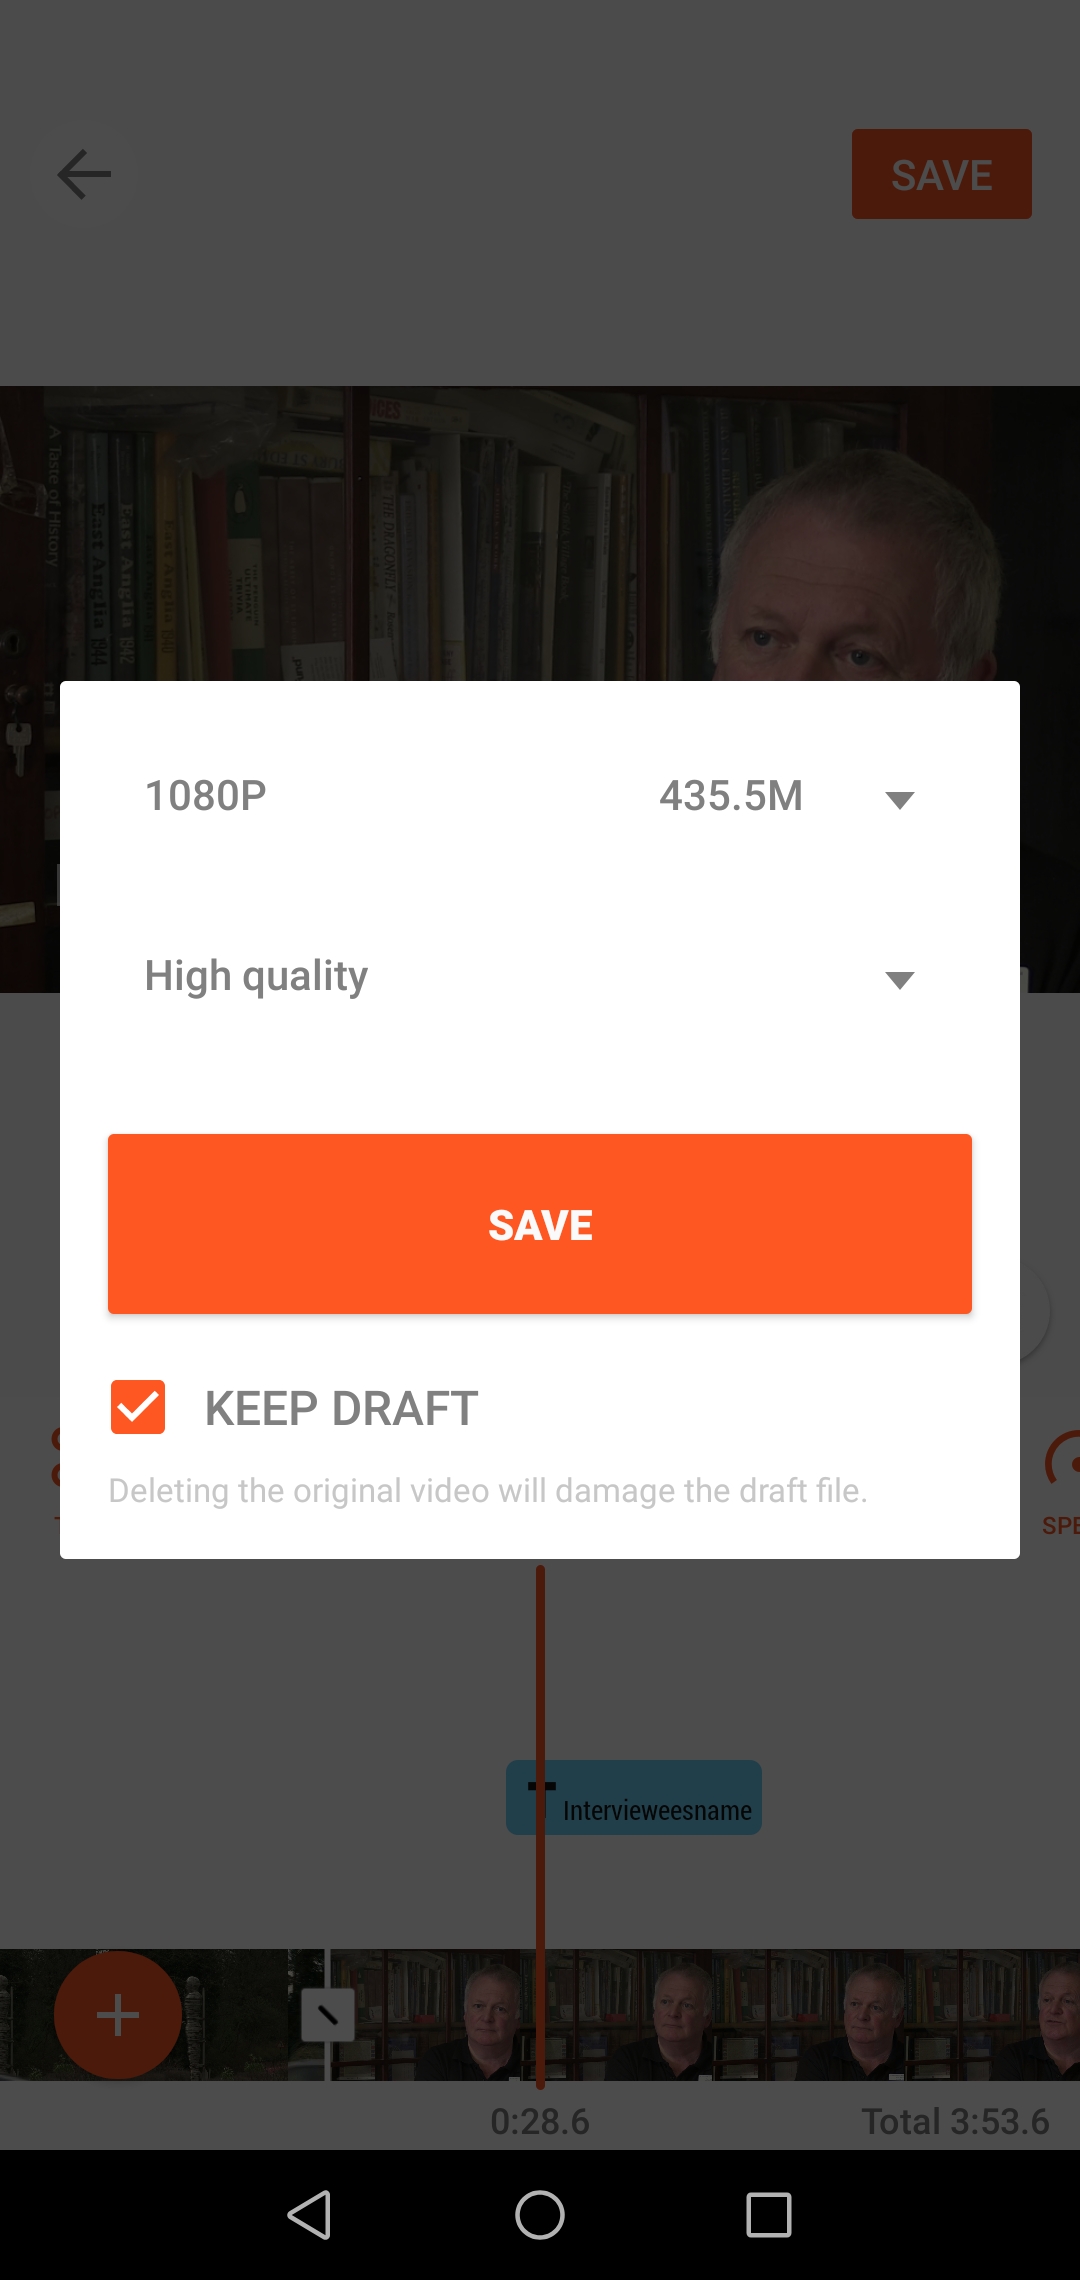 Export options - choose High Quality and tick Keep Draft
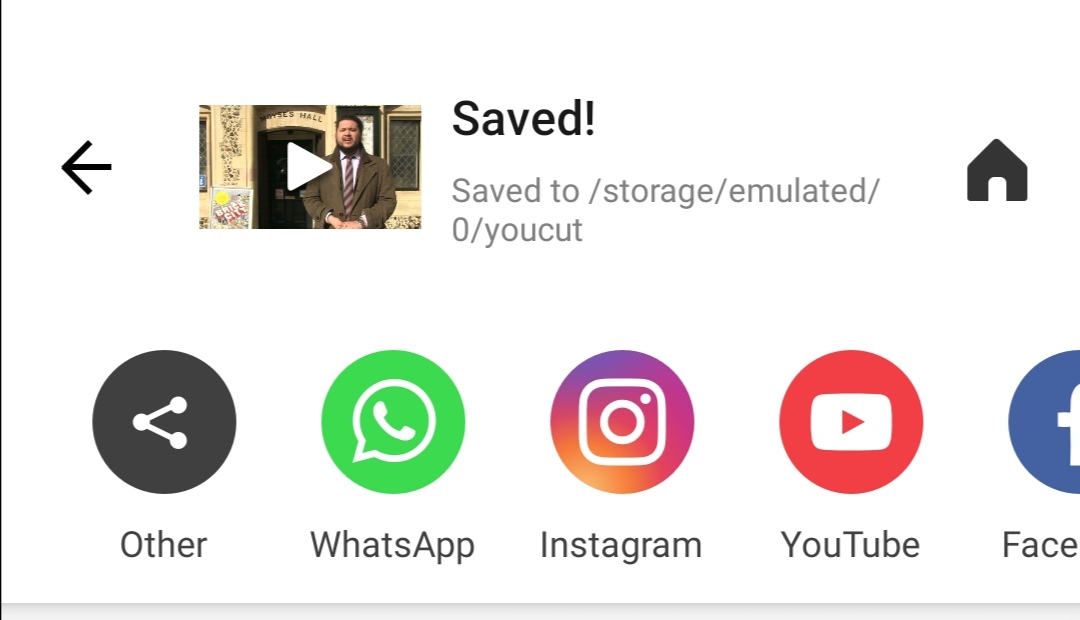 Options to share elsewhere


0 Comments