
This guide was written by Patricia Borba
Get Started
To start a video project, click on the grey square with a plus. Two options pop up on your screen – Movie or Trailer – select the Movie option.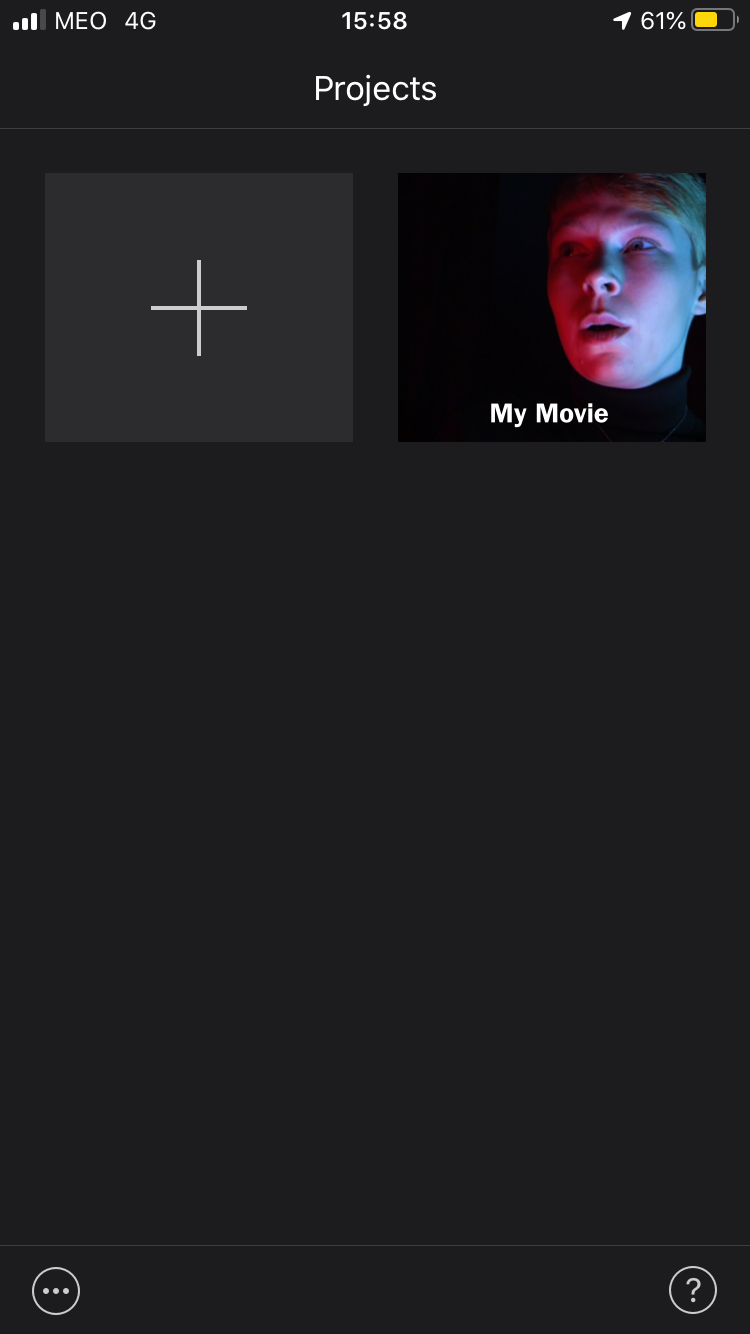 Start screen
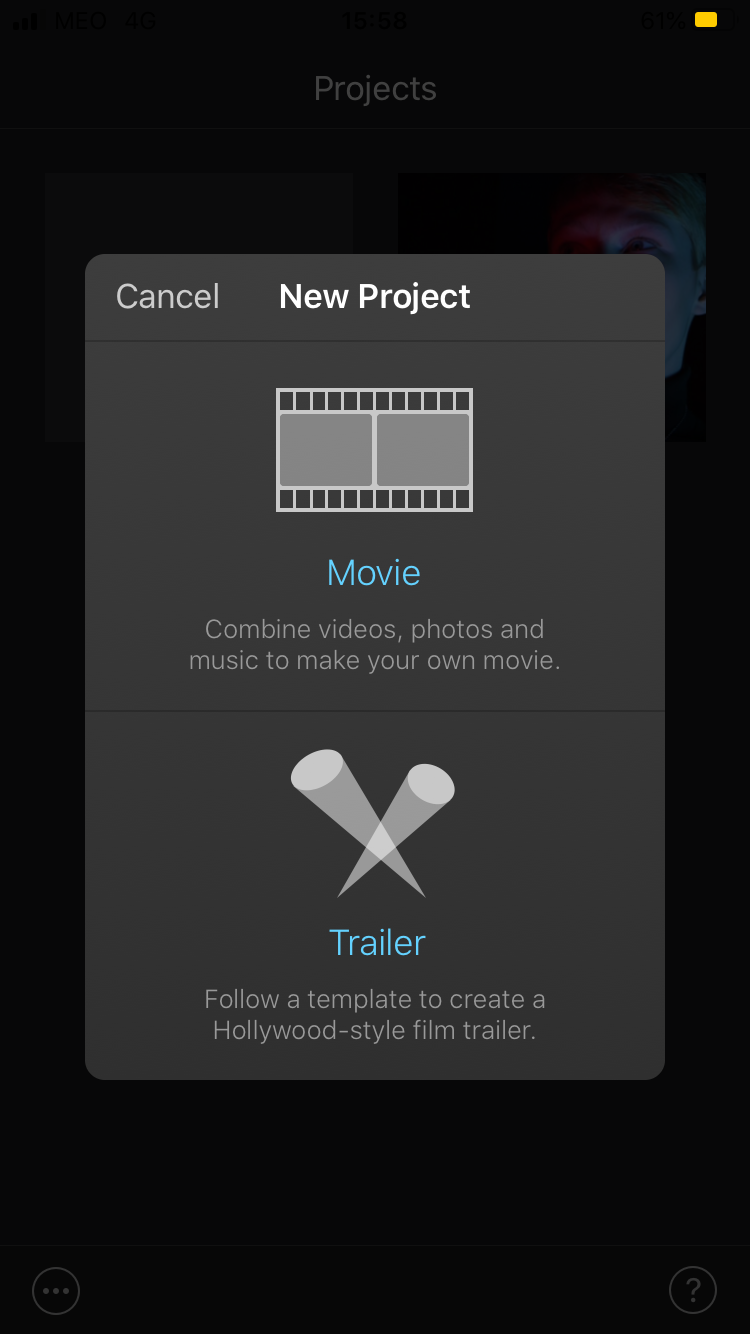 Select movie when presented with this screen
You will then be shown the Moments Screen – all the video and photography content available on your phone arranged into moments – so make sure you have the files you intend to use saved on your phone. If you touch and hold the image thumbnails, you can preview the photos and videos at a larger scale.
Tap the items you want to use in your project. You can select individual items or click the button Select to choose an entire moment.
After selecting the files you will be working with, tap Create Movie at the bottom of the screen and the app will open your videos in a timeline with a window on top where you can see the frame selected at the time.
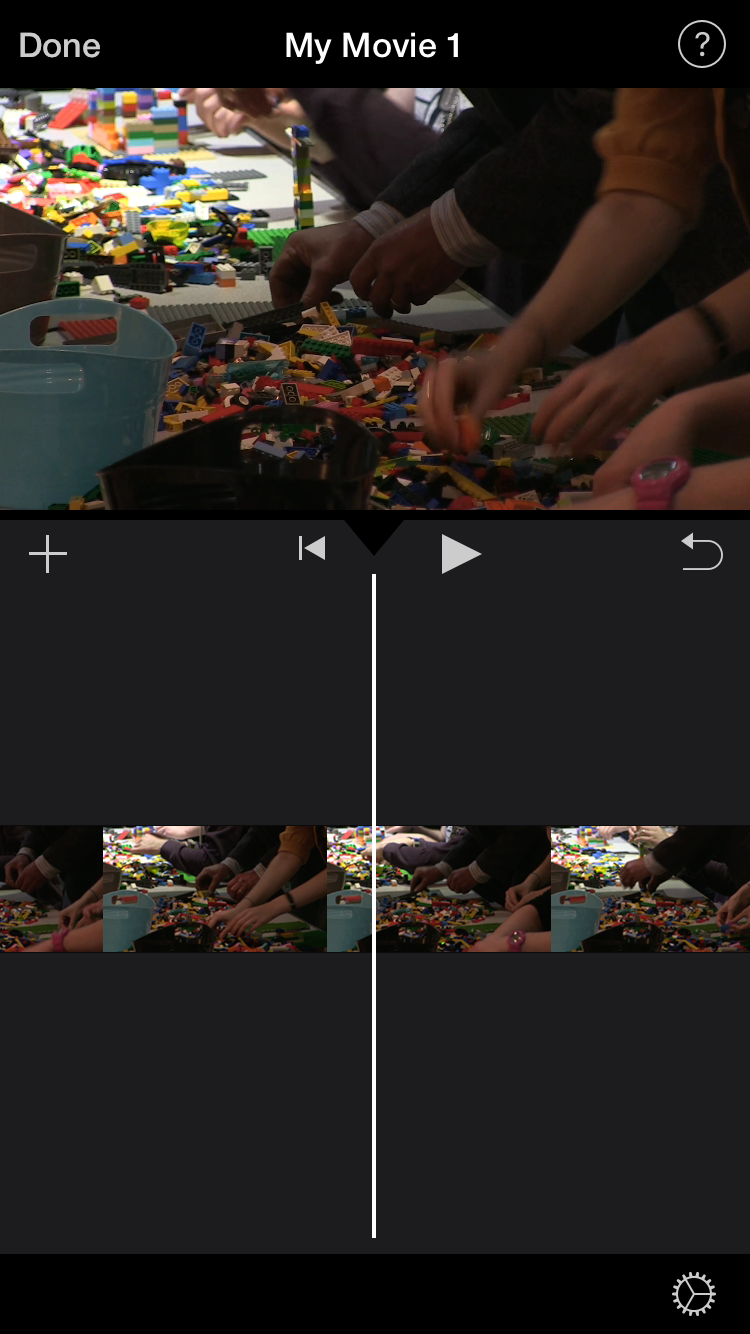 The screen when you've added content
Add more media
To add more media content, select the plus button on the left side of the screen below the view window. You will be presented to a menu of options, including: Moments, Video, Photos, Albums, Audio, Camera, Voiceover, and Files.
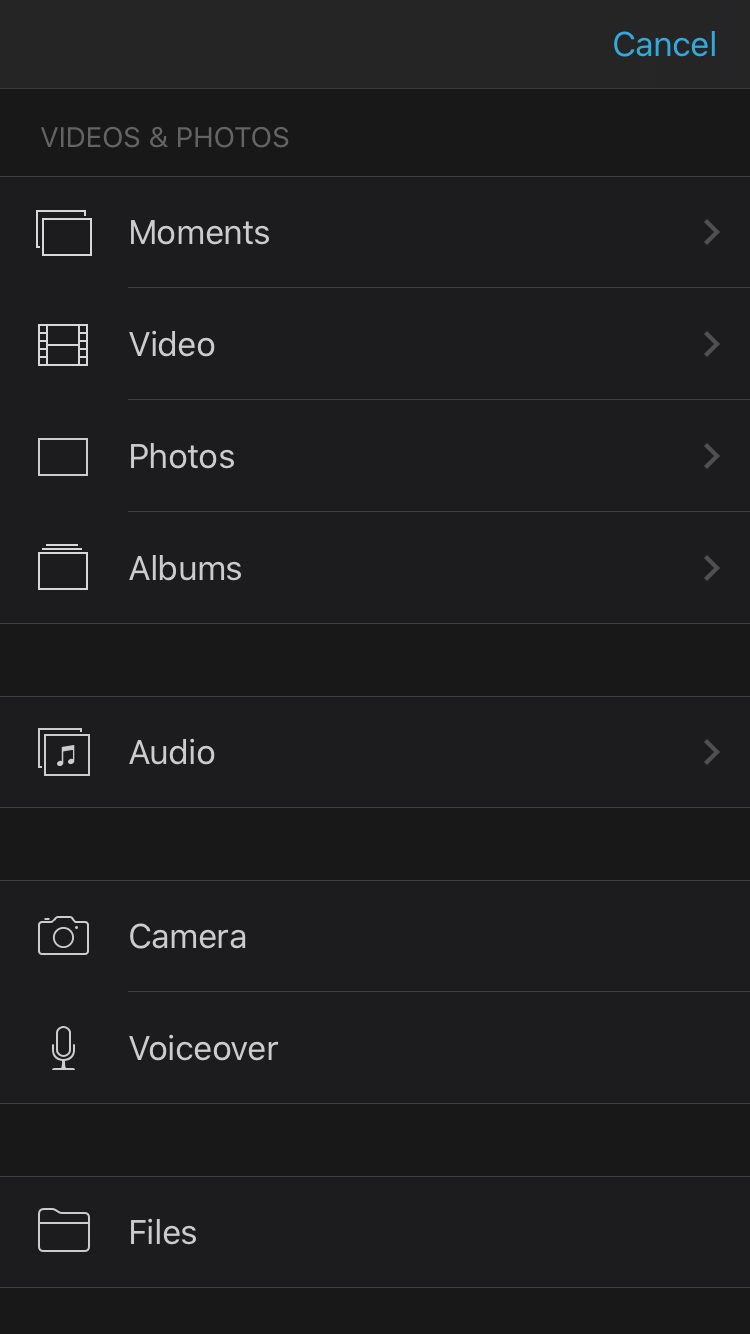 Option to add more media
Clicking on the button Moments you will be presented to all the video and photography files on your phone, just like when you first started the project.
- Clicking on Video you will be presented to all the video content saved on your phone.
- Clicking on Photos you will be presented with all the photos saved on your phone.
- Clicking on Albums you will be presented with the albums you have on your phone gallery.
- Clicking on Audio you will have three options:
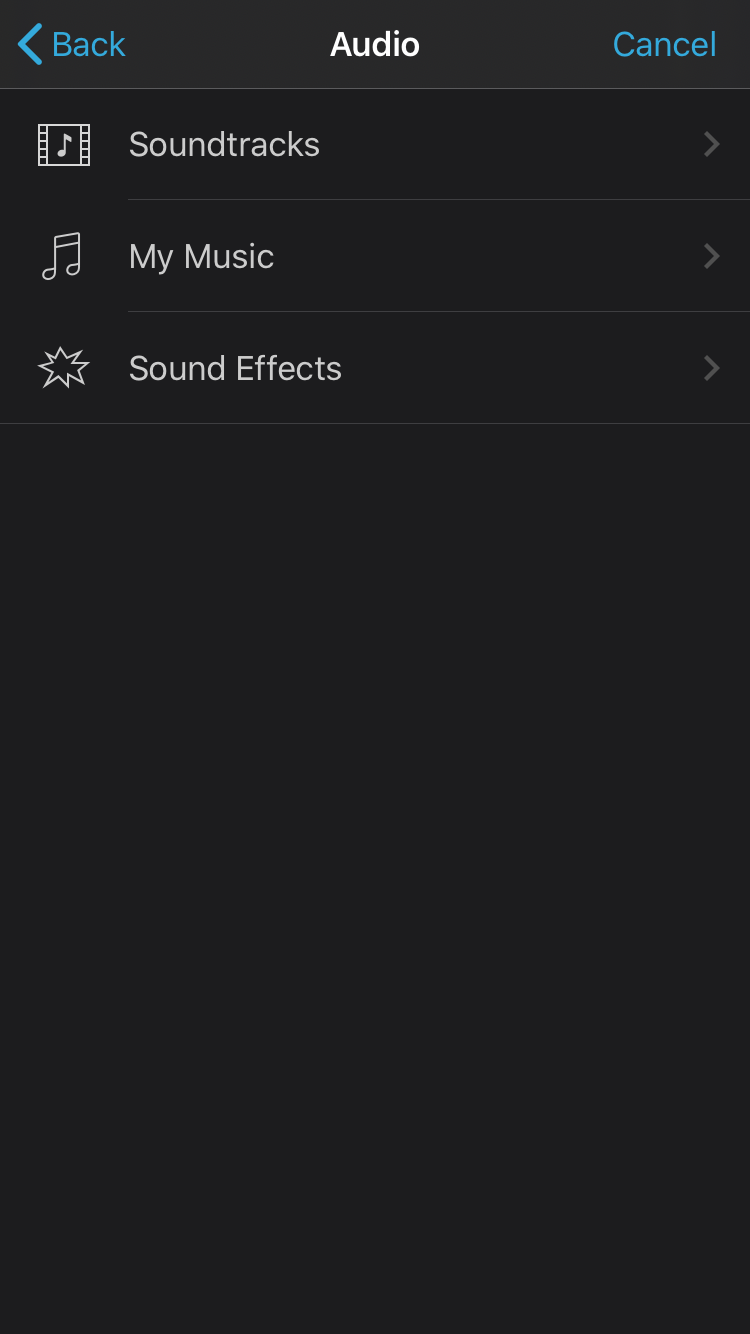 Add audio screen
Soundtracks, where you can find free music options available on the program. Try not to use these music options since they may have copyrights and not be suitable for journalism type content.
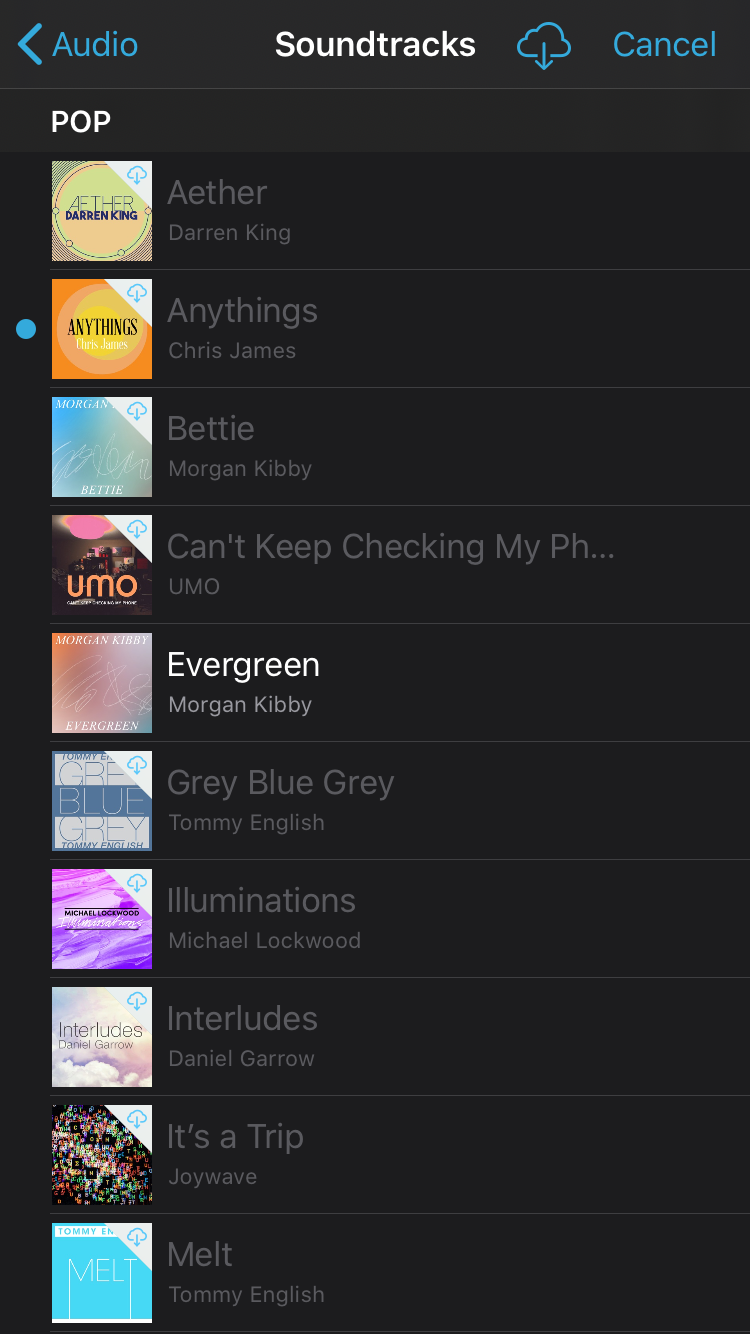 Soundtracks (avoid these where possible)
My Music, where you can find the music you have saved on your phone split into four categories – playlists, albums, artists, and songs.
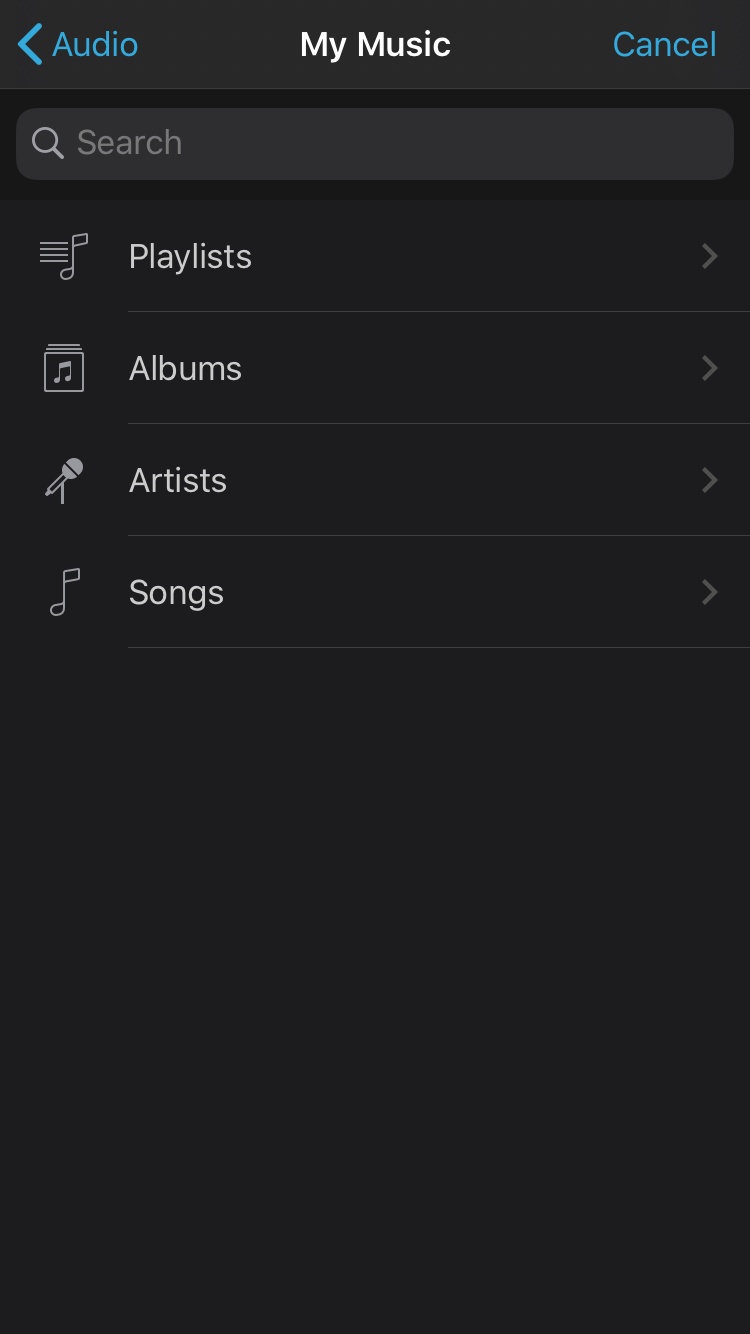 My music
Sound Effects, where you have a range of free sound effects that you can add to your projects. These are also not recommended.
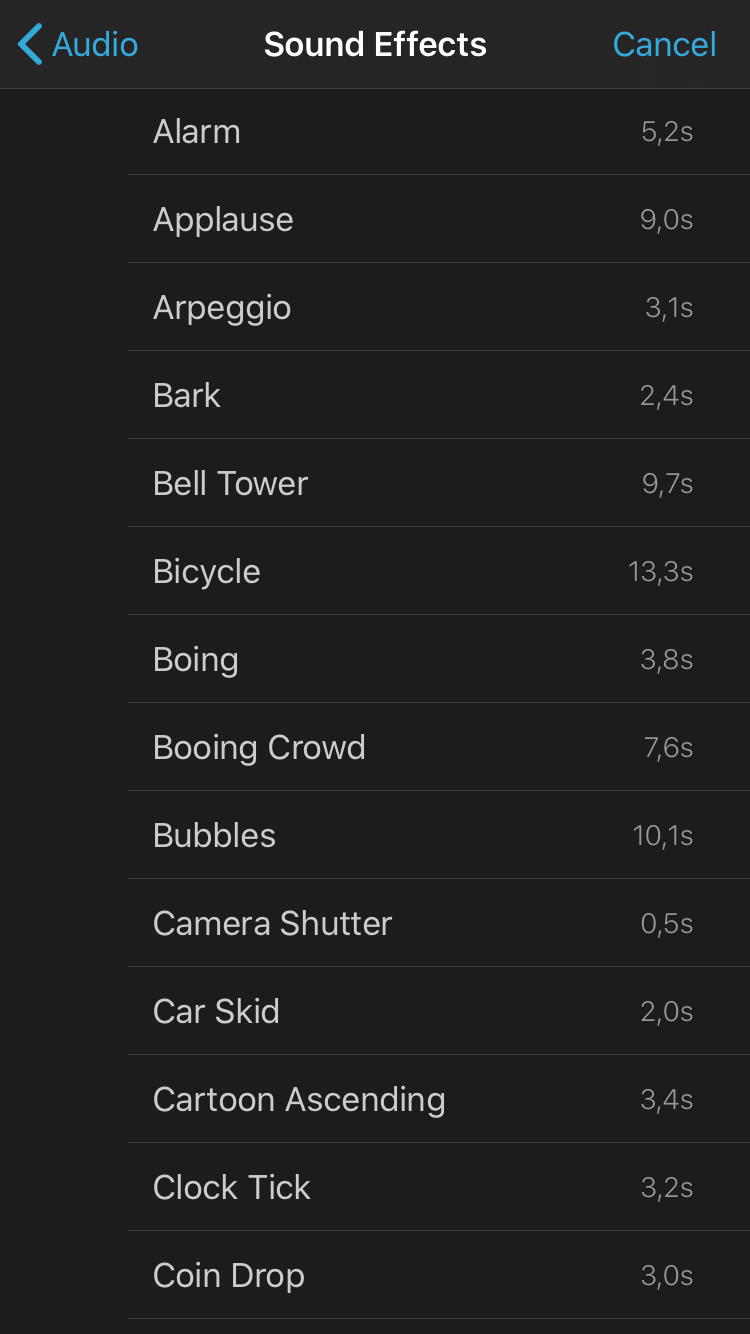 Sound effects screen
Clicking on Camera, the program will open your phone camera and you will be able to record on the spot and add it directly to your project. Although, if you do so, the video will not save to your phone gallery and therefore if you lose the video project you will also lose the raw files. Even if you are recording with your phone, choose to record with the Phone Camera and then import the files onto the video project on iMovie.
Clicking on Voice Over, the program will allow you to record sound with your phone and add it directly to your project. It has the same problem as recording video directly in the app, however. It’s recommended to record with the Voice Memos app or any other recording app/device rather than to record directly through the video editor.
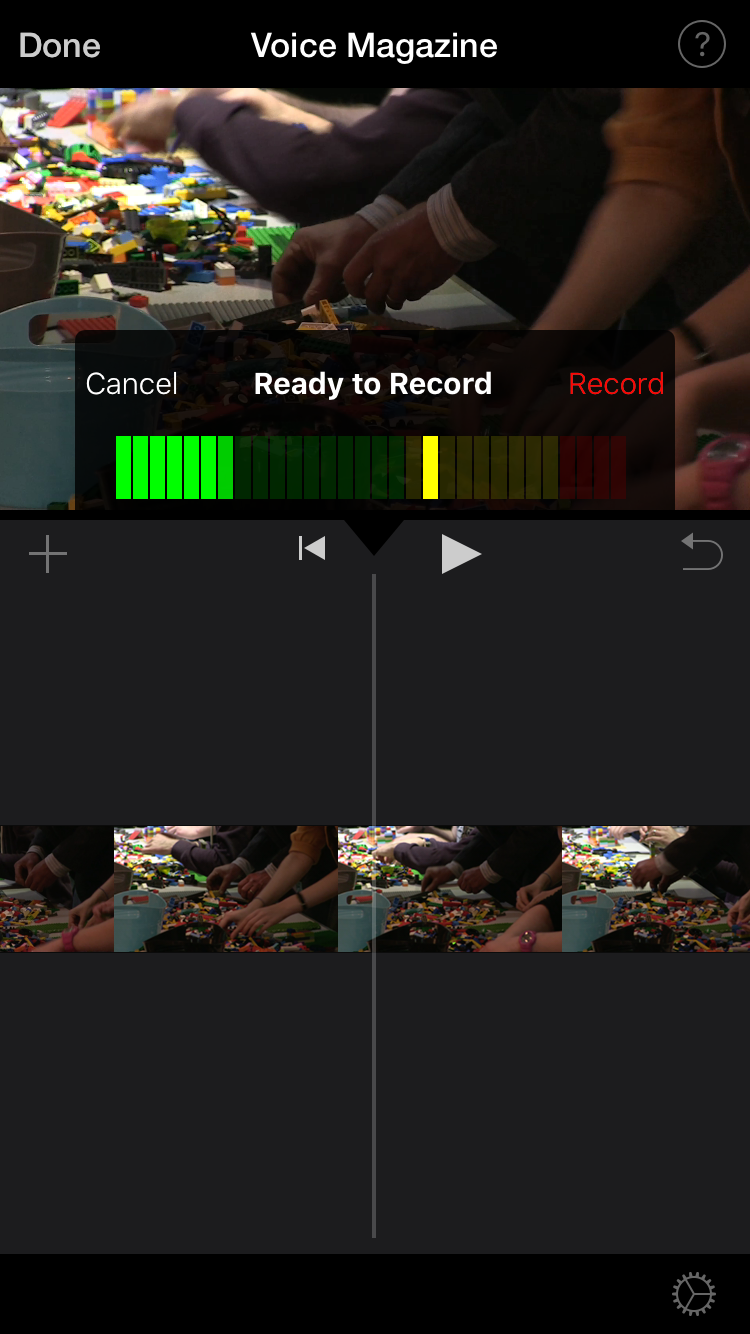 Voice Over screen
By clicking on Files you will be presented to the files available on your phone.
Quick Settings
Click on the mechanical wheel on the bottom right of your screen to access your quick settings. There, you can select a filter for the entirety of your project from the options: None, B&W, Blast, Blockbuster, Blue, Camo, Dreamy, Duotone, Silent Era, Vintage, and Western. However, it is not advisable to apply these to your videos, especially if they are journalism projects, since it will damage the quality of your image and it may remove some authenticity from your coverage.
You can also select a theme from the options: Modern, Bright, Playful, Neon, Travel, Simple or News. These themes will allow you to choose the theme specific title templates and theme specific soundtracks. Choose the theme Simple since it is the most neutral one.
Finally, you can select to put on a theme soundtrack (do not use it), a fade in from black and/or a fade out to black, and choose if the speed changes the pitch.
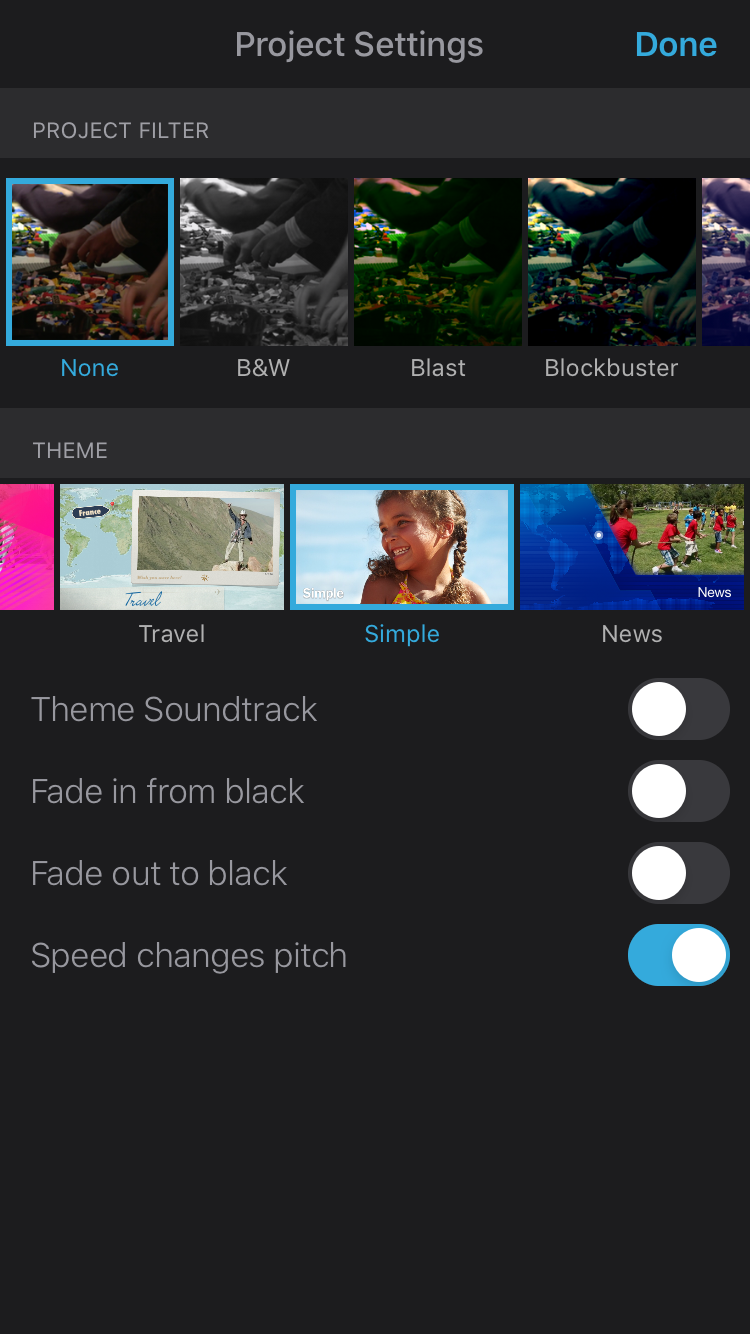 Quick Settings screen
Edit your clips
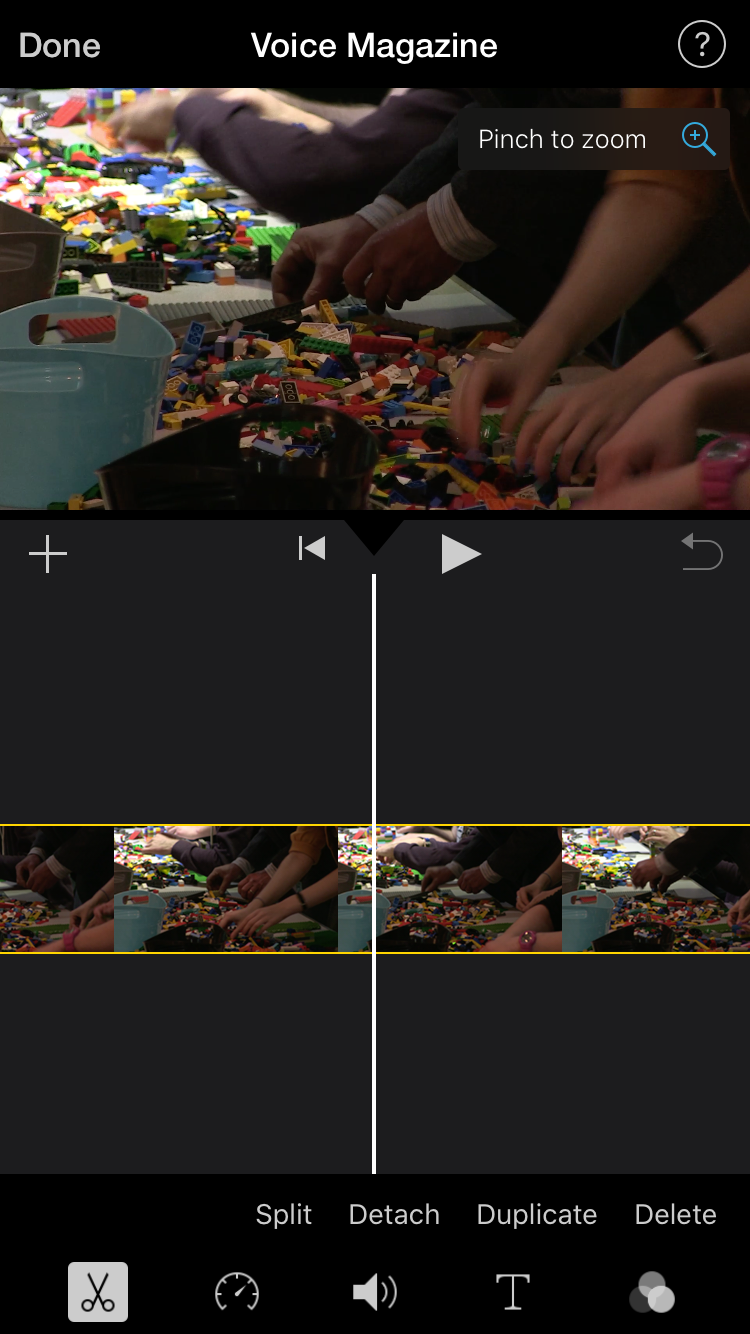
To zoom in and out of your timeline pinch the timeline. It is always useful to do this so you can see your clips with greater detail.
To zoom in or out of the image on your video, select a clip by pressing it on the timeline and click on the magnifying glass on the right-hand side on top of your screen. You can then pinch the image to adjust it as you wish. This will normally damage the quality of your image, so avoid doing so unless it is absolutely necessary.
To change the order of your clips, press the one you want to move and drag it along the timeline to where you want to put it.
To start editing your video tap on the clip you want to edit, and more tools will appear on the bottom of your screen.
Scissors
The first tool from the left looks like scissors. Click on it and you will be able to trim, cut, detach, duplicate and delete your clips.
 Trimming a clip
To trim your clip go on the beginning or the end of it on the timeline and you will find a yellow section that you can move to adjust the length of the clip.
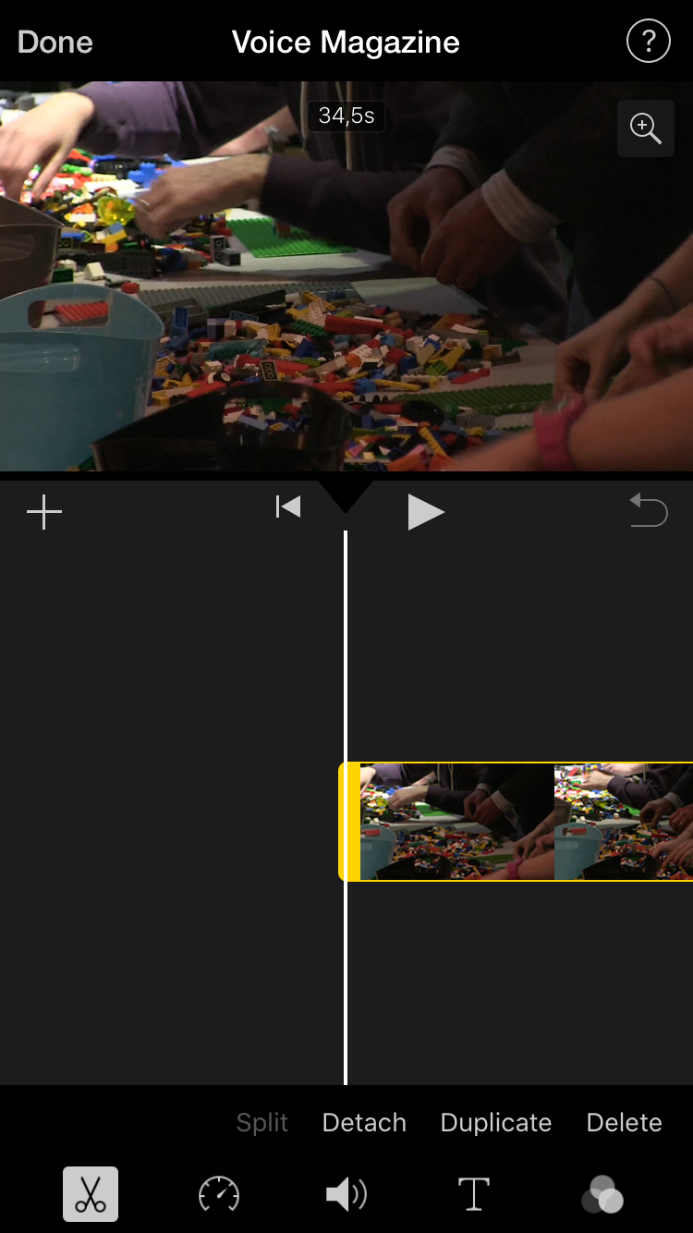
To split (blade) your clip in its middle, move the white bar on the timeline to the frame where you want to cut and select split. It will split your clip in two and you will be able to move and edit each section freely.
 Splitting a clip
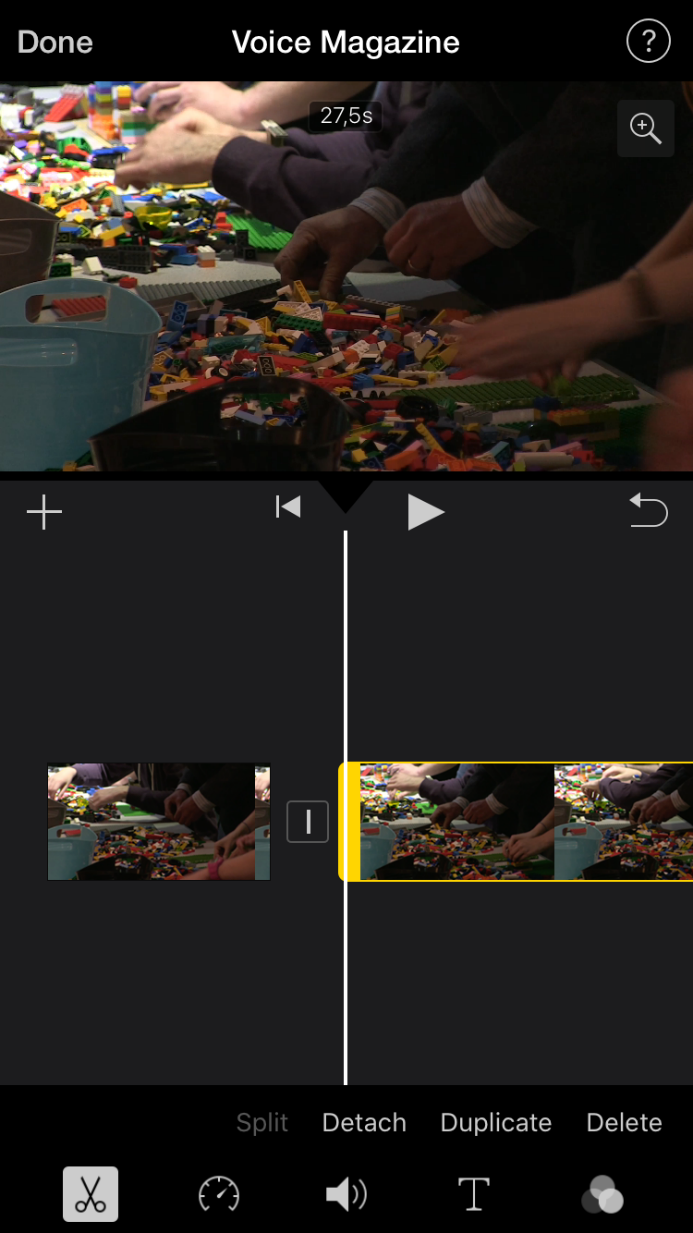
With the detach option you can separate the sound from the video on the selected clip which will allow you to move and edit the different parts independently. If you click on the sound clip you have detached from the video you can then move the sound to the background or to the foreground by pressing Background on the bottom of your screen.
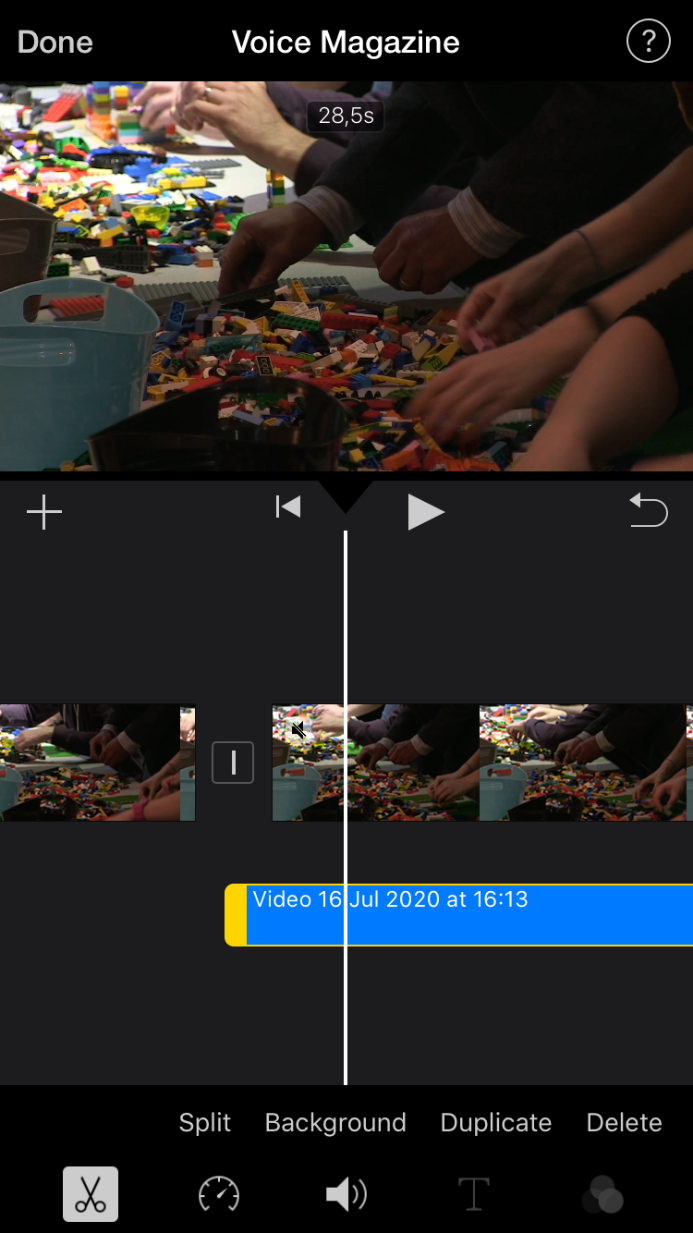 Detaching audio from video
If you click on duplicate, it will duplicate the selected clip.
The delete button is self-explanatory, but if you press delete, it will delete the selected clip. You can always go back by clicking on the undo button (a pointer on the right hand side of your screen), or import back the clip by following the instructions in the section “add more media”.
Clock
The second tool from the left looks like a clock. Choosing that tool will give you the options to speed up or slow down your video/sound, to freeze, to add and to reset.
 Changing the speed of a clip
To change the speed of your clip, use the yellow bar on the left side of the bottom of your screen. On the left side of the bar there is a turtle and on the right side a rabbit. You can move the white circle on the bar to the left to slow down your clip, or to the right to speed it up.
You can freeze a specific frame of your video by pressing the option Freeze. If you then want to use that as a still frame without the rest of the video, you can go on the Scissors, move the white bar to the beginning of the frozen frame and press Split, and then do the same at the end of the frame.
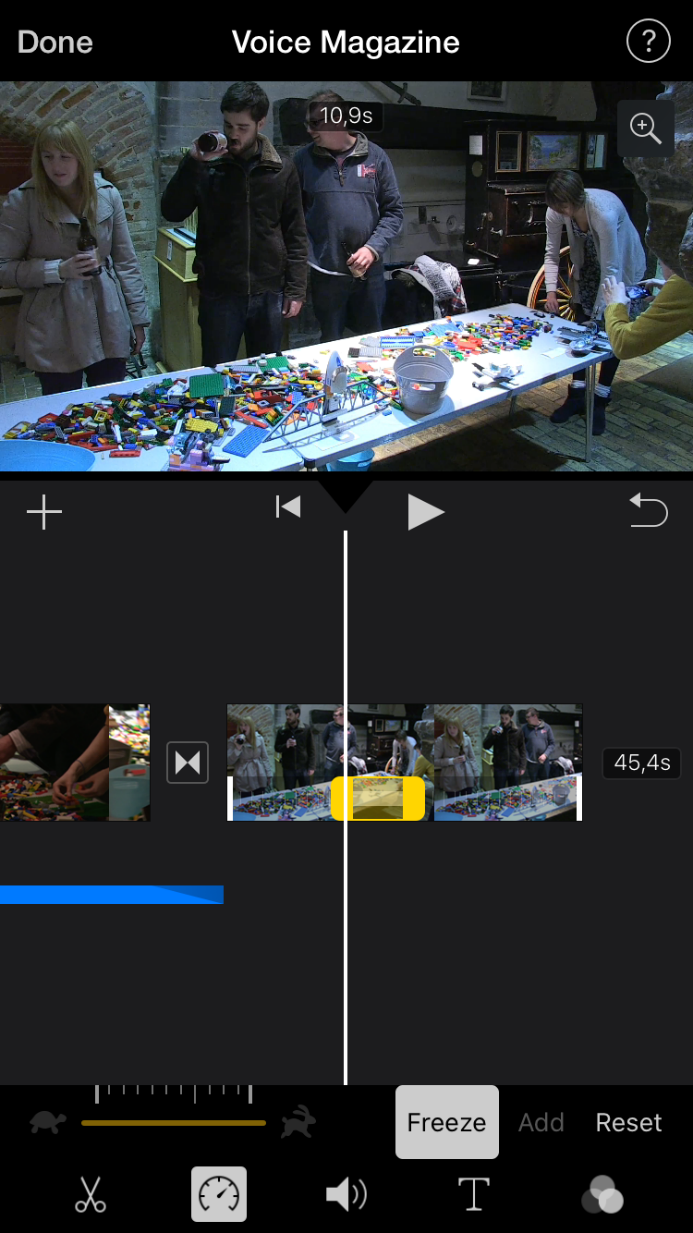 Freeze
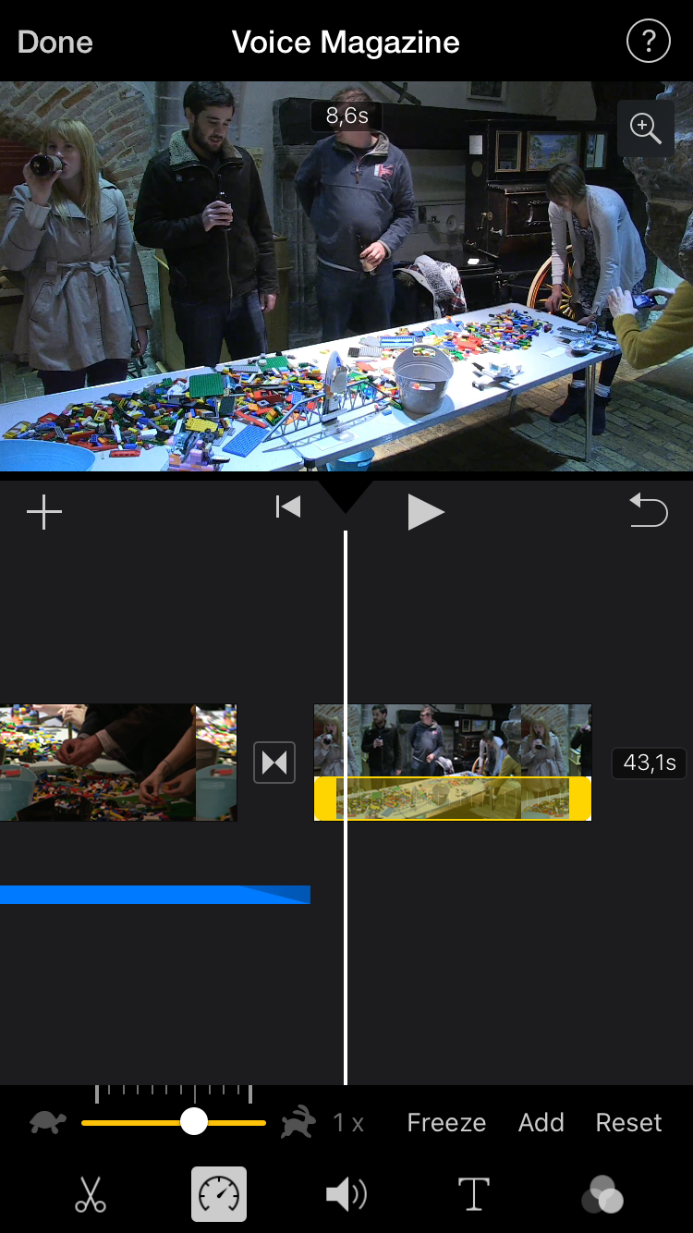
The Add button will select the section of the video from where the white bar is until the end of the clip. You will then be able to move the position of that selected section as well as adjust its length by shortening or enlarging its limits. After, you will be able to change the speed of that specific section.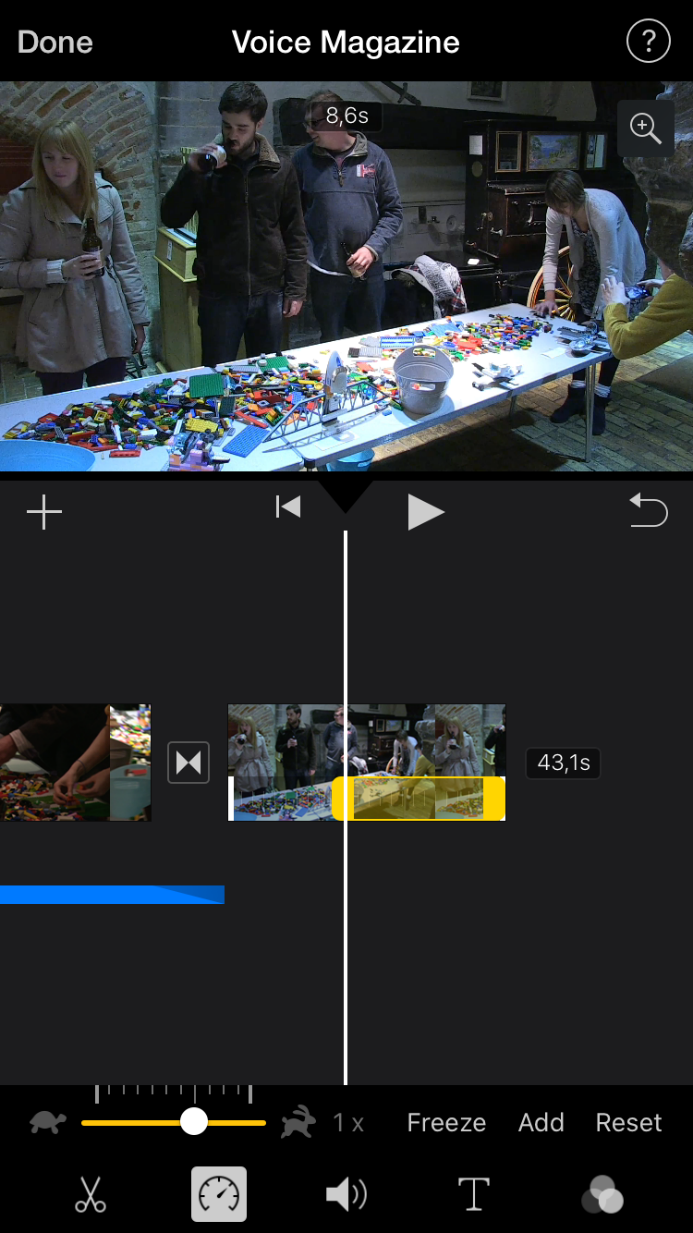 Using Add to select the rest of a clip
Speaker
The third tool looks like a speaker. Pressing that button will give you the option to lower or increase the volume of the selected clip’s sound by moving the white circle on the bar to the left or to the right. Beside that, if you have an audio clip selected, on the right hand side of the volume bar you will have the word Trim or the word Fade. To switch between the two modes you just have to press on it.
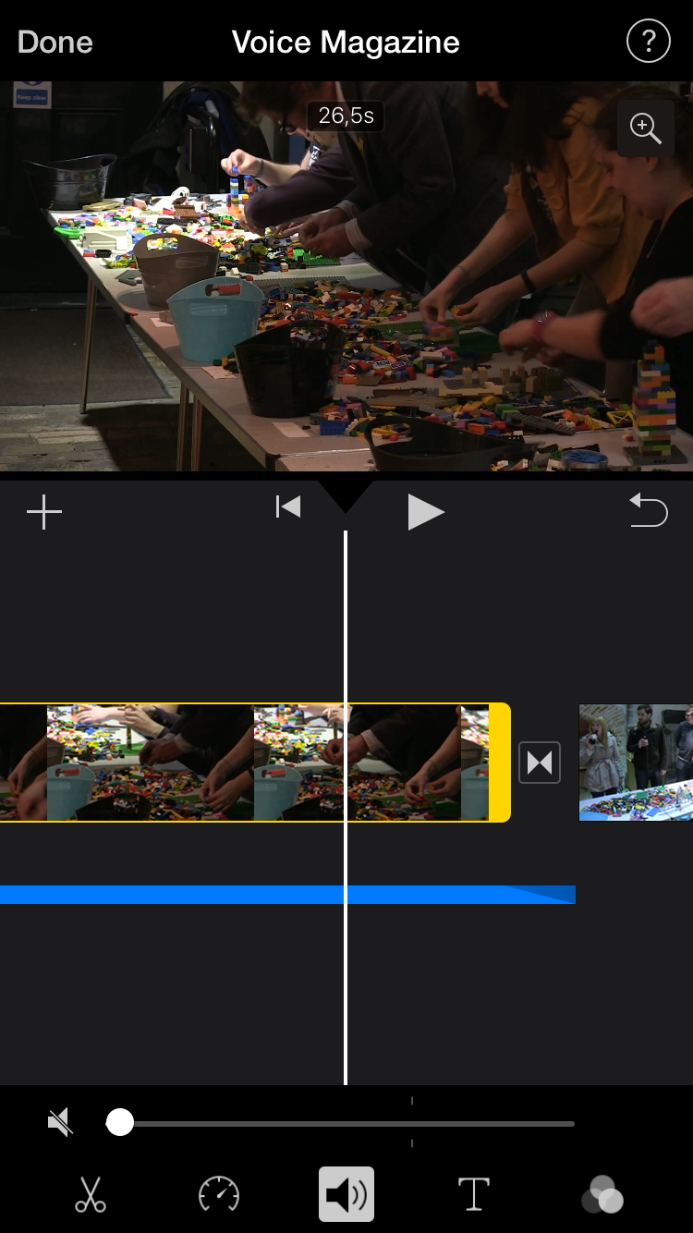 The volume adjuster
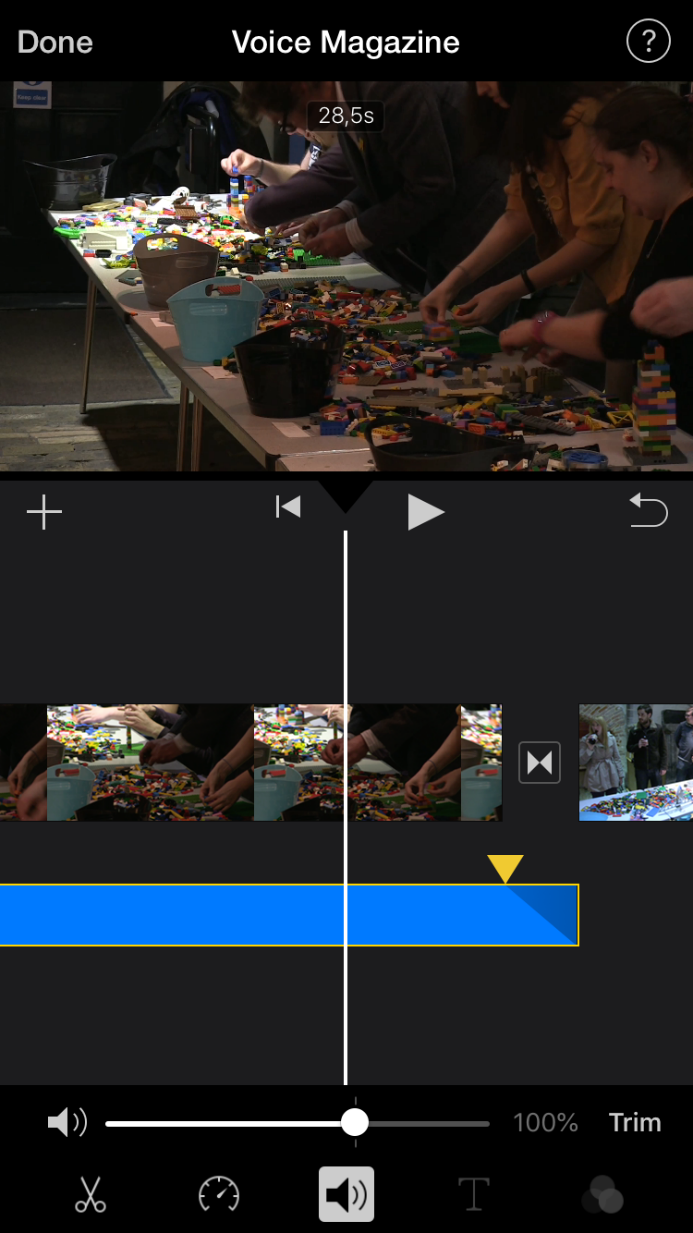
If the Trim is selected, you will be able to change the length of the selected audio clip.
 Trim
Trim
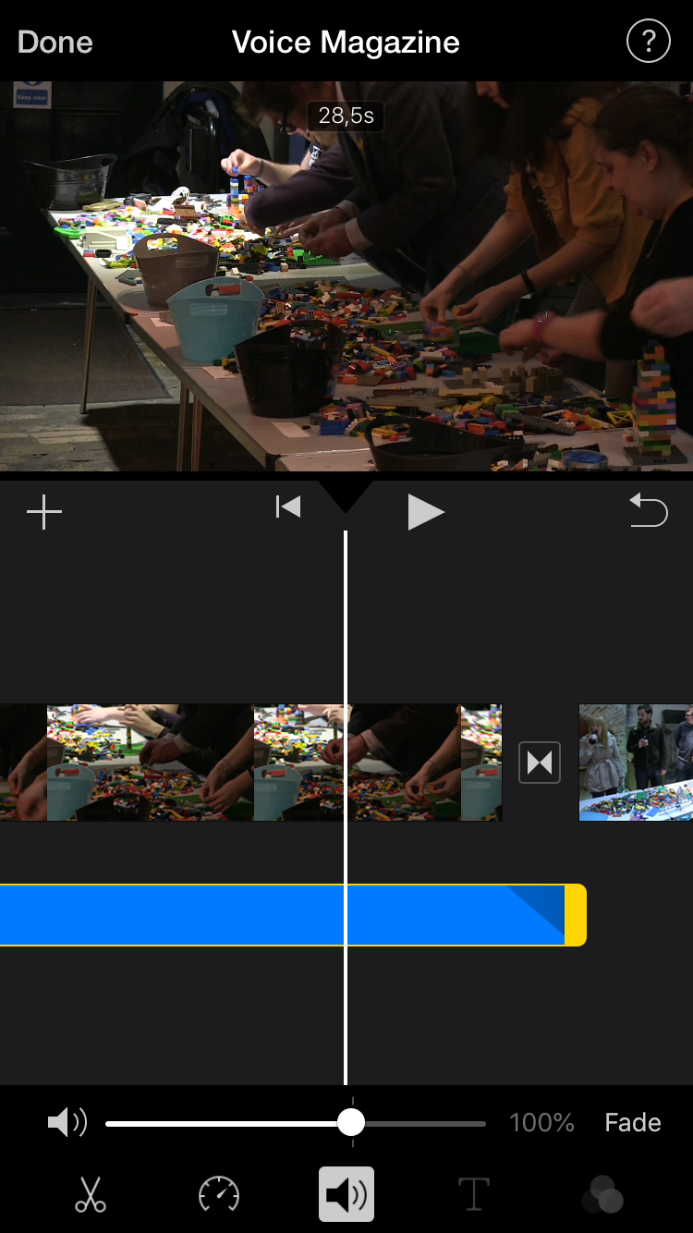
If the Fade is selected, you will have two yellow triangles, one on each end of your clip. You can pull that triangle to where you want your fade either to end (in the case of a fade in), or to start (in the case of a fade out), and create a smooth beginning and ending to your audio track.
 Fading out the audio
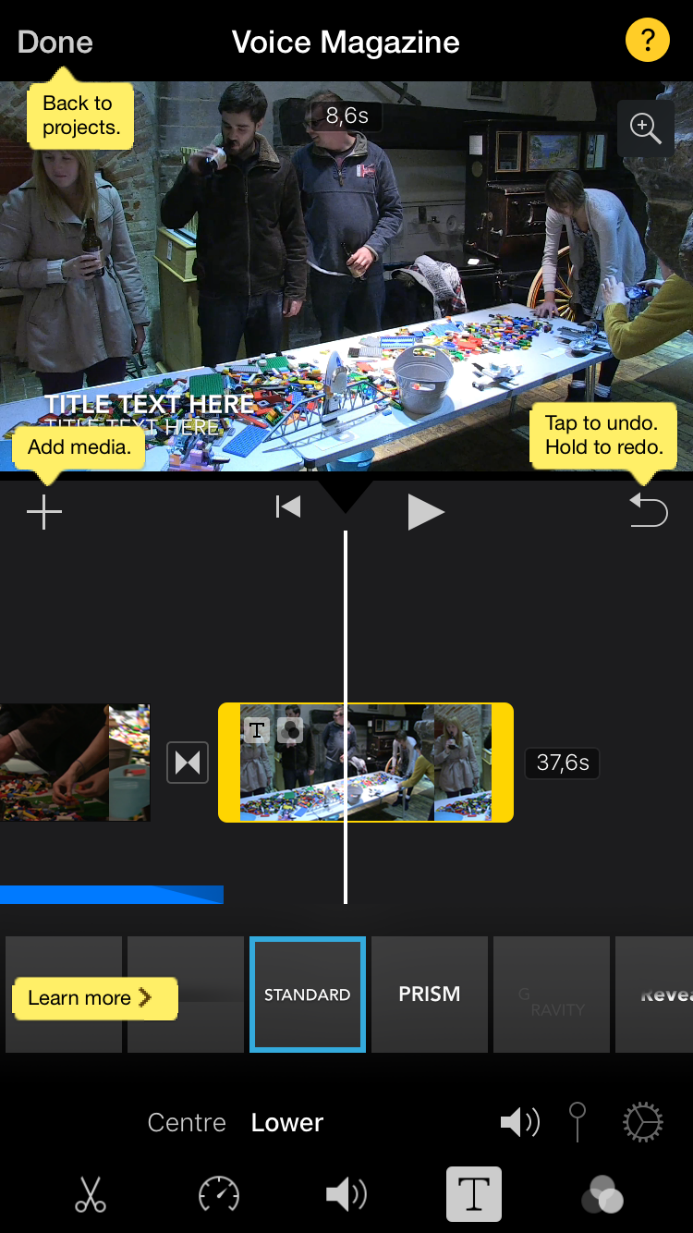
Text
The fourth option shows the letter T for Text. There, you can add your titles by choosing one of the available templates.
If it is a theme template you will have three options for the text: opening, middle and closing. If you choose the opening style you can add location by clicking on the button that looks like a lollipop on the right-hand side of the bottom of your screen. You can also change the theme by clicking on the mechanical wheel on the right of the lollipop if you are not satisfied with the one you had chosen.
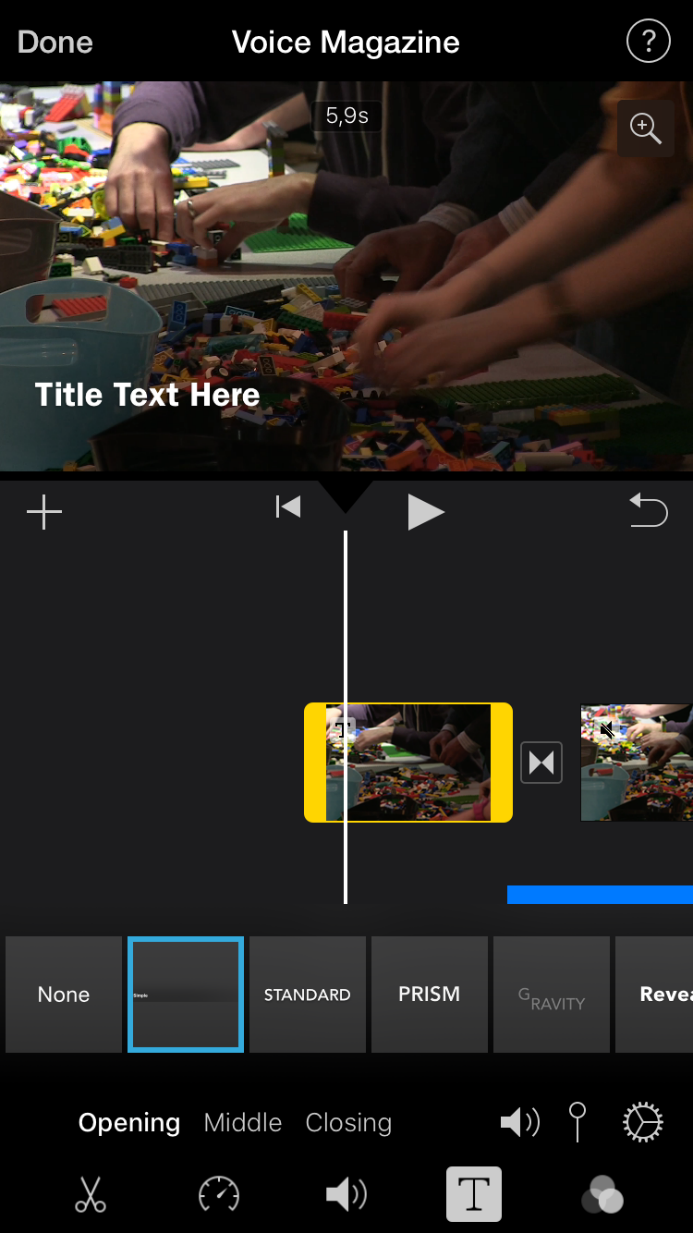
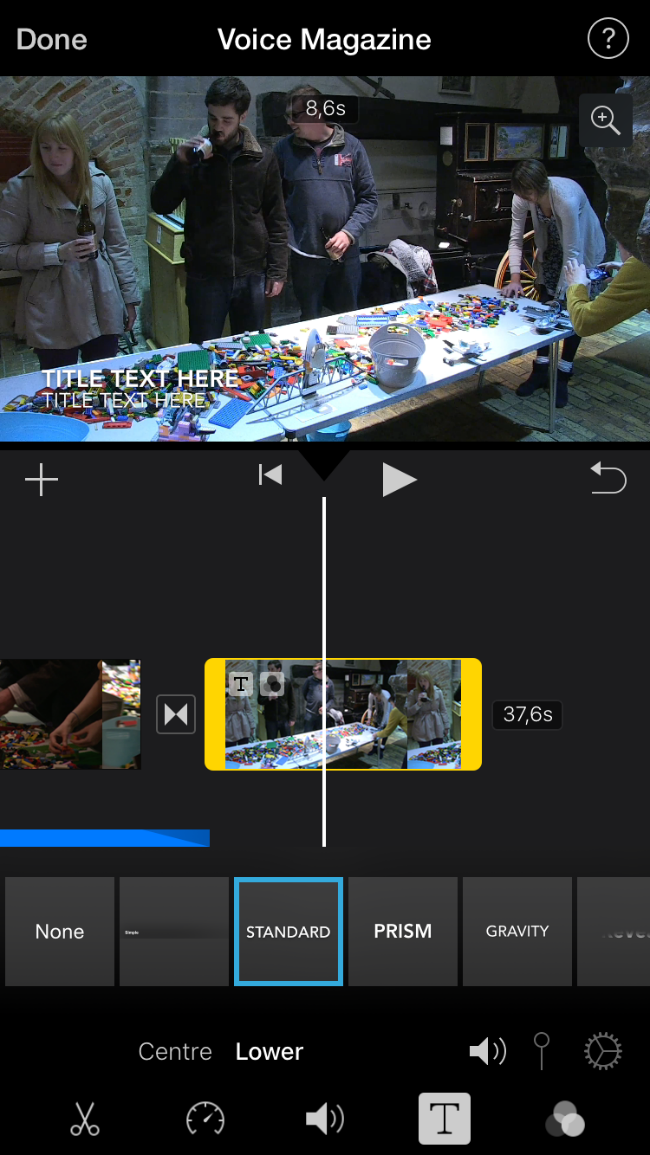
On the rest of the templates you only have two options, centre and lower. This means that your text will show up in the middle – more suitable for a main title – or on the lower third of your screen, which is more suitable for journalism projects titles.
 Adding titles
Be aware that when you add a title it will last for the entirety of your clip. Therefore, after adding the title to your video, you should Split the clip where you want the title to stop showing and remove the title from the second part of the clip.
Colour
The last tool shows three circles overlapping. That stands for colour grading and is there where you can find a selection of filters to change how the image on your videos looks. Do not add these filters to your videos since they will damage the quality of your image and its realism. If you want to colour correct or colour grade your projects properly, opt for a software that allows you to do so, such as DaVinci.
 Colour adjusting options
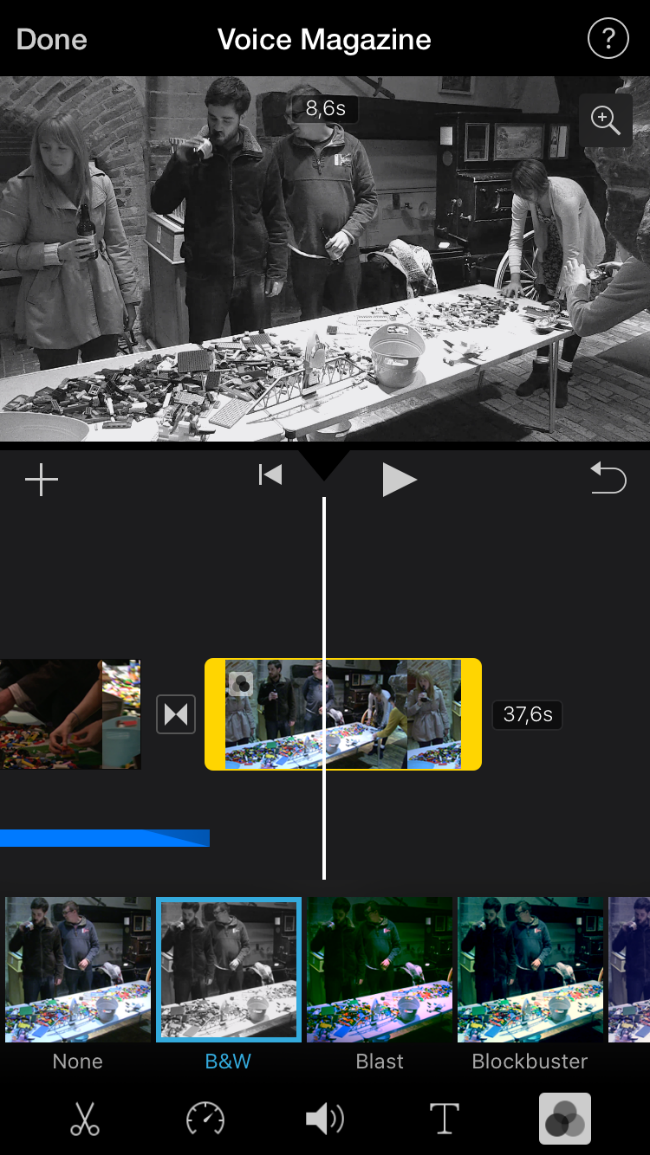 Applying a filter
Finishing and Exporting
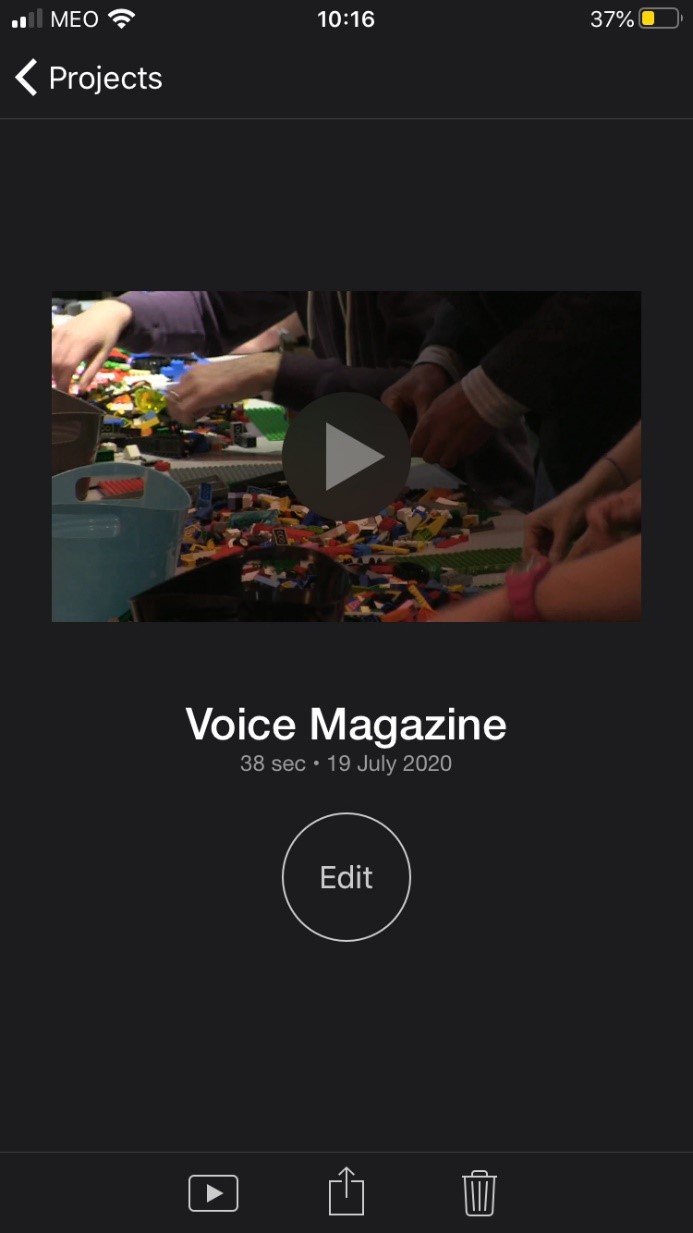
If you are finished with editing for the day, click Done on the left top corner of your screen. You can restart editing at any time by opening the app, selecting your project and pressing Edit.
If you have finished editing your final version, click Done on the left top corner of your screen and on the bottom of your screen you will find three options: Play, Share, and Trash.
 The export screen
Press Play and it will show you your edit as it is at the moment.
Press Share and you will be able to: send the project on to someone through your social media or even email, copy your project, export your project, save the video on your phone, or save it to files. Click on Save Video and choose the HD1080p option.
Pressing the Trash button will delete your project.
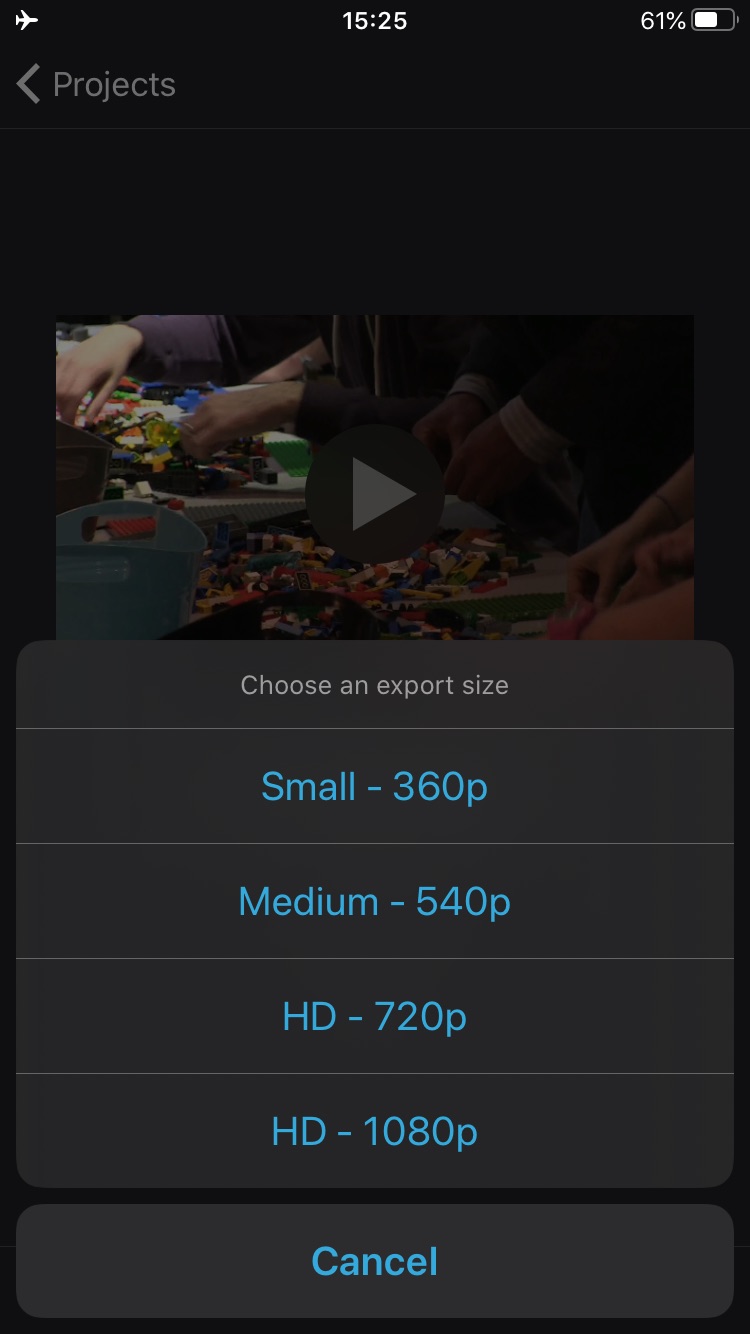 Export options
Extra help
If you need any extra help while using the app, click the question mark on the right top corner of your screen and then “Learn More”. You will be shown a list of different guides that might help you further whilst editing.
 The help screen


0 Comments