Now, if you're lucky enough to have green space, you've probably already done everything you can. There's only so many vegetables you can plant or hedges you can trim. Doing up a house can easily be an endless pit of work, assuming you have the money and skill to pour into it. That said, plenty of us don't.
Personally, I've gone a little outside my comfort zone. My backgrounds are Biology and Art, not Physics or Electronics… but nonetheless I decided to make an electric generator. Having my own power supply in case of societal collapse is not, I confess, something I needed a global pandemic to start thinking about. However, the free time I've had lately has inspired me to make it a reality.
The components are:
| Component | Approximate cost* |
|---|---|
| 2" x 4" wooden beams | £60 |
| V-belt | £20.95 |
| Diode | £1.80 |
| Screws | £5.02 |
| Leisure battery | £99.99 |
| Inverter | £165.00 |
| 12V motor | £89.99 |
| Total cost | 442.75 |
The priciest parts are the battery, inverter and motor, personally I had to get one part per month so I could still afford to feed myself…but it's worth it!
You'll also need a few handy tools:
- saw
- power-drill
- screwdriver
- wrench/spanner
- chain-breaker (tool for shortening bike-chains)
- bike-tyre removal tool
- tape measure
The transformation from mindless consumer of the grid to self-powered green energy provider is surprisingly simple.
Step 1
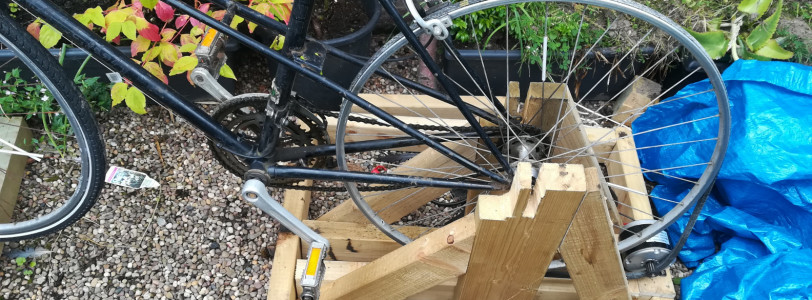
Remove the back tyre of an old bike, thread the driver belt in place of the tyre. If your bike has a derailleur, you'll need to remove it and use a special tool (called a 'chain-breaker') to shorten the chain and keep it taut.
 Bike support frameStep 2
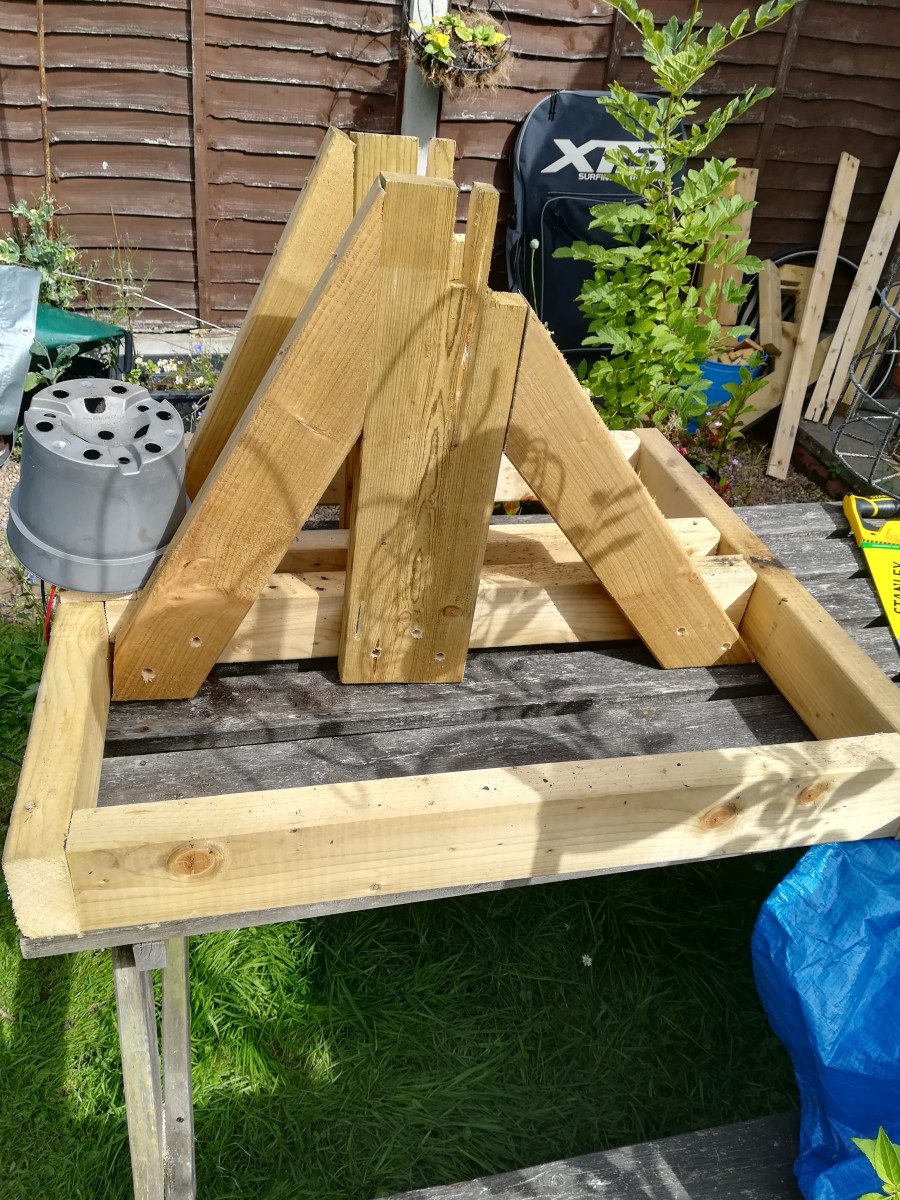
Build a stand to elevate the bike off the ground. To do this, you'll first need to build the frame base. This is essentially a box made of four beams that needs to be deep enough to fit the back tyre and wide enough to support the weight of you and the bike.
Step 3
Next, you need to make the support beams. These will need to be thick, strong wood, with notches cut in just wide enough to accommodate the bolt of your bike wheel. This will support the main weight of you and the bike, so you'll need to cut some side-beams to support them either-side.
Step 4
Finally, install your bike and adjust your 12V motor until the V belt is good and tight, then screw the motor in place.
Step 5
Next, attach your diode to the red wire of the motor, with the cathode end pointing towards the positive (red) terminal of the leisure battery.
Step 6
Now attach the negative (black) terminal of the battery to the black wire of the motor. Viola, you can now charge your battery by pedaling!
Step 7
Finally, attach your inverter to the battery. This will allow you to draw power from your battery. Remember, don't hook up devices designed to generate heat (toasters, kettles etc), that's more juice than peddling can generate! You'll know if you've overworked the battery, because the power will flow backwards and start turning the motor! (bitter experience...)
I took my instructions from here: https://www.instructables.com/id/How-To-Build-A-Bicycle-Generator/
I started with a bicycle Generator because British weather is reliably awful, but if you want something that requires less energy from you, you can hook up a solar panel to a battery fairly cheaply (around £100) these days.
The point is, you don't need a government grant or a small loan to start using green energy (even solar). As long as you accept that high-energy demands (cooking, washing machines, heating) are beyond the scope of you peddling really fast, you can power just about anything else.
As well as being a project to soak up your free time, this turns energy burnt on an exercise bike into something useful, and potentially provides your shed with a simple charging station for power tools without needing to hook it up to the grid.
The power is in your hands, get making!
*Prices correct at time of writing


0 Comments