
This guide was written by Chloe Potamiti
DOWNLOAD
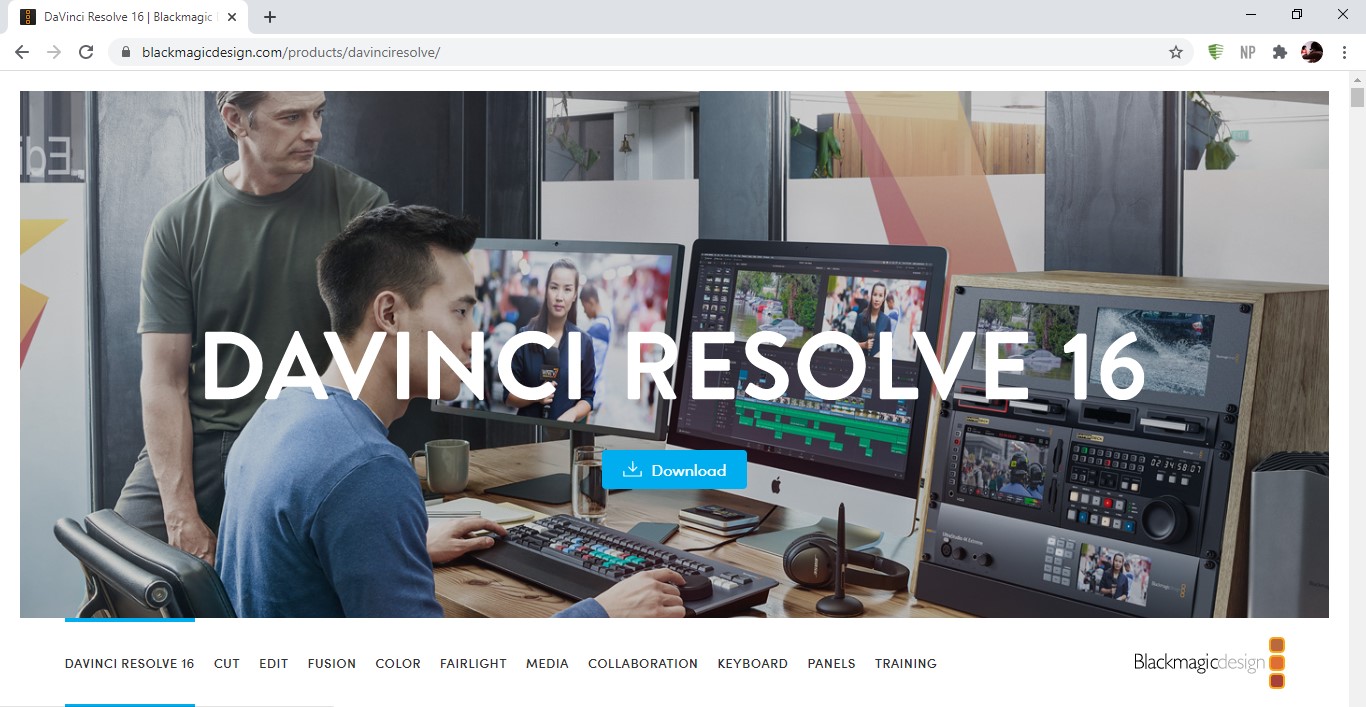
You can download the free version at https://www.blackmagicdesign.com/products/davinciresolve/
 Download
EDITING
Step 1: Starting a Project
Create a New Folderand name it, then within that folder Start a New Project and name it.
Step 2: Getting started
Once in, at the bottom of your screen will be a line of different tabs. To cover the basics, we will only be using Edit and Deliver. Click on Edit.
 Edit
Edit
Step 3: Organising and Importing files
On the left of your screen is the word Master, right click on it and then Add Bin.
 Add bin
This will create a folder for you to import (upload) media into. Name it something clear like ‘interview’, ‘GV, ‘audio’. This is important in order to stay organised and make your editing experience easier.
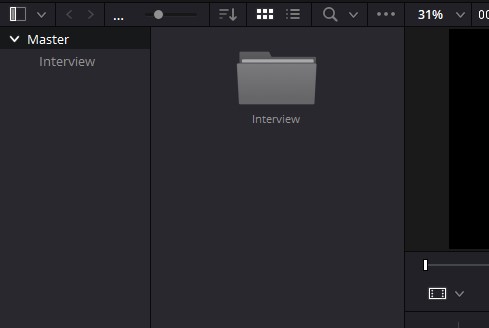 Rename your bin folder
Add as many bins as you need, double click on a bin and then to import media, you can either right click and go to Import Media and select a file, or you can simply drag the file from your computer folder into the Bin.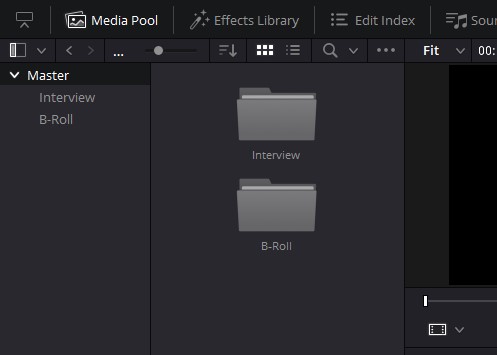 Multiple bins
Now that you have imported all your files and organised them into the right folders, you are ready to start editing your footage.
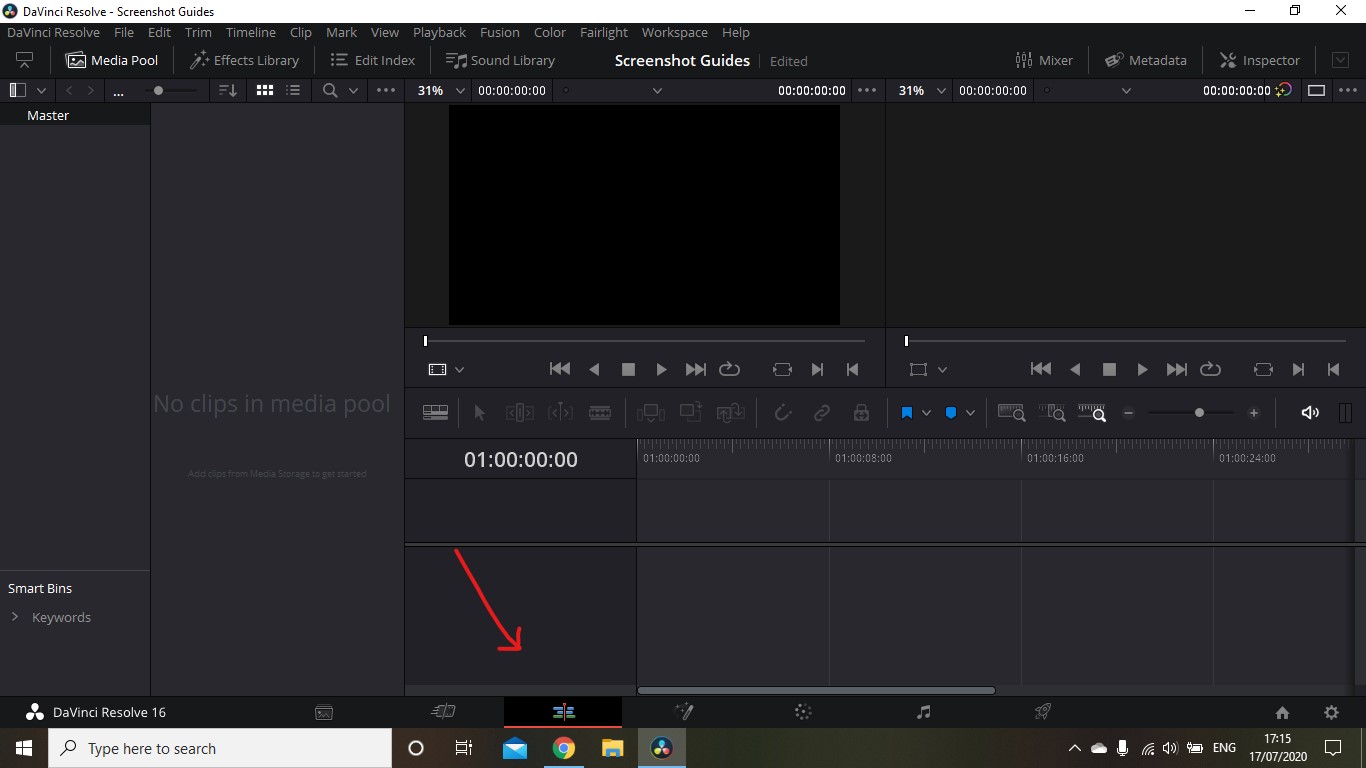
Step 4: Your Timeline
Pick which video clip you want to begin with and drag it onto your timeline. Whatever is on the timeline and has the red cursor on it will show on the top right of your screen. If you want to view other media at the same time, just click or hover over the video in your bin and it will appear in the left part of your screen. You can hover over the footage and move the cursor over it to skim through the footage. This can be very useful for checking if it is the video you want to use and remembering what is in each one. 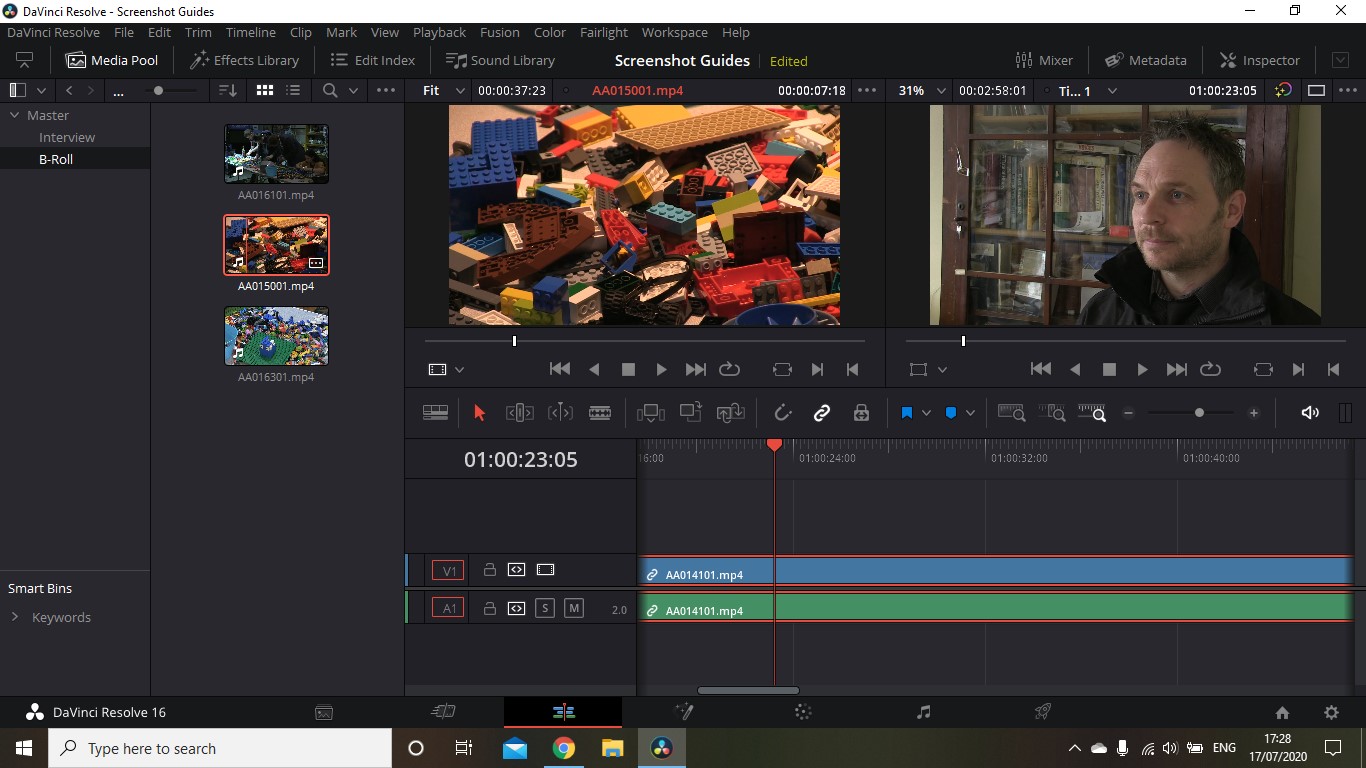 The timeline view
On your timeline the video will be shown as blue and the audio as green (if your footage has sound), and both can be edited independently of each other. To remove either the sound or the video, you can go to the left of each line – to remove video click on the dotted square symbol, to remove audio click on the S in a square.
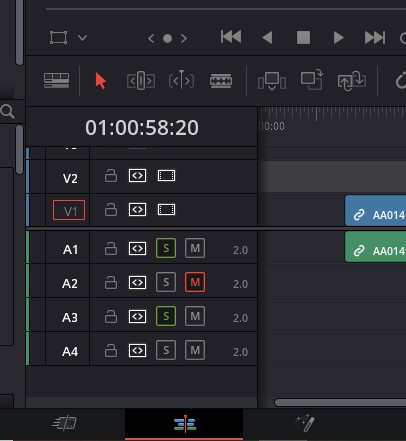 Removing audio or video
To zoom in and out of your footage adjust the line shown in the screenshot.
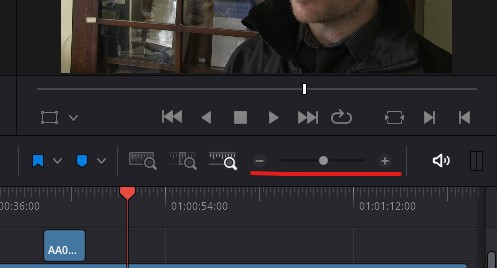 Zooming into your clip
If you want a clearer view of your timeline you can select this viewing option in the screenshot below. (Definitelyuse this if you are editing different footage together, so you can see where each one is).
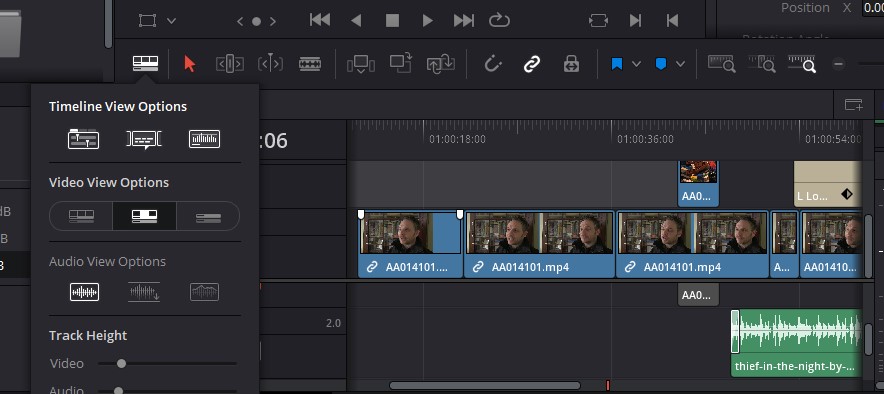 Timeline view options
To move clips around your timeline, simply click on the video and drag it to the point you want it.
To play the clip from a specific point, place the red cursor on it and press Spacebar or the play button under the preview.
You can leave Markerson your timeline as reminders for yourself, for example to remember where you want to intercut with another video, or where you want to add music to. You can select these at the marker symbol shown in the screenshot, or by pressing M. You can also choose what colour the marker is, so you can symbolise different things with different colours.
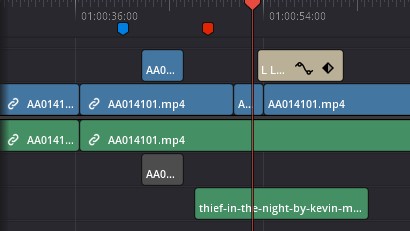 Blue and Red markers on a timeline
Step 5: Basic Editing
You probably do not want the entire video you have added to your timeline.
ToTrim (shorten) it from the beginning or the end simply go to the end or start of the clip and an arrow symbol will appear, drag it to trim the clip. You can also extend it if you trim too much.
To remove footage from within the clip, use Blade(either select the razor symbol, or press B on your keyboard) and anywhere you click on the clip it will cut it, making it into 2 different clips. If you want to remove a part, just blade it at the beginning and the end of the unwanted section. Then go back to Regular Editing (either clicking the arrow or pressing A) and select the clip you have cut, then press Delete on your keyboard.  Blading clips
Once you have bladed a clip, you can drag other footage between it.
To copy and reuse a clip, select it and either right click and select Copy, or just press Ctrl-C (Cmd-C), then place the cursor at the point in your timeline where you want to reuse the clip and select Paste or press Ctrl-V (Cmd-V).
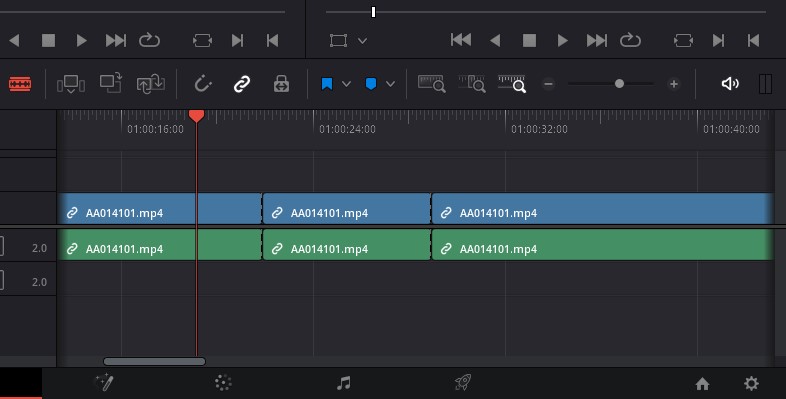 Repeated clips
Step 6: Adding GV shots (AKA: B-Roll or cutaways)
GV = General View. This is any footage intercut with the main shot.
You can always add more clips onto your timeline, either after another or between the ones you have bladed. But you can also add a clip over another. For example: if you’re editing an interview you can add GV you’ve filmed or found and show it instead at points while the interviewee is speaking. To do this simply drag the footage onto the timeline and place it above the interview. The image added second will automatically play over the first one, but if it has audio, you have to remove it (or reduce its volume - explained below). To do this, just do what we covered above (under Timeline).
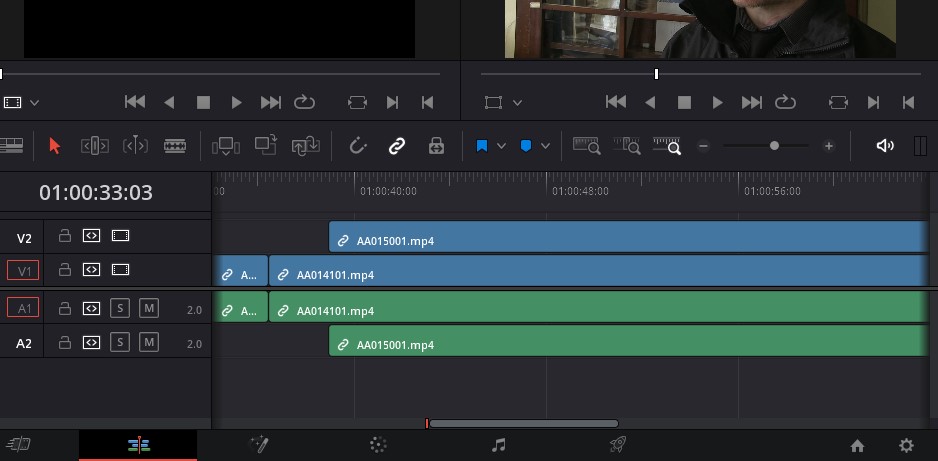 Multiple clips
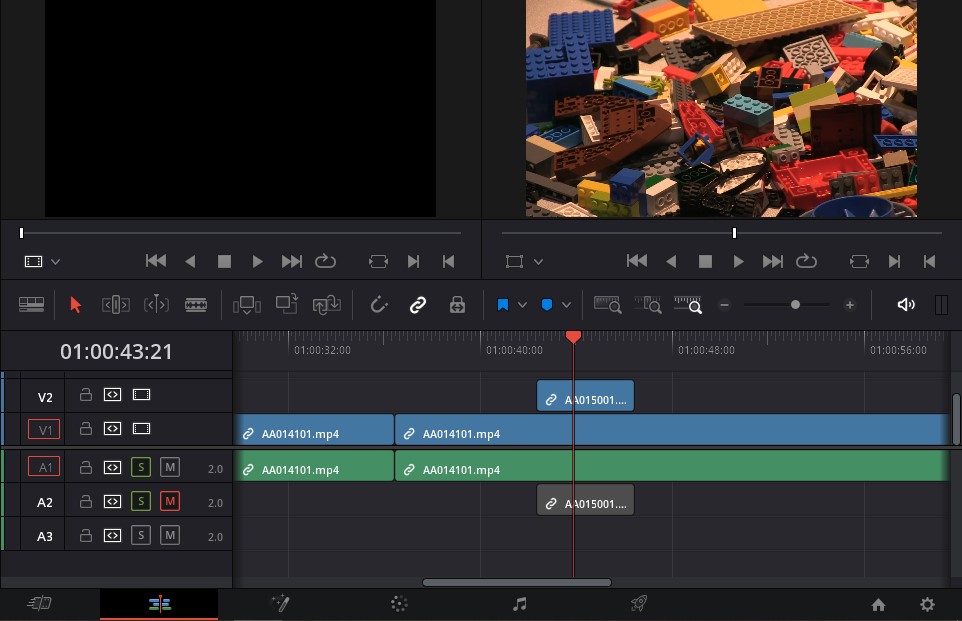 A clip with muted audio
Step 7:Adding music and Audio Editing
If you have not already, add a new Bin and name it ‘Audio’ or ‘Music’, and import your audio files. Drag it onto the timeline, and place it under the rest of the footage, where you want it. Make sure it is not placed on the same level as another audio clip, so you can control them separately. Then, just as you would with a video, start by trimming or blading and cutting out any unwanted parts.
 Trimming audio clips
Try fading your music in and out, as it will seem less abrupt. To do this, switch to the other timeline view mentioned earlier and go to the audio clip on the timeline. Go to the upper corner (either at the beginning or end of the clip) and a small white point will appear, drag it and a line will move along with you across the clip, the further you drag it the longer it will fade
in/out for. Try out different lengths and see what works best.
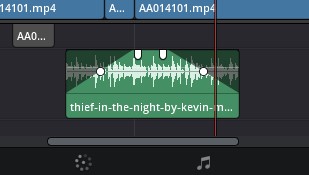 Fade in and out
If you need to adjust the volume to different levels throughout the video (for example, if it is an interview and the person speaks very quietly or loudly at certain points) you can create Keyframes. AKeyframe is a location on a timeline which marks the beginning or end of a transition. Hover over the audio file until the upside-down double arrow sign appears (you can also use this to adjust volume), simply click while pressing Alt and it will add a circle. Add 4 of these: the length between the outer circle and its nearest inner circle determines how long the sound will fade into its new volume. Then pull the inner circles up (to increase volume) or down (to decrease volume).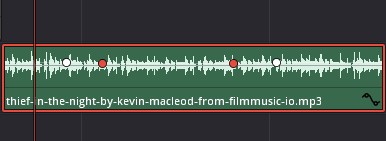 Adding keyframes
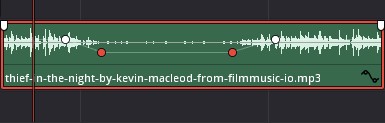 Using keyframes
To remove a Keyframe just click on it and press Delete.
You can use the music as the only audio, by muting the rest, or it can function as background music, for example as an interviewee is speaking. If both audio files are switched on (indicated by the S in the square being green) they will sound at the same time, but you will need to lower the music’s volume.
To do so, click Mixer, in the upper right section of your screen. In the bottom right, the mixer will appear with the volume of each audio file. If you cannot see all of them you may have to drag it to the left to reveal the rest. Simply lower the level for the track the music is on, and it will function as subtle background music, allowing your viewers to still clearly hear the interviewee.
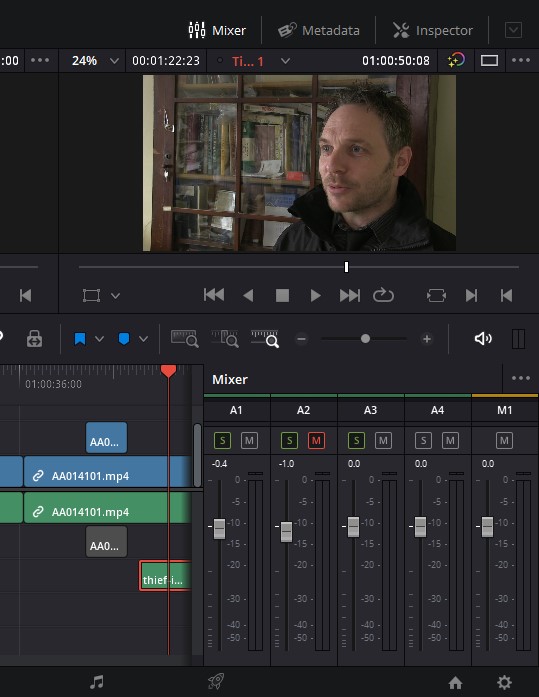 Adjusting the audio mix
Step 8: Titles
To add writing to your video, go to the Effects Library and select Titles. The preset you will mainly be needing is Lower 3rd, which places your title in the bottom corner of the screen – ideal for interview footage. Typically, this will be where you place the person’s name and profession, or their role in the topic they are discussing. You can easily select the size, font and colour of the writing, but keep it simple. Finally, go to the title’s line on your timeline and drag it from the side to decide how long it appears for. This could be for the first few seconds of the person speaking, or for their entire interview.
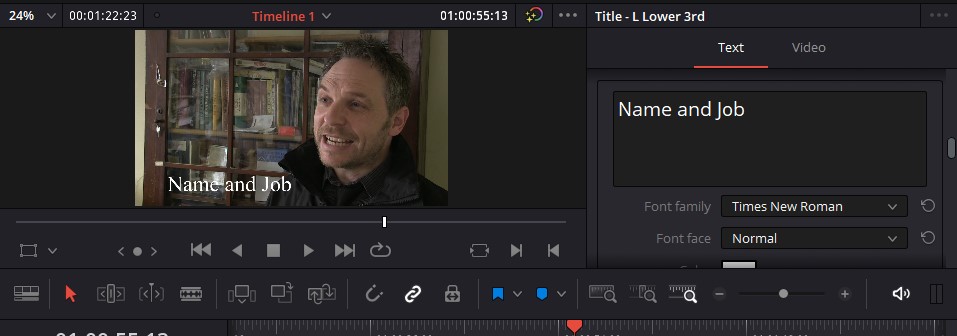 Adding titles
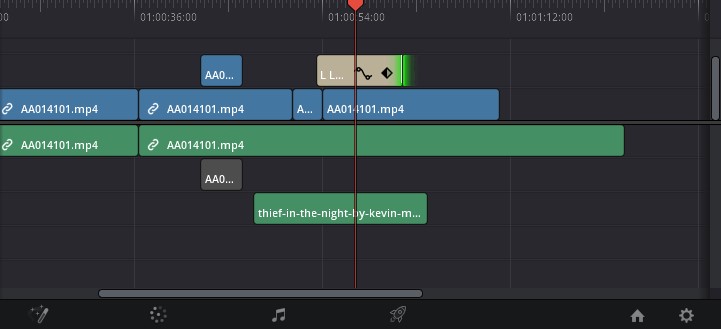 Titles on the timeline
Transitions
It is not necessary to use transitions, but the option is there. It is also in Effects Library,under Transitionsand provides you with a list of audio and video transitions. To apply simply drag directly onto the clip on the timeline.
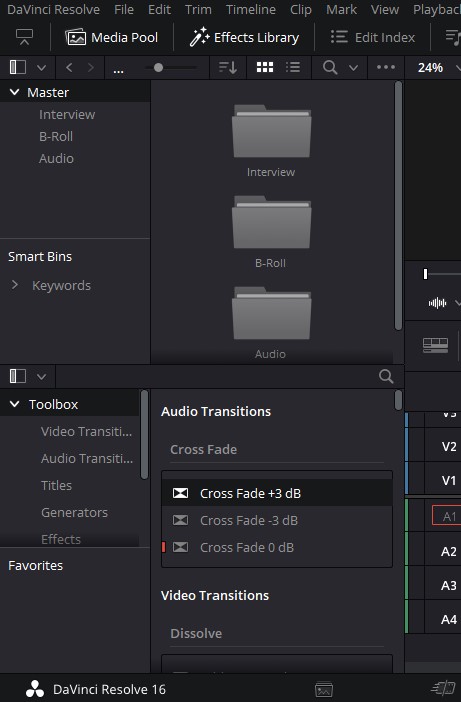 Crossfade transitions
Step 9:Exporting
Exporting is the process of saving your final project as a file. This is not the same as saving it, which will just save your process on the editing software.
To export your finished video, move from the Edit section at the bottom of the screen to Deliver (the rocket ship symbol).
 The rocket ship is export
On the left of your screen you will see you have the option to export it while posting it directly to YouTube or Social Media. Export it to your computer first, by selecting Custom. Name your file and select the location you want it saved to.
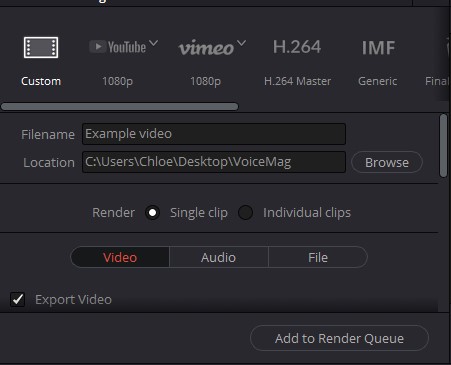 Rendering options
It will show the options of Video, Audio and File. Select Video, which it should do automatically anyway. You also have the option to choose what Formatit is saved as – unless otherwise told, select mp4 as it can be played easily on any computer or phone. The resolution should automatically be set to the highest option, usually at least 1280 x 720 HD. 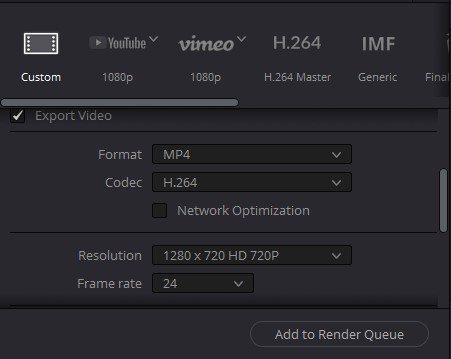 Pick the highest resolution available
Finally, click Add to Render Queue and on the right side of your screen the option Start Render will appear. Click that and wait.
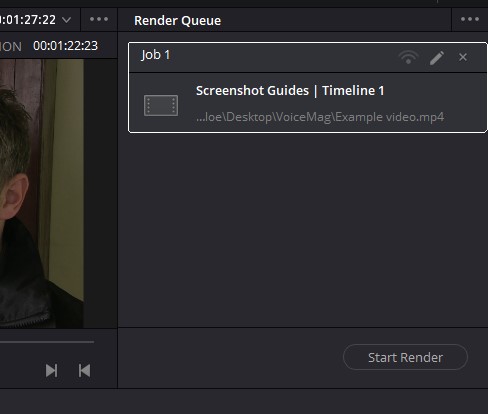 Rendering queue
When it says the rendering is completed, go check the file to make sure it has exported properly. When you close DaVanci it will ask if you want to save your project, save it so it is easy to come back and keep working on it if you want.
Well done you have edited your video!
Some useful keyboard shortcuts on DaVinci Resolve
| Command | Windows | MacOS |
|---|---|---|
| Undo | Ctrl-Z | Cmd-Z |
| Redo | Ctrl-Shift-Z | Cmd-Shift-Z |
| Cut | Ctrl-X | Cmd-X |
| Copy | Ctrl-C | Cmd-C |
| Paste | Ctrl-V | Cmd-V |
| Select All | Ctrl-A | Cmd-A |
| Deselect All | Ctrl-Shift-A | Cmd-Shift-A |
| Normal Edit mode | A | A |
| Blade | B | B |
| Add Marker | M | M |
| Mark Clip | X | X |
| Select nearest end point | V | V |
| Nudge 1 frame left | , | , |
| Nudge 1 frame right | . | . |
A website for finding free archive footage
https://www.pexels.com/videos/
These can be useful for finding GV, especially if it is of something you cannot film, such as a protest, historical event, certain parts of nature etc.


0 Comments