
Let’s say you want to create an image to promote your Arts Award event on social media; You want it to look professional and create an impact, but you have no idea how graphics actually work and have never used Photoshop once in your life.
Well, my friend, let me take you through a simple guide on how to create such an item.
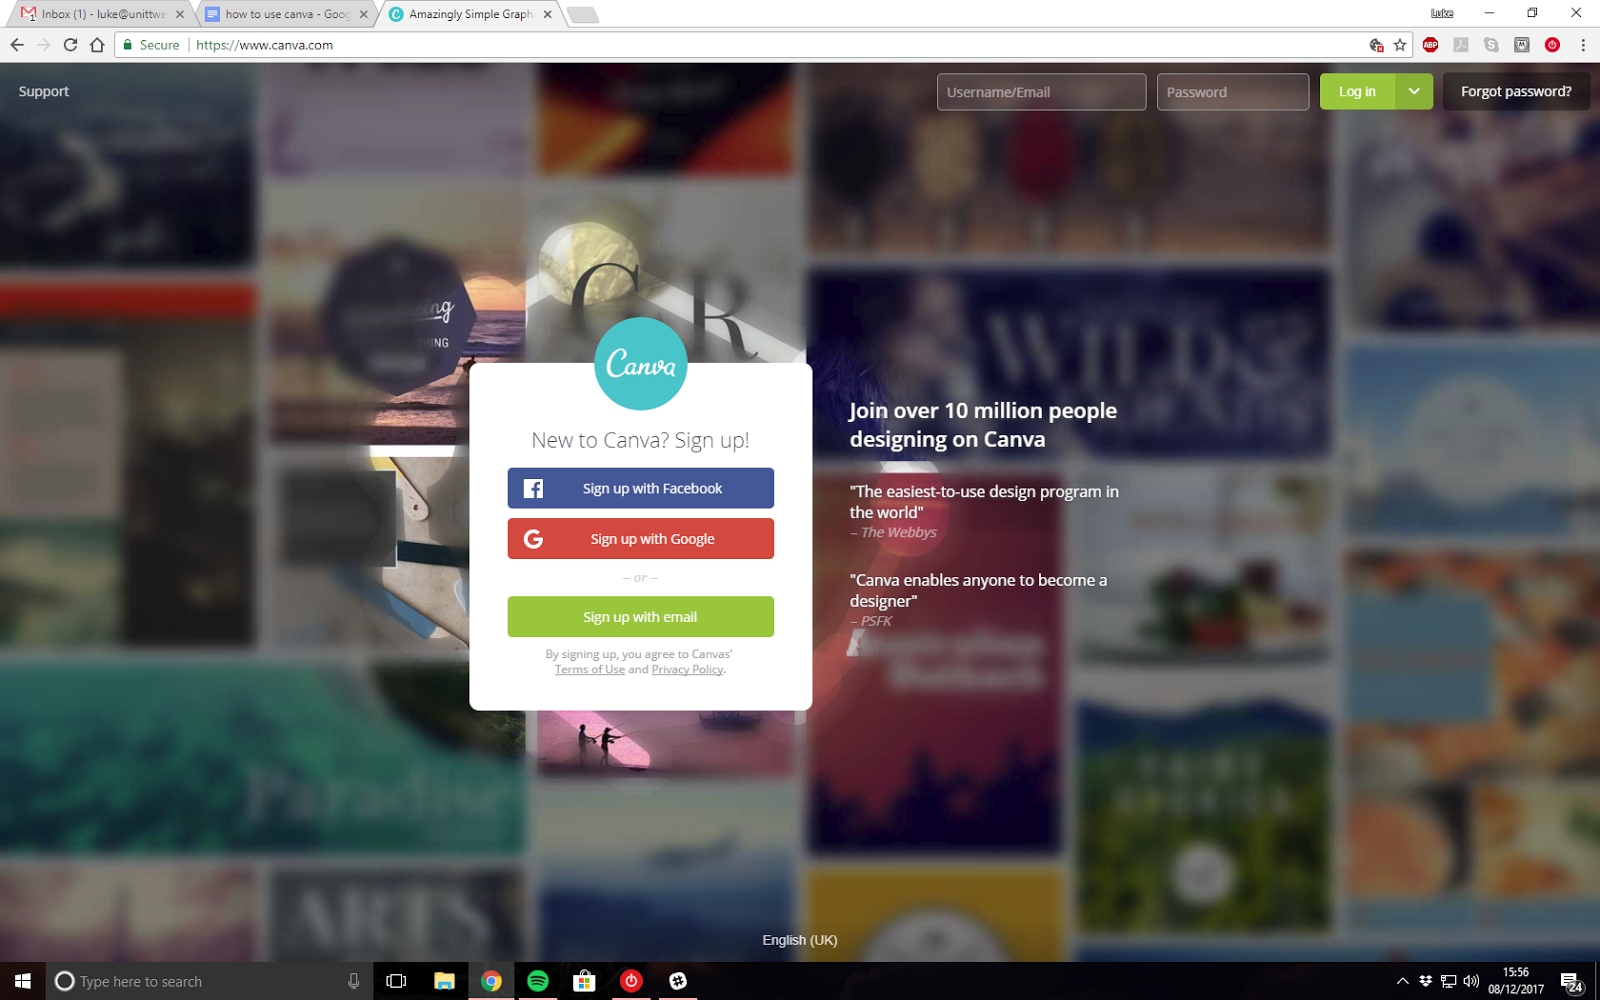
- Head over to www.canva.com and create an account through your Facebook, Gmail or generic email account. It’s quick, easy and you’ll be set up in no time.
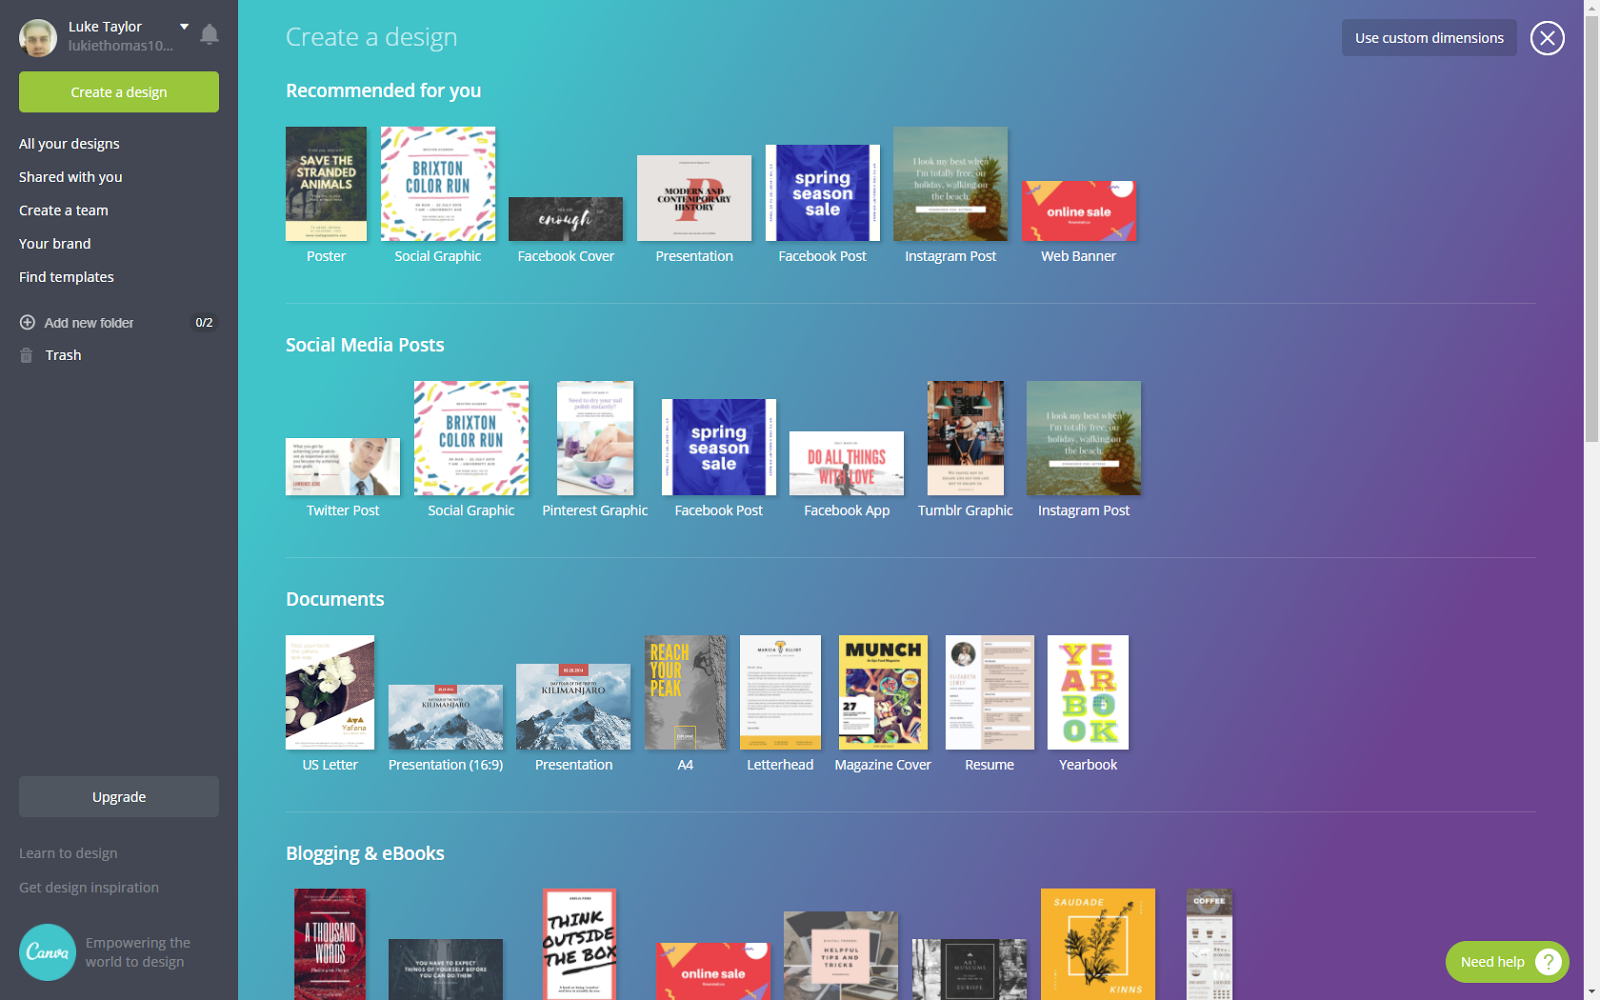
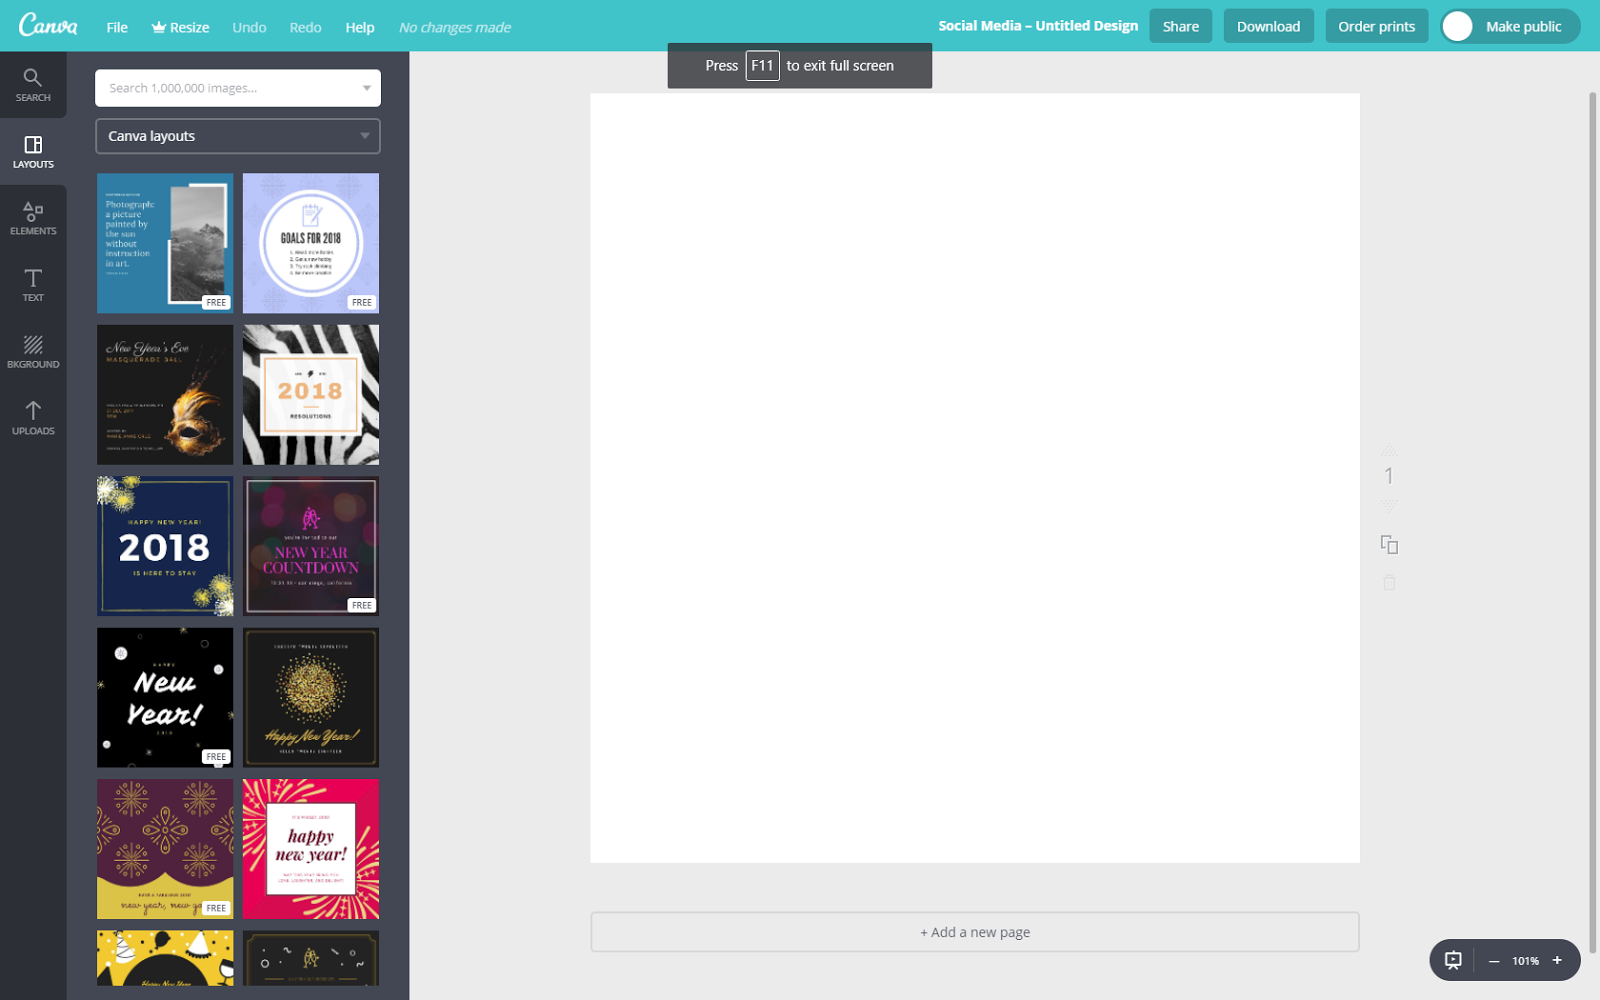
 2) Once you’ve logged in, a dashboard should appear, giving you a variety of templates to try out, such as creating a social media poster, leaflet or cover image. You also have the option to start designing from scratch, by clicking the ‘Create a Design’ button:
I’m going to talk you through how to create a social media poster.
3) Your desktop should now come up with a blank square, with a side panel showing you all the fancy pre-designed layouts. For now, ignore the layouts, as they are only there if you need a quick fix.
You need to create a graphic that’s suitable for your audience as well as your event. Here are the things you need to consider:
Audience - you need to work out who your event is for, and therefore who to promote to and how best to promote it. Answer these following questions to form a basic idea on who your audience are:
How old are they?
Where are they from? Is it in a community hall? Is it in a town centre? Is it at school?
What occupation are you targeting? Students? Professional artists? Parents/families? Everybody?
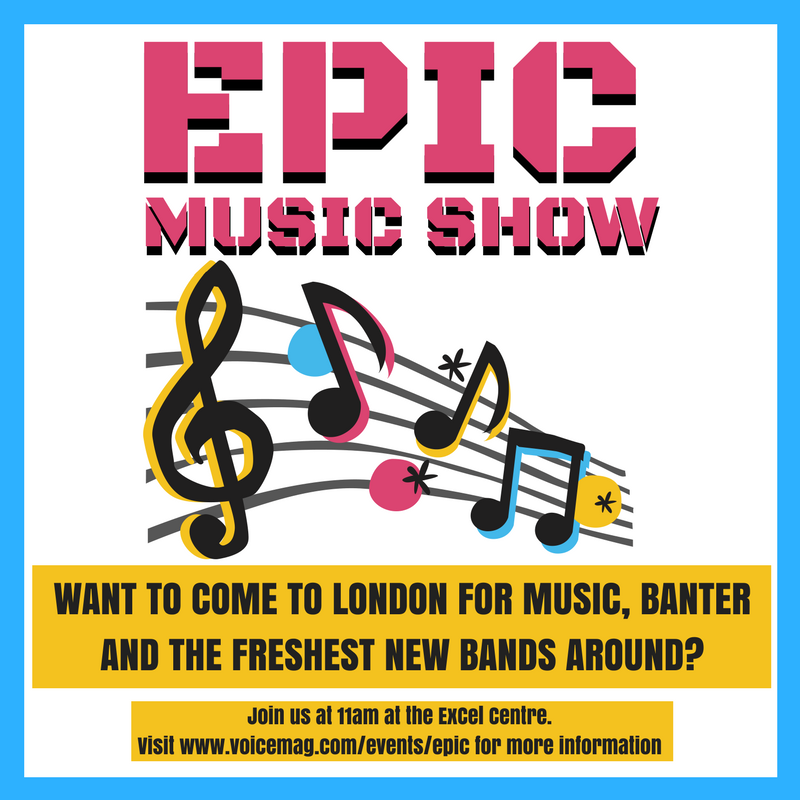
Arts interest - If your event is arts-focused, you need to show that throughout your poster, not just mention “Arts & Crafts” in text. Incorporate it into your design by showing images of crafts, or creating a pattern around the text. Make it really obvious what your event is about, because people will forget very easily
Tone - based on your audience, you need to adjust your text so that your audience not only understands you, but you understand them as well.
For example, if you’re promoting to school leavers, you need to make your text easy to understand without being patronising, and informative without being confusing. (try not to use too much slang either, otherwise you will come off as weird and unprofessional)Colour scheme - The colour scheme is the most important factor when creating a graphic, as colours are the first thing people are going to see before they actually read the text. Keep your colours consistent and simple, matching the subject of your event.
Language - as with tone, you need to adjust your text so that your audience responds as you originally intended. Keep your language simple so that you avoid confusion, and adjust it so that it suits your audience.
Check out my article on how to create a poster in Photoshop for more information.
Let’s start with the background of the poster, to give you something to put your image and text on top of. Pick a colour that stands out. But make sure it doesn’t conflict with other items on top of it.
I added a blue colour to my background first and then added a plain white square shape on top of it to create a border effect. To do this, I chose a shape in the left-hand panel by selecting the Elements button, and then choosing Shapes, as shown above. I resized the shape (I’ll explain how to do that later) to fill out the entire area and changed the colour to blue ( - another point that I’ll explain later). I then chose a similar square shape and kept it a blank white shape placed it in the middle, thus creating my border effect.
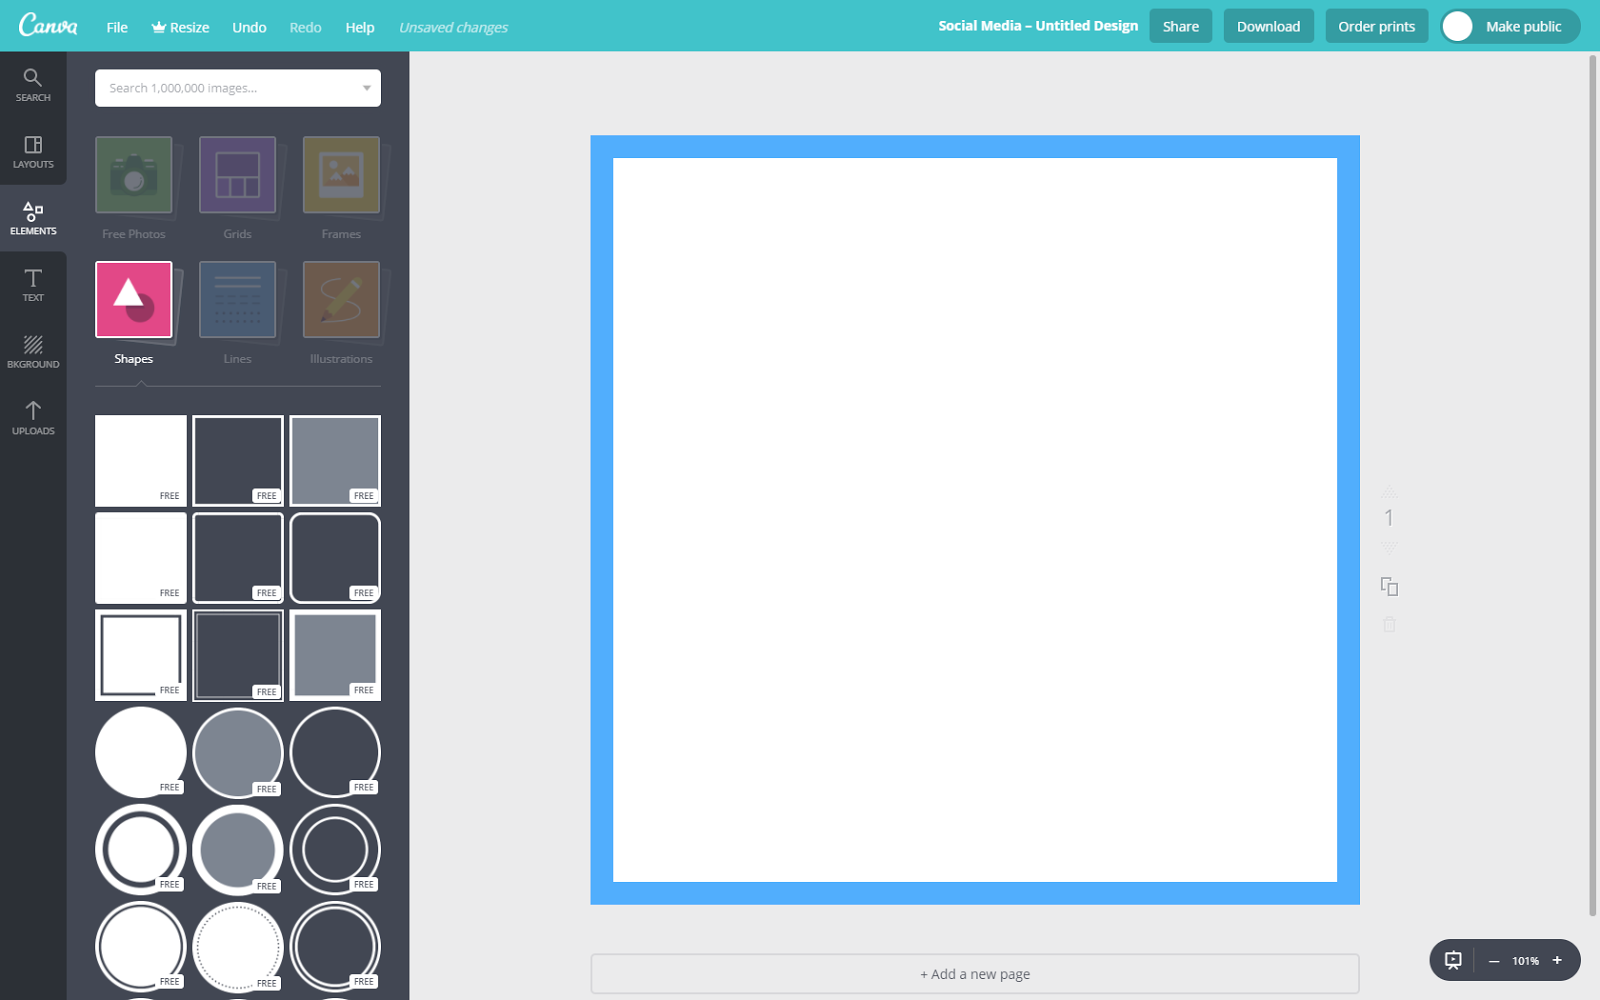
Of course, there a variety of free pre-designed backgrounds for you to choose from, I just prefer to be a bit more DIY.
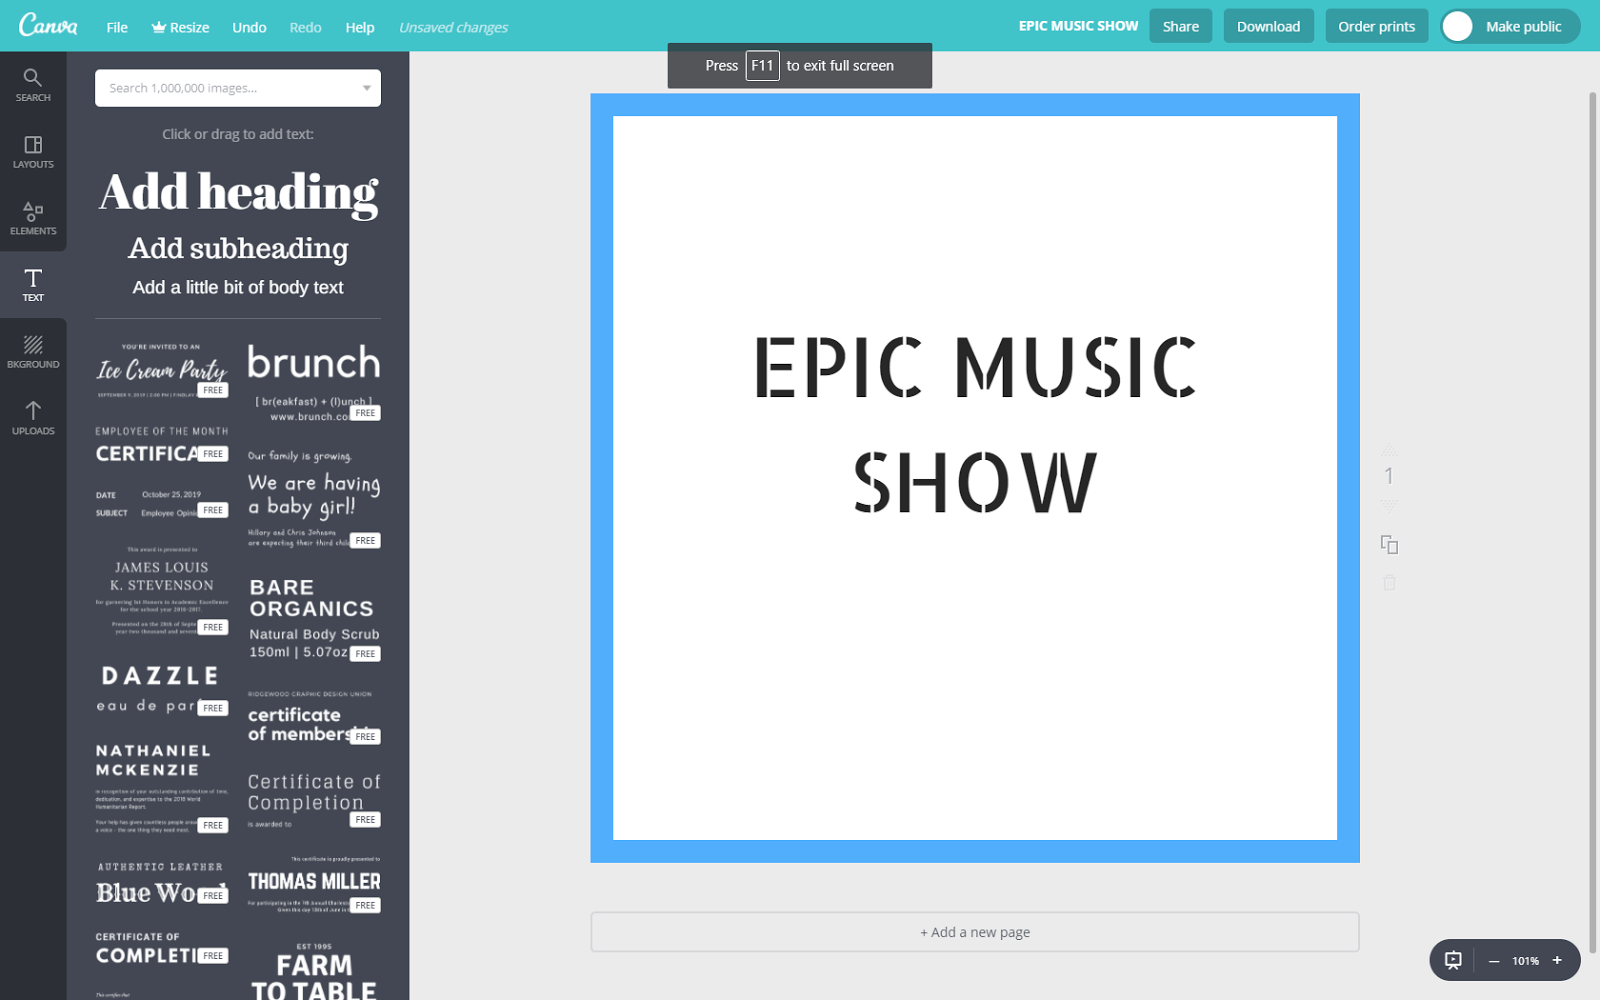
4) Once you’ve created your background, you need to place your text onto the poster. Start by writing your main heading.
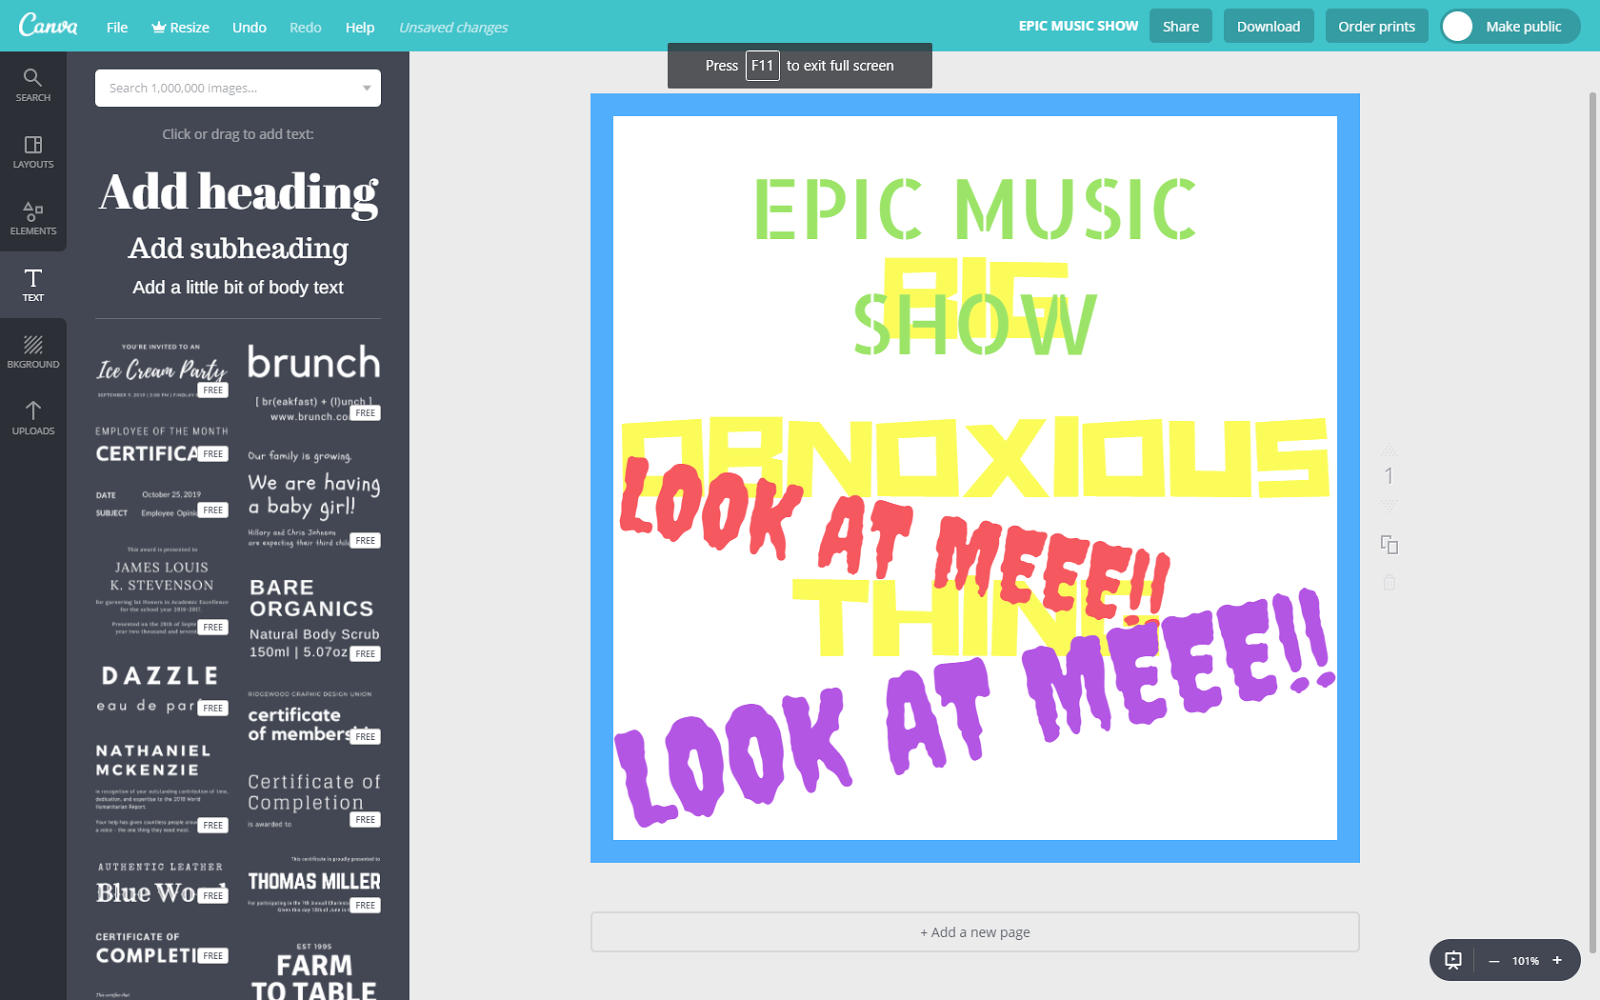
You want to make sure the main header of your poster stands out. Use a big, obnoxious font to capture your audience:
Don’t forget to be creative with your text as well - use different colours, bold or italic formats, align your text differently and experiment to see what works for you. To change the text, select your text by clicking it and heading to the top of the document. You’ll see this panel:

Here you can find your standard bold and italic settings, similar to in Microsoft Word, etc. You can also change the colour of your text or images by clicking the coloured box. A box should then pop up:
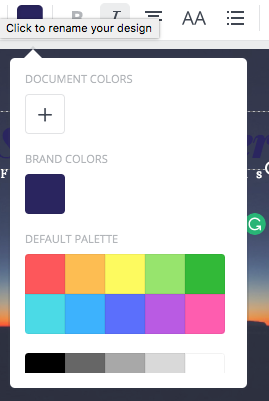
Canva is very clever as it chooses a colour scheme based on your document colours if you already have images and text. Of course, if you want to manually choose your colours, simply click the + button, which should bring up a colour wheel:
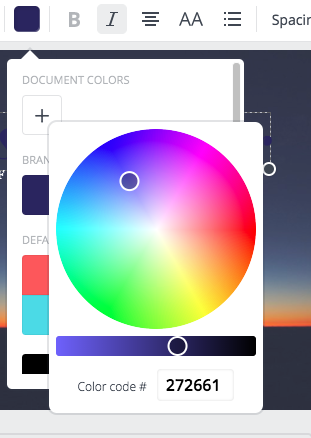
The colour wheel allows choosing whatever shade or combination of colour you want, as well as adjust the lighting of your colour. Simply click the area of the wheel you want and you’ve got your colour!
On that note, experimentation is one of the most important aspects of art and design, and if you have this in your Arts Award portfolio, you will have universities and employers bowing to you.
Of course, don’t go too crazy or you will end up with an organised mess:
While it’s important to be creative, don’t overdo it. Remember, the most important thing is that your audience understands what you want to promote.
5) Once your text has been added and stylised, you can now add images. Canva has a whole range of their own free images to use, as well as the ability to add your own: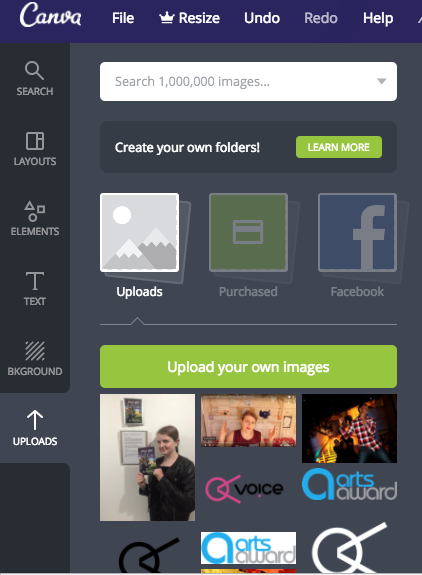
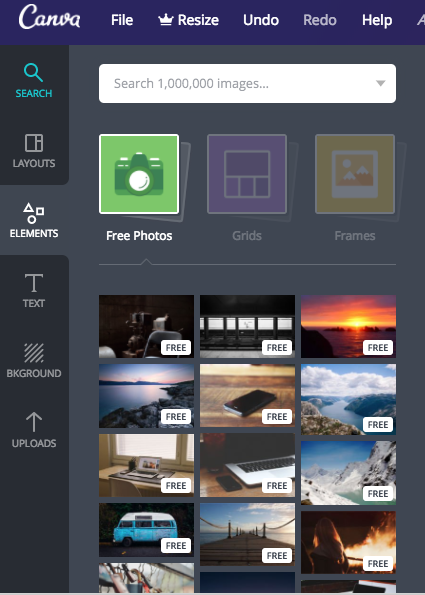
You may also see images with the tag ‘PRO’. You have to sign up for a paid membership to use these, but the range of free images is fantastic.
As with your text, place your images where appropriate in order to get the best effect. Here are a couple of layout tips for you to use:
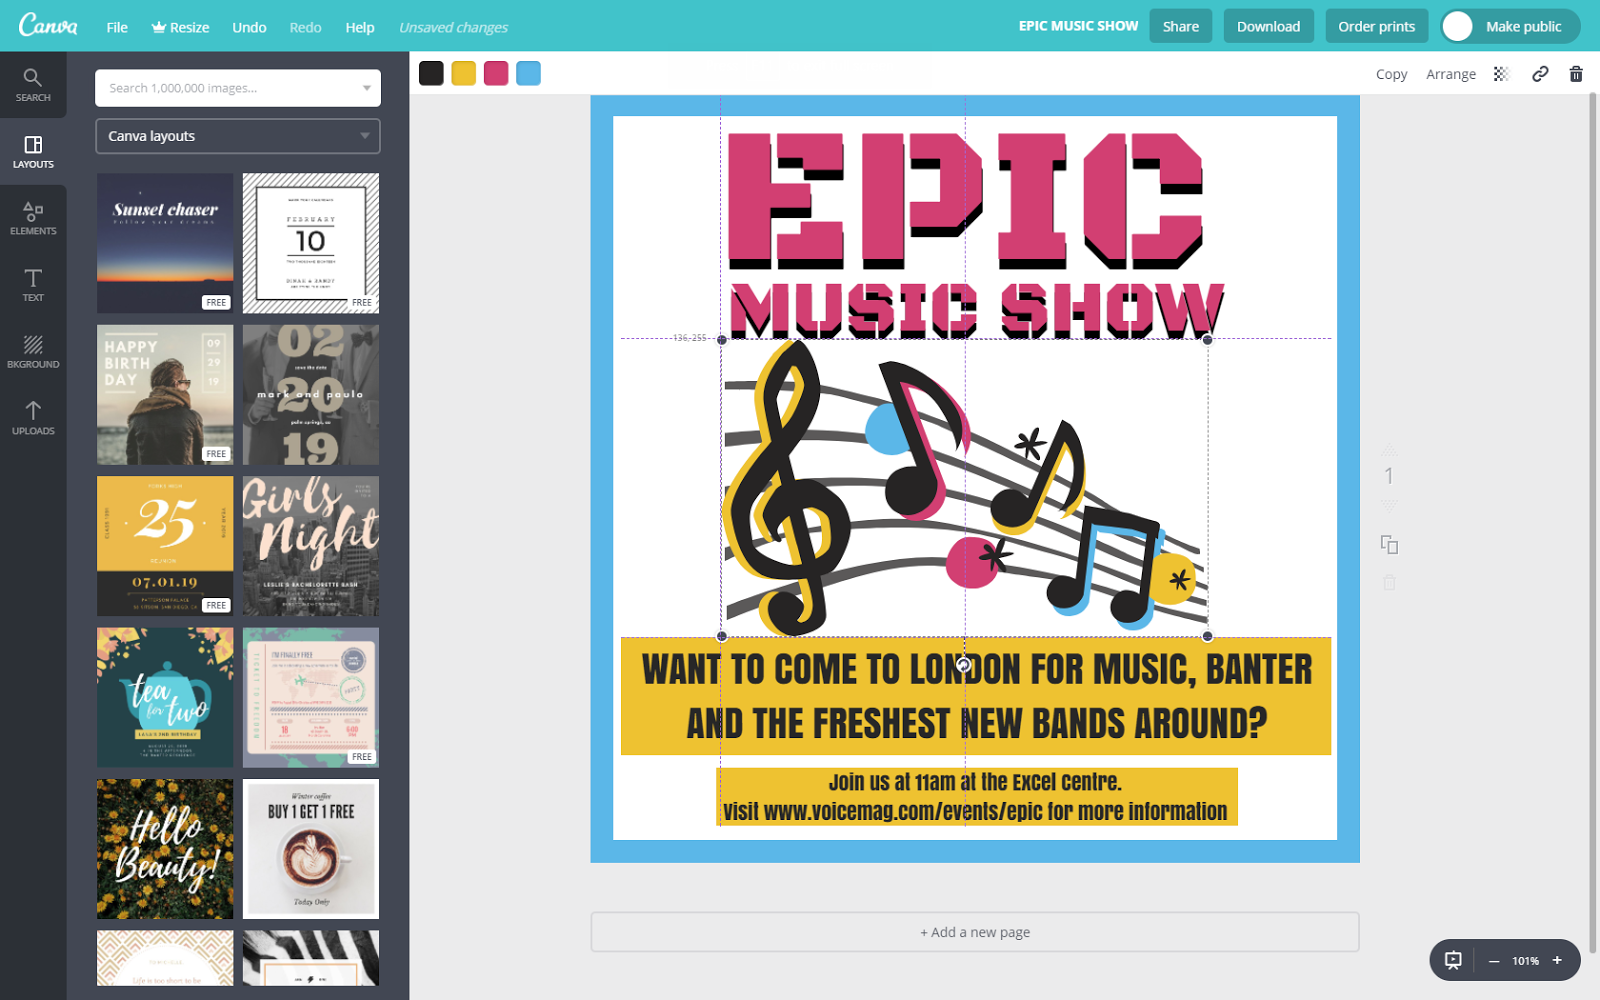
Use the Rule of Thirds grid to correctly position your text and images for a more natural structure for your graphic:
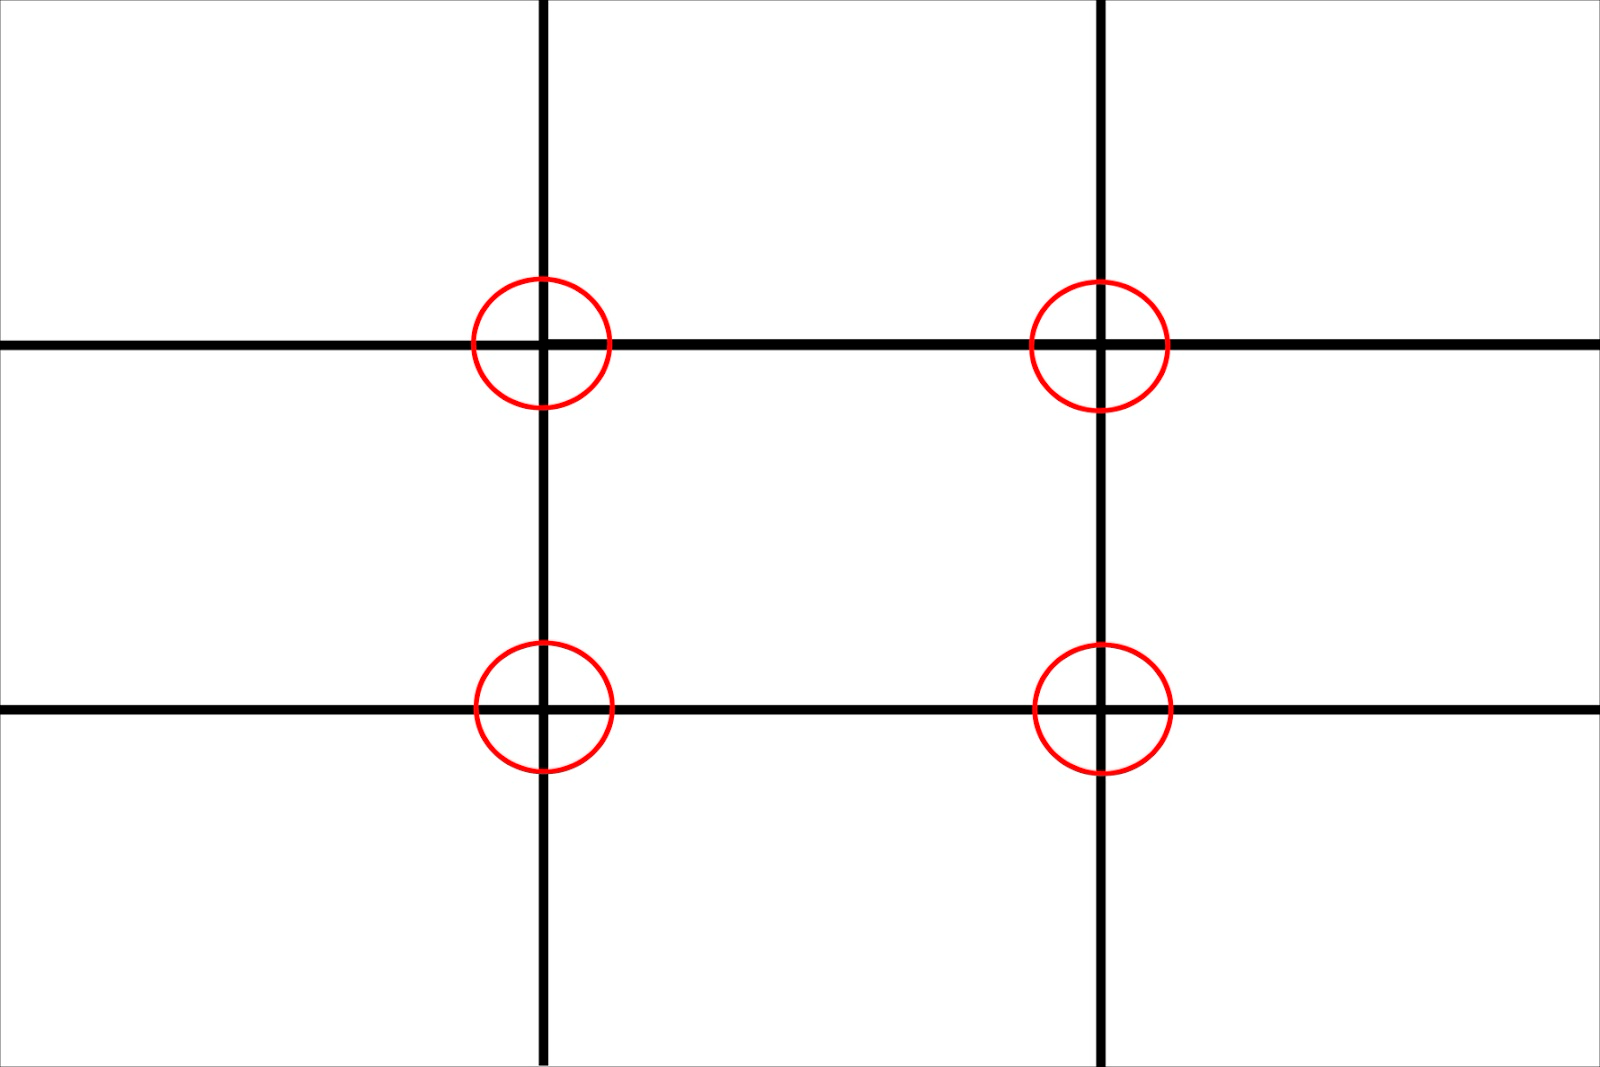
The Rule of Thirds is based on the movements of the human eye, as the eye tends to not look directly at the centre of the image but within the centre (i.e. the four red circles). This is a handy tool as it helps makes your image easy on the eye, as well as making things seem neat and organised:
Try and place your items on and around the four lines for the best effect, as shown above. It can also be used to make any corrections to your positions.
Plan the structure of the graphic - grab a piece of paper and a pencil to sketch out your ideas until you find something that works. I find that it’s better to have a plan in place, otherwise, the creation process will take a lot longer than necessary.
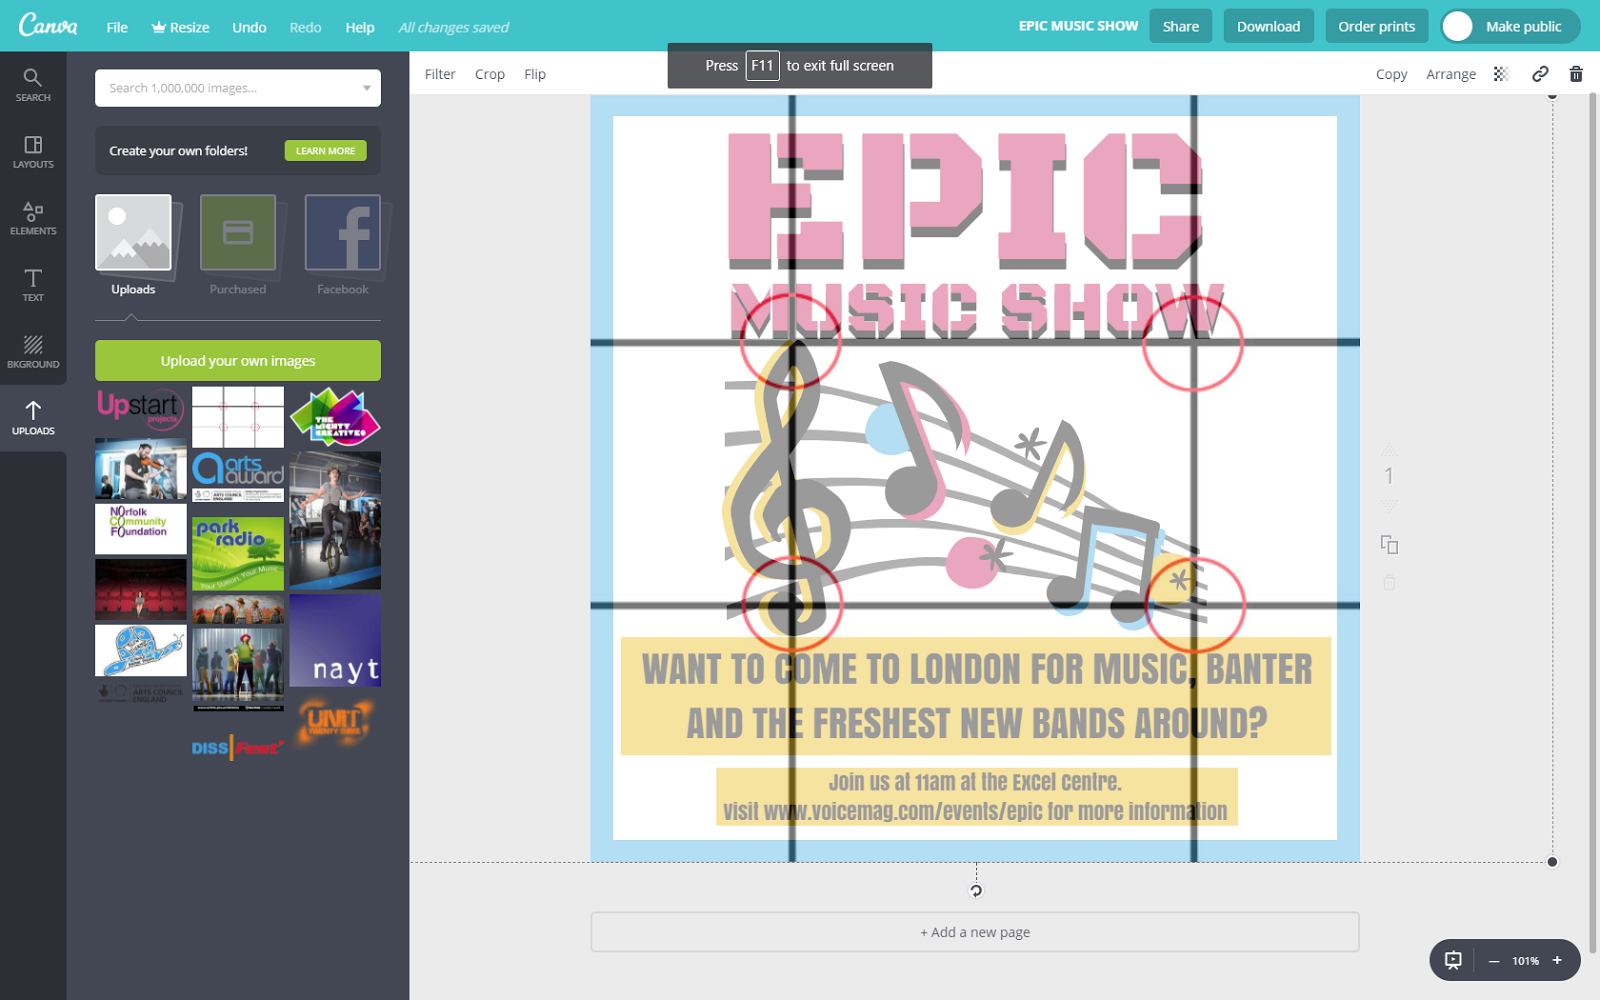
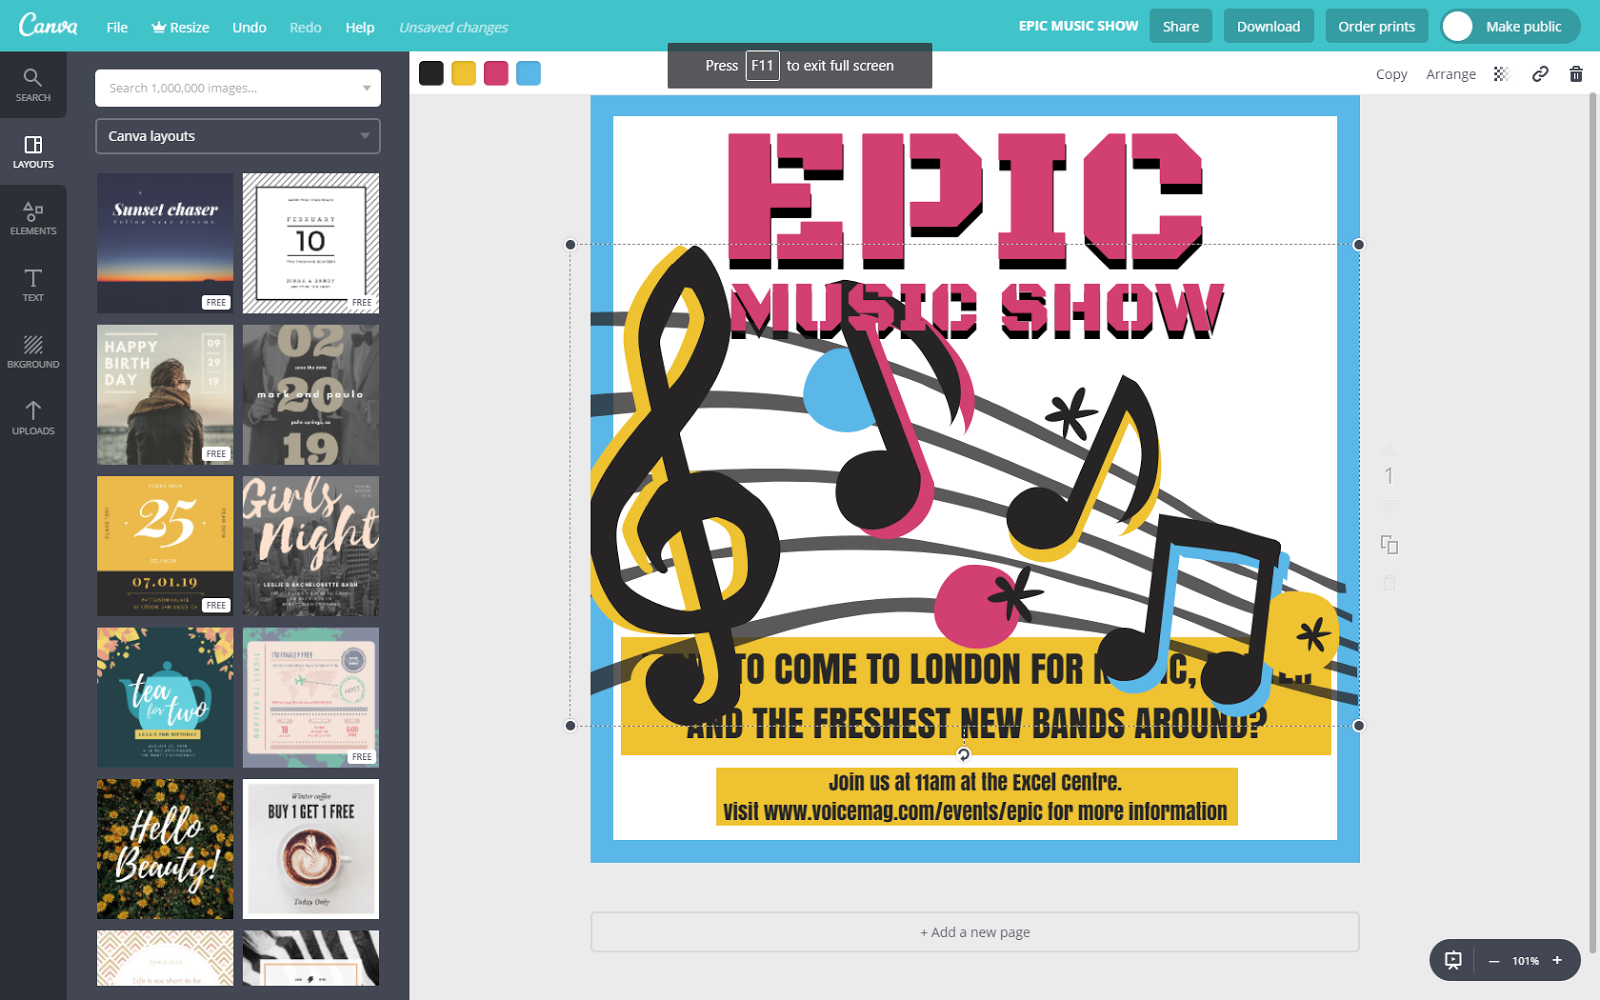
Be careful about how you position your text as it can easily make the rest of the poster messy and unorganised: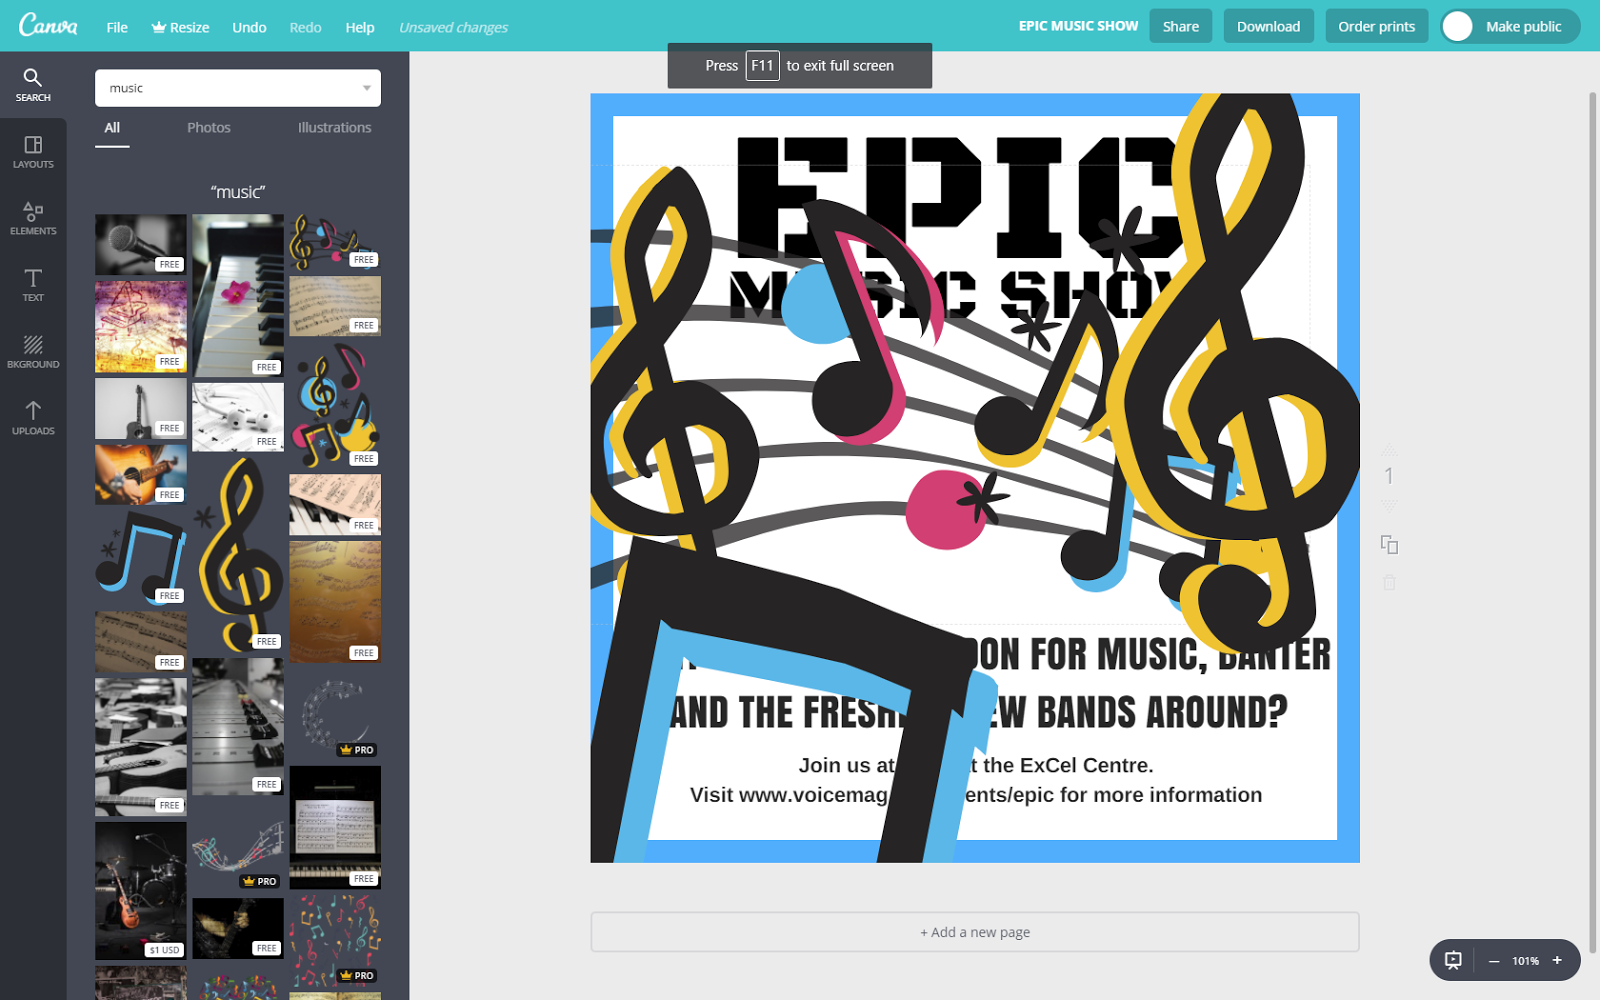
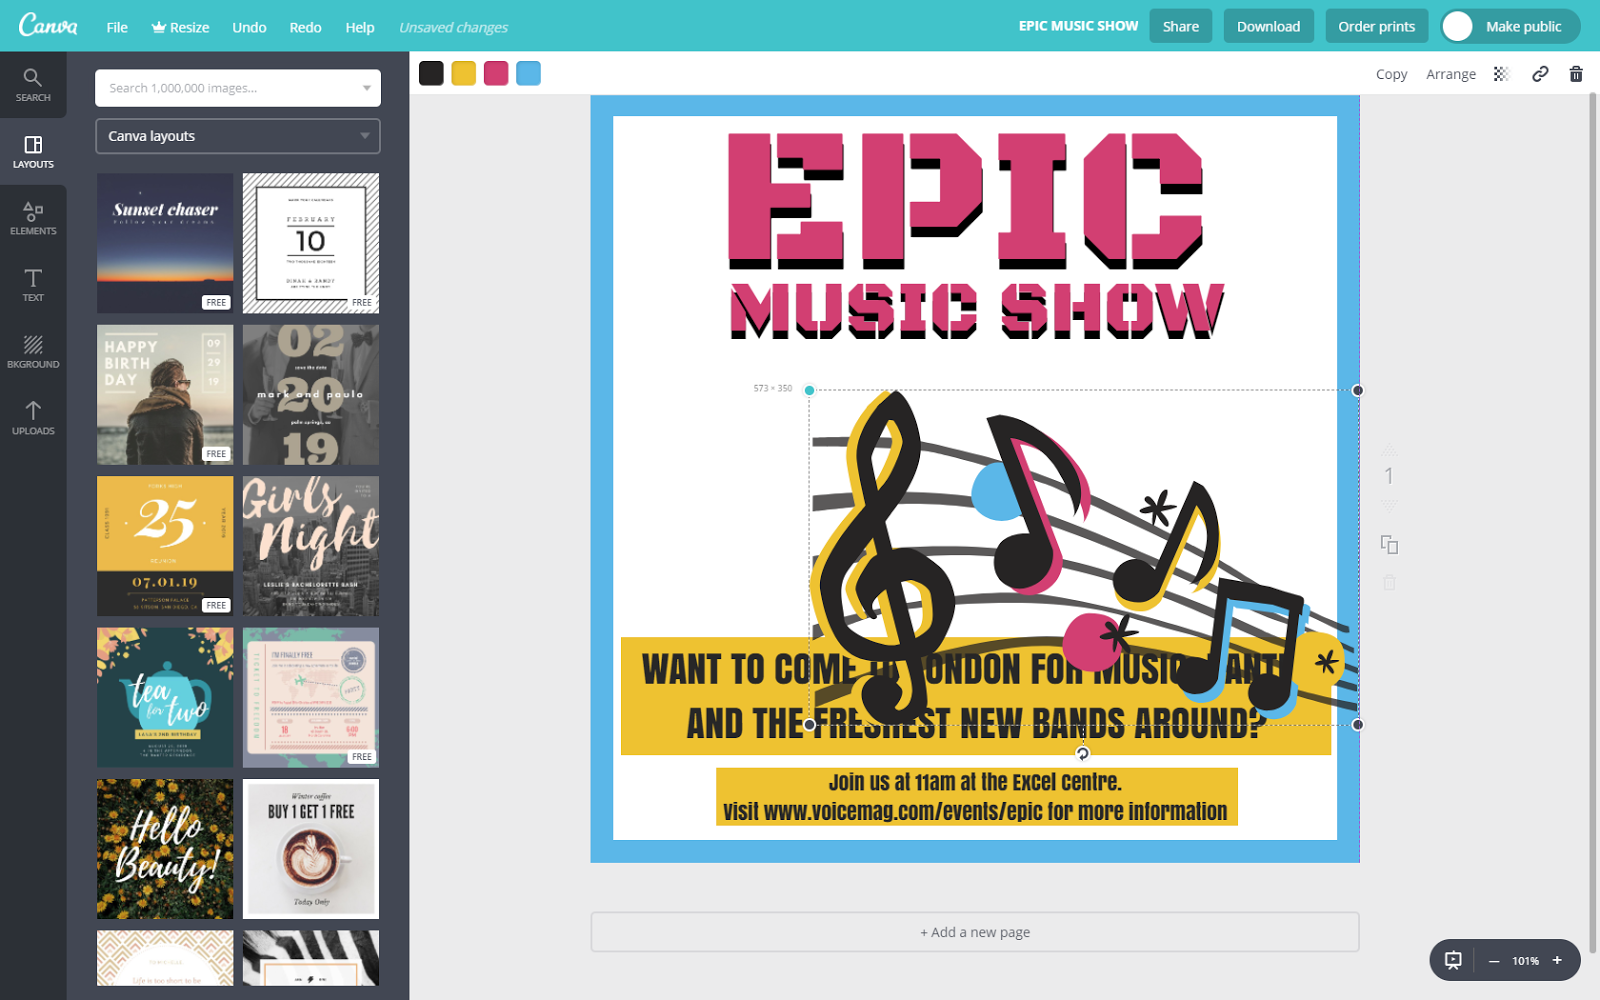
As you can see, the images block out parts of the text. Resize your images until they are the right size for your document. To do this, select the image:
 Then click and hold one of the circles highlighted around the image and drag your mouse to make the image smaller or bigger (it should turn blue as you select it):
Now, release the click, move your mouse to the centre of the image, click and hold it and drag your mouse to move the image to where you need it to be:
So, you’ve added your text and images, you’ve added your colours, positioned everything as you needed, made it as pretty as possible, and now you’re finished! Canva automatically saves your work online, so no progress is ever lost and there’s no need to manually do it. You can check this by looking at the top of the website as you design, next to the help button:

You can also download a copy of your work to your computer. To do this, head to the top of the website in your design and click the ‘Download’:
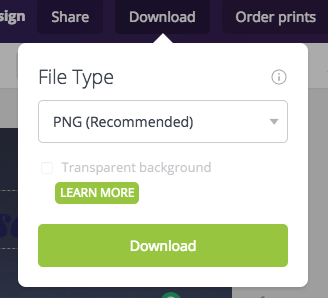
Keep the file type to PNG as recommended as it gives your graphic the best quality. Once you're ready, click the download button, and the following boxes should pop up in order:
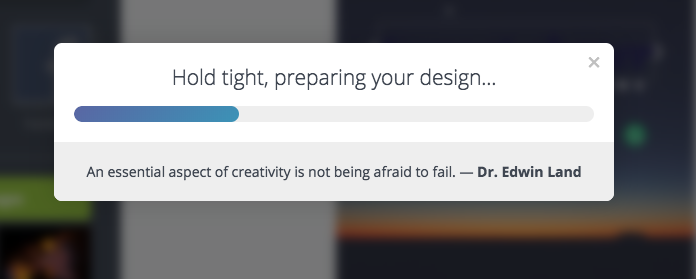
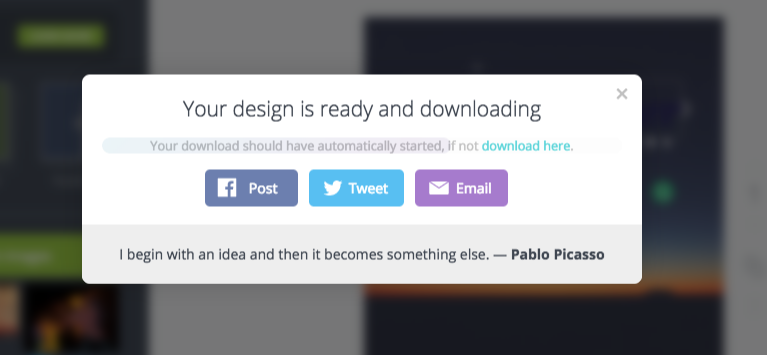
Once the File Explorer opens, as shown above, click ‘Save’, and you have your graphic nicely saved in your files!
That’s Canva! The app is so handy to create free images without all the technicalities of design - you get a whole range of brilliant fonts, images, shapes, templates and more for free, as well giving you room to create and experiment.
Check out more about Arts Award here, or read this guide to using Photoshop.

0 Comments