Nothing beats a vintage photo. While cameras are getting flashier and photo editing is getting sleeker, nothing truly captures the same authentic, rustic look a pinhole camera can achieve.
The pinhole camera is a simple way to take simple photos, yet the results can be pretty remarkable. While you won’t get something crisp, detailed and perfectly defined, you will get something truly unique.
It’s easy enough to buy a pinhole camera online but they can be expensive. So why not make your own? All the supplies you need are low cost and easy to get hold of. And they’re pretty quick and simple to build – they don’t even need a camera lens. It’s just a cardboard box with a pin-size hole (hence the name).
You will need:
- Cardboard box (a shoe box will do)
- Elastic band
- Photo paper (we used Illford Multigrade Resin Coated Paper which you can buy for around £10 a pack on eBay)
- Black card (enough to cover the inside of your cardboard box plus a little extra to make your shutter)
- metal drinks can
- sewing needle or pin
- black tape
- blu-tack (just a pea size will be enough)
- scissors
- ruler
- glue stick
- nail file or piece of sandpaper
Method
Step 1:
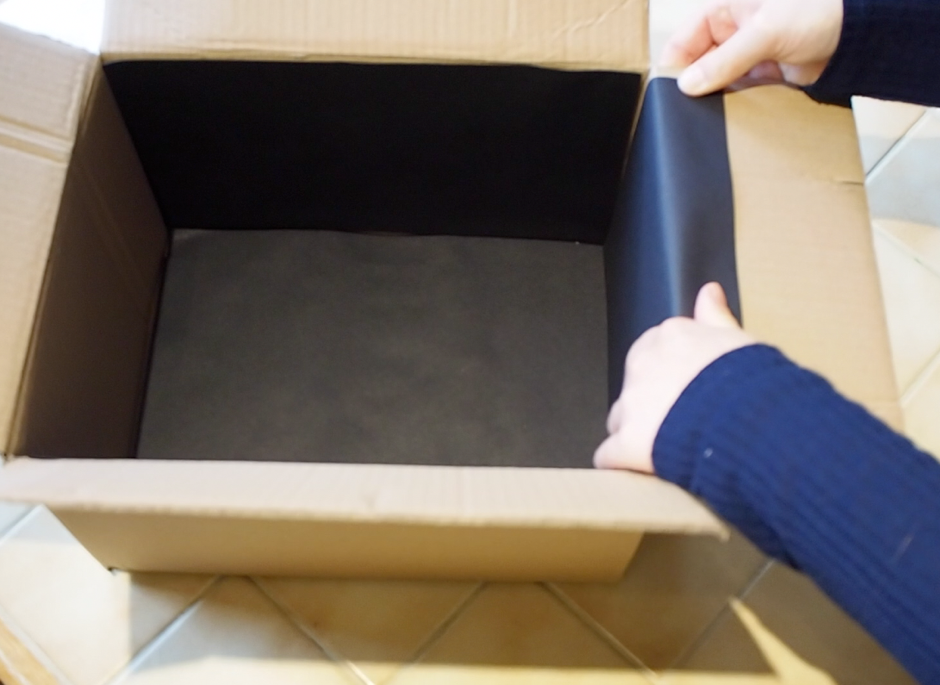
Cover the inside of your cardboard box with your black card, sticking it down with glue. This will prevent unwanted light reflection against the walls inside your camera.
Step 2:
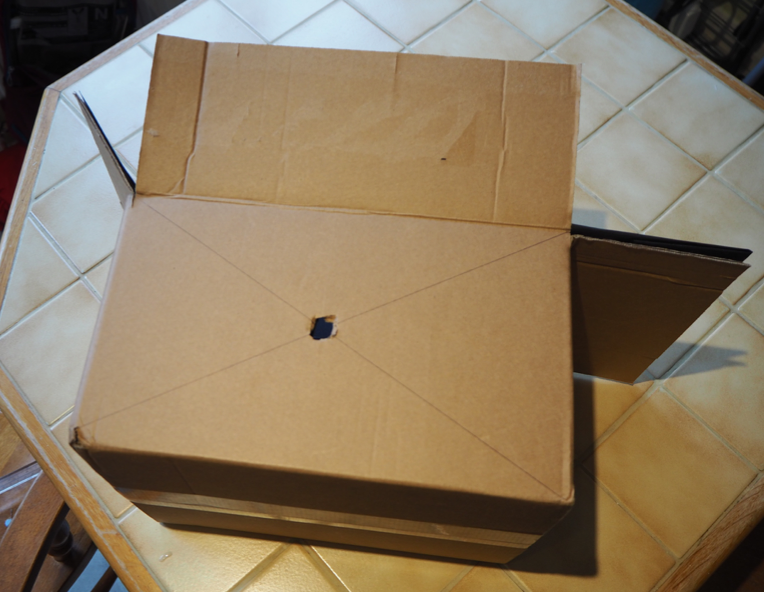
On the outside of your box, draw a cross using your ruler. Where your two lines meet, you need to cut a 1cm x 1cm hole. Make sure you cut through the black card on the inside as well as the box itself.
Step 3:
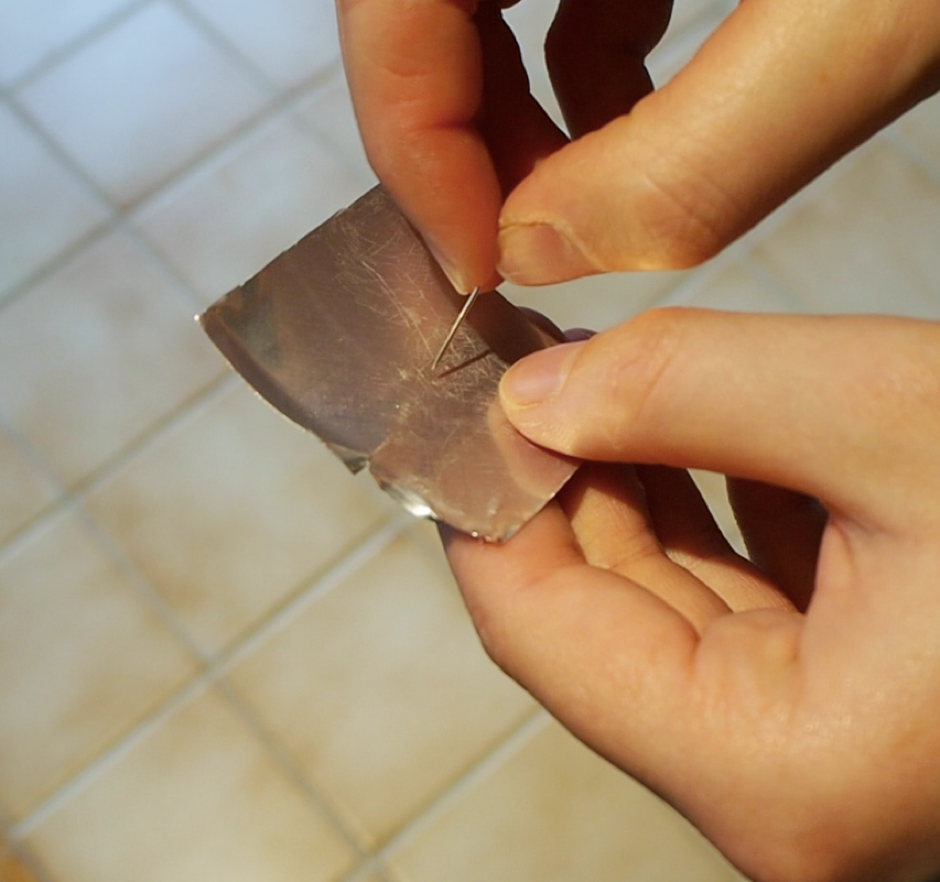
Cut a 3cm x 3cm piece out of your metal drinks can. Sand it down with your nail file or piece of sandpaper until it’s less shiny. Be careful not to cut yourself on the sharp metal!
Step 4:
Prick a tiny hole through the centre of your piece of metal with your needle. This is going to be the pinhole for your camera.
Step 5:
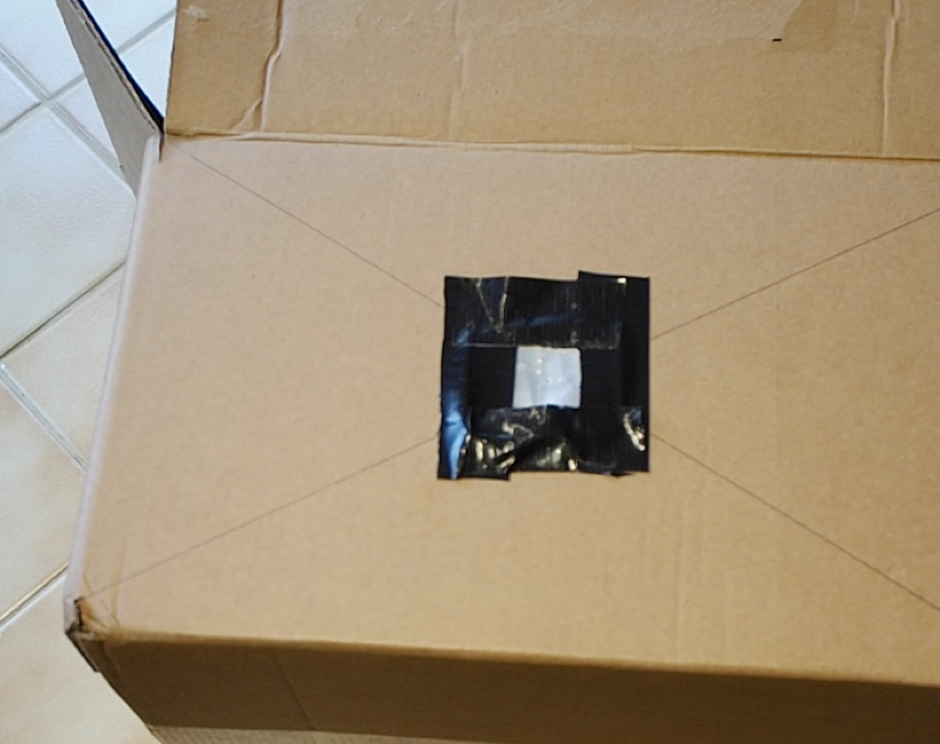
Stick your piece of metal so that it covers the hole you cut in your box (in step 2). Secure in place with your black tape.
Step 6:
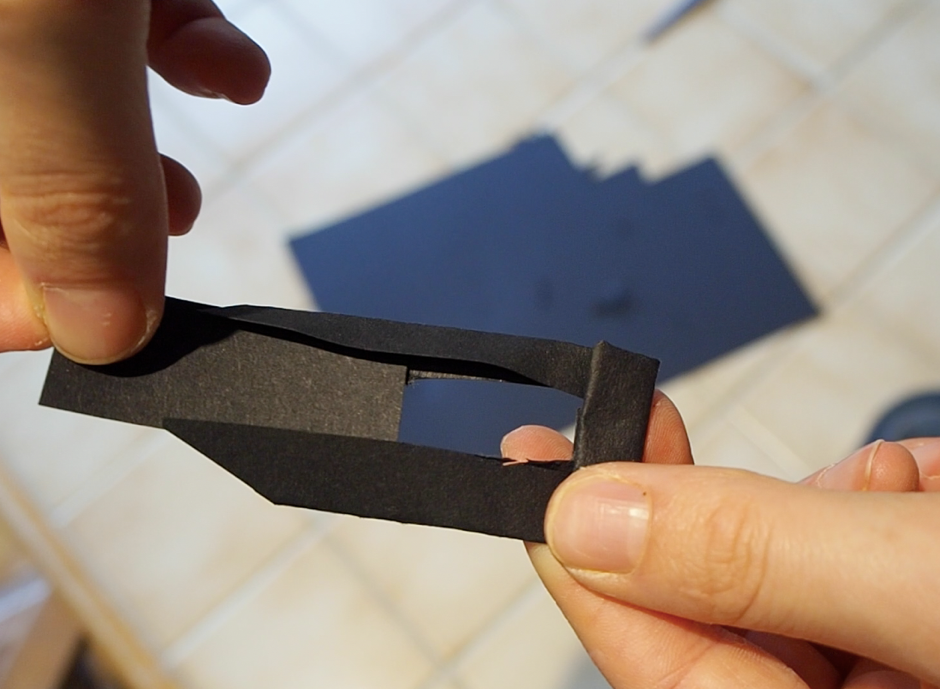
Cut a rectangle out of your leftover black card (only needs to be about 7cm long). Fold the sides in and cut a hole in the middle (roughly about 1cm x 1cm).
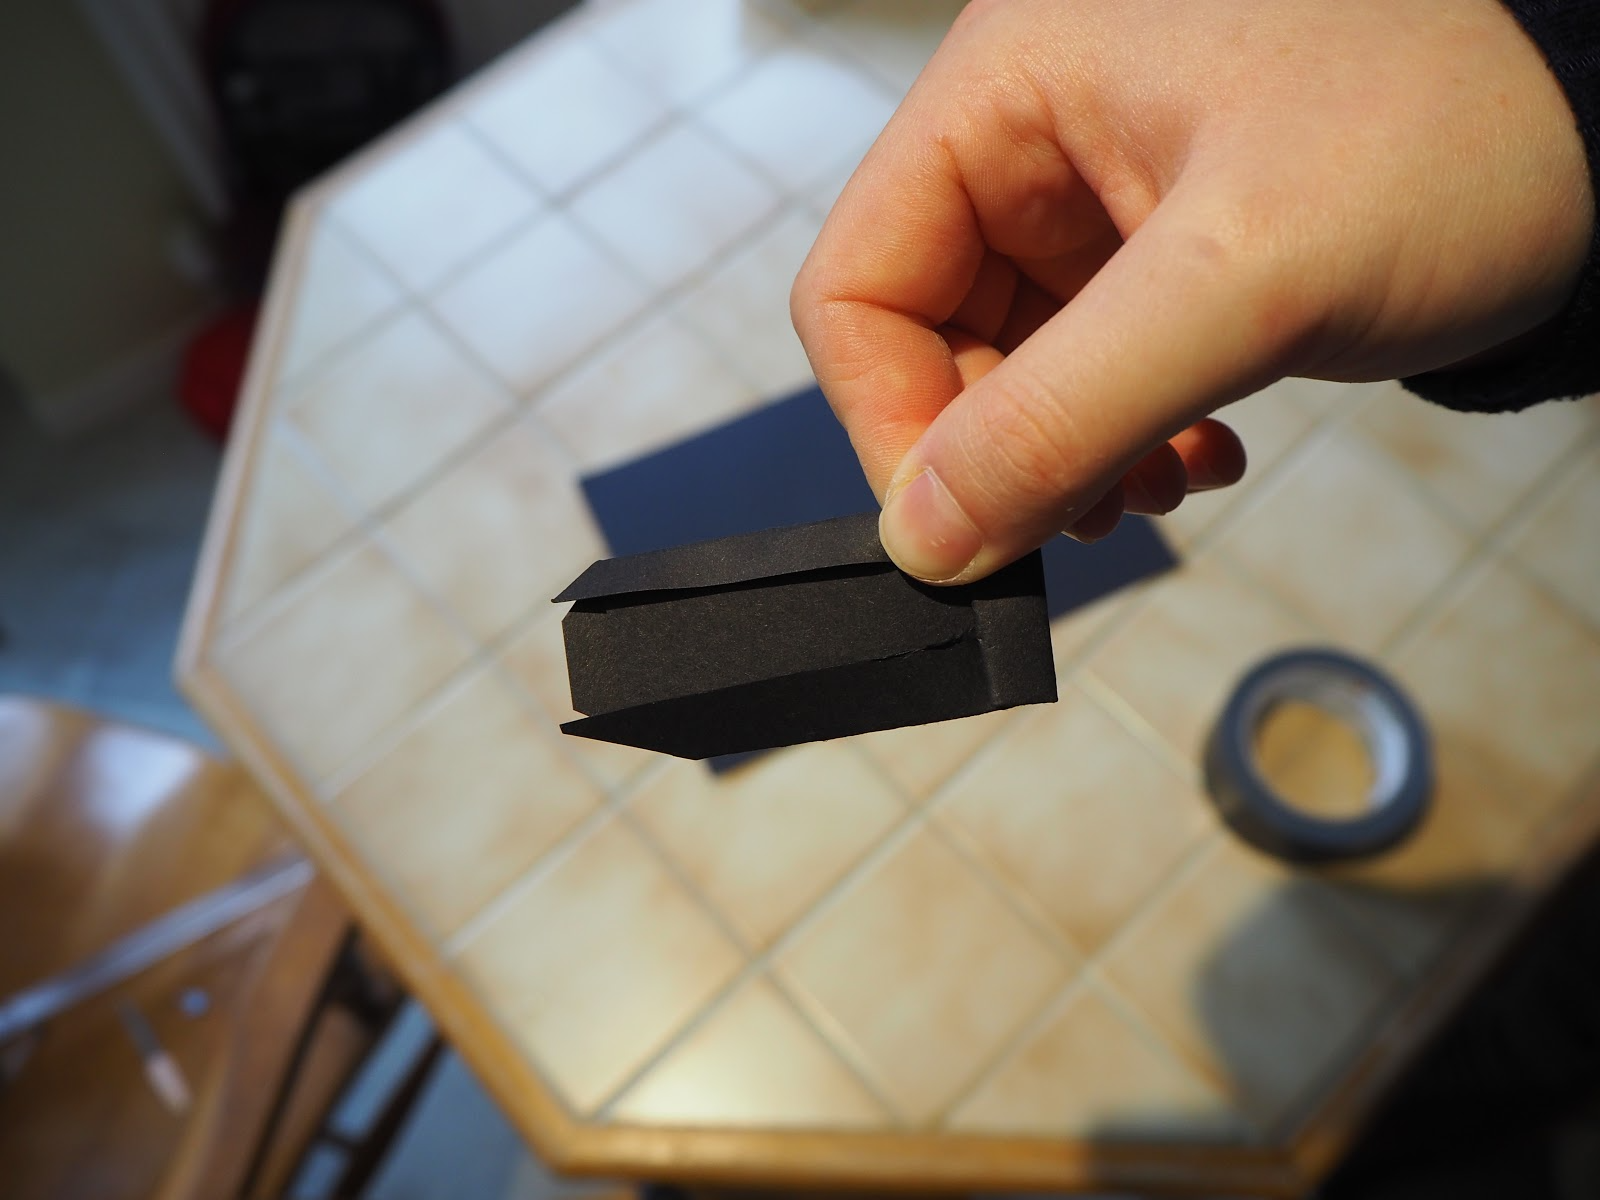
Cut another rectangle out of your card, this one being slightly smaller than the first so that it can slot inside and create a ‘sliding door’. This will be the shutter for your camera.
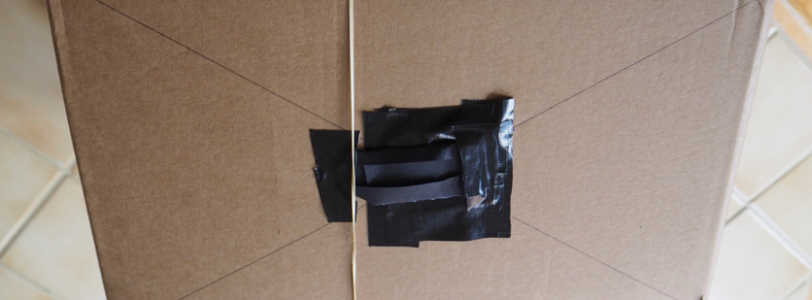
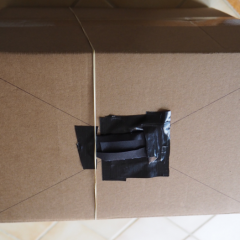
Step 7:
Stick your shutter directly over the pinhole on your box, securing in place with some black tape. Make sure this shutter is always closed when you aren’t using your pinhole camera, otherwise light will be able to leak in and ruin your photo paper.
Step 8:
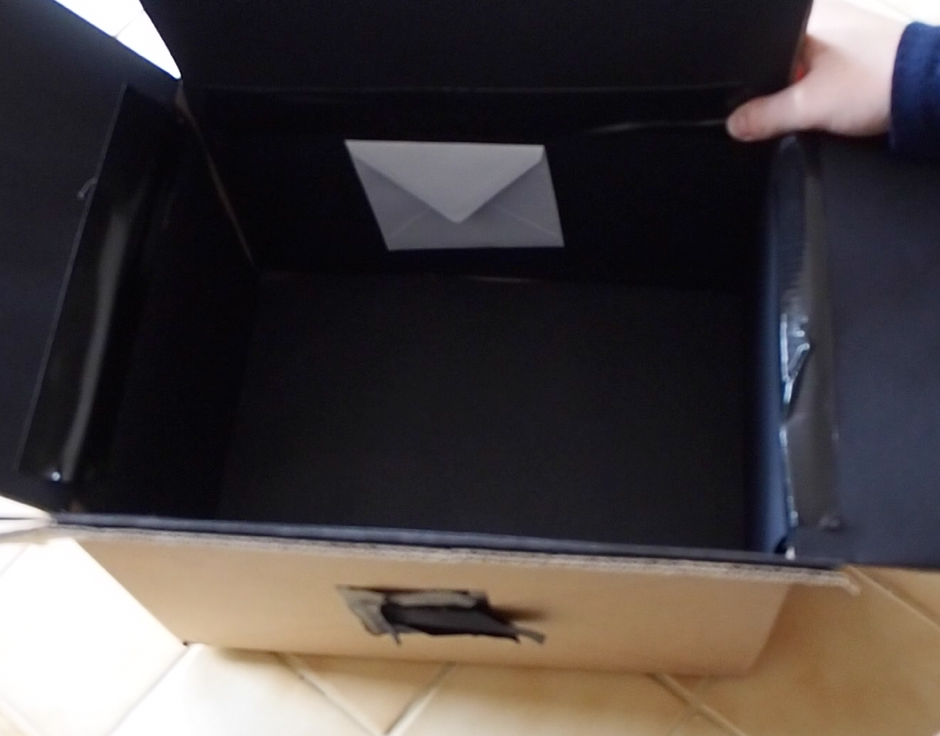
This step must be done in a dark room or using a red light (photo paper isn’t sensitive to red light). Place your photographic paper inside your box. Secure it on the wall opposite the pinhole using your blu-tack. (I’m using an envelope as a prop for my photo paper so that I didn’t have to do this step in darkness)
Step 9:
Close your box up and secure the lid down with your elastic band. This will prevent your box from accidentally opening and exposing your photo paper when not in use.
Step 10:
You can now start taking photos! Keep your camera sealed and only open your shutter when you are ready to take your photo. Close again when enough light has passed into your camera. We recommend starting with an exposure of about 30 seconds on a sunny day. When taking photo paper out of your camera and putting new paper in, make sure you always do this in darkness or under red lighting.
Tips for taking great photos:
- Accept the fact that this will take practise. It will probably take a few attempts before you get your shutter speed right.
- You can always take the same image a few times with different shutter speeds. You’re more likely to have a decent photo if you’ve given it multiple attempts.
- Place your camera on a still, flat surface rather than holding it in your hands when taking photos. You need your camera to be as still as possible and even your breathing can be enough to blur a photo.
- Having said that, don’t be afraid to make mistakes. Some of the best photos you produce will probably be accidents.
- Start by taking landscape and still life photos before moving onto harder subjects like portraits or moving objects.
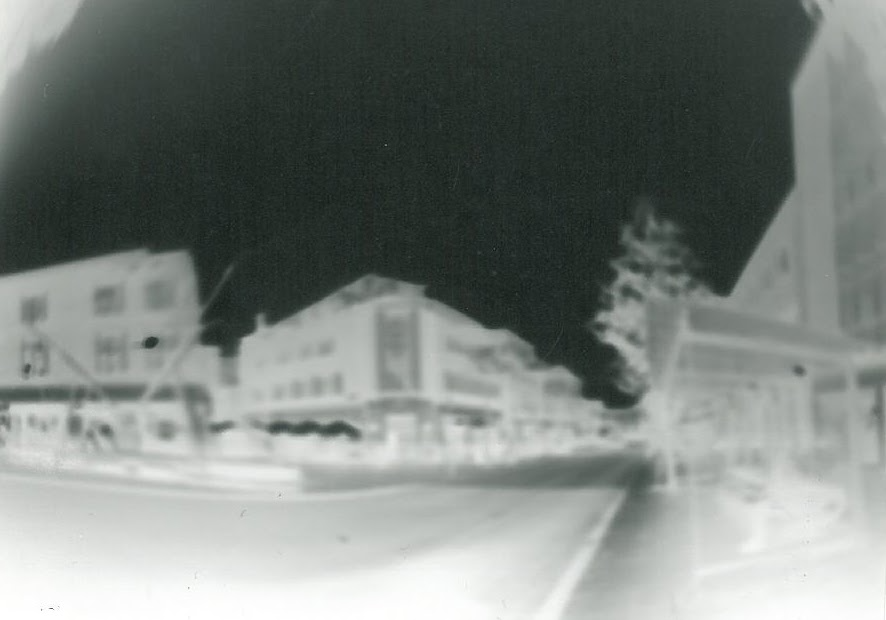
- Pinhole cameras don’t have a lens, so you won’t get any ‘barrel distortion’. This is when straight lines appear slightly curved, due to the round shape of camera lenses (a fisheye lens is a very exaggerated example of barrel distortion). Because of this, pinhole cameras are great for photographing architecture and other things that involve straight lines.
Developing your photos
So, you’ve used up all of your photo paper – now what? It’s time to develop your photos.
Sure, you can send your images off to a photo developing company, but it’s also fun to give it a go yourself. The ingredients you need are all cheap and can be bought at any local supermarket. And don’t worry, it’s pretty simple.
You will need:
- 2 teaspoons of soda crystals (washing soda)
- 4 teaspoons of instant coffee (cheaper the better)
- half a teaspoon of vitamin c powder (if you can’t find any then buy vitamin c tablets and crush them up)
- water (you’ll need about a litre in total)
- 150g table salt
- kitchen scales
- 2 measuring jugs
- 3 trays (using a lunchbox or oven tray or anything that will hold water will work fine)
Method
Step 1:
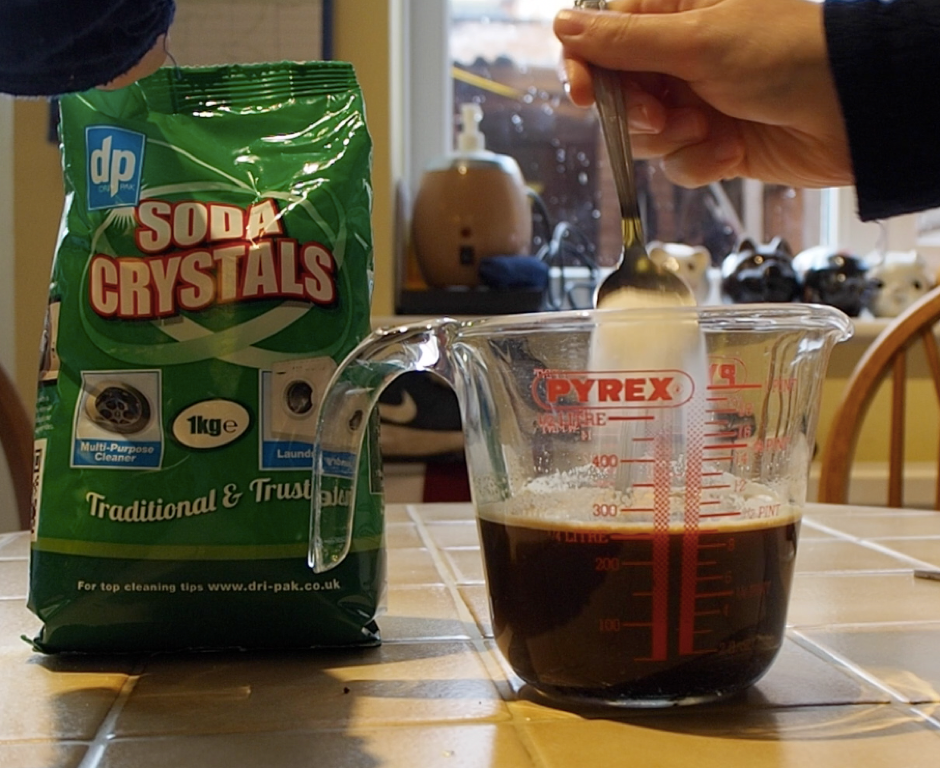
To make the developer, add 2 teaspoons of soda crystals and 4 teaspoons of coffee granules to a jug of 250ml of water. Stir well.
Step 2:
Add half a teaspoon of vitamin c powder to the same jug and stir. If you’re using vitamin c tablets, crush up half a tea spoon’s worth (we used 9) and add a drop of boiling water to help them dissolve before adding to your jug mixture.

Step 3:
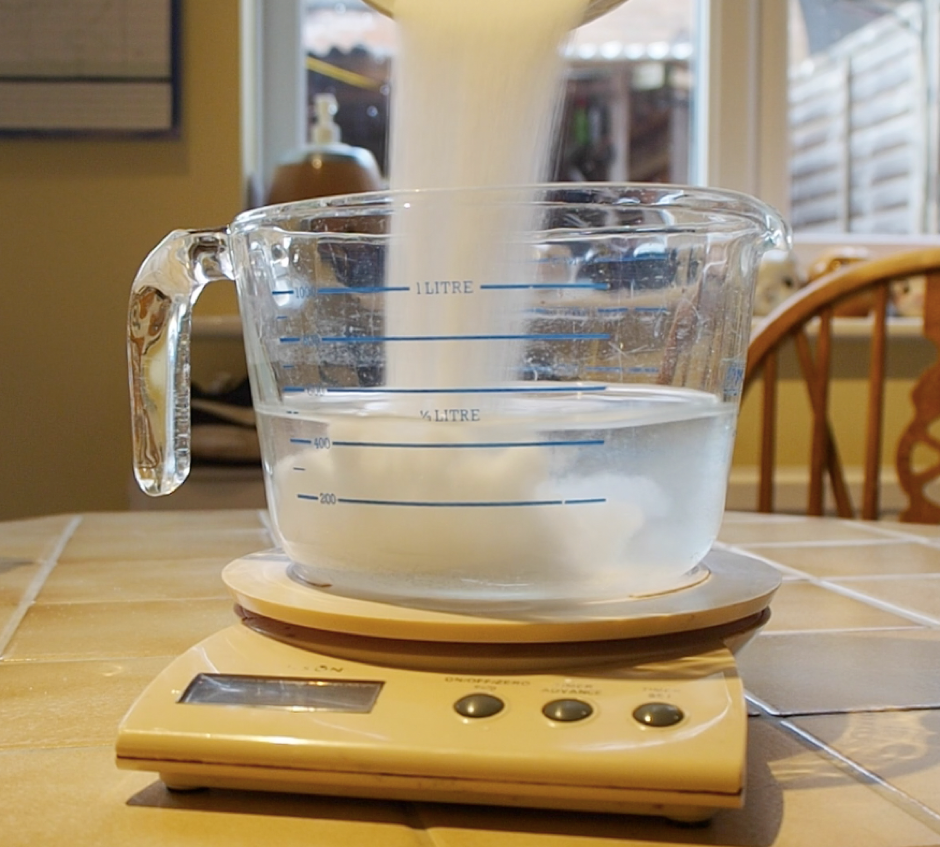
To make your fix, add 150g of salt to 500ml of warm water in a separate jug. Stir well until the salt has all dissolved.
Step 4:
Lay your three trays out next to each other. Pour your developer into your first tray. The middle tray can just be filled with plain water. Pour your fix into the third tray.
You are now ready to develop your photos. The next steps must be done in darkness, or under a red light.
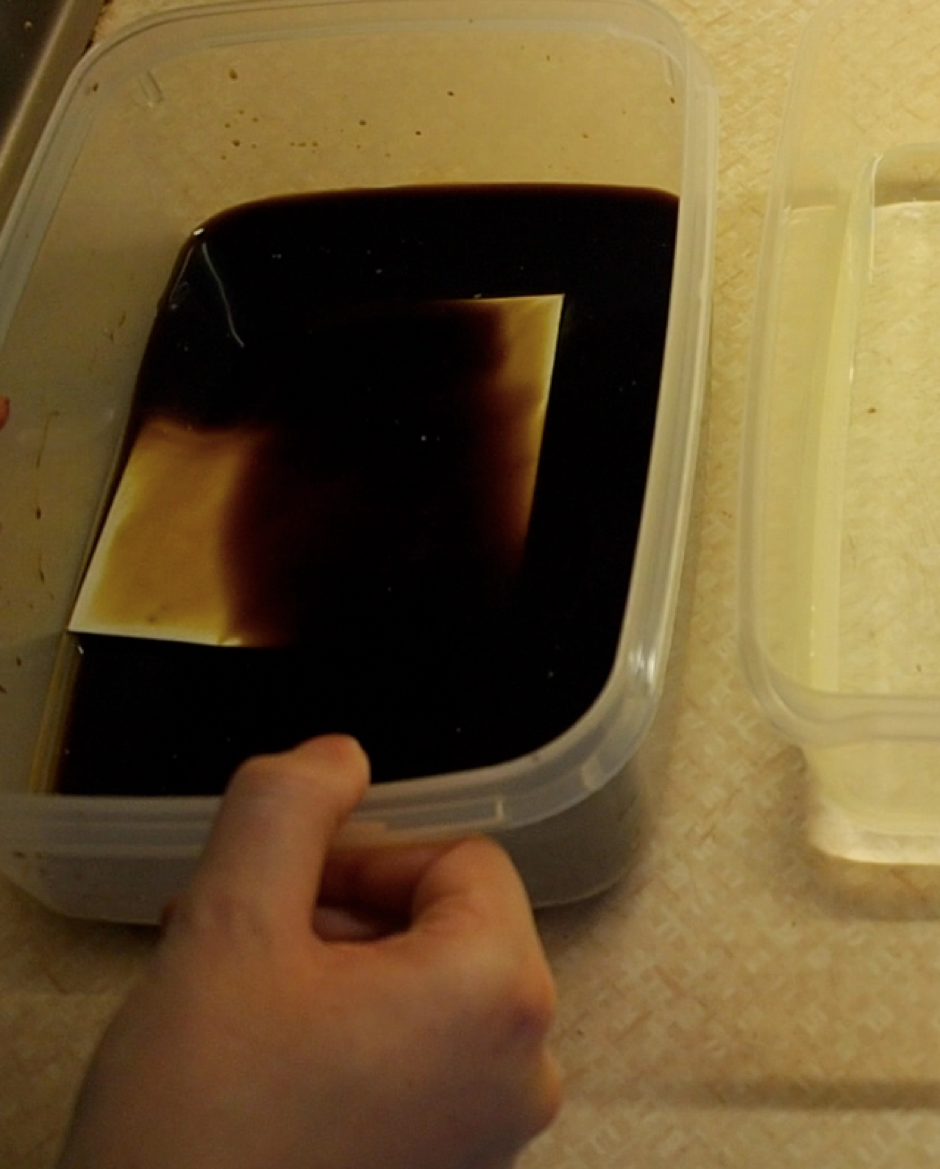
Step 5:
Remove your photo paper from your pinhole camera. Place your photo into tray one (your developer). Make sure it’s fully submerged and wait about 3 mins. An image should begin to appear on the paper.
Step 6:
Put your photo into tray 2 (just water) to rinse off the coffee mixture.
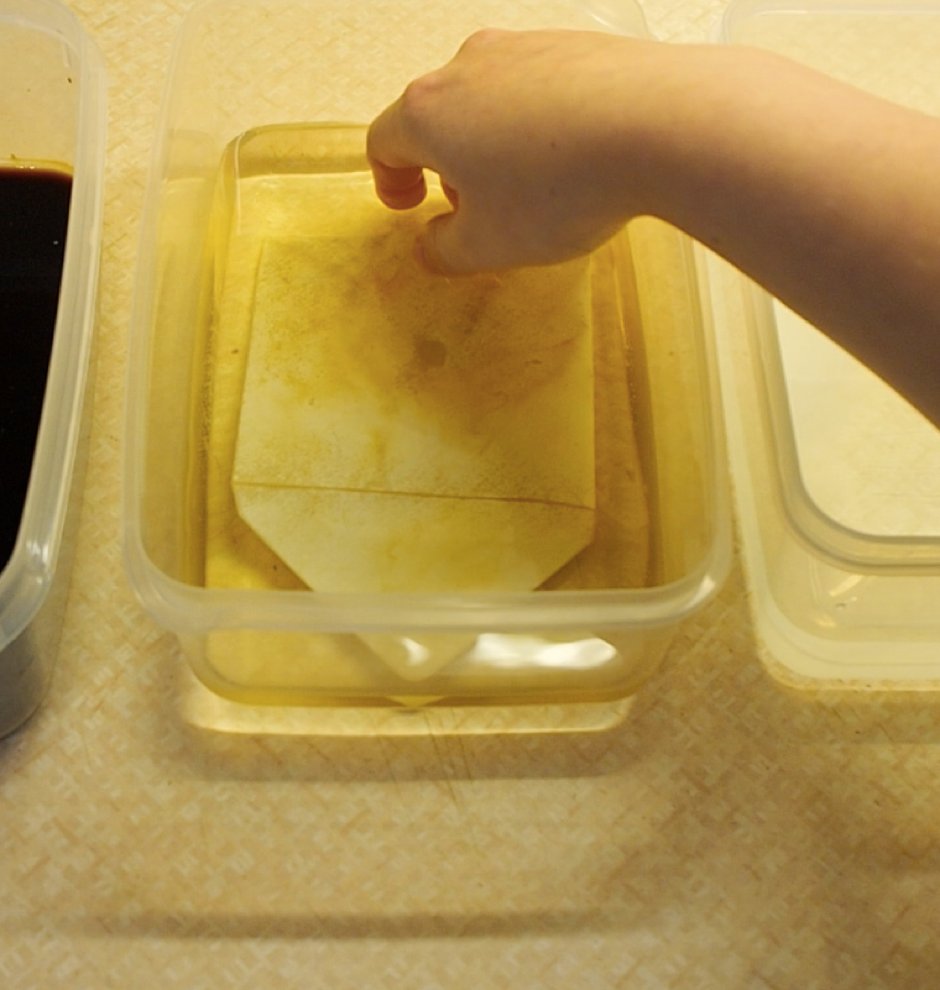
Step 7:
Place your image into the fix. It needs to be kept in here for about 12 hours, so we recommend doing this in the evening and leaving your image in the fix overnight. However, once about an hour has passed, the photo no longer has to be kept in darkness so you can turn the lights back on if you want to.
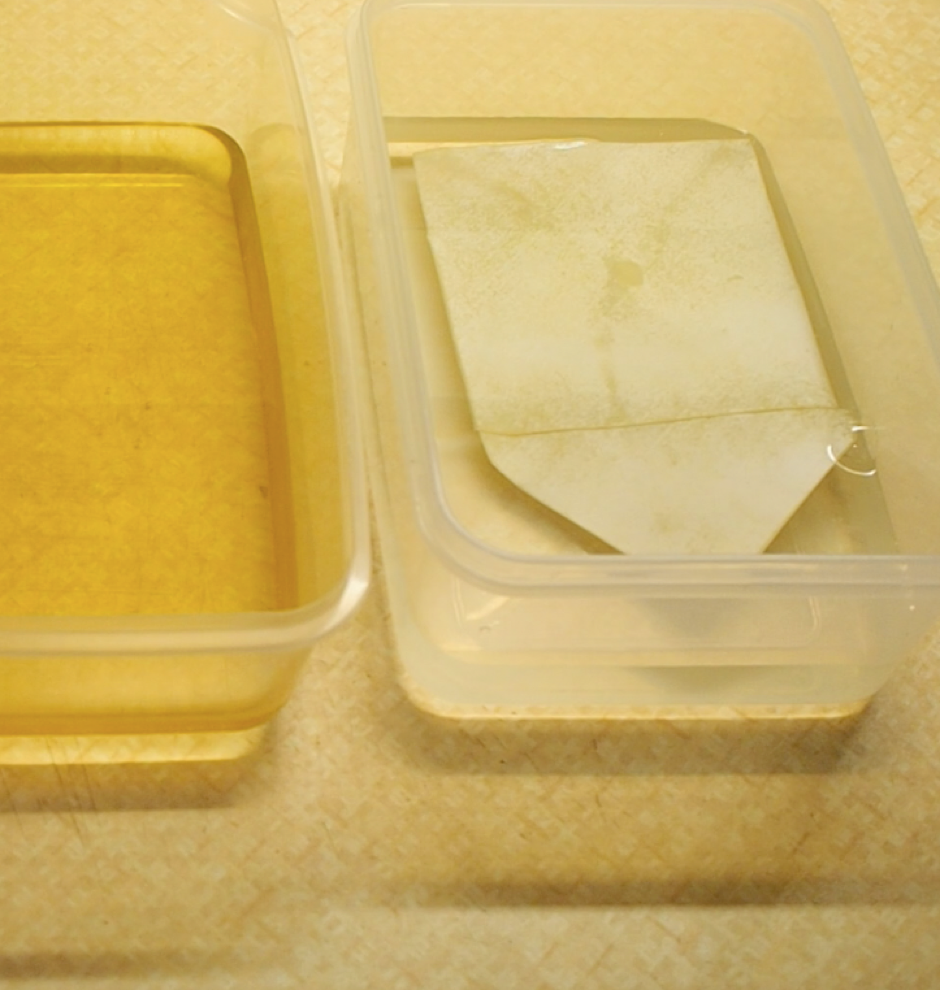
Step 8:
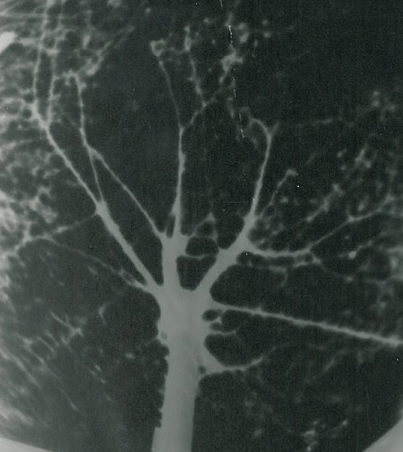
Once at least 12 hours has passed, the image will be ready to remove from the fix. You will have developed a negative print. You can always take a photo of it and invert it on your phone if you want to see the positive version. In fact, it’s a good idea to take a photo of your pinhole image anyway as it will probably fade over time, but this means you’ll always have a record of it!
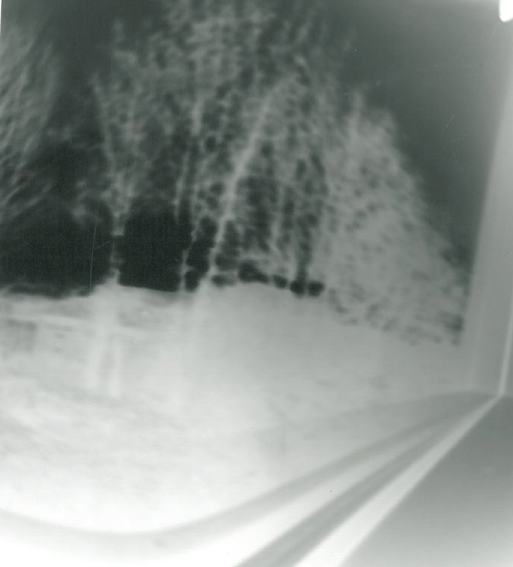 | 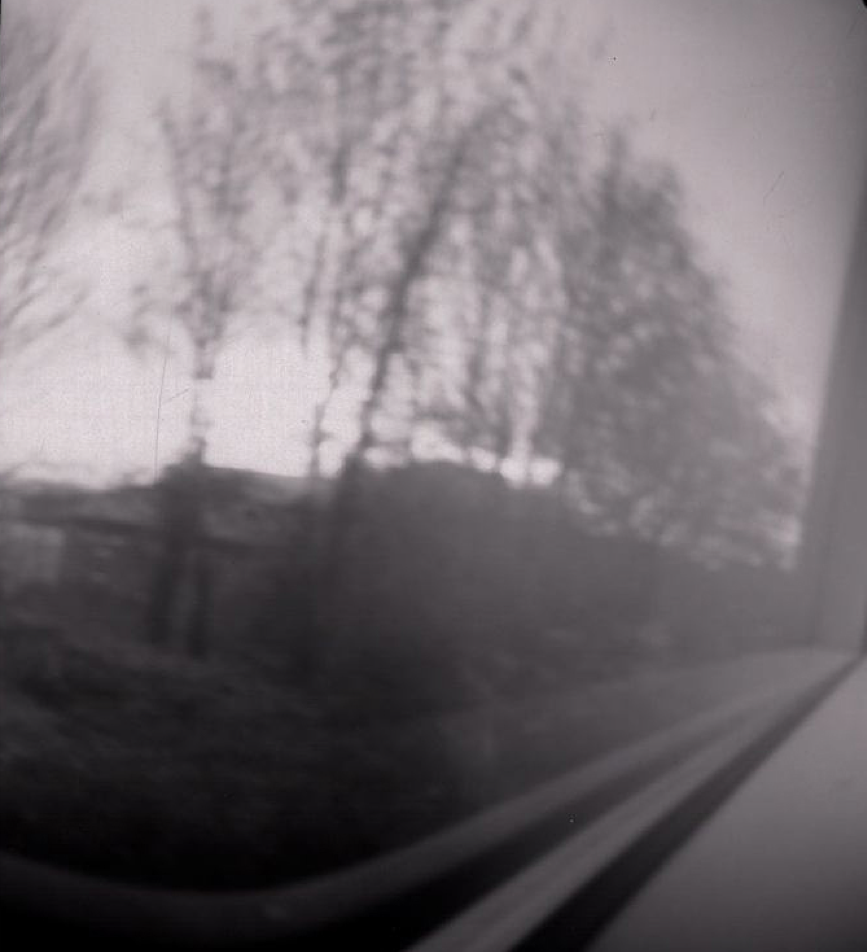 |
| Negative version | Positive version |
Let us know if you do decide to make your own pinhole camera! Share your work on Voice and don't forget to tag it #diymedia!


0 Comments