
This guide was written by Patricia Borba
If you have an iPhone or iPad, you have access to GarageBand, a competent free audio editing app. To create a spoken voice track and edit it on GarageBand, first open the app on your iPhone and select ‘Create new project’.
Record your audio
On top of your screen you will have two options, Live Loops or Tracks, make sure to select Tracks. You will then face a plethora of instrument options. Scroll until you see Audio Recorder and then select Voice.
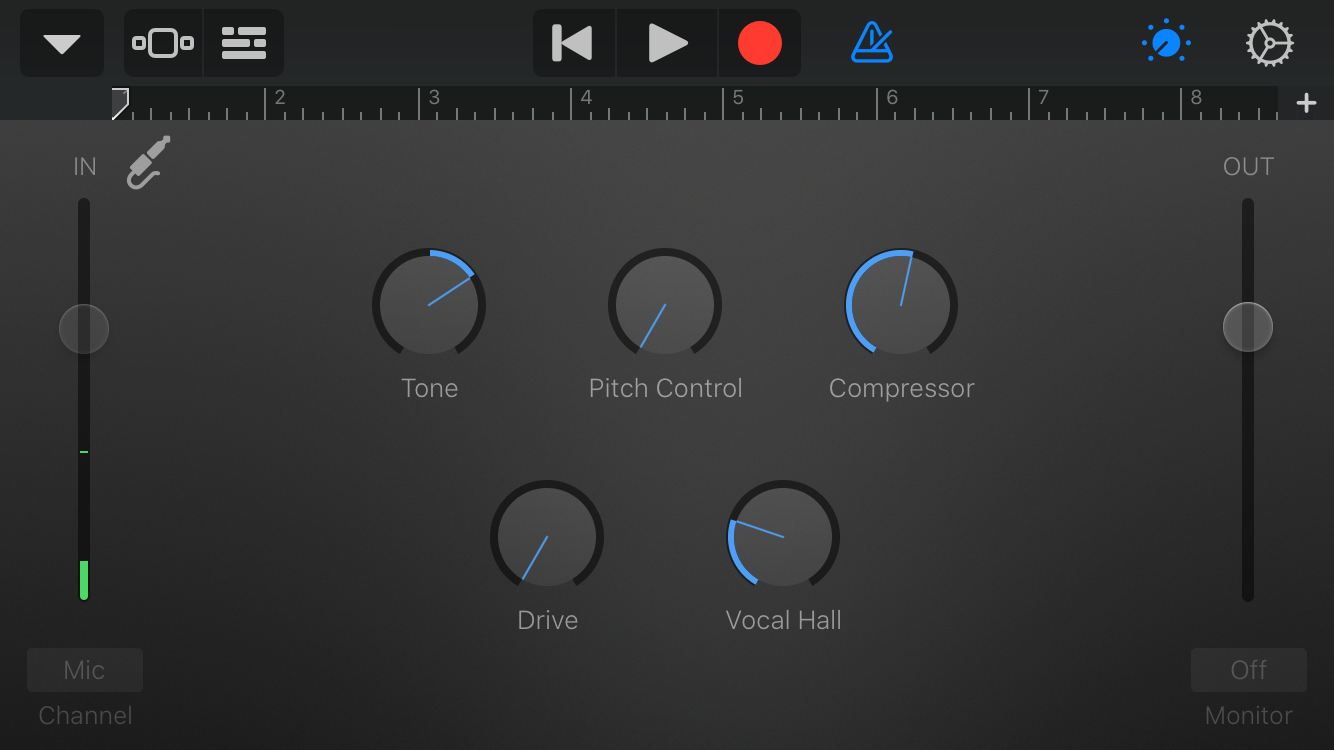
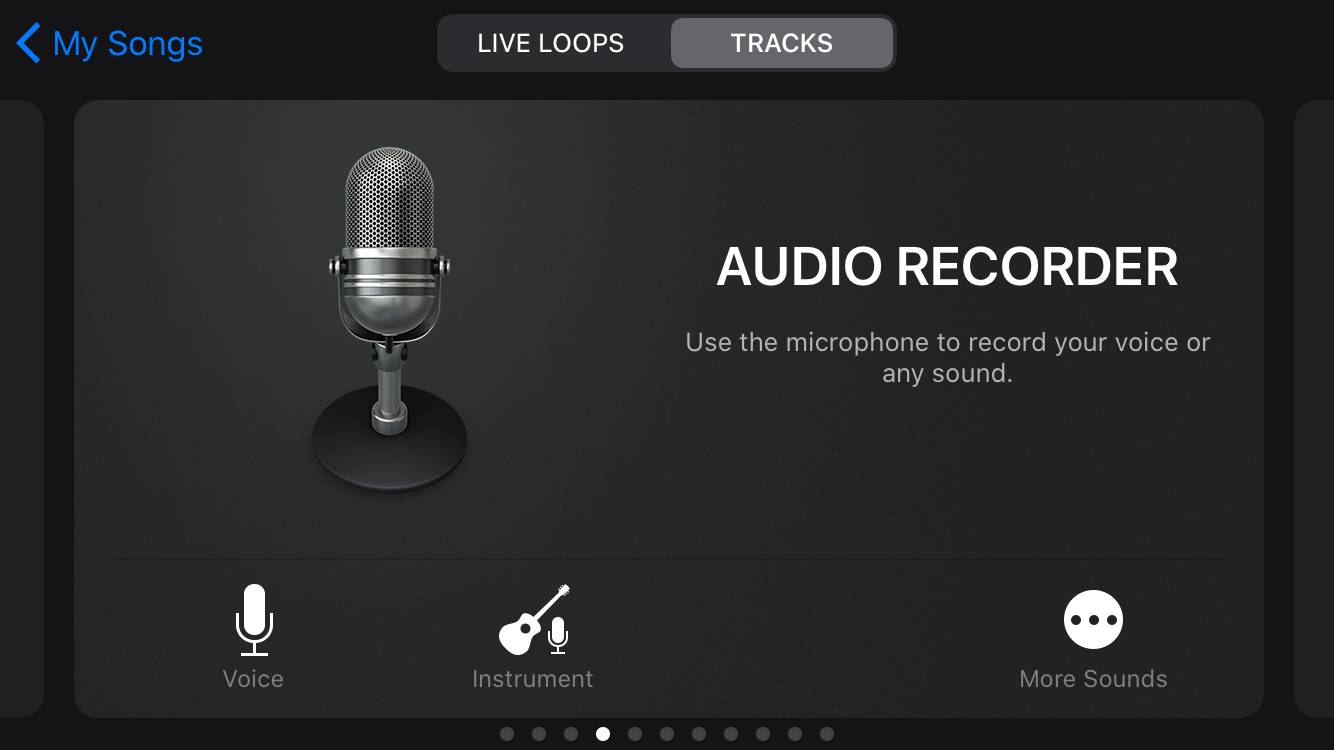 Select Audio recorder
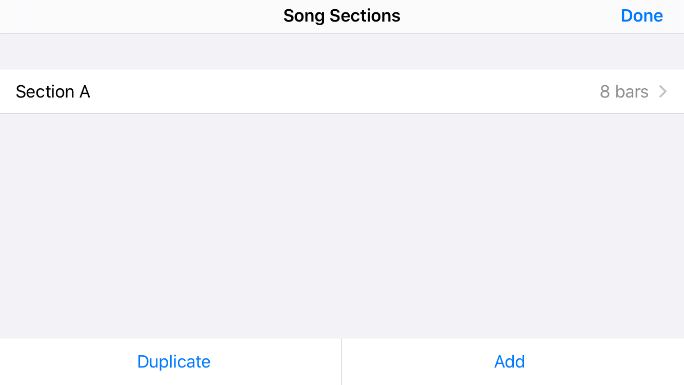
Before you start recording, click on the plus sign on the top right corner of your screen. Here you can change the number of bars you are recording. As you will not be producing a musical composition, press 8 bars on the next screen and then select Automatic and Done, on the top right corner.
 Additional options
 Select Automatic bars
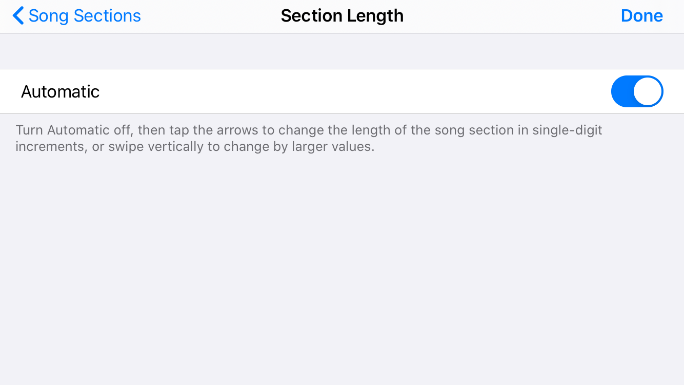 Automatic bars when switched on
After, make sure the metronome is off by clicking on it. It should turn from blue to white, white meaning off.
 Metronome on
 Metronome off
You are ready to start recording, just press the record button – the red circle on top of your screen – wait for the 4 beats given by the metronome, and start speaking. Click on the same button to stop recording.
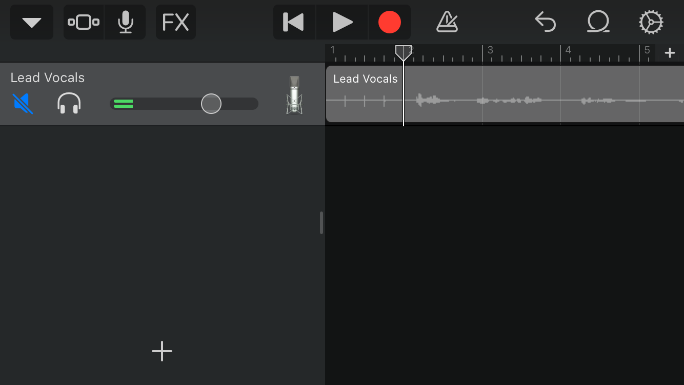
To move from the audio recording screen to the editing screen, click on the third icon from the left on the top toolbar. An editing screen will appear.
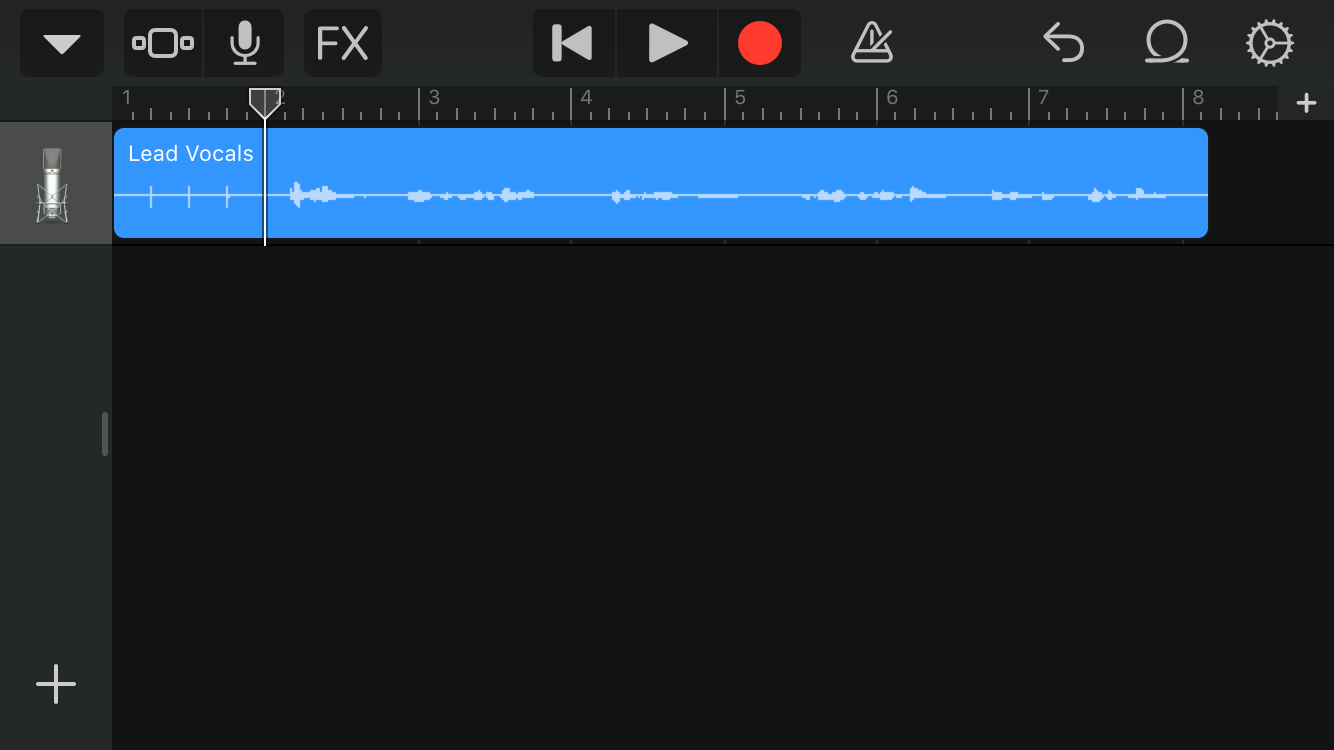 The editing screen
Edit your audio
To add any extra tracks, pull the section with the microphone on the left side of your screen and click on mute to mute the track you have already created. The mute icon should turn blue and your audio track should turn white. Then click on the triple squares on the top left corner of your screen (or on the plus sign on the bottom left corner of your screen), scroll to the Audio Recorder option, and go through the process described in the previous section. That new recording should appear on a new track once you return to the editing screen.
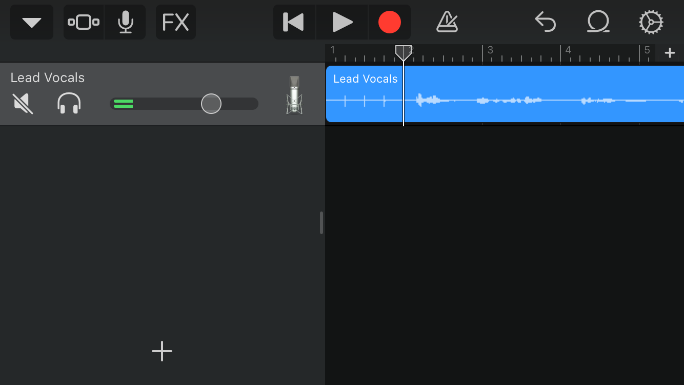 An unmuted track
 A muted track (note the blue volume icon)
 A new recording on a separate track
If you just want to add more to the same audio track, scroll the white bar on the timeline to the end of your clip and press the microphone button on the top left corner of your screen. Go through the recording process and then press the third icon from the left on the top Toolbar to return to the editing screen.
Zoom
To zoom in and out of your tracks pinch the screen. It is important you zoom in on your tracks while editing so you can see them in greater detail.
Move and Order Your Tracks
To move your tracks along the timeline to put them in the right order, press the clip you want to move and drag it to the right position.
Trim
To trim a clip, press one of the endings of your clip and drag the ending to the desired position.
Split (Blade)
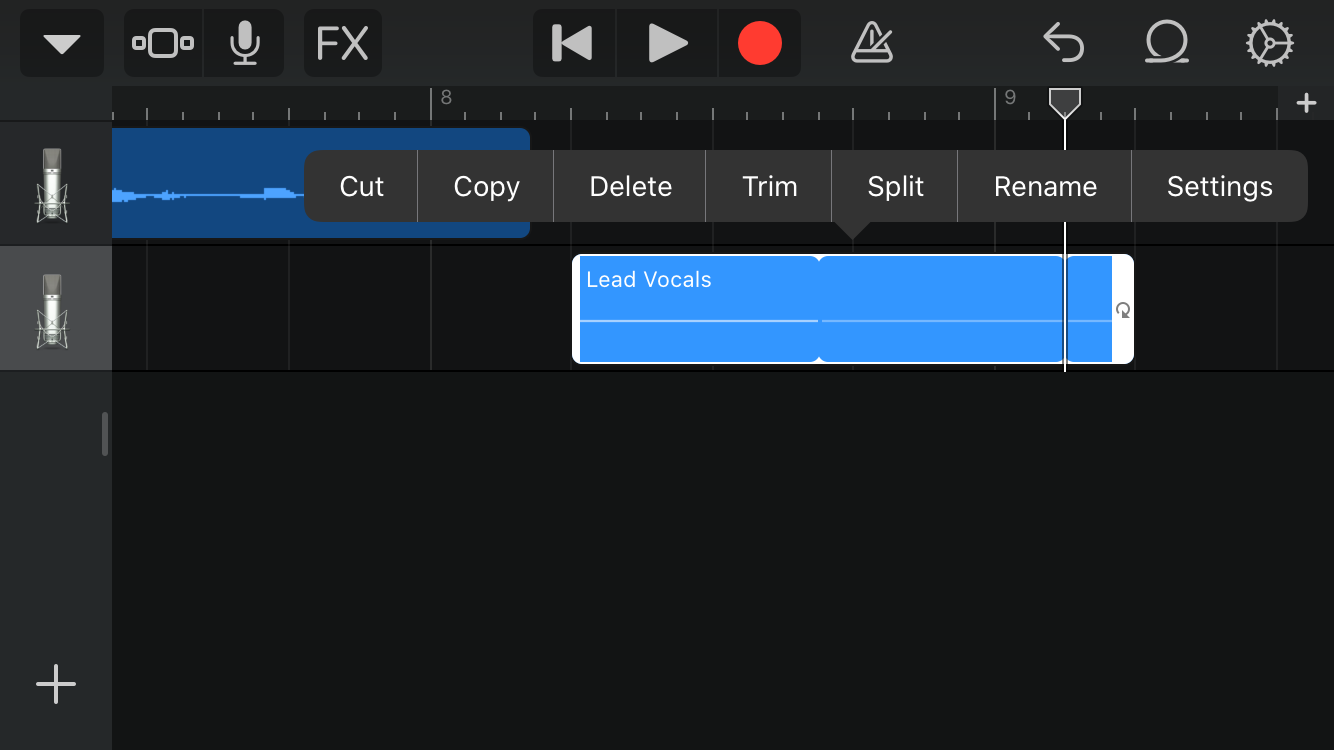
To split a clip, move the white line to where you want to split it, tap the clip and a menu bar will appear on top of it. Press split and the clip will split on the spot you have chosen.
 The options when you tap the clip
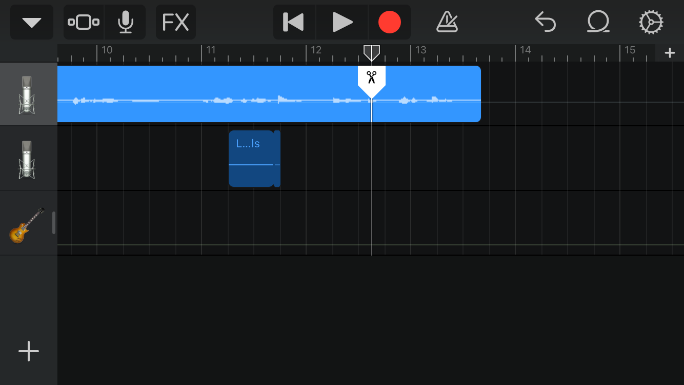 Splitting a clip
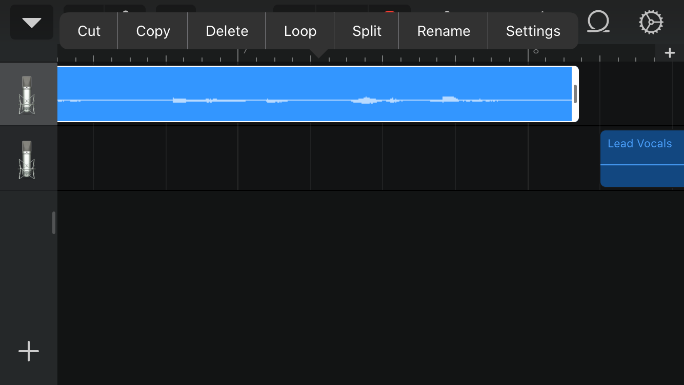
Loop
To put a track on loop, tap the track and a menu bar will appear on top of it. Select the option Loop on the menu and the track will be put on loop. To adjust the number of loops you want your track to give, trim or expand the track by pressing one of the endings of your clip and dragging the ending to the desired position.
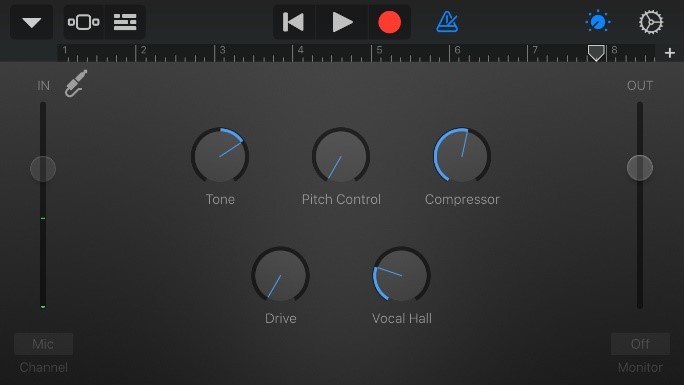
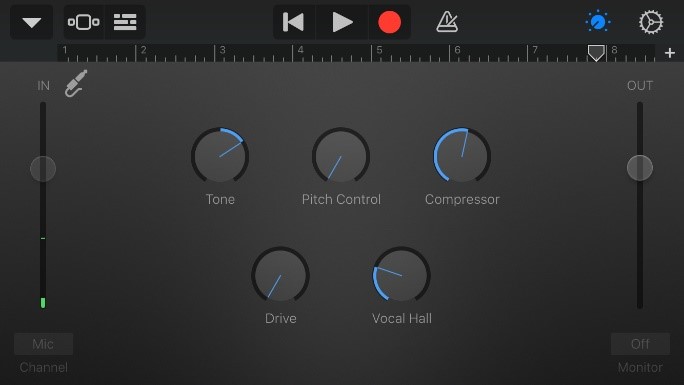
Change the Volume Levels / Fade In / Fade Out
To change the volume levels of your tracks, tap one of the instrument icons on the left side of your screen. You should then click on Automation and the screen will go darker with a grey line over each one of your tracks. You can move that line up and down to change the volume level of an entire track, or you can create keyframes (shifting points) on the line to alter the volume level of specific sections.
 The automation option
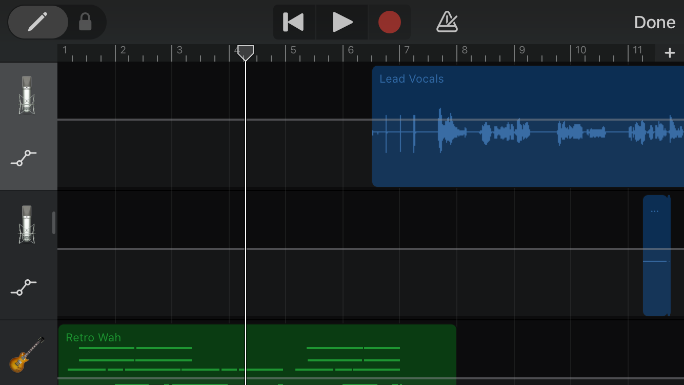 Volume level line
To add the keyframes along the line you need to unlock the pencil first. To do that go on the top left corner of your screen, where you have a pencil icon, and drag the pencil to the right to unlock it (it should turn red). Then you will be able to add as many keyframes to the line as you wish by tapping the line on the spots you want your shifting points to be.
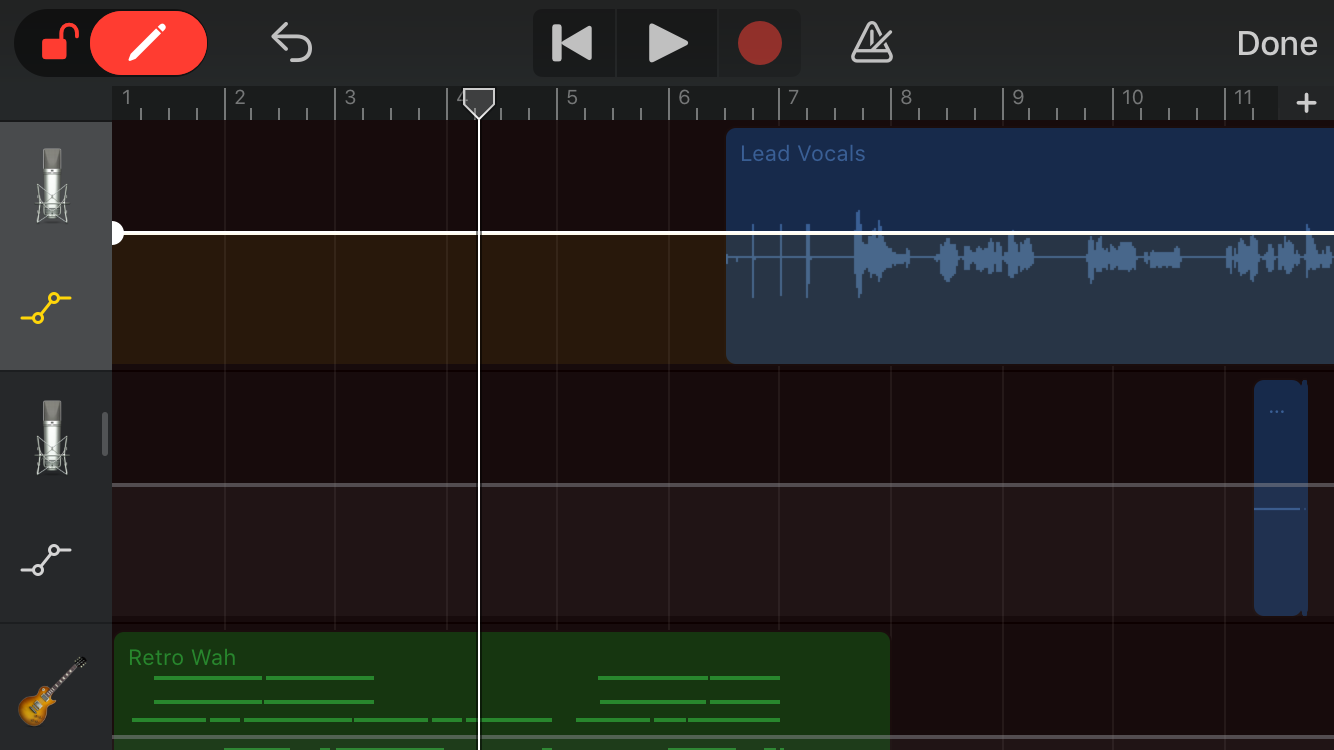 The unlocked pencil
To create a Fade In and gain a smooth beginning to your track, you will need to create a point in the beginning of your audio clip at a low volume and another where you want the fade to end at the volume you want your clip to stay at. To create a Fade Out, you will need to do the exact opposite. The screenshot shows you a clip with both a Fade In and a Fade Out.
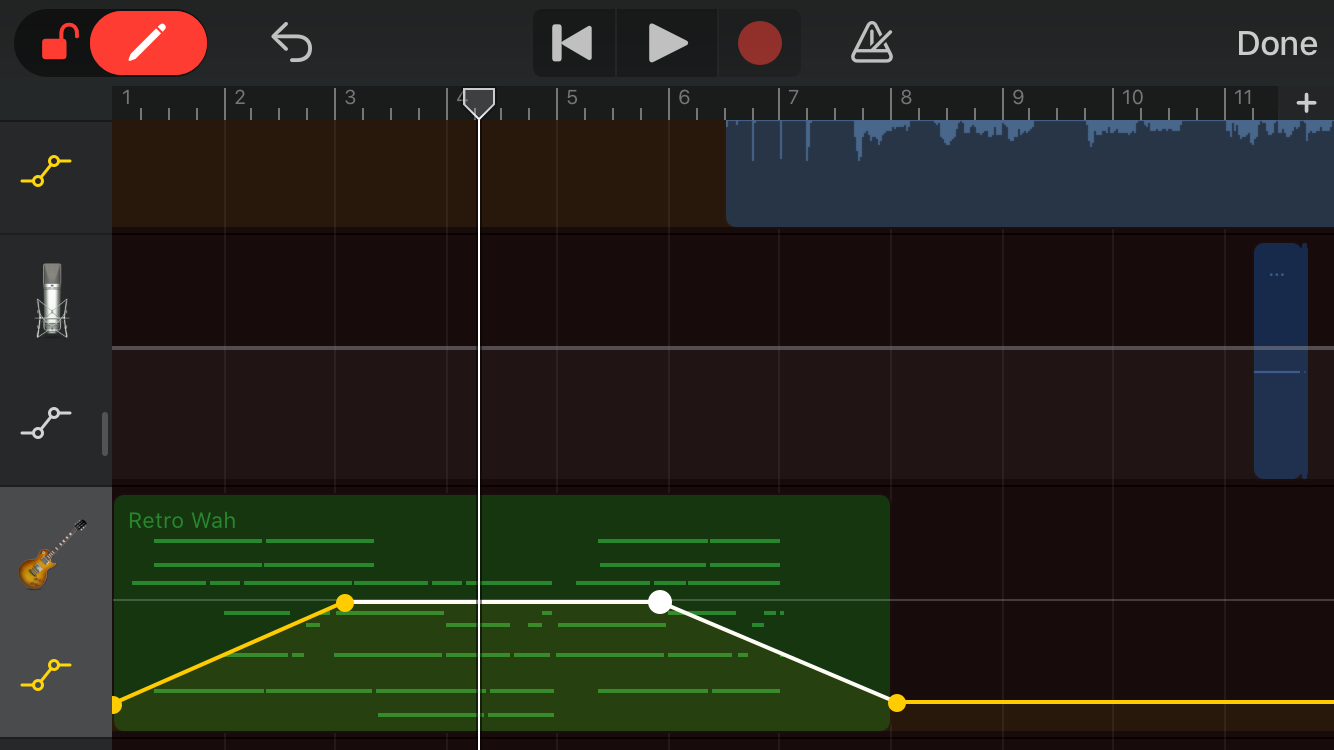 Keyframes on a track creating a fade in and fade out
If you are done with adjusting the volume levels, press “Done” on the top right corner of your screen.
Merge Tracks
If you wish to merge some of your tracks press the instrument icon of one of the tracks you want to merge and choose the option Merge. It will then show you circles on the left-hand side of each instrument. Press the circles of the instruments you wish to merge (they should turn blue with a check mark). Then, tap Merge on the top right corner of your screen.
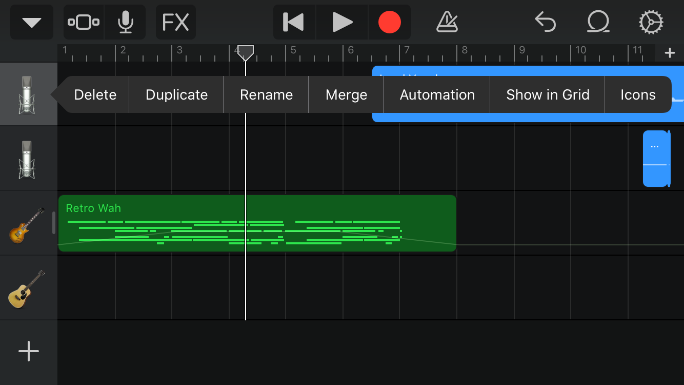 Options when you tap on a track
 Selecting tracks you wish to merge
The tracks you have merged will now appear as a singular track.
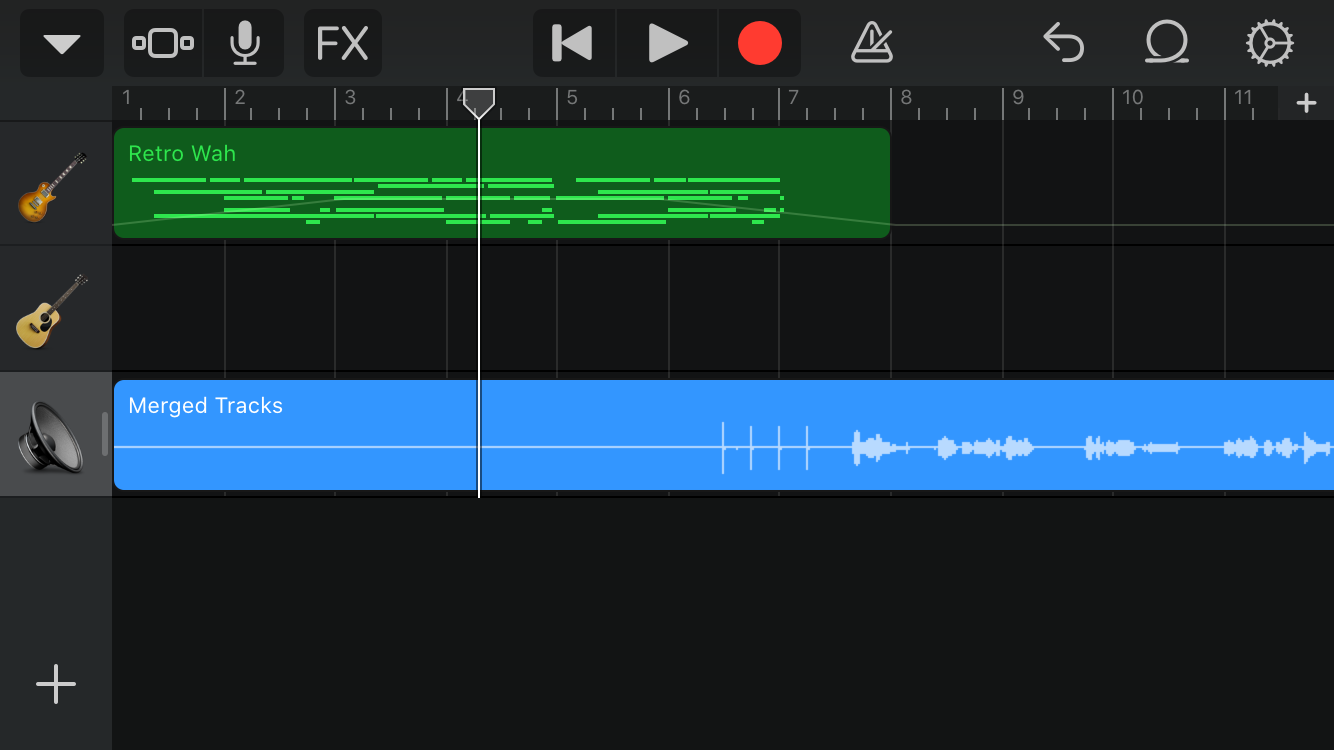 The merged audio tracks
Export your project
Click on the button at the top left of your screen which is an inverted triangle. Then press My Songs.
 My songs, accessed through the inverted triangle
To rename it, you can press and hold your project, and then click Rename. Write your chosen name on the given bar and click done.
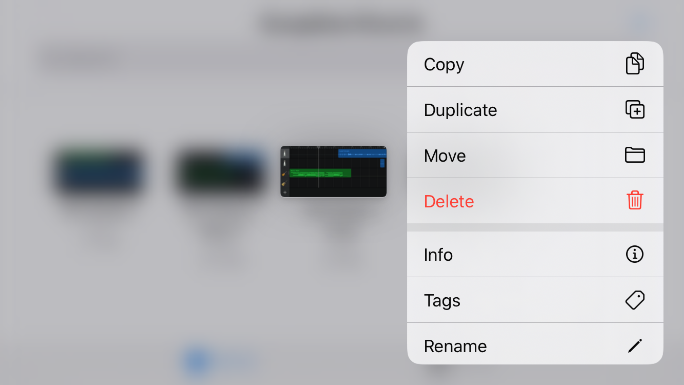 Options when you press and hold your track
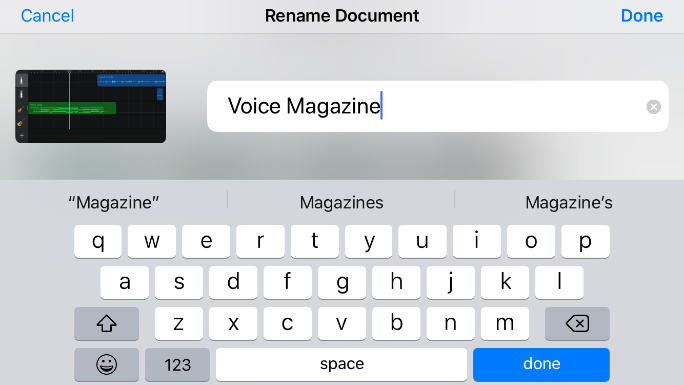 Renaming screen
On the top right corner of your screen, tap Select and then select the project you want to export. On the bottom of your screen you will have 5 options, choose the Share option on the far left of those icons. You can share the project as a Song, a Ringtone or a Project, choose Song and then High Quality. When you are done with this press Share and then you will have all the available options to share the exported file in front of you. Choose Open In, then Save to Files and the case of the files you wish to save your audio in. Then click Save on the top right corner of your screen.
Once you’ve successfully completed these steps, you will be done exporting. Do not immediately share or send your project without properly exporting it first.
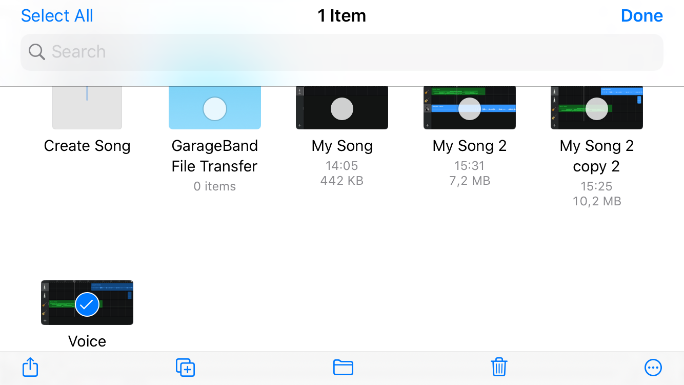 Select the project you wish to export
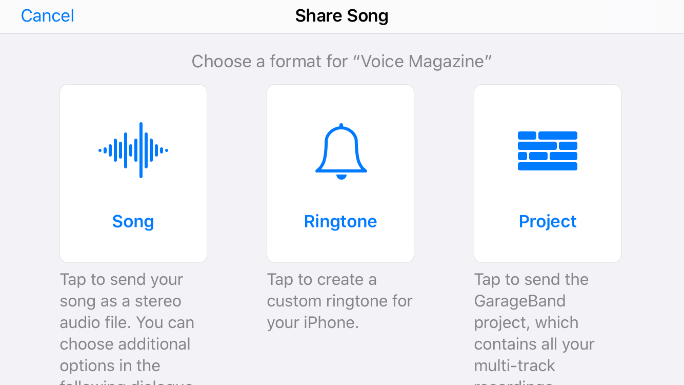 Select song when on this screen
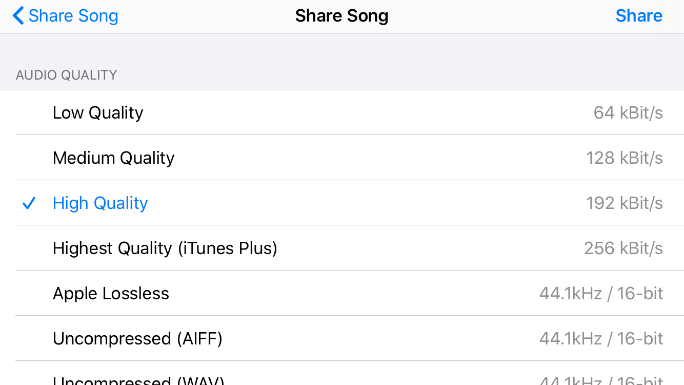 Select high quality
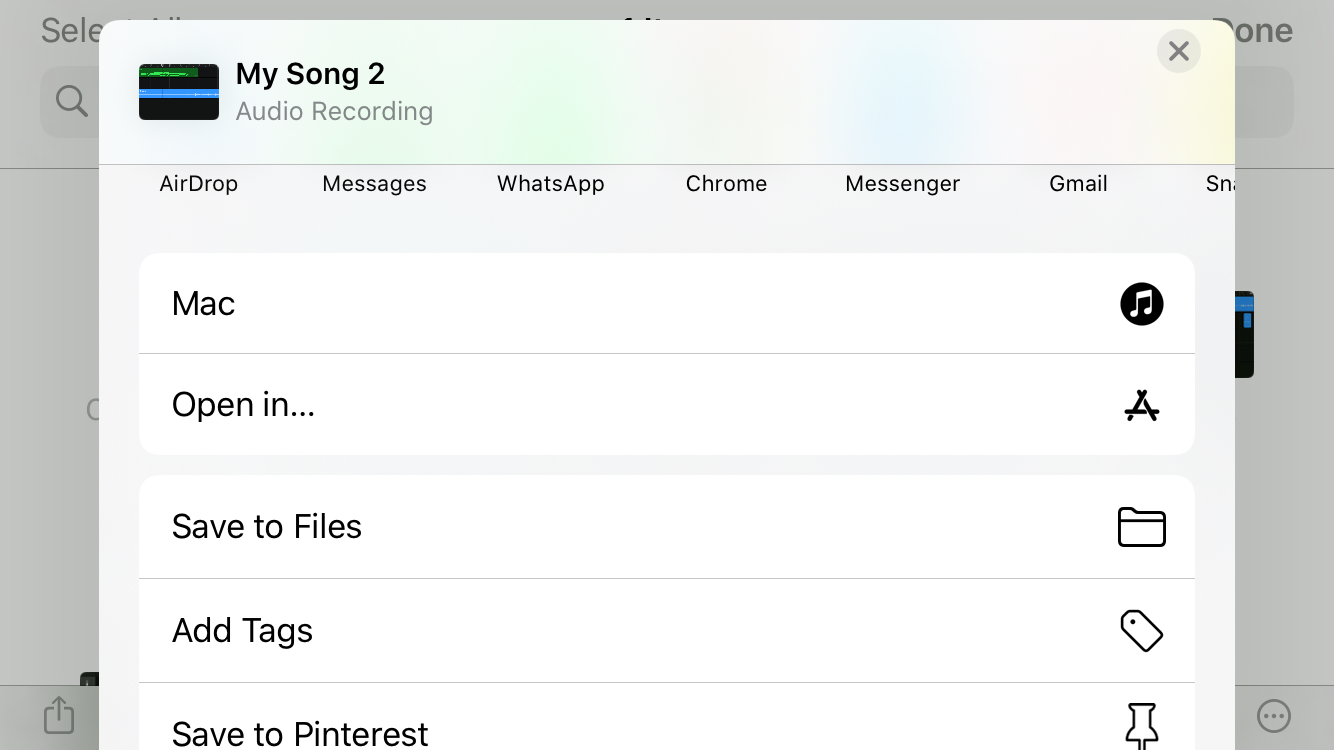 Select Open In...
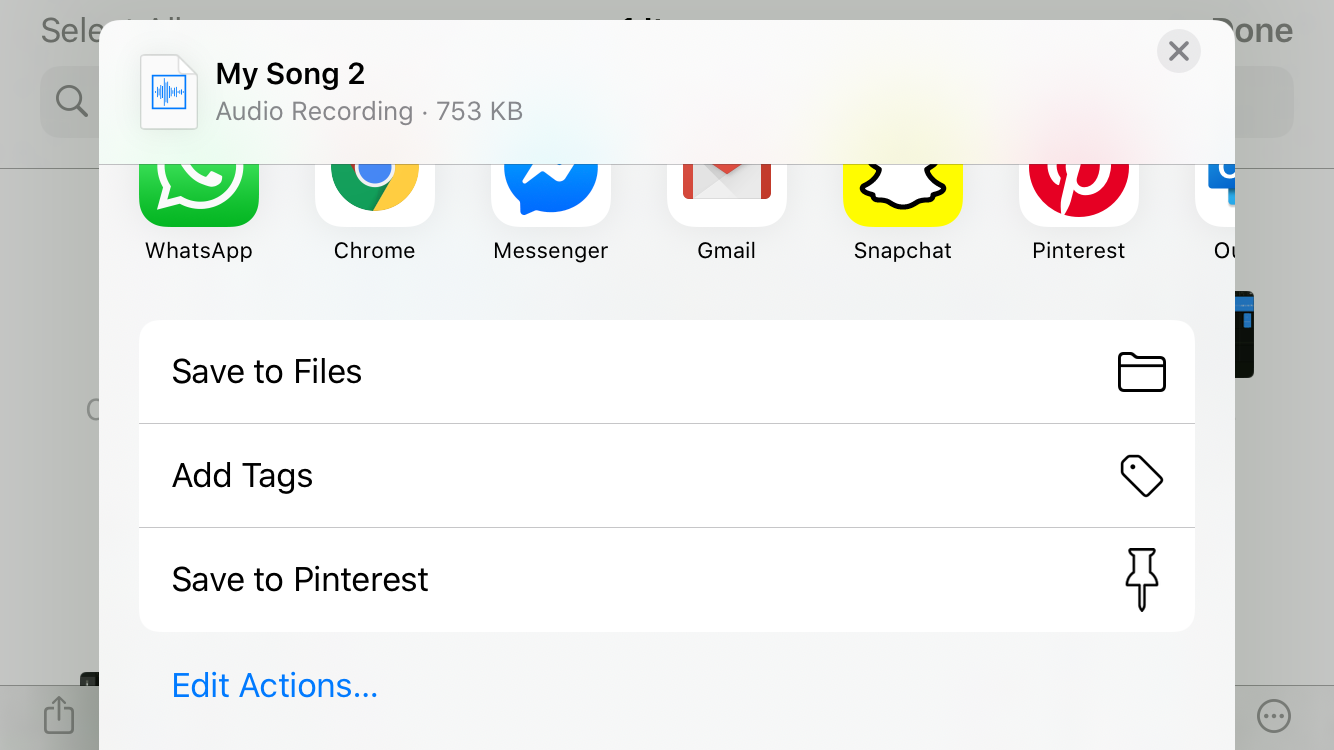 Save to Files


0 Comments