
by James Riding
I want to stress upfront that there’s no definitively right or wrong way to create comics, as indeed there isn’t with any art form; and, as I’m totally self-taught, there may be faster and supposedly better methods to make use of than my own! That said, here’s a breakdown of how I go about creating a finished page of comic art.
Writing
If the scene I’m going to draw is very dialogue or exposition-heavy, I’ll start by writing out a script for the page and refining it until I’m happy. This generally means making cuts – my dialogue can almost always be made less wordy.
 Sketches
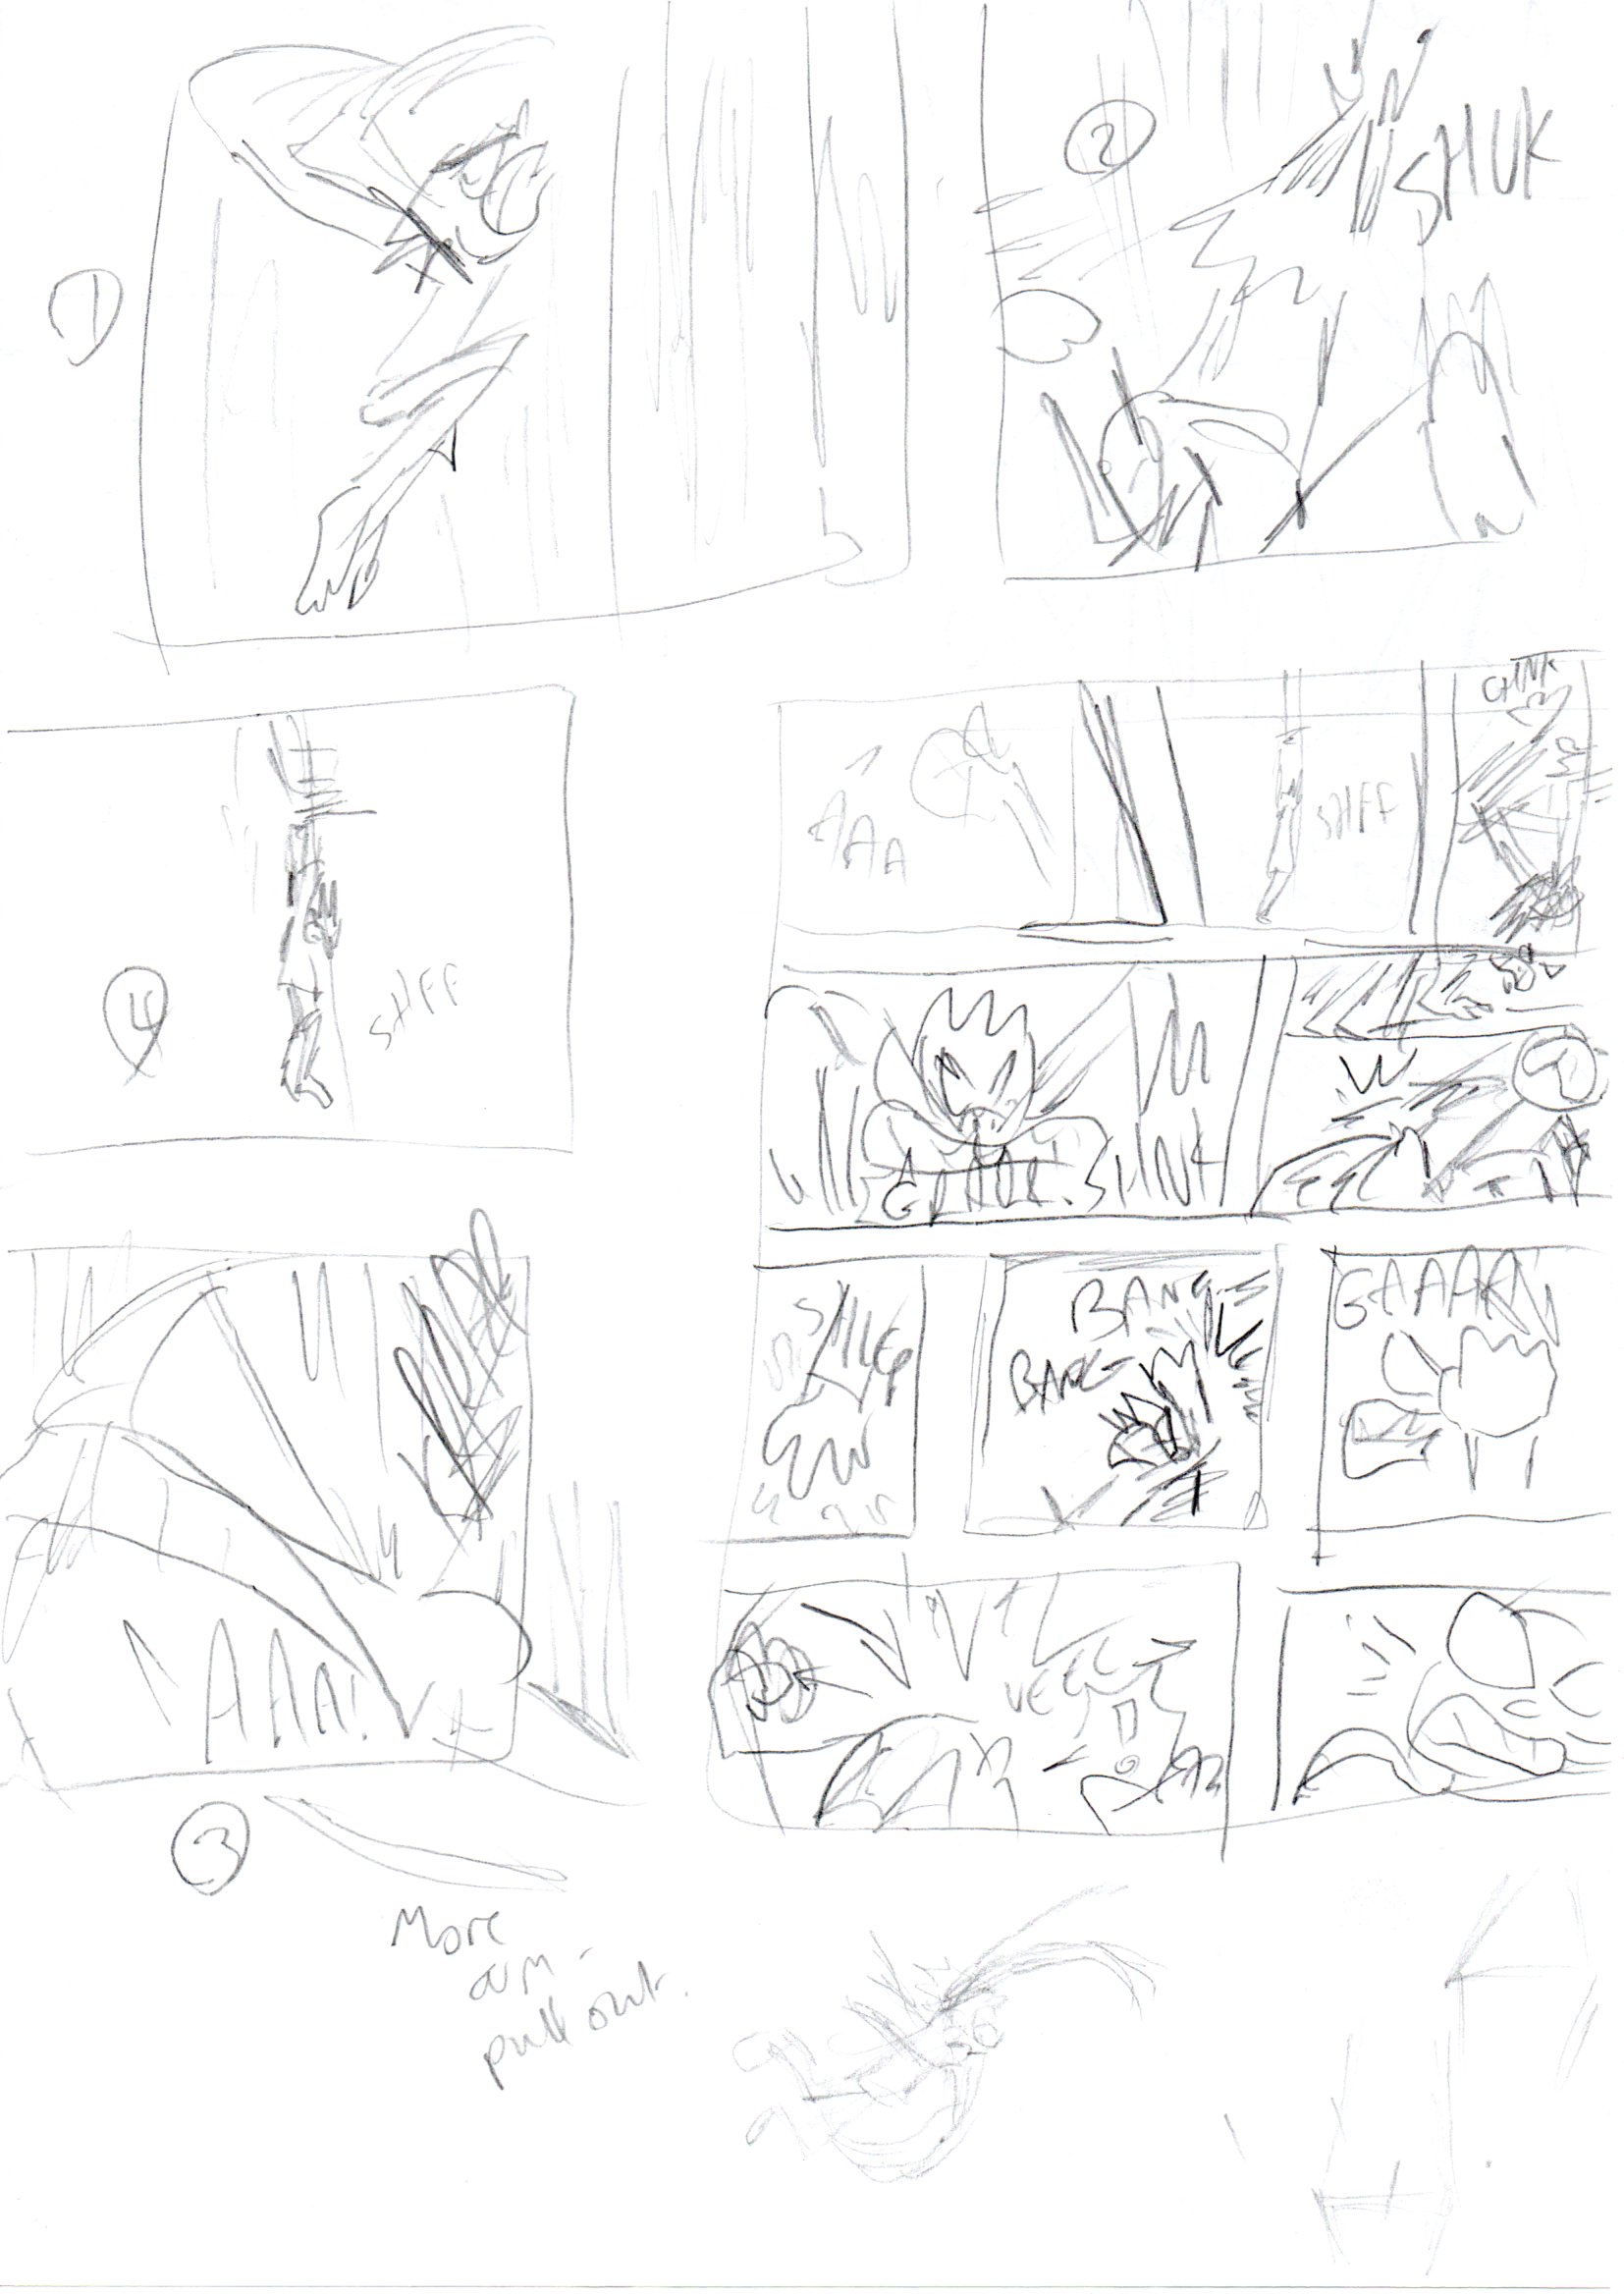
Once I’m happy with the script, or if the page is mostly action, I’ll move straight on to doing some extremely quick, rough sketches of the most important elements of the page. This part is really me just finding my way into a page and seeing if the images in my head look any good on paper.
I’ll often try drawing a scene from an assortment of angles to see which work best. I do this stage on scrap paper with HB pencil or even a biro. Next, I’ll draw additional sketches to fill in any gaps in the storytelling or pacing, and work out how many images will be needed to tell the story. Again, none of these need take any longer than about 30 seconds. I often number them all at this point so that I don’t get confused!
Thumbnails
Now it’s time to think a bit more carefully about layout and how to assemble these sketches into panels in a visually appealing way. My preferred method is to make a series of tiny, crude ‘thumbnail’ drawings of the page with different layouts, to work out the best option. The goal here isn’t beautiful artwork, it’s to determine if and how everything will fit on the finished page.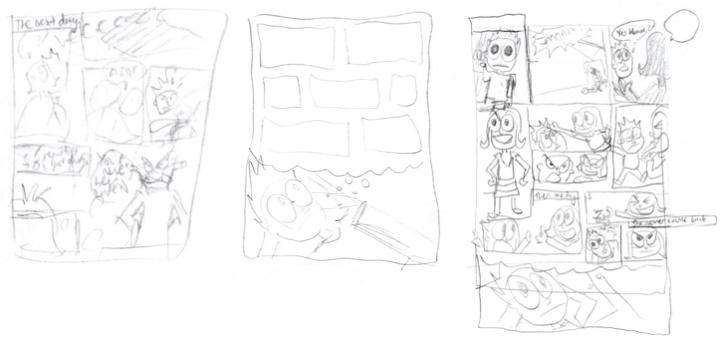
Final Sketch
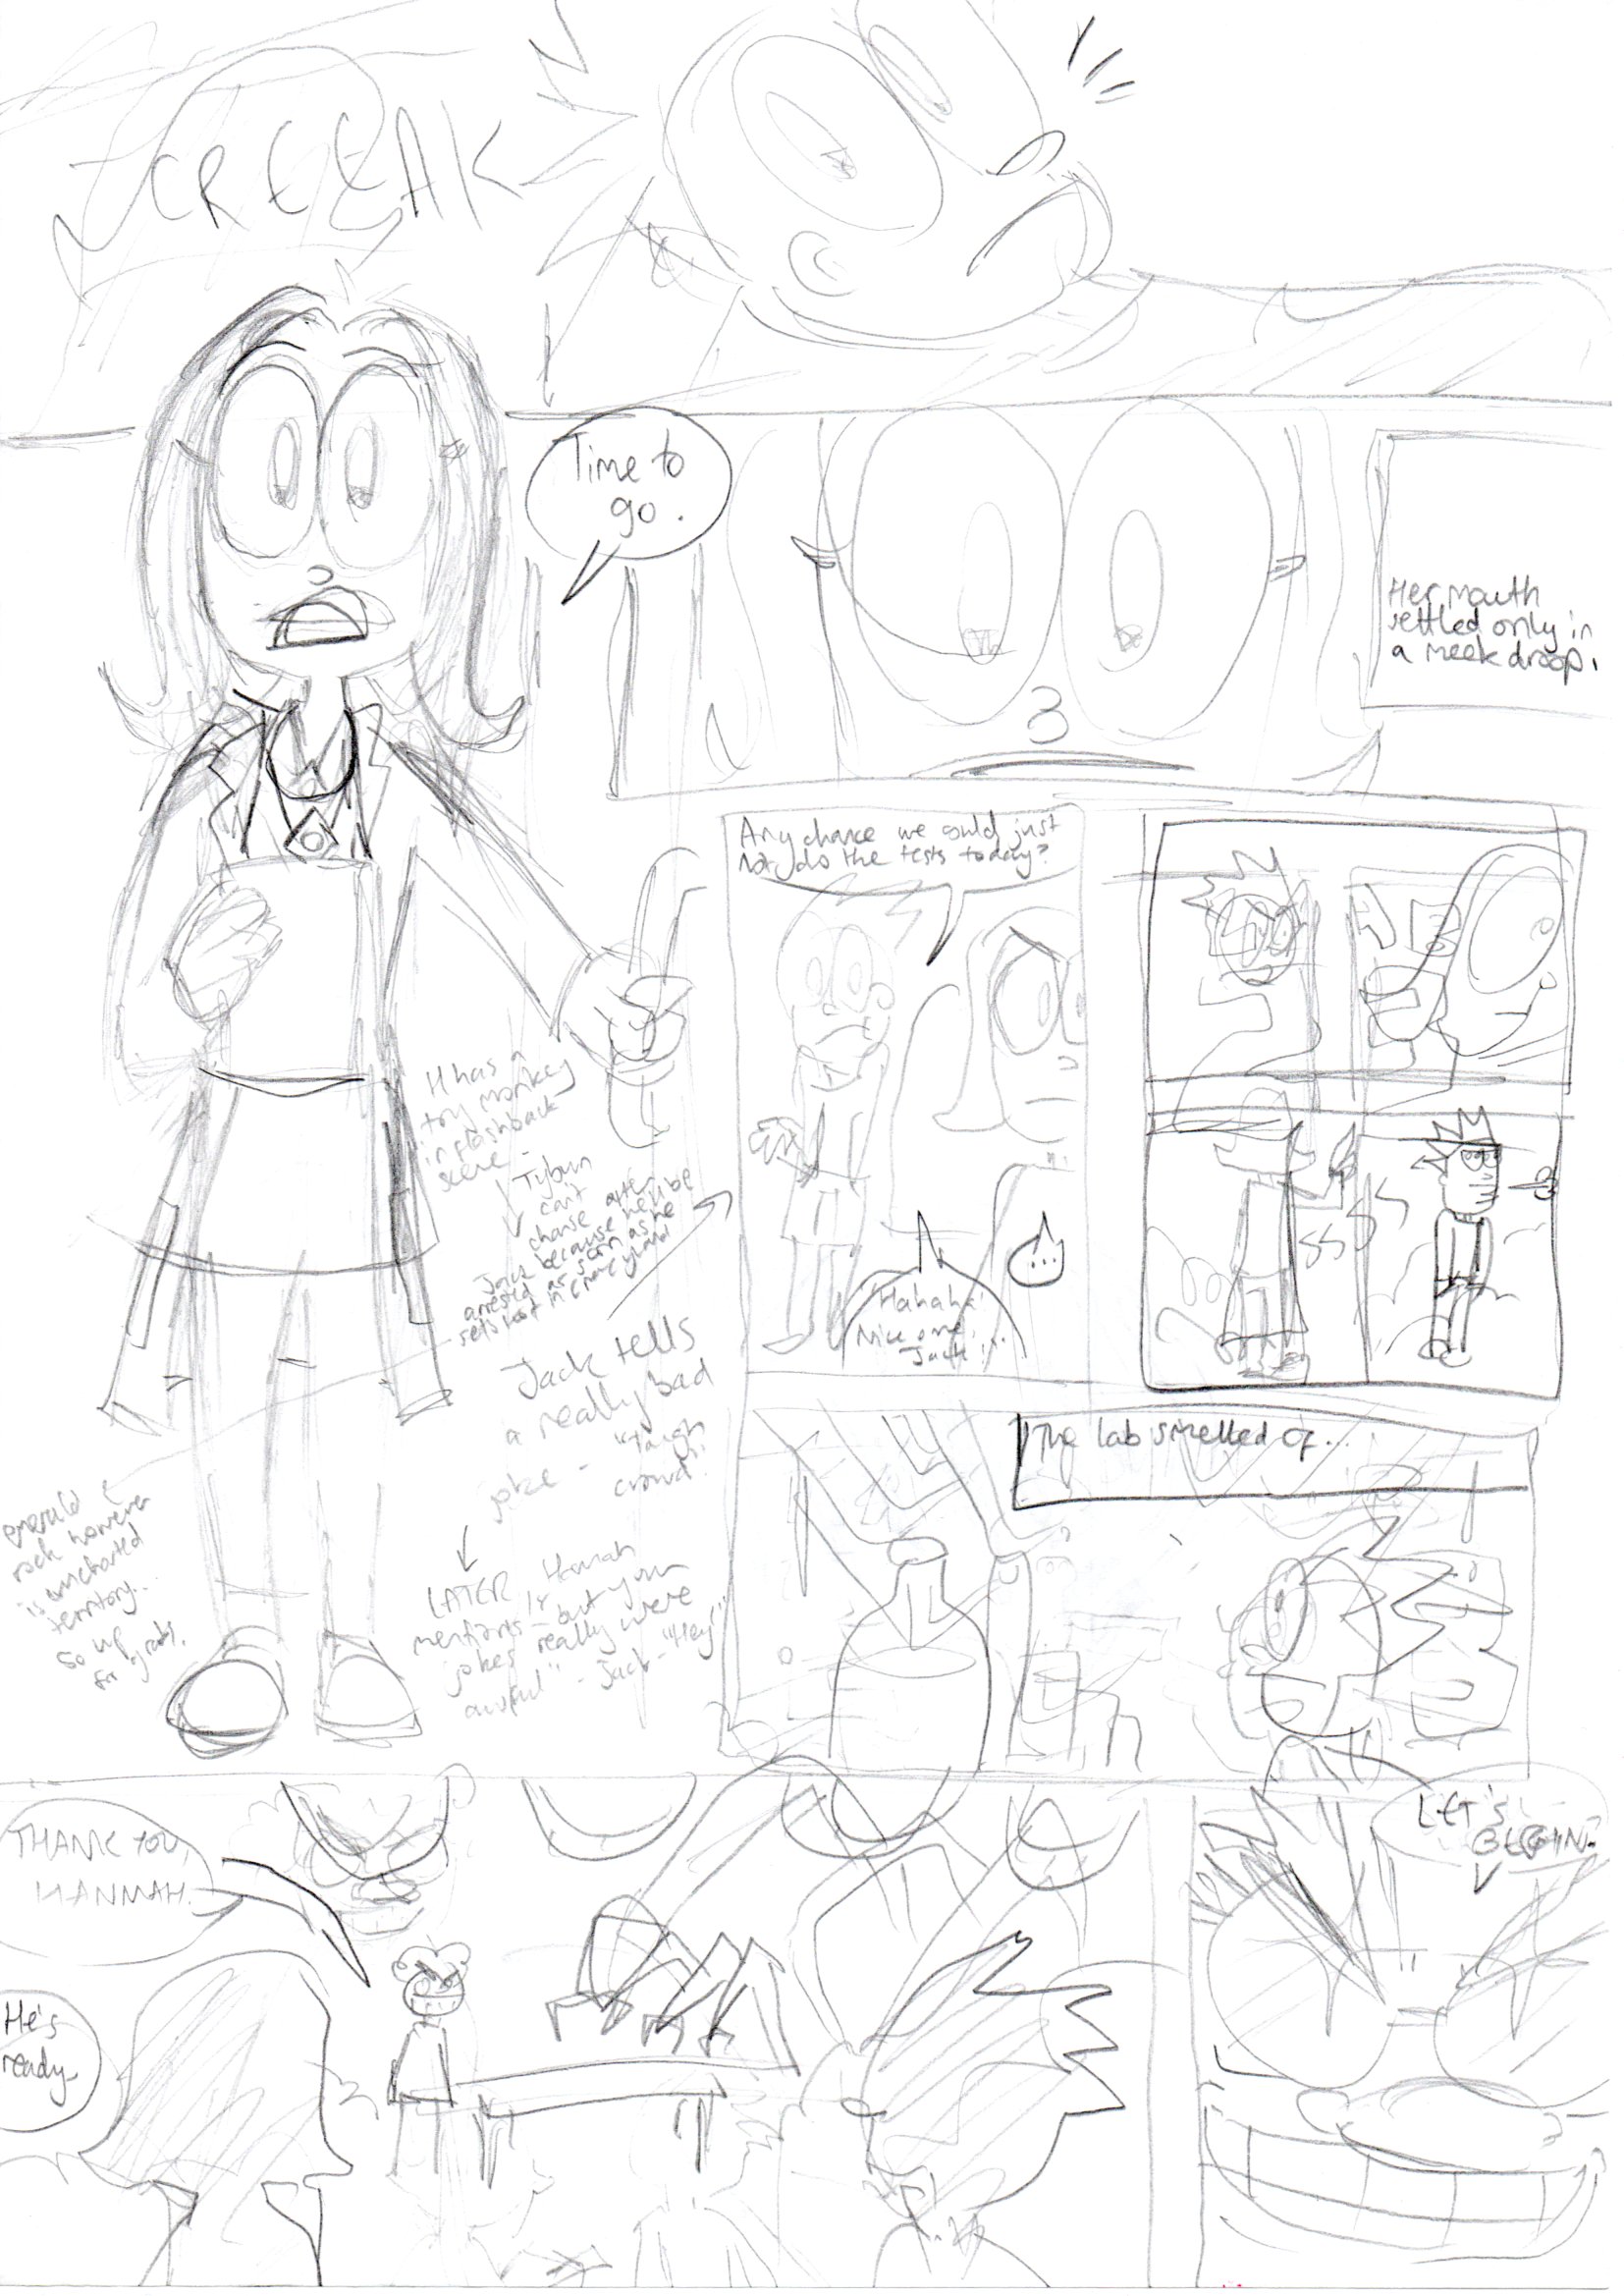 If the page is particularly complex, or the sketching process has been particularly messy, I’ll then draw up an A4-sized sketch of the page with the finished layout. I found this a lot more useful when I had just begun drawing and I was less confident about moving on to final artwork. Nowadays, I sometimes skip this stage and go straight to pencilling.
Preparing the Page
It’s time to begin the page proper! I use Daler-Rowney A3 Bristol Board, which is ideal for comics. With a hard pencil (maybe a 2H) and a ruler, I draw out a series of margins around the page, around 4-5mm thick. This is to prepare the artwork for the printing process, where the edges of each page might get cut off: I make sure that all the important information on the page (such as any text) stays within the innermost ‘safe zone’, leaving a 3mm ‘bleed’ area around the edge of the artwork for when it is printed out comic-size. A boring but important detail. I then measure and draw out the panel borders with a set square.
Pencils
The drawing begins. I use a nice soft 2B pencil and erase my many, many mistakes with a putty eraser, which, with its sorcerous powers, somehow doesn’t leave any marks on the page. I generally draw the speech bubbles in first, write the dialogue, then mark out the proportions of the characters, before carefully adding more detail. Pencilling a page usually takes me two or three hours: I enjoy it a lot, but it requires the most brainpower out of the whole drawing process, as you’re constantly thinking about composition, expressions, conveying movement and weight. Sometimes I might put on some instrumental music while I pencil, as I find anything with lyrics too distracting.
Inks
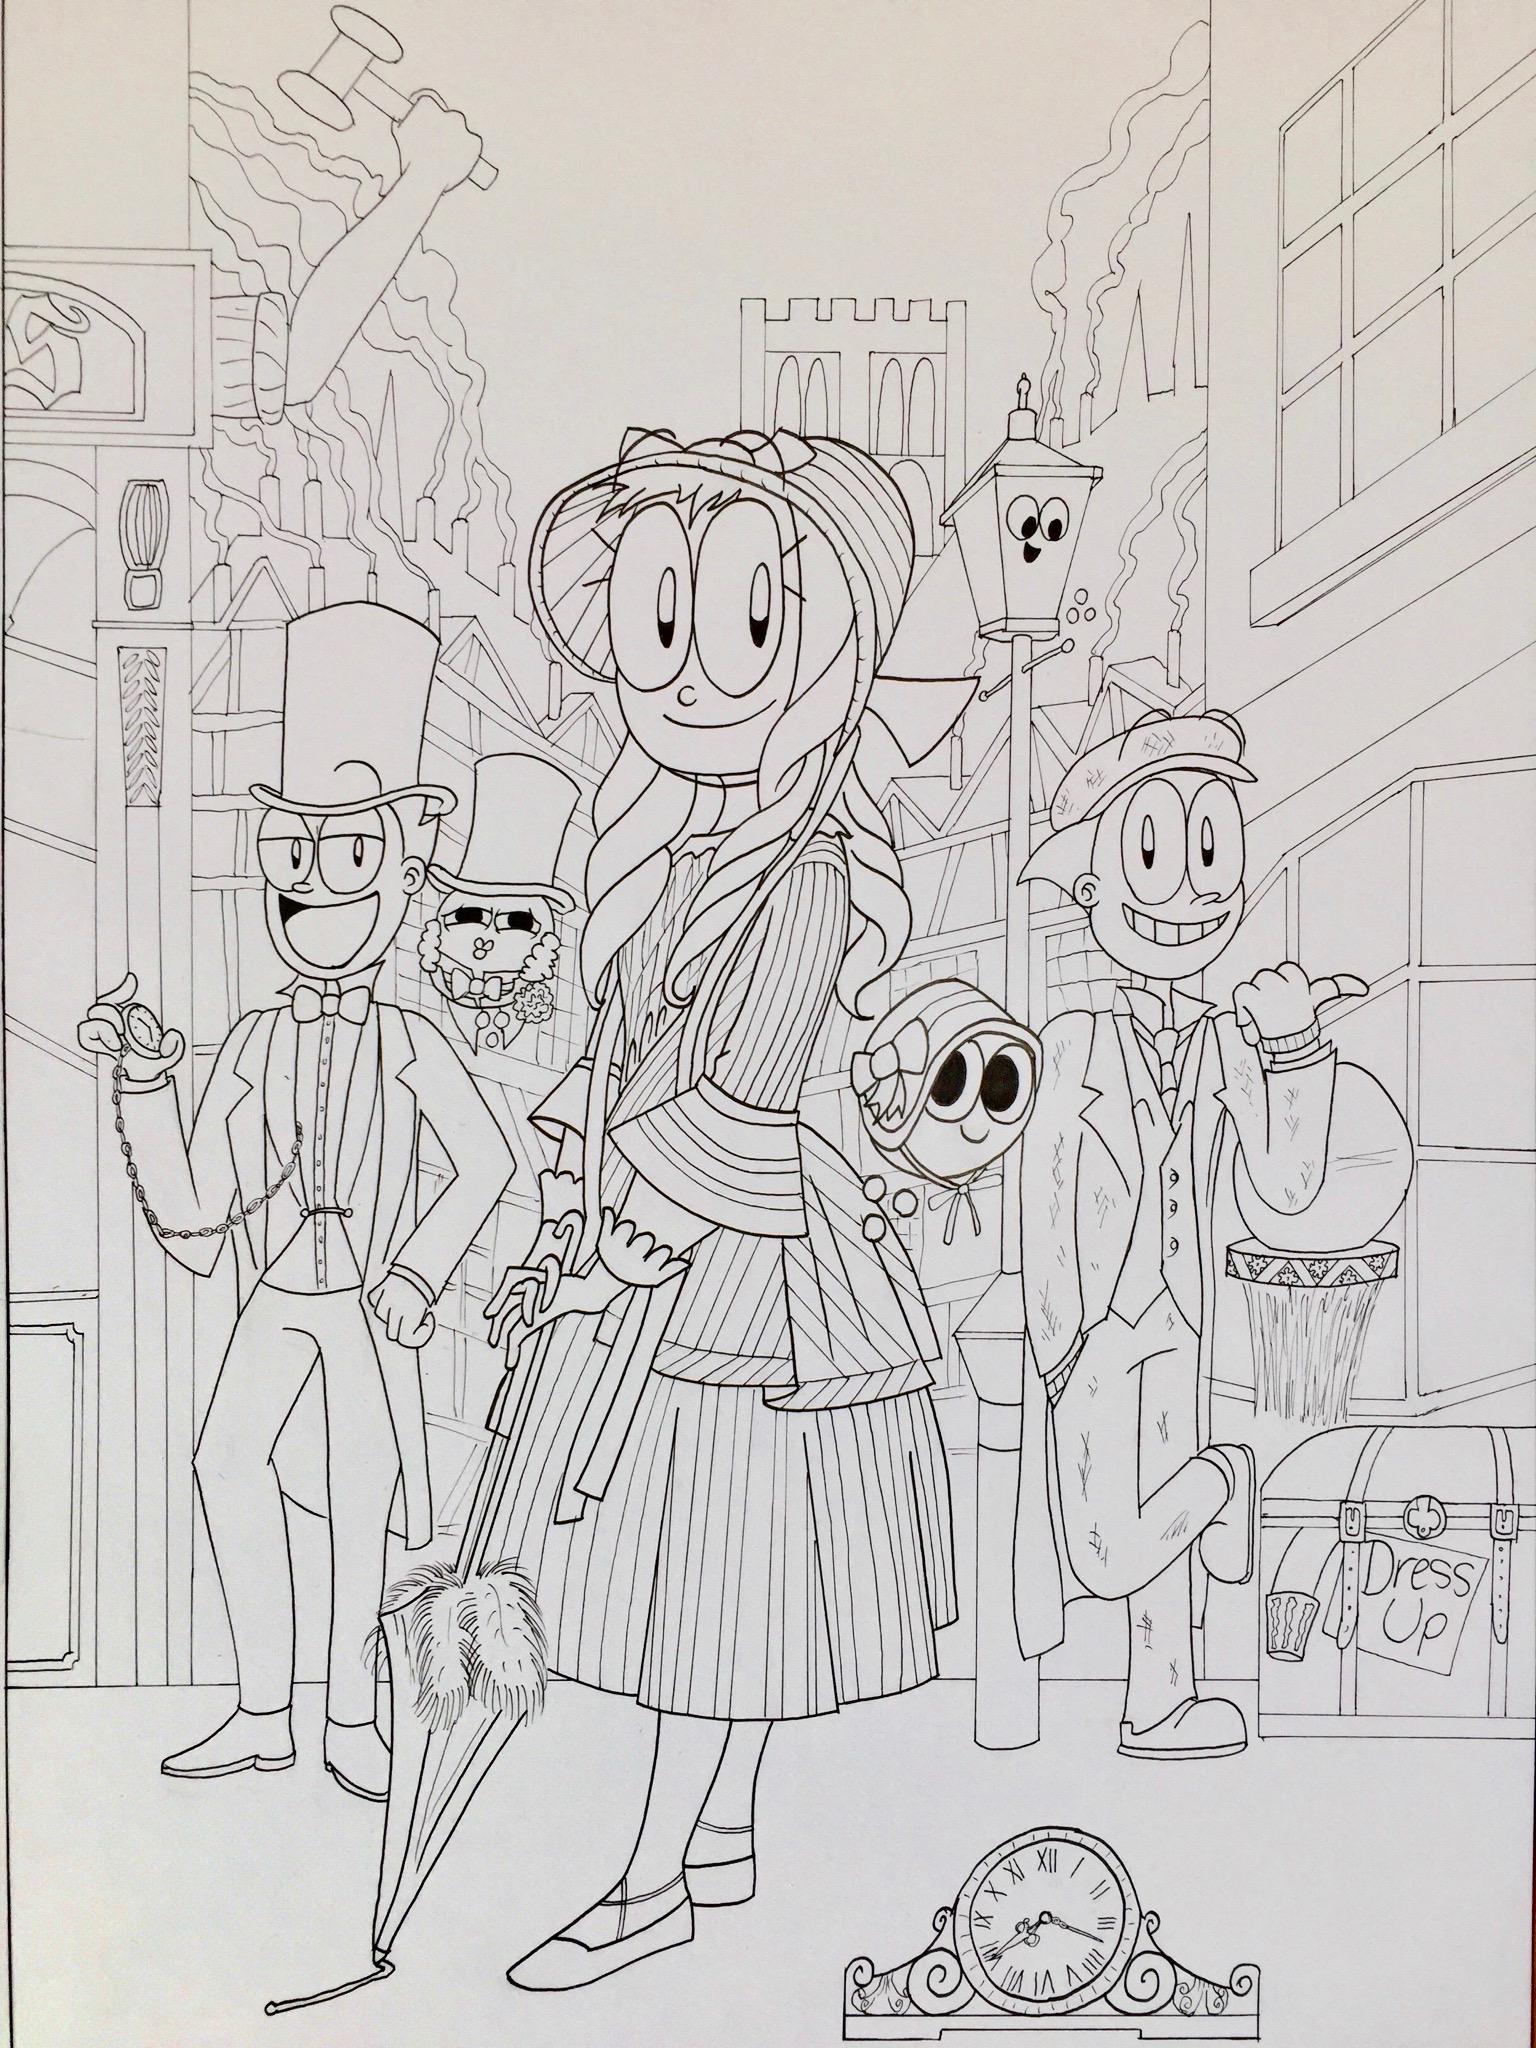 Probably my favourite stage: going over the pencil drawings and refining them into beautiful, clean line-art. Lots of better artists use a brush and ink, but I prefer the relative control and lack of mess of pigment fine-liner pens (the Staedtler ones are good quality and don’t run out quickly). I start by inking the speech bubbles and writing in the dialogue with a 0.5mm pen, then move on to the characters in the foreground, varying between the 0.5mm and 0.3mm.
Finally, I’ll draw in the background and any small details with a really thin 0.1mm pen and, if something is huge or lurching out into the foreground, I’ll give it a go-over with a super-thick 0.7mm. Inking is pretty intuitive, so I like to listen to podcasts or music while I do it. That said, it's still easy to make lots of mistakes. Often I’ll make little notes in pencil in the margins of the page reminding me what I need to correct later. Inking a page normally takes me between three and four hours.
Colours
After rubbing out all the pencils from the finished page, scanning it in, and tidying it up and fixing any mistakes on Adobe Photoshop, it’s time to add colour. Doing the colouring digitally is less messy and has the not-so-insignificant benefit of an ‘undo’ button. I use a Wacom graphics tablet, as it feels better on my hands than non-stop mouse clicking, and work with CMYK colours (which print brighter than RGB ones).
The first step is to lay in all the base colours on one ‘layer’, then add highlights and shading on separate layers, which really bring the characters to life and make your work look much more professional (but also take lots more time!). Colouring is the ultimate example of a job where you can put as much time and effort as you like into it. I’ll occasionally make use of gradients and changes in opacity, but I really only scratch the surface of Photoshop’s power. Even then, colouring a page well generally takes me about seven to eight hours.
It looks absolutely mint when it’s done though.
James + Jack: The Adventure Begins is available now from jamesriding.bigcartel.com. You can find him on his website jamesriding.co.uk or on Instagram and Twitter as @jamesriding10.


0 Comments