
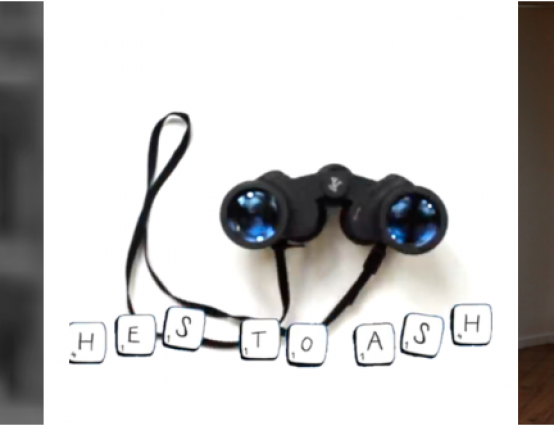
A few years ago I produced a little and fairly simple-looking short stop-frame video with my friend. But, behind that one minute clip was a lot of patience and effort. For those of you who are eager to try stop-frame animation and want to go into clay animation, it is possible, but you need to put in the hours.
What you'll need:
- A camera
- A tripod
- Patience
- A plan
1. Before setting up your camera it's important to have a clear plan of what you want to shoot. If you want to animate a few objects moving around or capture a live time-lapse, you'll need to decide on what you want your final video to end up looking like and plan around that. It can really help to go in with a structure, with a design for where your people or objects should move from and to, and the final arc of your story. Even if you just want to experiment and try out the process, it's good to have a clear plan of the results you're after.
2. While planning consider how long you want your video to be. Keep a mental note about the amount of frames you'll need to make your video, and remember, it'll be a lot more than you might expect to get really good results. When doing my video we took 2 hours to shoot with over 1500 shots. This was to make a final film that lasted just under a minute.
Remember: in video the average frames per second is either 24 or 25 - so for a minute-long video you'll need 1500 photos (25x60=1500).
3. To create a stop-frame video, you'll need a camera capable of taking photos with full manual control over the settings. DSLR's are good with the manual setting, and if you're at art or film college you should be able to rent a good one straight from them. To set up your first position, manually set your camera's exposure and focus on your subjects and make sure you spend your time setting up to get it looking exactly how you want. You don't want to be going back for reshoots.
4. Take one or two shots of your first frame just in case, then move your subject (person or object) to its first position. Depending on how many frames you want per seconds, the size of the movements between your subject's positions will affect the smoothness and speed of the movements. The shorter the distance the smoother the video.
An easier way would be measure the distance between your shots. You can use a tape measure or something like a stick to see how far your subject and the camera need to move to keep a consistent flow.
5. Once you've shot all your frames, you'll need to edit your video. When you edit the video, remember to set your timeline to 25fps (frames per second) or whichever frame rate you want to use. Set your image length to 1 frame and adjust to your preference.
For first timers if you're using programmes like Windows Movie Maker or iMovie remember to play around with the duration you want each image to be. The best thing is to play around with it until you have a flow that works for you.
It can really help to use the final sound or music that you'll play over your film to help you decide on the pace you want your stop frame animation to have.
6. Once that's complete you can nest (compile into one clip) your images and edit your video how you want then export.
Here's the first one I made:
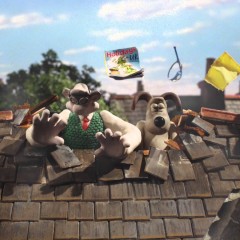
There are different methods for making stop-frame animations, from time-lapse and hyper time-lapse, to cartoon animations. What's important is patience planning and concentration. One slight movement can mess up the whole sequence and you may have to start from scratch.
But it's a fun thing to do where you can get really creative, and once you get the hang of it, there are so many possibilities.
Any questions or tips? Let us know below.


0 Comments