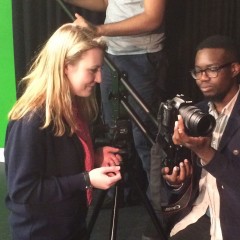
Hi I'm Idriss; I'm a film maker and I'm going to show you how I did my Gold Arts Award.
That's a good way to start your video, well without using my name of course, unless your name is also Idriss and you've also done your Gold Arts Award.
As you may see on the Arts Awards Voice website there are already videos featuring members of the team (including myself) presenting their folders which you can use to help you make your video.
1. Equipment
So first of all you'll need these:
- A recording device (ideally a camera, but you could use a webcam or smart phone)
- Microphone (don't worry if you don't have one)
- Tripod or someone/something to hold your device in place
- Script
- Your Arts Award portfolio
- Location (preferably quiet, with a plain background)
- Computer (with editing software)
2. Script
So first of all you need to know what to cover, I find it easier to shoot things with a plan or a script to follow. The script will help you organise the structure of your content and the video. You can break down your script into 3-5 parts; a good way of doing this is by covering the follow points–
- Who you are and what level Arts Award you did (intro)
- What you did for your Arts Award and how you documented evidence, eg did you use a scrap book/arts log, online platform, a mixture or other form?
- How you evidenced the different parts or units of your Arts Award
- Why you chose to document your evidence with your chosen method/s
- Pros and cons of your chosen method
- Your advice or top tips
You can choose to write exactly what you want to say or bullet point key points to mention and remember. Once you have your script/structure ready go through it a few times to make sure it makes sense and highlights the key points viewers would need to know.
3. Location
Your almost ready to film, you have to first find a suitable location that's quiet and lit brightly. Also try and find somewhere that doesn't get too busy as you don't want your viewers to get distracted by something in the background.
4. Setting up your equipment
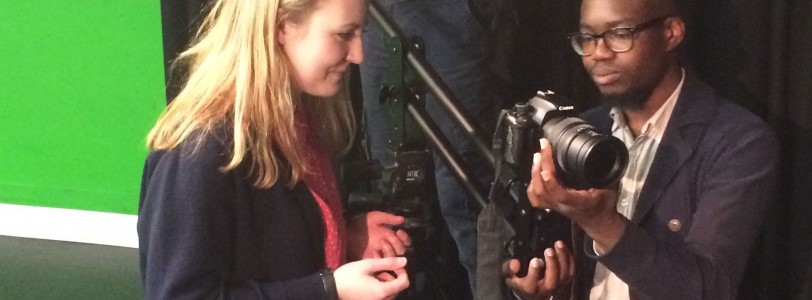
a. If you're using a video camera
Set your tripod (if you have one) at least a metre to 2 metres away from where you will be. Then, once the camera is on the tripod, make sure the camera is up to your eye level and standing straight. If you have a microphone, connect it to your camera. If you don't own a microphone don't worry about it, as long as you're in a fairly small and quiet environment you should be fine. If you don't have a microphone, you may need to bring the camera a bit closer to you.
It's nice to have a helping hand to press record and to make sure you cut your whole body out of the frame, you'll just need to show them how to use the equipment and direct them in what you'd like them to do.
b. If you don't have a camera available
You can use a webcam & microphone. You can often buy these from local shops and online at less than £10. Or you could use your smartphone if you have one! A trick is to find pegs, pencils or book ends to help hold up the phone for you if you don't have someone holding it.
For either option, it's worth doing a test recording of a couple of seconds to see if the camera angle and volume are OK.
5. Make sure you're comfortable
Some people may find it easier to be filmed with or without anyone in the room watching them, so make sure to be comfortable before starting, people will notice when something doesn't look comfortable in front of the camera and it will take their attention away from the video.
6. Filming
Ok so you're set up, comfortable and ready to do your first take. Before you start filming, remember to focus the camera on the portfolio. If you're unable to edit your video try to focus the camera in on the portfolio and speak off screen. This will mean your audience can clearly see what you did for your Arts Award.
In this process you can choose to film in 2 ways:
1) You can film everything together in one whole clip, this avoids having to stop and start every time and having to go through a lot of takes, all you'll have to do is cut and delete pauses and mistakes. The problem is that it may turn out to be a large file and going through the whole clip may be very time consuming.
2) You can stop and start after each part, or sentence, depending on how you chose to present it. You'll avoid wasting space on your camera and it'll make it easier to find the right takes and to breakdown the video. The problem is you may have a lot of clips to go through to find the right one.
However you choose to present in your video will help you decide what the best option is. If you're filming solo, the one take method would be best for you as you won't have to keep getting up to stop and start the recording.
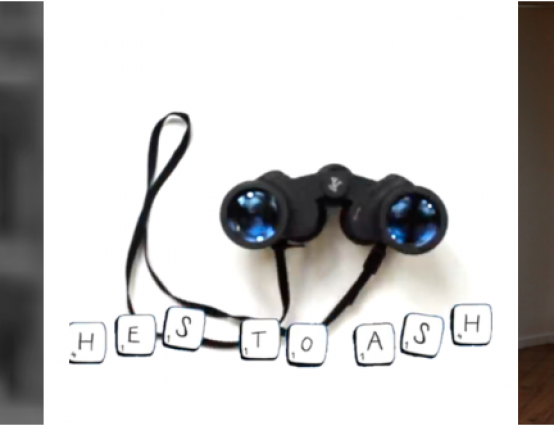
Once you've filmed your bits, be sure to get cutaways of your work in your folder. These might be photos or video shots of your work close-up. Cutaways are a great way to keep the audience attention without boring them with the same shot. These will be very useful to give the viewers a closer look at what you've done and how.
These shots could be incorporated in to your 'one clip' approach by holding your portfolio up to the camera when you start describing it.
7. Editing
Now that you've filmed your clip or clips it's time to edit your video. Some people find this part the scariest because it can be technical and they have never tried it. The best thing to do is to find help or a tutorial online, or ask someone that has edited before to help you. If you know a film maker they can help with editing, and you may like to ask for advice on other parts of making your film.
Remember, if you've filmed in one take and shown your portfolio to the camera then you'll need to do next to no editing!
With software it really depends on what you have access to. Programs such as Adobe Premiere and Final Cut Pro are professional editing software's and very expensive to purchase. There is often free software that comes pre-installed into your computer, such as Movie Maker (Microsoft PC) and IMovie (apple Mac). Both programs are basic and very easy to use. Although they both have different layouts, they can manage simple video editing. If you used a phone, then it may also have basic editing facilities on it.
Go through your clips and pick out the ones you want to use. Once you have done this, use your script to guide you. The script will help you structure your video and order your content.
Start off by placing your clips in the order you want, and then add your cutaways where relevant, for example between gaps and places where the work is being mentioned or displayed. Try to keep the video simple and not have too many transitions and effects, remember the point is to keep the focus on your folder not pretty lens flares.
Watch back your video to see if it makes sense and if you've covered all the important points. Then once you're happy export your video. When you export the video be sure to check your settings, the best option would be to go for the h.264 format and a 720 or 1080 res for size. Remember the bigger the size the larger the file will be. Be sure to name your video then once it's done upload it to artsawardvoice.com
I hope this article has been useful in helping you make your Arts Award portfolio video. If you need any further information or want to know what to look out for you can check out this article on how to make a short film as well as my article on how to make a music video and many more online.
Let me know in the comments section if you have any questions.


hi one of my students has asked how to actually post a video onto Voice, do you have a menu option or similar? cx